


Your oven has one job on Christmas Day, and the ham already claimed it. The casserole, the rolls, and the sweet potatoes lined up right behind it. So where does dessert go? Nowhere, and that’s the beauty of it.
These 10 no bake Christmas desserts need only a fridge, a freezer, or a microwave. I’ve made every one during a full-blown holiday meltdown, and my family still speaks to me. Pick two or three, make them ahead, and enjoy your own party for once.
FYI, most of these chill overnight, so your Christmas Eve self does the work and Christmas Day you takes the credit.
1. Easy Peppermint Bark
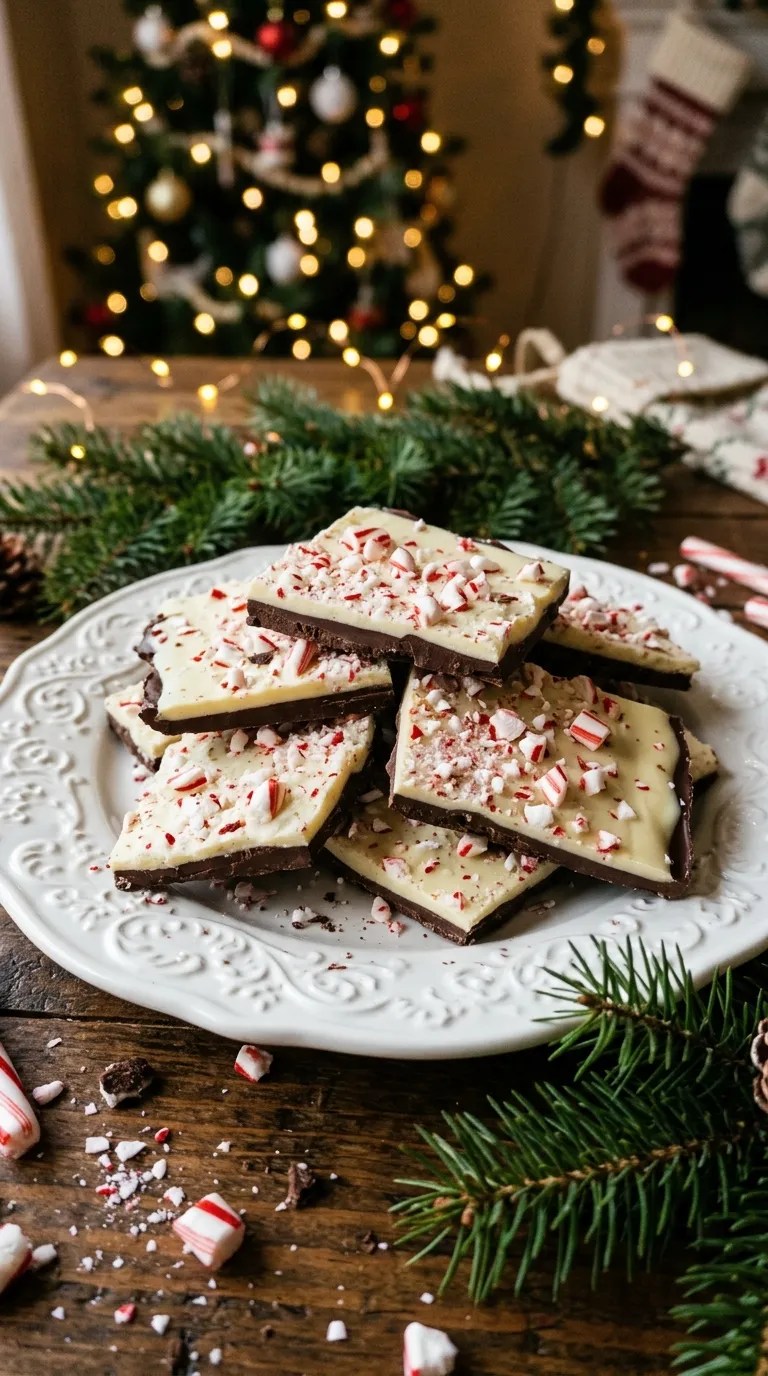
Two chocolate layers, one crunchy candy cane topping, zero skill required. Even your cousin who burns toast can pull this off.
Ingredients
- 12 oz semisweet chocolate chips
- 12 oz white chocolate chips
- 1 tsp peppermint extract, divided
- ½ cup crushed candy canes
Step-by-Step Instructions
- Line a rimmed baking sheet with parchment paper.
- Melt the semisweet chips in the microwave in 30-second bursts, stirring between each. Stir in ½ tsp extract.
- Spread the chocolate into a ¼-inch rectangle and chill for 15 minutes.
- Melt the white chips the same way and stir in the remaining extract.
- Pour the white chocolate over the set layer and smooth it out.
- Sprinkle the candy canes on top right away and press them in lightly.
- Chill for 1 hour, then break the bark into jagged shards.
Why You’ll Love It
Don’t skip the peppermint extract. Candy canes alone taste like sugar, not mint. I once used mint-flavored white chips instead, and I still wince about it :/. Pack the shards into tins and gift them.
2. Three-Ingredient Oreo Truffles

These taste like a bakery treat and take about 30 minutes of actual effort. Who can stop at one? Not me.
Ingredients
- 36 Oreos (one standard package)
- 8 oz full-fat cream cheese, softened
- 12 oz melting chocolate or chocolate chips
- Red and green sprinkles
Step-by-Step Instructions
- Crush the Oreos into fine crumbs in a food processor.
- Add the cream cheese and pulse until a dough forms.
- Roll the dough into 1-inch balls and freeze them for 15 minutes.
- Melt the chocolate, then dunk each ball with a fork and tap off the excess.
- Add sprinkles before the coating sets.
- Chill for 30 minutes.
Why You’ll Love It
Use full-fat cream cheese. The low-fat version turns the dough into a sticky mess, and I learned that with chocolate up to my elbows. These truffles taste rich and fudgy, and they keep in the fridge for a week.
3. Eggnog No Bake Cheesecake Jars

Creamy, spiced, and portioned for you, so nobody fights over the last slice. Eggnog haters, trust me on this one.
Ingredients
- 1½ cups graham cracker crumbs
- 6 tbsp melted butter
- 16 oz cream cheese, softened
- ½ cup powdered sugar
- ½ cup eggnog
- 1 cup heavy cream
- 1 tsp vanilla
- ½ tsp nutmeg, plus extra for dusting
Step-by-Step Instructions
- Mix the crumbs and butter, then press about 3 tablespoons into each of 8 small jars.
- Beat the cream cheese, sugar, eggnog, vanilla, and nutmeg until smooth.
- Whip the heavy cream to stiff peaks in a separate bowl.
- Fold the whipped cream into the cheese mixture.
- Spoon the filling into the jars.
- Chill for at least 4 hours, then dust with nutmeg.
Why You’ll Love It
I hated eggnog for 30 years, and this dessert changed my mind. Add 1 tablespoon of bourbon to the filling, because IMO that’s the best upgrade here. Make these a day ahead, and the flavor gets even better.
4. Chocolate Peppermint Icebox Cake

This cake looks like you slaved over it, but it’s just cookies and cream doing their thing in the fridge. Science? Basically. Magic? Also yes.
Ingredients
- 2 cups cold heavy cream
- ¼ cup powdered sugar
- ½ tsp peppermint extract
- 1 package (9 oz) chocolate wafer cookies
- ½ cup crushed candy canes
- Chocolate shavings for topping
Step-by-Step Instructions
- Whip the cream, sugar, and extract to stiff peaks.
- Spread a thin layer of cream across the bottom of an 8×8 dish.
- Layer wafers over the cream, breaking them to fit.
- Spread more cream on top, then repeat until you run out, finishing with cream.
- Cover and chill for at least 6 hours, or overnight.
- Top with candy canes and chocolate shavings, then slice.
Why You’ll Love It
The wafers soak up the cream and turn into soft, cakey layers. Don’t rush the chill time, because a short nap in the fridge leaves you with crunchy cookies. Cut it with a hot, wiped knife for clean slices.
5. Cranberry Pistachio White Chocolate Fudge

Red and green in every bite, and you only need a microwave. This fudge looks fancy enough to hide in a gift box.
Ingredients
- 3 cups white chocolate chips (18 oz)
- 1 can (14 oz) sweetened condensed milk
- ¾ cup dried cranberries
- ½ cup chopped pistachios, divided
- 1 tsp vanilla
- Pinch of salt
Step-by-Step Instructions
- Line an 8×8 pan with parchment, leaving an overhang for easy lifting.
- Microwave the chips and condensed milk in 30-second bursts, stirring each time, until smooth.
- Stir in the vanilla and salt.
- Fold in the cranberries and half the pistachios.
- Spread the fudge into the pan and top with the remaining pistachios.
- Chill for 2 hours, then cut into 36 squares.
Why You’ll Love It
The tart cranberries cut through the sweetness, which keeps this fudge from tasting like straight sugar. Skip the cheap white chocolate, because it seizes into a grainy lump. Trust me, I’ve cried over that pot. 🙂
6. Gingerbread Cheesecake Dip
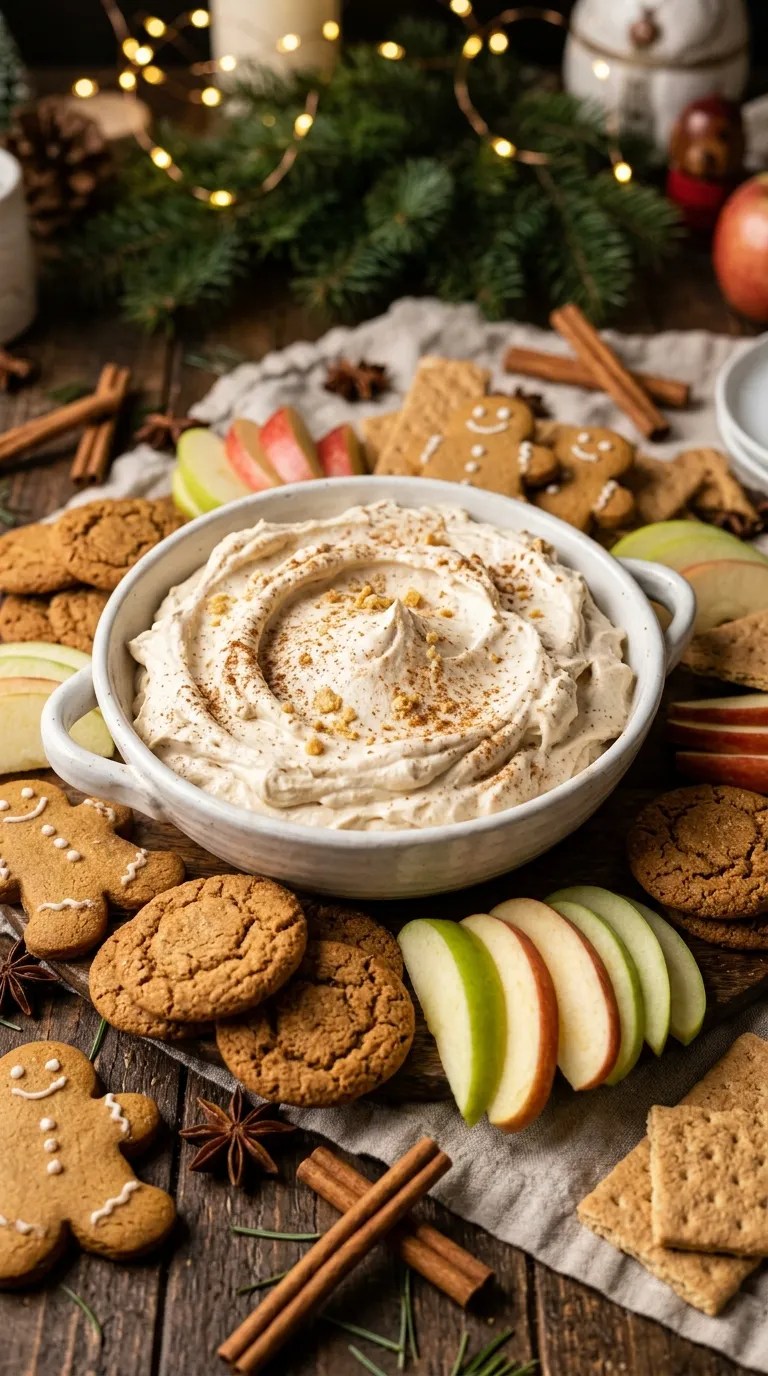
All the gingerbread flavor, none of the house-building drama. Set out a bowl and watch it vanish.
Ingredients
- 8 oz cream cheese, softened
- ½ cup powdered sugar
- 2 tbsp molasses
- 1½ cups whipped topping
- 1 tsp ground ginger
- 1 tsp cinnamon
- ¼ tsp ground cloves
- Gingersnaps and graham crackers for dipping
Step-by-Step Instructions
- Beat the cream cheese, sugar, and molasses until smooth.
- Mix in the ginger, cinnamon, and cloves.
- Fold in the whipped topping gently so the dip stays fluffy.
- Spoon it into a pretty bowl.
- Chill for 1 hour.
- Surround the bowl with gingersnaps and graham crackers.
Why You’ll Love It
The molasses gives it that deep, spicy bite. I serve this at parties because guests dip with their hands, so nobody needs a plate. It also tastes great on apple slices, if you want to pretend you’re being healthy.
7. Cornflake Christmas Wreaths

These green, gooey wreaths take me straight back to my grandmother’s kitchen. They also take about 10 minutes to make.
Ingredients
- 4 tbsp butter
- 10 oz marshmallows (about 40 regular)
- 4 cups cornflakes
- ½ tsp vanilla
- Green gel food coloring
- Red cinnamon candies or red M&M’s
Step-by-Step Instructions
- Melt the butter in a large pot over low heat.
- Stir in the marshmallows until smooth.
- Add the vanilla and green coloring, then stir until the color turns bright and even.
- Fold in the cornflakes quickly.
- Butter your fingers, then shape the mixture into 12 small wreaths on parchment paper.
- Press the red candies on top like berries.
- Let them set for 20 minutes.
Why You’ll Love It
Butter your fingers first, or the marshmallow glues itself to your hands and your dignity. Use gel coloring, not liquid, for a deeper green. These keep for days in an airtight container, but they rarely last that long.
8. Hot Cocoa Pudding Parfaits
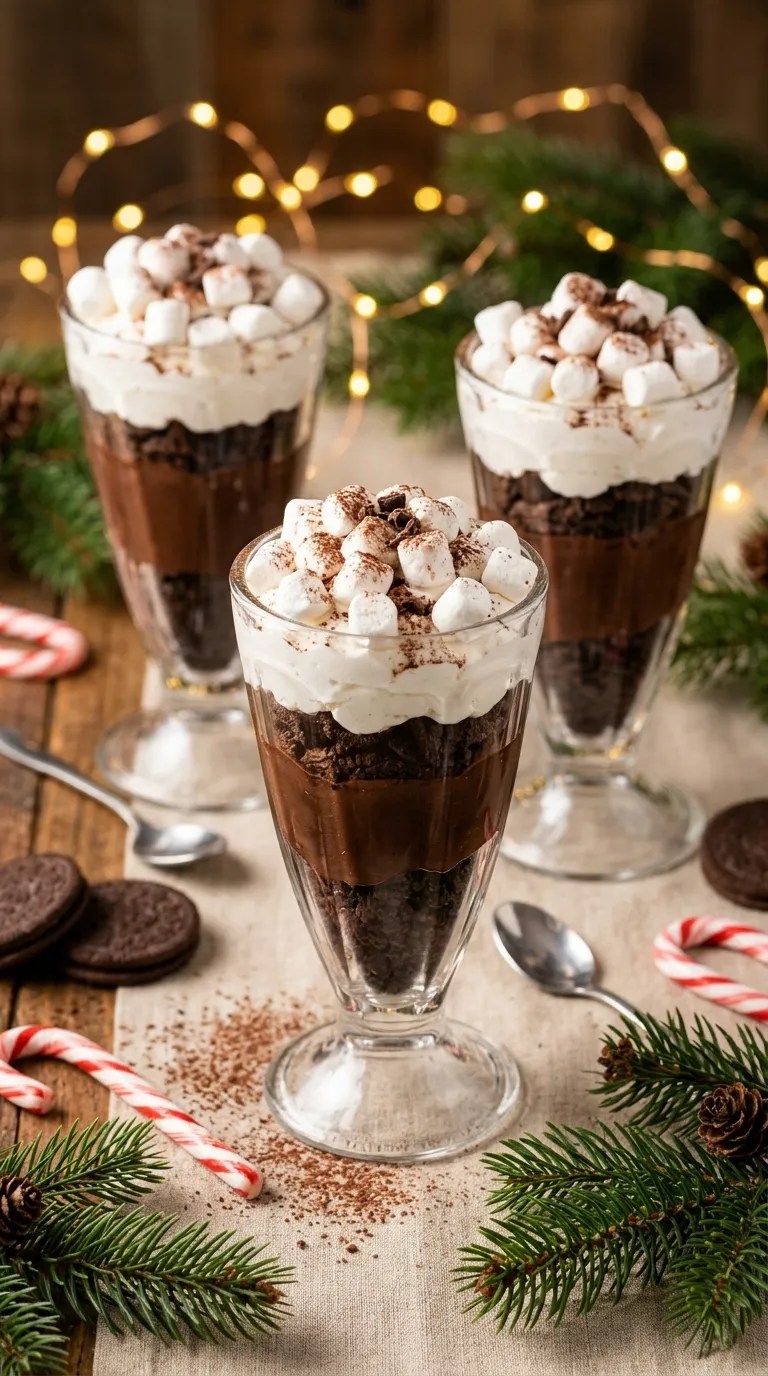
Think of a mug of hot cocoa, but you eat it with a spoon and nobody burns their tongue. You can finish these in 15 minutes flat.
Ingredients
- 1 box (3.9 oz) instant chocolate pudding mix
- 2 tbsp hot cocoa mix
- 2 cups cold milk
- 1 cup whipped topping
- 1 cup crushed chocolate cookies
- 1 cup mini marshmallows
Step-by-Step Instructions
- Whisk the pudding mix, cocoa mix, and milk for 2 minutes.
- Let the pudding thicken for 5 minutes.
- Spoon cookie crumbs into the bottom of 6 glasses.
- Add a layer of pudding, then a layer of whipped topping.
- Repeat the layers once more.
- Top with mini marshmallows and chill for 30 minutes.
Why You’ll Love It
The hot cocoa mix makes the pudding taste homemade, which feels like cheating in the best way. Kids can assemble these themselves, so they work great as a distraction while you finish dinner. IMO, they look gorgeous in wine glasses.
9. Peanut Butter Buckeyes
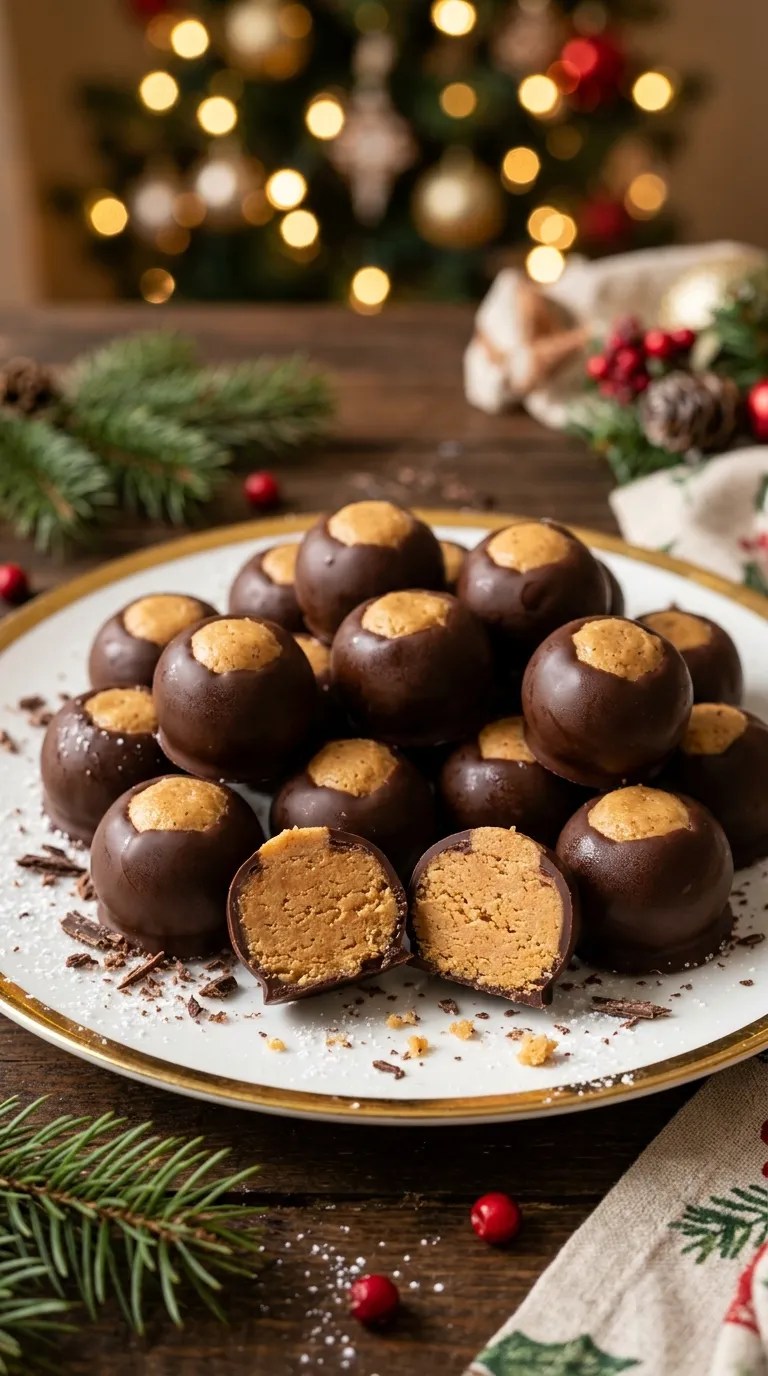
These peanut butter balls dipped in chocolate look like the nuts they’re named after. They taste like a very good Reese’s cup.
Ingredients
- 1½ cups creamy peanut butter (regular, not natural)
- ½ cup butter, softened
- 3 cups powdered sugar
- 12 oz semisweet chocolate chips
- 1 tsp vanilla
- 1 tbsp coconut oil or shortening
Step-by-Step Instructions
- Beat the peanut butter, butter, and vanilla until creamy.
- Mix in the powdered sugar until a thick dough forms.
- Roll the dough into 1-inch balls and freeze for 20 minutes.
- Melt the chocolate chips with the coconut oil.
- Dip each ball, leaving a small circle of peanut butter showing on top.
- Chill for 30 minutes until firm.
Why You’ll Love It
I tried natural peanut butter once, and the dough turned into an oily puddle. Stick with the regular jar. Leaving the peanut butter circle exposed gives you that classic buckeye look, and it’s weirdly satisfying.
10. Strawberry Santa Hats

These are the lightest dessert on the list, which helps after three servings of mashed potatoes. They also take 15 minutes, and everyone will think you’re a genius.
Ingredients
- 24 large strawberries
- 8 oz cream cheese, softened
- ⅓ cup powdered sugar
- 1 tsp vanilla
Step-by-Step Instructions
- Rinse the strawberries and dry them completely.
- Slice off the green tops so each berry stands flat.
- Beat the cream cheese, sugar, and vanilla until fluffy.
- Spoon the filling into a piping bag with a star tip.
- Pipe a band of filling around the bottom third of each berry.
- Add a small dot at the tip for the pom-pom.
- Chill until you serve them.
Why You’ll Love It
Dry berries hold the filling, and wet ones slide right off. I learned that on a very sad Christmas Eve. Serve these cold, and they look adorable on any dessert table.
Final thought
No oven, no problem. Every one of these desserts works in a fridge, a freezer, or a microwave, and most taste better after a night of chilling. Which one will you try first?
My picks for the busiest holiday? Make the peppermint bark and the Oreo truffles this weekend, then fix the icebox cake on Christmas Eve. Your guests will rave, your oven will rest, and your sanity will survive. Merry Christmas, and save me a truffle.
Leave a Reply
You must be logged in to post a comment.