


By your fellow foodie, powered by too much peppermint
Picture this: your Christmas party is in full swing, someone’s uncle is explaining cryptocurrency, and your guests are balancing plates, drinks, and wildly mixed feelings about small talk. Nobody wants a fork-and-knife dessert in that situation. They want Christmas finger desserts they can pop in their mouths with one hand.
That’s exactly what you’ll find here: 11 easy party bites that look fancy, taste incredible, and need zero pastry-school skills. Some take 10 minutes. Some bake while you wrap presents. All of them survive a crowded buffet table.
Grab your coffee (or that glass of wine 😉) and pick your favorites. Who says you can’t have it all?
1. Peppermint Bark Squares
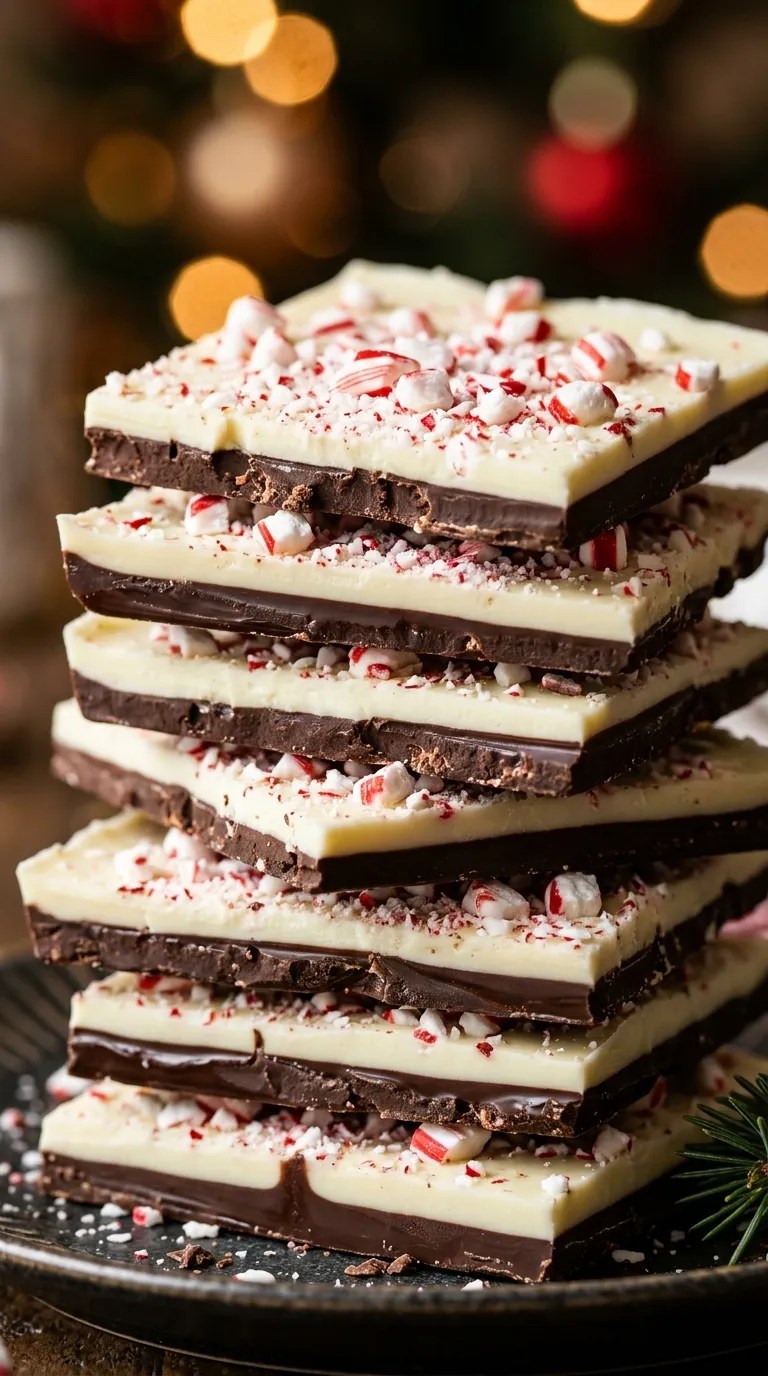
This one looks like you spent hours on it. You didn’t. Two layers of chocolate, one crushed candy cane, zero baking.
Ingredients
- 12 oz semi-sweet chocolate, chopped
- 12 oz white chocolate, chopped
- 1 tsp peppermint extract
- 4 candy canes, crushed
Step-by-Step Instructions
- Line a 9×13 pan with parchment paper.
- Melt the semi-sweet chocolate in 30-second microwave bursts, stirring between each one.
- Spread it into the pan and chill for 15 minutes.
- Melt the white chocolate, stir in the peppermint extract, and pour it over the dark layer.
- Sprinkle the crushed candy canes on top right away, before the chocolate sets.
- Chill for 30 minutes, then cut into small squares.
Why You’ll Love It
The snap, the cool mint, the sweet-meets-bittersweet balance? Chef’s kiss. I once used a cheap white chocolate that seized into a clumpy mess, so buy the good stuff here. Your future self will thank you.
Pinterest image prompt (9:16): Vertical 9:16 extreme close-up of stacked peppermint bark squares, glossy dark chocolate under white chocolate, crushed red-and-white candy cane shards, food fills 90% of the frame, shallow depth of field, warm festive bokeh lights, soft natural window light, hyper-realistic food photography.
2. Oreo Truffle Snowballs
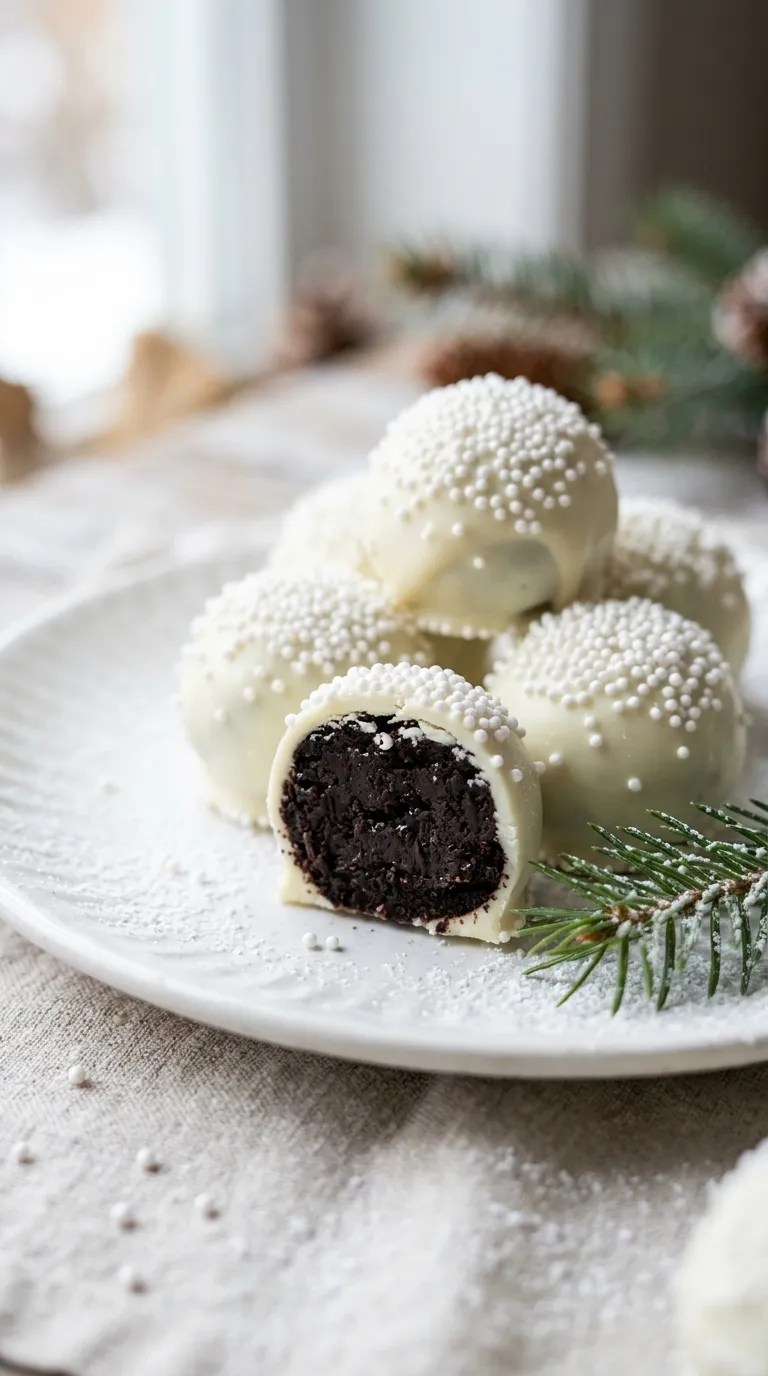
Three ingredients make these. Yes, three. They taste like a truffle that went to finishing school.
Ingredients
- 1 package (36) Oreos
- 8 oz cream cheese, softened
- 12 oz white chocolate, melted
- White nonpareils for decoration
Step-by-Step Instructions
- Crush the Oreos into fine crumbs in a food processor.
- Mix the crumbs with the cream cheese until a thick dough forms.
- Roll the dough into 1-inch balls and freeze them for 15 minutes.
- Dip each ball in melted white chocolate and tap off the excess.
- Sprinkle with nonpareils before the coating sets.
- Chill until firm.
Why You’ll Love It
These taste rich, creamy, and a little dangerous. FYI, wear an apron when you crush those cookies, unless you enjoy chocolate dust on your clothes. Guests always ask for the recipe, and the answer always makes them laugh.
Pinterest image prompt (9:16): Vertical 9:16 macro close-up of white chocolate-coated Oreo truffles rolled in snowy nonpareils, one bitten to show the dark creamy center, food fills 90% of the frame, evergreen sprig edge detail, soft snowy-white backdrop, glossy highlights, hyper-realistic food photography.
3. Rudolph Brownie Bites

Brownies plus tiny reindeer faces? Okay, that’s cheating in the best way.
Ingredients
- 1 box brownie mix (plus the oil, eggs, and water it calls for)
- 24 mini pretzel twists
- 48 candy eyes
- 24 red M&Ms
- 1/2 cup chocolate frosting
Step-by-Step Instructions
- Bake the brownies in a mini muffin pan according to the box directions.
- Cool completely. Warm brownies melt everything you add.
- Dab a little frosting on top of each brownie.
- Press two candy eyes and one red M&M nose into the frosting.
- Tuck a pretzel twist on each side as antlers.
Why You’ll Love It
Store-bought mix works perfectly here. Nobody awards bonus points for scratch brownies when a reindeer is staring at them. Kids will line up for these, and IMO the adults will too.
Pinterest image prompt (9:16): Vertical 9:16 close-up of a cluster of fudgy mini brownie bites decorated as reindeer with pretzel antlers, candy eyes, and red candy noses, food fills 85% of the frame, rich dark chocolate texture, warm red-and-green holiday blur behind, hyper-realistic food photography.
4. Classic Snowball Cookies
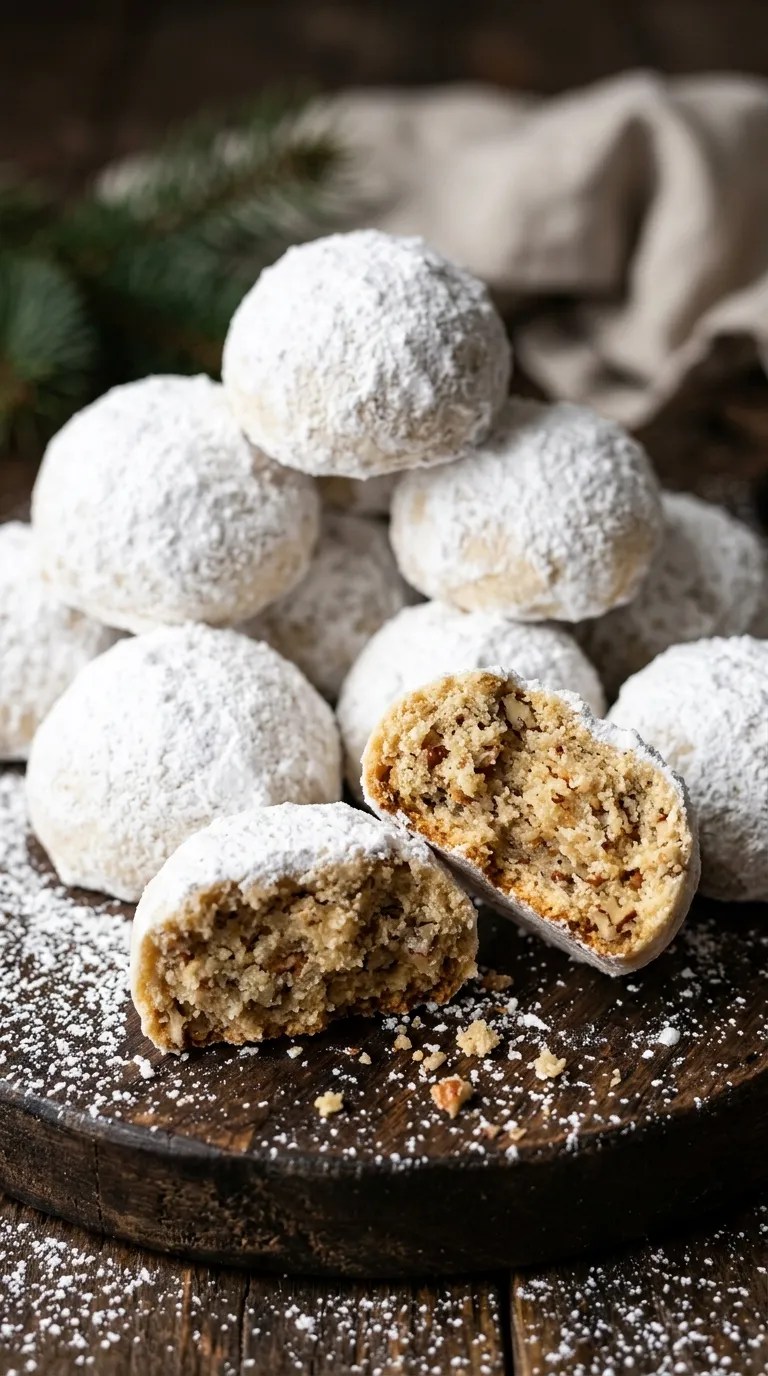
These buttery, nutty cookies melt in your mouth. Powdered sugar twice is the secret to the snow-white look.
Ingredients
- 1 cup butter, softened
- 1/2 cup powdered sugar, plus extra for rolling
- 1 tsp vanilla extract
- 2 1/4 cups all-purpose flour
- 1 cup finely chopped pecans
- 1/4 tsp salt
Step-by-Step Instructions
- Preheat the oven to 350°F.
- Beat the butter, powdered sugar, and vanilla until fluffy.
- Stir in the flour, salt, and pecans.
- Roll the dough into 1-inch balls and place them on a baking sheet.
- Bake for 12 minutes until the bottoms turn golden.
- Roll in powdered sugar while still warm, cool, then roll again.
Why You’ll Love It
The double roll is non-negotiable. I skipped it once and ended up with sad, patchy cookies :/ Do it right and you get a dessert that tastes like a tiny, edible snowdrift.
Pinterest image prompt (9:16): Vertical 9:16 extreme close-up of a pile of powdered sugar-dusted snowball cookies with a few crumbs of pecan visible, food fills 90% of the frame, dusting of sugar on a dark wooden surface, soft winter light, hyper-realistic food photography.
5. Strawberry Santa Hats

Someone, somewhere, looked at a strawberry and saw Santa’s hat. Genius. Here’s how to make it work.
Ingredients
- 24 large strawberries, hulled
- 1 cup heavy cream
- 2 tbsp powdered sugar
- 1 tsp vanilla extract
- Mini marshmallows (24)
Step-by-Step Instructions
- Slice a small piece off each strawberry’s top so it stands flat.
- Whip the cream, powdered sugar, and vanilla until stiff peaks form.
- Spoon the cream into a piping bag.
- Pipe a small dollop on each strawberry.
- Top with a mini marshmallow as the pom-pom.
Why You’ll Love It
They’re fresh, light, and the perfect break from all the chocolate. Assemble them just before serving, because wet strawberries and cream don’t stay friends for long.
Pinterest image prompt (9:16): Vertical 9:16 tight macro close-up of ripe red strawberries topped with whipped cream and a mini marshmallow like Santa hats, food fills 90% of the frame, glistening juice, soft pine-green blurred background, hyper-realistic food photography.
6. Mini Gingerbread Cheesecake Cups
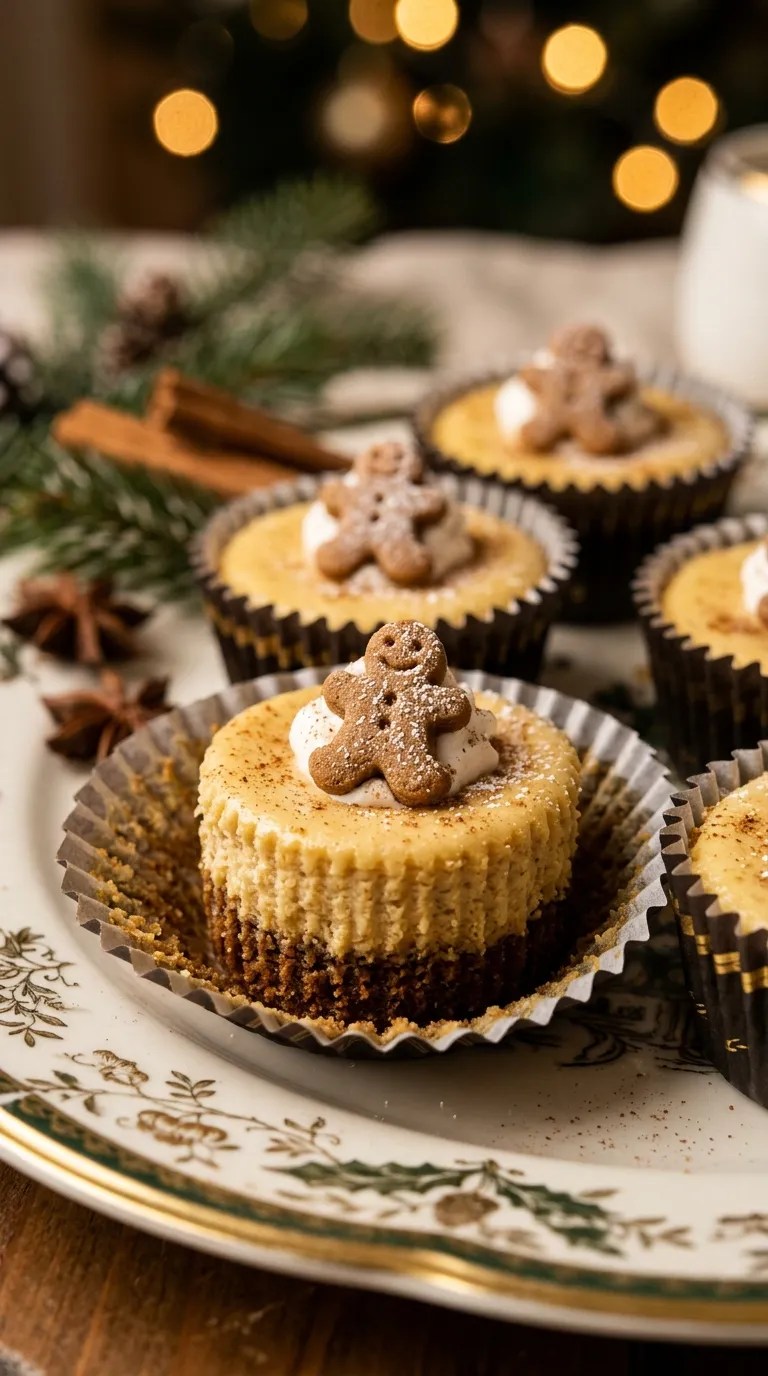
Cheesecake plus gingerbread? That’s holiday magic in a cup. No water bath, no stress.
Ingredients
- 1 1/2 cups gingerbread cookie crumbs
- 5 tbsp melted butter
- 16 oz cream cheese, softened
- 1/2 cup sugar
- 2 eggs
- 1 tsp ground ginger
- 1/2 tsp cinnamon
- 2 tbsp molasses
Step-by-Step Instructions
- Preheat the oven to 325°F and line a mini muffin pan with liners.
- Mix the cookie crumbs with the melted butter and press into each cup.
- Beat the cream cheese and sugar until smooth.
- Add the eggs, ginger, cinnamon, and molasses, and mix until combined.
- Spoon the filling over the crusts.
- Bake for 15 minutes, cool, then chill for 2 hours.
Why You’ll Love It
Some people skip the molasses. I think that’s a mistake, because molasses adds the deep, spicy flavor that makes these taste like December. Top each one with a tiny gingerbread man if you want to show off.
Pinterest image prompt (9:16): Vertical 9:16 close-up of mini gingerbread cheesecake cups in paper liners, creamy filling and spiced cookie crust visible, tiny gingerbread cookie on top, food fills 85% of the frame, warm amber lighting, hyper-realistic food photography.
7. Rice Krispie Christmas Wreaths

These are chewy, sticky, and unbelievably cute. Green food coloring is the only trick you need.
Ingredients
- 3 tbsp butter
- 10 oz mini marshmallows
- Green food coloring
- 6 cups Rice Krispies cereal
- Red cinnamon candies for berries
Step-by-Step Instructions
- Melt the butter in a large pot over low heat.
- Stir in the marshmallows until smooth.
- Add a few drops of green food coloring.
- Fold in the cereal until fully coated.
- Grease your hands, shape the mixture into small rings on parchment, and press in the red candies.
- Let them set for 20 minutes.
Why You’ll Love It
You’ll finish these in half an hour, and kids can help (which means half of them will disappear before serving). Who can resist a sticky, wreath-shaped snack?
Pinterest image prompt (9:16): Vertical 9:16 close-up of green Rice Krispie treat wreaths decorated with red cinnamon candy berries, gooey marshmallow texture visible, food fills 90% of the frame, festive red ribbon accent, soft bokeh Christmas lights, hyper-realistic food photography.
8. Hot Cocoa Cookie Cups

These taste like a mug of hot chocolate wearing a cookie costume. Marshmallow on top is mandatory.
Ingredients
- 1 package sugar cookie dough (or homemade)
- 1/2 cup cocoa powder
- 1 cup chocolate chips
- 1/2 cup heavy cream
- Mini marshmallows
Step-by-Step Instructions
- Knead the cocoa powder into the cookie dough.
- Press the dough into a greased mini muffin pan, forming little cups.
- Bake at 350°F for 10 minutes, then press the centers down again.
- Heat the cream, pour it over the chocolate chips, and stir into a ganache.
- Fill each cup with ganache.
- Top with marshmallows and broil for 30 seconds until toasty.
Why You’ll Love It
Watch those marshmallows under the broiler like a hawk, because they go from golden to charcoal fast. I learned that the smoky way. The payoff is a bite that tastes like winter in a cookie.
Pinterest image prompt (9:16): Vertical 9:16 macro close-up of chocolate cookie cups filled with glossy ganache and toasted marshmallows, golden-brown charred edges, food fills 90% of the frame, cocoa powder dusting, cozy warm lighting, hyper-realistic food photography.
9. Cranberry Pistachio Shortbread
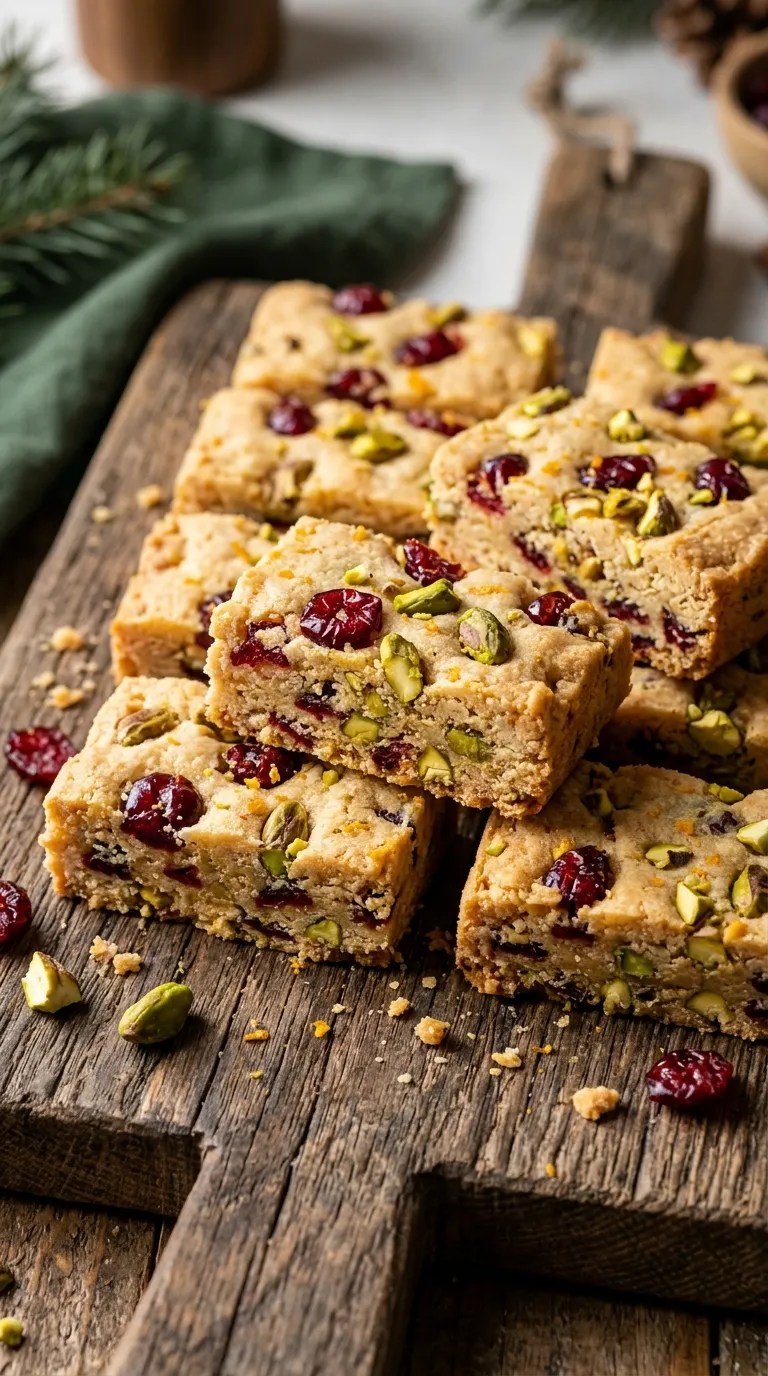
Red, green, buttery, and elegant. This is the dessert that makes people think you have your life together.
Ingredients
- 1 cup butter, softened
- 1/2 cup powdered sugar
- 2 cups all-purpose flour
- 1/2 cup dried cranberries, chopped
- 1/2 cup shelled pistachios, chopped
- 1/2 tsp orange zest
Step-by-Step Instructions
- Preheat the oven to 325°F.
- Cream the butter and powdered sugar until light.
- Add the flour, orange zest, cranberries, and pistachios, and mix until a dough forms.
- Press the dough into a lined 8×8 pan.
- Bake for 25 minutes until the edges turn pale gold.
- Cut into small bars while warm, then cool.
Why You’ll Love It
The orange zest brightens everything. Skip it and these taste flat, IMO. They also keep for days, so you can bake them early and panic less on party day.
Pinterest image prompt (9:16): Vertical 9:16 close-up of golden buttery shortbread bars studded with ruby cranberries and green pistachios, crumbly texture, food fills 90% of the frame, rustic wooden board edge, soft side light, hyper-realistic food photography.
10. Mini Eggnog Cream Puffs

Fancy name, shockingly easy method. Pastry dough is basically just flour, water, and patience.
Ingredients
- 1/2 cup water
- 4 tbsp butter
- 1/2 cup flour
- 2 eggs
- 1 cup heavy cream
- 1/4 cup eggnog
- 2 tbsp powdered sugar
- Pinch of nutmeg
Step-by-Step Instructions
- Preheat the oven to 400°F.
- Boil the water and butter, then stir in the flour until a smooth ball forms.
- Cool for 5 minutes, then beat in the eggs one at a time.
- Pipe small mounds onto a lined baking sheet.
- Bake for 20 minutes until puffed and golden.
- Whip the cream with eggnog and powdered sugar, then fill the cooled puffs.
- Dust with nutmeg.
Why You’ll Love It
Don’t open the oven door early. I did once, and my puffs collapsed like my dignity at a family gathering. Leave them alone and you’ll get crisp shells with a creamy, boozy-tasting filling (without actual booze, unless you add some).
Pinterest image prompt (9:16): Vertical 9:16 extreme close-up of mini cream puffs filled with eggnog whipped cream, a puff split open to show the fluffy filling, nutmeg dusting, food fills 90% of the frame, soft cream-and-gold tones, hyper-realistic food photography.
11. Rolo Pretzel Bites

Salty, sweet, gooey, and done in 10 minutes. If you only make one thing on this list, make these.
Ingredients
- 30 mini pretzel twists
- 30 Rolo candies, unwrapped
- 30 red and green M&Ms
Step-by-Step Instructions
- Preheat the oven to 250°F.
- Arrange the pretzels on a parchment-lined baking sheet.
- Place one Rolo on top of each pretzel.
- Bake for 4 to 5 minutes until the caramel looks soft and shiny.
- Press one M&M into each Rolo right away.
- Cool for 10 minutes so the chocolate sets.
Why You’ll Love It
The salty crunch against the melted caramel and chocolate? It works every single time. Guests will grab five at once and pretend they didn’t. Honestly, I respect it. 🙂
Pinterest image prompt (9:16): Vertical 9:16 macro close-up of mini pretzel bites topped with melted Rolo candy and red and green M&Ms, gooey caramel stretching, food fills 90% of the frame, glossy shine, festive bokeh lights, hyper-realistic food photography.
Final thought
There you have it: 11 Christmas finger desserts that look impressive, taste amazing, and keep your hands (and sanity) free. Pick a mix of chocolate, fruity, and crunchy bites, and your easy party bites table will steal the show.
Make the no-bake ones the day before. Bake the cookies and shortbread a few days early. Save the cream puffs and strawberries for the last hour.
Now go forth and conquer that dessert table. Santa’s watching, and he definitely wants seconds.
Leave a Reply
You must be logged in to post a comment.