

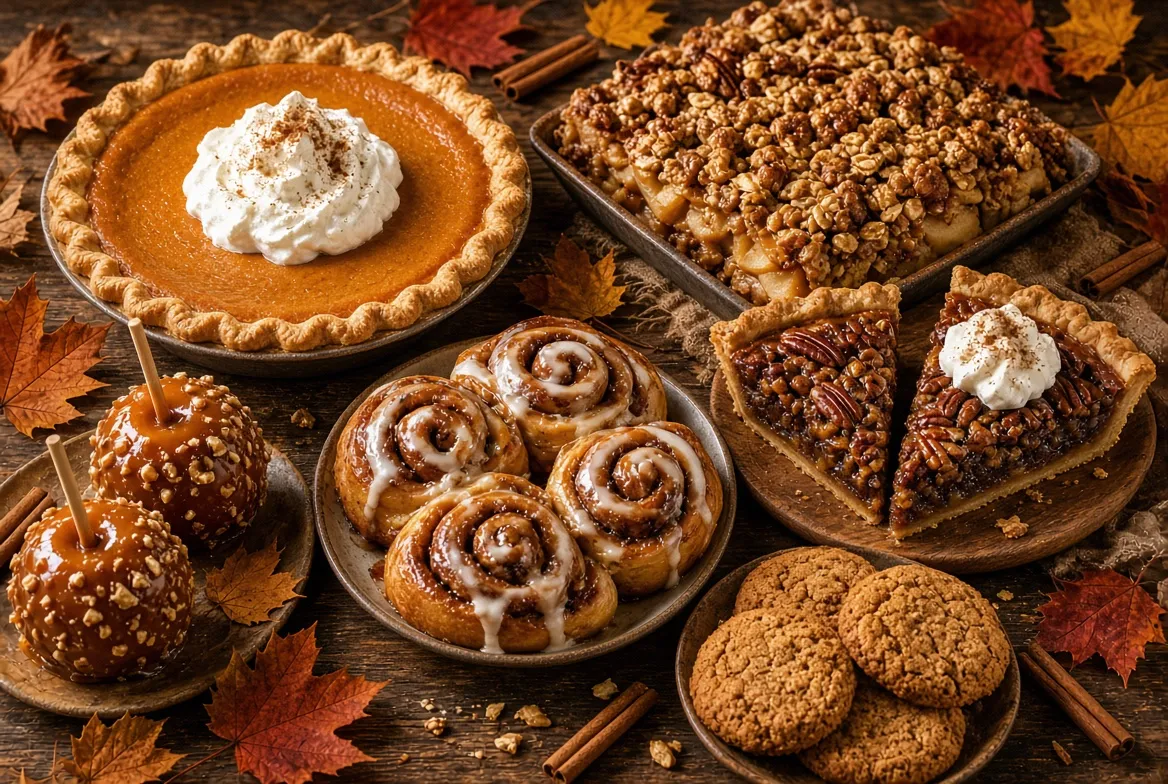
Fall hits different, doesn’t it? The air gets crisp, the sweaters come out, and suddenly every grocery run turns into a pumpkin-spice scavenger hunt. You’re craving something warm, sticky, spiced, and just a little over-the-top. Store-bought cookies won’t cut it. Neither will that sad slice of pie from the bakery that somehow tastes like cardboard and regret.
You need real fall desserts—ones that fill the house with cinnamon and butter, the kind that make people linger at the table asking for seconds. I’ve tested these five until my kitchen looked like a crime scene of flour and caramel drips. They’re approachable, packed with seasonal flavor, and honest-to-goodness delicious. No fancy pastry degree required. Just you, a few pantry staples, and maybe a glass of wine while you bake. Ready? Let’s get sticky.
1. Salted Caramel Apple Crisp That Makes You Forget Pie Exists

Forget the fussy lattice crust. This crisp delivers all the gooey apple goodness with a buttery oat topping that stays crunchy even the next day. I once made this for a potluck and watched three grown adults fight over the last scoop. Worth every sticky finger.
Ingredients
- 6 medium Honeycrisp or Granny Smith apples, peeled and sliced thick
- ½ cup packed brown sugar
- 1 teaspoon cinnamon
- ¼ teaspoon nutmeg
- 1 tablespoon lemon juice
- 1 cup old-fashioned oats
- ¾ cup all-purpose flour
- ½ cup cold unsalted butter, cubed
- ⅓ cup granulated sugar
- Pinch of flaky sea salt
- ½ cup store-bought or homemade salted caramel sauce (plus extra for drizzling)
Step-by-Step Instructions
- Preheat your oven to 350°F and grab a 9×9 baking dish. No need to grease it—the apples will take care of the sticky situation later.
- Toss the sliced apples with brown sugar, cinnamon, nutmeg, and lemon juice right in the dish. The lemon keeps everything bright so the apples don’t turn into mush.
- In a separate bowl, mix the oats, flour, and granulated sugar. Work in the cold butter with your fingers until the mixture looks like damp sand with some bigger clumps. Those clumps become the best crunchy bits.
- Scatter the oat topping evenly over the apples. Don’t pack it down—leave it loose so it crisps up.
- Bake for 40–45 minutes until the topping turns golden and the apples bubble around the edges. Pull it out and immediately drizzle half the caramel over the top. Sprinkle with flaky salt.
- Let it cool for at least 15 minutes. The wait is pure torture, but the caramel needs time to settle or you’ll burn your tongue. Serve warm with the rest of the caramel and a scoop of vanilla ice cream if you’re feeling extra.
Why You’ll Love It
This crisp stays crunchy on top and saucy underneath for days. The salted caramel cuts through the sweetness so it never feels one-note. IMO, it’s better than traditional apple pie because you skip the crust drama and still get all the cozy vibes. Make it once, and you’ll start buying extra apples just for this.
2. No-Bake Pumpkin Cheesecake Bars That Taste Like Fall in Every Bite

Who has time to water-bath a cheesecake when the leaves are changing? These bars set up in the fridge and deliver that silky pumpkin spice flavor without turning on the oven. I brought them to a football watch party last year and the plate disappeared before halftime. Zero leftovers. That’s how you know.
Ingredients
- 2 cups graham cracker crumbs
- ½ cup melted unsalted butter
- 2 tablespoons granulated sugar
- 16 oz cream cheese, softened
- 1 cup pumpkin puree (not pie filling)
- ¾ cup powdered sugar
- 1 teaspoon vanilla extract
- 1½ teaspoons pumpkin pie spice
- 1 cup heavy whipping cream
- Pinch of salt
- Optional: crushed pecans or extra graham crumbs for topping
Step-by-Step Instructions
- Line an 8×8 pan with parchment paper so you can lift the bars out later. Mix graham crumbs, melted butter, and sugar until everything looks like wet sand. Press the mixture firmly into the pan. Stick it in the fridge while you make the filling.
- Beat the softened cream cheese until completely smooth—no lumps allowed. Add pumpkin puree, powdered sugar, vanilla, pumpkin pie spice, and salt. Mix until the color turns uniform and gorgeous.
- In a separate bowl, whip the heavy cream to stiff peaks. Fold it gently into the pumpkin mixture. Keep it light so the bars stay fluffy instead of dense.
- Spread the filling over the crust and smooth the top. Cover and refrigerate at least 4 hours, preferably overnight. Patience pays off here.
- Lift the whole slab out using the parchment, slice into bars, and top with crushed pecans if you want a little crunch. Keep them cold until serving.
Why You’ll Love It
These bars taste like the best pumpkin spice latte crossed with cheesecake, minus the caffeine crash. They travel well, look fancy on a platter, and require almost zero active time. You get pure fall flavor without heating the kitchen—perfect for those random warm autumn days that still sneak in.
3. Maple Pecan Pie Bars With a Shortbread Crust You’ll Dream About

Traditional pecan pie is glorious but sticky and high-maintenance. These bars give you the same gooey maple-pecan center on a buttery shortbread base that holds its shape. I once swapped the maple for honey and instantly regretted it. Stick with the real stuff.
Ingredients
- 1½ cups all-purpose flour
- ½ cup powdered sugar
- ¾ cup cold unsalted butter, cubed
- ¼ teaspoon salt
- 3 large eggs
- ¾ cup pure maple syrup
- ½ cup packed brown sugar
- 2 tablespoons melted butter
- 1 teaspoon vanilla extract
- 2 cups pecan halves, roughly chopped
- Pinch of flaky salt for finishing
Step-by-Step Instructions
- Preheat oven to 350°F and line a 9×13 pan with parchment. Mix flour, powdered sugar, and salt. Cut in the cold butter until the mixture resembles coarse crumbs. Press it evenly into the pan and bake for 15–18 minutes until just starting to color.
- While the crust bakes, whisk eggs, maple syrup, brown sugar, melted butter, and vanilla until smooth. Stir in the chopped pecans.
- Pour the filling over the hot crust the second it comes out of the oven. The residual heat helps set the bottom.
- Bake another 25–30 minutes until the center is mostly set but still has a slight jiggle. It firms up as it cools.
- Sprinkle with flaky salt while warm. Cool completely in the pan before slicing into bars. Store covered at room temperature for up to three days—if they last that long.
Why You’ll Love It
You get all the sticky-sweet pecan pie flavor in portable form. The shortbread crust stays crisp under the filling, and the maple adds depth that regular corn syrup just can’t match. These disappear at parties faster than you can say “pass the plate.” Make a double batch. Trust me.
4. Chai-Spiced Pear Galette That Looks Fancy But Takes Zero Skill

A free-form galette is the ultimate low-pressure dessert. No pie plate, no crimping anxiety—just fold the edges and call it rustic. The chai spices make the pears taste like they belong in a sweater. I once used canned pears in a pinch and it still worked, though fresh is always better.
Ingredients
- 1 sheet store-bought pie dough (or homemade if you’re ambitious)
- 4 ripe but firm Bartlett or Anjou pears, sliced thin
- 3 tablespoons brown sugar
- 1 teaspoon ground cinnamon
- ½ teaspoon ground ginger
- ¼ teaspoon ground cardamom
- ¼ teaspoon ground cloves
- 1 tablespoon lemon juice
- 1 tablespoon cornstarch
- 1 egg, beaten (for egg wash)
- 1 tablespoon turbinado sugar for sprinkling
- Optional: vanilla ice cream or whipped cream for serving
Step-by-Step Instructions
- Preheat oven to 400°F and line a baking sheet with parchment. Unroll the pie dough onto the sheet.
- Toss the pear slices with brown sugar, all the spices, lemon juice, and cornstarch. The cornstarch keeps the juices from turning the crust soggy.
- Pile the pears in the center of the dough, leaving a 2-inch border all around. Fold the edges up and over the fruit, pleating as you go. It doesn’t have to look perfect—rustic is the whole point.
- Brush the crust with beaten egg and sprinkle with turbinado sugar. That sugar gives the edges a gorgeous sparkle and crunch.
- Bake 35–40 minutes until the crust is deep golden and the pears look soft and bubbly. Cool for 10 minutes before slicing. Serve warm with ice cream melting into the juices.
Why You’ll Love It
This galette delivers bakery-level looks with almost no effort. The chai spices turn regular pears into something special, and the free-form shape means zero stress. It smells incredible while baking—your neighbors might “accidentally” drop by. One galette feeds four to six people, or two very determined ones.
5. Dark Chocolate Pumpkin Brownies With a Crackly Top

Yes, pumpkin and chocolate belong together. These brownies stay fudgy in the middle with that shiny crackly top everyone fights over. I tested three batches before nailing the ratio—too much pumpkin and they turn cakey, too little and you miss the fall flavor. This version hits the sweet spot.
Ingredients
- ½ cup unsalted butter
- 4 oz dark chocolate (70%), chopped
- ¾ cup granulated sugar
- ½ cup packed brown sugar
- 2 large eggs
- 1 teaspoon vanilla extract
- ½ cup pumpkin puree
- ¾ cup all-purpose flour
- ¼ cup unsweetened cocoa powder
- ½ teaspoon baking powder
- ½ teaspoon cinnamon
- ¼ teaspoon salt
- Optional: flaky salt or chocolate chips for the top
Step-by-Step Instructions
- Preheat oven to 350°F and line an 8×8 pan with parchment. Melt butter and chopped dark chocolate together in a microwave or double boiler until smooth. Let it cool slightly.
- Whisk in both sugars, then the eggs one at a time. Stir in vanilla and pumpkin puree until fully combined.
- Sift flour, cocoa, baking powder, cinnamon, and salt over the wet ingredients. Fold gently until just combined—overmixing makes tough brownies.
- Pour the batter into the pan and smooth the top. Sprinkle with extra chocolate chips or a pinch of flaky salt if you want.
- Bake 28–32 minutes until a toothpick comes out with a few moist crumbs. Don’t wait for it to come out clean or you’ll lose the fudgy center.
- Cool completely in the pan before slicing. These taste even better the next day once the flavors settle.
Why You’ll Love It
You get rich chocolate intensity with just enough pumpkin to keep things seasonal. The crackly top is pure bakery magic, and the texture stays dense and fudgy for days. They’re the perfect bridge between summer chocolate desserts and full-on fall baking. One batch never lasts more than 48 hours in my house. Fair warning.
Fall baking doesn’t need to feel complicated or precious. These five desserts deliver big flavor, cozy smells, and that satisfying “I made this” feeling without demanding your entire Saturday. The apple crisp and pecan bars travel like champs. The cheesecake bars and brownies keep beautifully in the fridge. The galette looks impressive with almost no effort.
Leave a Reply
You must be logged in to post a comment.