

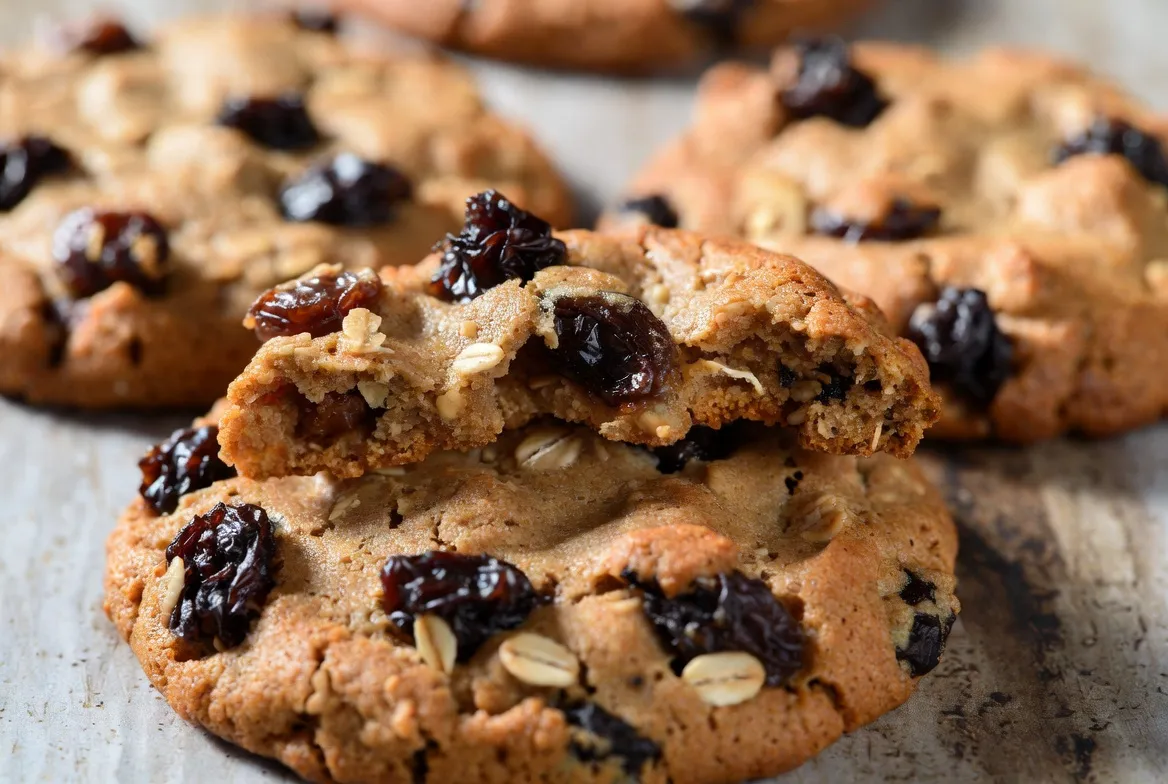
I still remember the exact afternoon. It was raining hard outside, the kind of gray day that makes you crave something warm and sweet. I walked into that little corner bakery near my old apartment and bought three oatmeal raisin cookies because they looked so thick and perfect under the glass. One bite and I was ruined—soft edges, chewy middle, plump raisins that actually tasted like fruit instead of dried cardboard. I went back the next week. And the week after.
After the third visit, I decided I was done handing over money for something I should be able to make at home. So I started testing. First batch came out flat and crispy. The second batch was dry. Third batch tasted like cinnamon cardboard. I almost gave up. Then one late night, after the kids were in bed, I tried something different with the butter and the sugars and let the dough rest longer than any recipe told me to. The next morning those cookies came out of the oven looking exactly like the bakery ones. Thick. Soft. Chewy for days. My husband ate four before they even cooled.
That was six years ago. I’ve made this exact recipe more times than I can count — for bake sales, for teacher gifts, for random Tuesday nights when someone needs a little comfort. These are the bakery-style oatmeal raisin cookies that finally made me stop buying them. And today I’m sharing every little detail so you can get them right the first time.
Why You’ll Love This Recipe

- They stay soft and chewy for three full days on the counter (if they last that long).
- You only need one bowl and a hand mixer or stand mixer — no fancy equipment required.
- The ingredients are pure pantry staples. No trips to specialty stores.
- They freeze like a dream, both as dough balls and as baked cookies.
- Every single person who tries them asks for the recipe. Every. Single. Time.
Ingredients List

Here’s everything you need for about 24 thick bakery-style cookies. I always measure the flour with the scoop-and-level method so nothing gets dense.
Dry ingredients
- 1¾ cups (220 g) all-purpose flour
- 1 teaspoon baking soda
- 1 teaspoon ground cinnamon
- ½ teaspoon fine sea salt
- ¼ teaspoon ground nutmeg (optional but so good)
Wet ingredients
- 1 cup (226 g) unsalted butter, softened but still cool
- 1 cup (200 g) packed dark brown sugar
- ½ cup (100 g) granulated sugar
- 2 large eggs, room temperature
- 2 teaspoons pure vanilla extract
- 1 tablespoon molasses (this is my quiet secret for that deep bakery flavor)
The good stuff
- 3 cups (270 g) old-fashioned rolled oats (not quick oats)
- 1½ cups (240 g) raisins (I prefer a mix of regular and golden)
Optional but recommended
- Flaky sea salt for sprinkling on top right after baking
You can swap the raisins for dried cranberries or chopped dates if you want a change. If you’re out of molasses, just leave it out — the cookies will still be excellent, just a tiny bit less complex.
Step-by-Step Instructions

Plump the raisins first.
Put the raisins in a small bowl and cover them with hot water for 10 minutes. Drain well, and pat dry with a paper towel. This one step keeps them soft and juicy instead of hard little pebbles in the finished cookie. I learned this the hard way after a batch where the raisins turned into tiny rocks.
Mix the dry ingredients.
In a medium bowl, whisk together the flour, baking soda, cinnamon, salt, and nutmeg. Set it aside. No need to sift — a good whisk is enough.
Cream the butter and sugars.
In the bowl of a stand mixer fitted with the paddle (or a large bowl with a hand mixer) beat the softened butter, dark brown sugar, and granulated sugar on medium speed for a full 3–4 minutes. You want it light and fluffy, almost the color of caramel. Scrape the bowl halfway through. This step builds the structure that keeps the cookies thick.
Add the eggs, vanilla, and molasses.
Crack in the eggs one at a time, mixing well after each. Pour in the vanilla and molasses. Mix until everything looks smooth and glossy, about 30 seconds more. The molasses will make the mixture look a little darker — that’s exactly what you want.
Bring it all together.
Turn the mixer to low and add the dry ingredients in two additions. Mix just until the flour disappears. Then add the oats and the drained raisins. Mix on low until they are evenly distributed. The dough will be thick and sticky. That’s perfect.
Chill the dough.
Cover the bowl and refrigerate for at least 2 hours, or up to 48 hours. Overnight is my favorite. The longer rest lets the oats soften, and the flavors deepen. If you’re in a rush, 90 minutes will still give you good cookies, but the full chill is what makes them bakery-thick.
Scoop and bake.
Preheat the oven to 350°F (175°C). Line two baking sheets with parchment paper. Scoop the dough into 3-tablespoon portions (I use a #20 cookie scoop). Place them 3 inches apart — these spread a little but stay thick. If you want extra bakery vibes, gently press a few extra raisins on top of each mound.
Bake until just set.
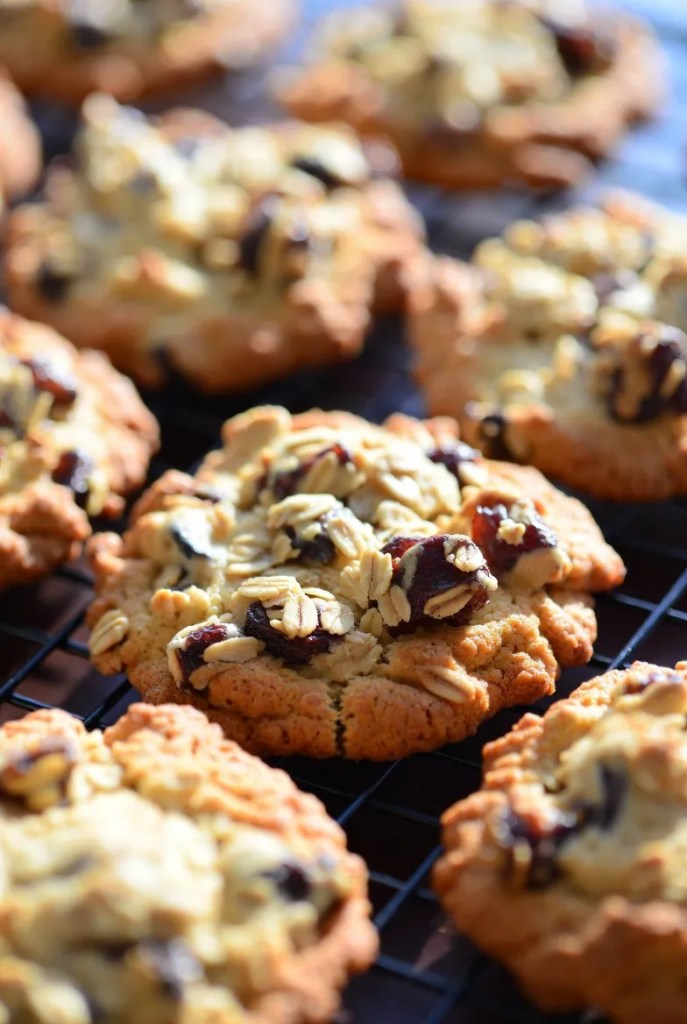
Bake one sheet at a time for 11–13 minutes. The edges will look set and lightly golden, but the centers will still look soft and slightly underdone. That’s the secret. They finish cooking on the hot sheet. Pull them out and immediately sprinkle with a tiny pinch of flaky sea salt if you’re using it.
Cool the right way.
Let the cookies sit on the baking sheet for 5 full minutes. Then transfer them to a wire rack. They firm up as they cool but stay wonderfully soft inside. Resist the urge to move them too early or they can break.
Pro Tips & Tricks
I have made every mistake possible with these cookies so you don’t have to.
Chill time is non-negotiable if you want thick bakery-style results. Warm dough spreads too much and turns flat. I once skipped the chill because we had unexpected guests and the cookies came out like oatmeal lace. Never again.
Don’t overbake. The centers should look underdone when you pull them from the oven. They will set as they cool. If you wait until they look fully baked, you’ll end up with dry cookies the next day.
Use old-fashioned rolled oats, not quick oats. Quick oats turn to mush and give you a pasty texture. The big flakes give that classic hearty chew.
Room-temperature eggs mix more evenly and help the dough come together without overmixing. I take mine out of the fridge when I start plumping the raisins.
If your kitchen is warm, pop the scooped dough balls back in the fridge for 10 minutes while the oven finishes preheating. Cold dough + hot oven = thicker cookies.
These freeze beautifully. Scoop the dough into balls, freeze solid on a tray, then transfer to a freezer bag. Bake straight from frozen — just add 1–2 extra minutes. Baked cookies also freeze well for up to 3 months. Thaw on the counter, and they’re almost as good as fresh.
Variations & Substitutions

Once you have the base recipe down, it’s fun to play.
For a chocolate version, I swap half the raisins for dark chocolate chunks. The combination of chewy oats, sweet raisins, and melted chocolate is dangerous in the best way.
If someone in the house doesn’t like raisins, dried cranberries or chopped dried cherries work perfectly. Just plump them the same way.
For a dairy-free version, I’ve used vegan butter sticks with great success. The texture stays soft and the flavor is still rich. Just make sure the vegan butter is the stick kind, not the tub kind.
Gluten-free friends can use a 1:1 gluten-free flour blend and certified gluten-free oats. The cookies come out a tiny bit more delicate but still delicious. Add an extra tablespoon of the gluten-free flour if the dough feels too sticky.
Want them a little spicier? Add an extra ½ teaspoon of cinnamon and a pinch of ground cloves. It makes the kitchen smell like a holiday bakery.
Serving Suggestions

These cookies are perfect all by themselves with a cold glass of milk. That’s how my kids always eat them.
For a cozy afternoon, I set out a plate with hot coffee or strong black tea. The cinnamon and brown sugar play so well with both.
They also make incredible ice cream sandwiches. Soften a pint of vanilla bean ice cream, sandwich a scoop between two cookies, and freeze for an hour. Summer dessert solved.
I love packing them in little bags for teacher gifts or neighbor drop-offs. Tie with a simple string, and they look thoughtful without any extra effort.
On chilly nights, we sometimes warm one in the microwave for 8 seconds and top it with a small scoop of vanilla ice cream. The contrast of warm cookie and ice cream is pure happiness.
FAQ’s
How do I store these cookies so they stay soft?
Keep them in an airtight container at room temperature with a slice of bread. The bread keeps the cookies soft for up to 4 days. Replace the bread if it dries out. You can also freeze them for longer storage.
Can I make the dough ahead of time?
Yes. The dough keeps in the fridge for up to 48 hours. You can also freeze the scooped dough balls for up to 3 months. Bake from frozen and add a couple of extra minutes.
Why did my cookies turn out flat?
Most of the time it’s because the butter was too soft or the dough wasn’t chilled long enough. Make sure the butter is cool to the touch when you start creaming, and give the dough at least 2 hours in the fridge. Also check that your baking soda is fresh.
Can I use quick oats instead of old-fashioned?
I don’t recommend it. Quick oats absorb liquid differently and give a softer, almost pasty texture. Stick with old-fashioned rolled oats for the best chewy result.
Do I have to use molasses?
No. It’s optional, but it adds a deeper, more bakery-like flavor. If you skip it, the cookies will still be soft and delicious — just a little less complex.
How do I know when the cookies are done?
Look for set, lightly golden edges and centers that still look soft and slightly underbaked. They continue to cook on the hot baking sheet after you take them out. If you wait until the centers look fully done, the cookies will be dry the next day.
Final Thoughts
I still get a little thrill every time I pull a tray of these out of the oven. The smell fills the whole house, the edges are perfectly golden, and the centers stay soft for days. These bakery-style oatmeal raisin cookies have become one of those recipes I can make without even looking at the card anymore, and I love that.
I hope you try them soon. Make a batch on a quiet afternoon, eat one while it’s still warm, and maybe save a few for the next day so you can see how perfectly they hold their texture. If you do make them, I’d love to hear how they turned out for you. Leave a note or just enjoy them with the people you love.
Happy baking. You’ve got this.
Leave a Reply
You must be logged in to post a comment.