

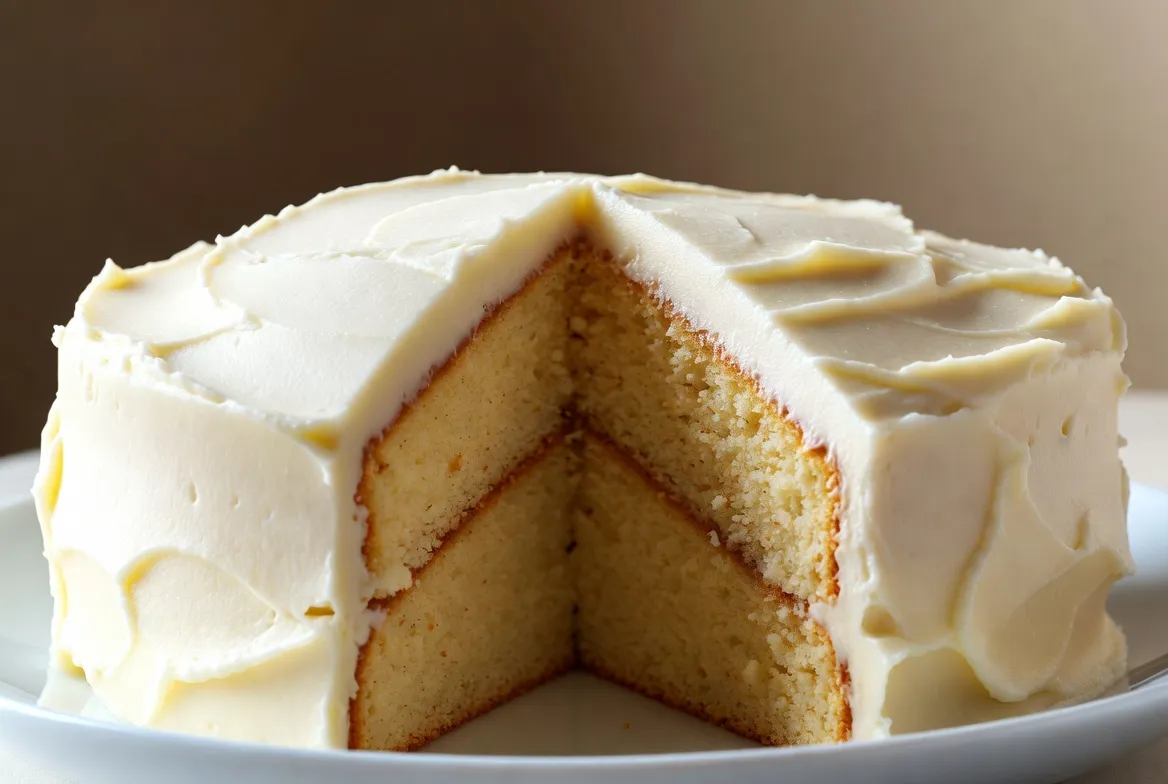
I still remember the first time I pulled this cake from the oven. My daughter was turning seven and had asked for “the softest cake that tastes like vanilla ice cream but isn’t cold.” I had tried three different recipes the week before, and every one came out dense or dry. That Saturday I decided to stop following every rule I found online and just bake the way my grandmother used to talk about—room-temperature everything, gentle folding, and a little extra vanilla because life is short.
When I opened the oven door, the smell hit me first: pure, warm vanilla with a hint of butter. The tops of the layers were golden and springy. I poked one with a fingertip, and it bounced right back. That night we ate the cake still slightly warm with only a thin swipe of frosting, and my daughter declared it the best birthday cake of her life. I’ve made this exact fluffy vanilla cake more times than I can count since then—birthdays, random Tuesdays, potlucks, and once just because the house felt too quiet. Every single time, people ask for the recipe before the second slice is gone.
This is the version I finally landed on after all those trials. It is soft, moist, and stays tender for days. No fancy equipment required, just a couple of bowls and a little patience.
Why You’ll Love This Recipe

- It stays soft and moist for three full days on the counter—no dry edges.
- The crumb is light enough that it almost melts, yet sturdy enough to frost without crumbling.
- You only need basic pantry ingredients and about 20 minutes of active time.
- It tastes like pure vanilla without any artificial aftertaste.
- One batch makes two perfect 8-inch layers or a generous 9×13 sheet cake, so it feeds a crowd without stress.
Ingredients List

For the cake (two 8-inch layers or one 9×13)
- 2¼ cups (280 g) all-purpose flour
- 1½ cups (300 g) granulated sugar
- 1 tablespoon baking powder
- ½ teaspoon fine sea salt
- ½ cup (113 g) unsalted butter, softened to room temperature
- ¼ cup (60 ml) neutral oil (I use avocado or light olive oil)
- 1 cup (240 ml) whole milk, room temperature
- 3 large eggs, room temperature
- 1 tablespoon pure vanilla extract (the good stuff—don’t skimp)
- ½ teaspoon vanilla bean paste (optional but wonderful)
For the vanilla buttercream
- 1 cup (226 g) unsalted butter, softened
- 3½ cups (420 g) powdered sugar, sifted
- 3–4 tablespoons heavy cream or milk
- 2 teaspoons pure vanilla extract
- Pinch of salt
You can swap the whole milk for buttermilk if you want a tiny bit more tang, or use cake flour instead of all-purpose for an even finer crumb. Just measure carefully—scoop and level, don’t pack it down.
Step-by-Step Instructions

- Preheat your oven to 350°F (175°C). Grease two 8-inch round pans, line the bottoms with parchment, and lightly flour the sides. This little parchment trick has saved me from stuck cakes more times than I care to admit.
- In a large bowl, whisk together the flour, sugar, baking powder, and salt until everything looks evenly mixed. I do this by hand so I can feel if any lumps of baking powder are hiding.
- Add the softened butter and oil. Using a hand mixer or stand mixer on medium-low, beat until the mixture looks like damp sand—about 1 minute. It should clump when you squeeze it.
- In a separate jug or bowl, whisk the milk, eggs, vanilla extract, and vanilla bean paste until smooth. Pour half of this wet mixture into the flour-butter bowl and mix on medium until just combined. Scrape the bowl, add the rest of the wet ingredients, and mix for another 20–30 seconds. Stop as soon as the batter looks smooth. Overmixing is the fastest way to lose that fluffy texture.
- Divide the batter evenly between the two pans. I use a kitchen scale for this because I hate lopsided layers. Smooth the tops gently with a spatula.
- Bake for 28–32 minutes. The cakes are done when the tops spring back under a light fingertip press and a toothpick comes out with a few moist crumbs, not wet batter. Start checking at 28 minutes—every oven has its own personality.
- Let the cakes cool in the pans for 15 minutes, then turn them out onto a wire rack. Peel off the parchment and cool completely before frosting. Warm cake + frosting = sliding disaster. I’ve learned that the hard way.
- While the cakes cool, make the buttercream. Beat the softened butter on medium-high for 3 full minutes until it looks pale and fluffy. Add the powdered sugar one cup at a time on low speed, then the vanilla, salt, and cream. Beat on medium-high another 2–3 minutes until it is light and spreadable. If it feels too stiff, add another splash of cream.
- Place one cake layer on your serving plate. Spread a generous cup of frosting over the top. Add the second layer and frost the top and sides. I like a simple swirl on top—nothing too perfect. A slightly imperfect cake always looks more inviting.
Pro Tips & Tricks
Room-temperature ingredients matter more than any special flour. Cold eggs or milk can make the batter seize and create tunnels. I set everything out on the counter for a full hour before I start.
Don’t open the oven door for the first 25 minutes. The sudden temperature drop can make the centers sink. I set a timer and walk away.
If your buttercream looks grainy, the powdered sugar wasn’t sifted well or the butter was too cold. Keep beating—it almost always comes together. A tiny splash of warm cream helps too.
To keep the cake extra moist, brush the cooled layers with a simple syrup (equal parts sugar and water, boiled and cooled) before frosting. I only do this when I know the cake will sit out for a party.
Store the finished cake under a cake dome or loosely covered at room temperature for up to three days. After that, the fridge is fine, but bring slices back to room temperature before serving so the frosting softens again.
Variations & Substitutions

For a gluten-free version, I swap the all-purpose flour for a good 1:1 gluten-free baking blend that already contains xanthan gum. The texture stays surprisingly close to the original.
If you want a dairy-free cake, use plant-based butter and oat milk. The oil already keeps it moist, so the swap works better than you might expect.
A lemon version is my spring favorite: replace half the vanilla with fresh lemon zest and a teaspoon of lemon extract. The same batter, just brighter.
You can also turn this into cupcakes—fill the liners two-thirds full and bake 18–20 minutes. Same batter, same soft crumb.
Serving Suggestions

This cake shines at birthday parties, of course, but I also love it for quiet weekend afternoons with a pot of tea. A simple dusting of powdered sugar works if you skip the frosting. Fresh berries on the side cut the sweetness perfectly. For a summer gathering, I serve thick slices with a scoop of vanilla ice cream melting into the crumbs. It also travels well for potlucks—just keep it cool and level in the car.
FAQ’s
Can I make this cake ahead of time?
Yes. Bake the layers up to two days ahead, wrap them tightly in plastic once cool, and store at room temperature. Frost the day you plan to serve.
How do I freeze it?
Wrap unfrosted layers well in plastic and then foil. They keep for up to two months. Thaw overnight on the counter before frosting. You can also freeze the fully frosted cake; just freeze it solid first, then wrap.
Why did my cake come out dense?
Usually the ingredients were too cold or the batter was overmixed. Next time, make sure everything is truly room temperature and stop mixing the second the batter looks smooth.
Can I use a different pan size?
A 9×13 pan works perfectly—bake 30–35 minutes. Three 6-inch pans also work; reduce the time to about 22–25 minutes.
What if I don’t have vanilla bean paste?
Just use a full tablespoon of good extract. The paste adds little black flecks and deeper flavor, but the cake is still excellent without it.
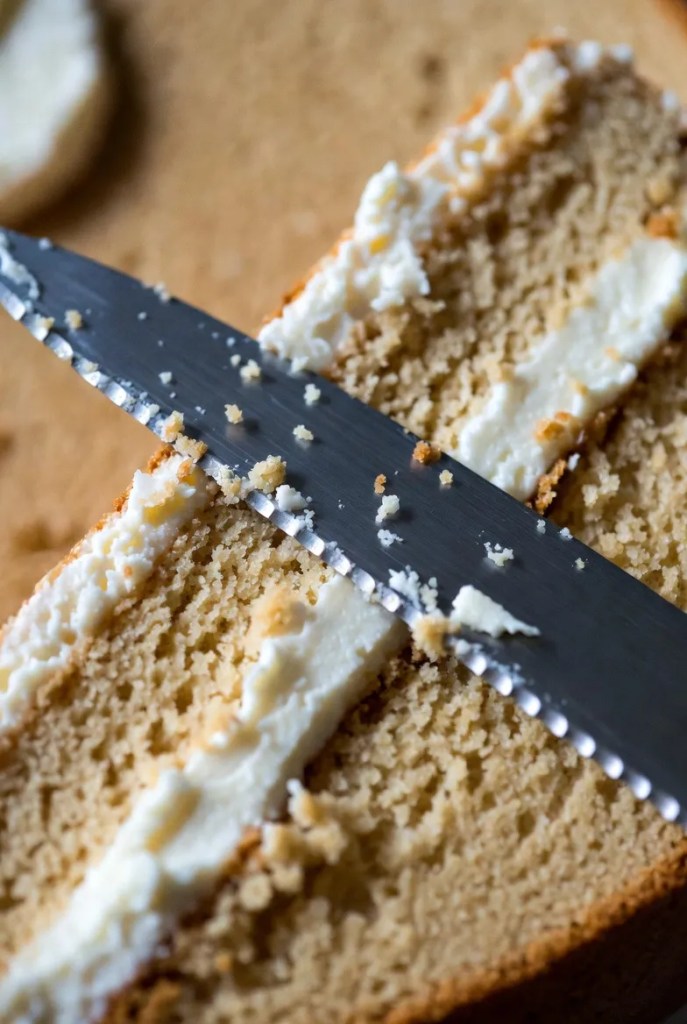
How do I get clean slices?
Dip a long sharp knife in hot water, wipe it dry, and cut. Repeat between each slice. It makes a noticeable difference.
One Last Slice of Advice
I hope this fluffy vanilla cake becomes one of those recipes you make so often that you stop measuring the vanilla and just pour until it smells right. Bake it for someone you love, or bake it just for yourself on a random Tuesday. Either way, take a second to breathe in that warm vanilla smell when the oven door opens. That moment alone is worth the effort.
If you try it, tell me how it turned out—especially if you added your own twist. I read every comment and still get a little thrill when someone says their family asked for the recipe. Happy baking.
Leave a Reply
You must be logged in to post a comment.