

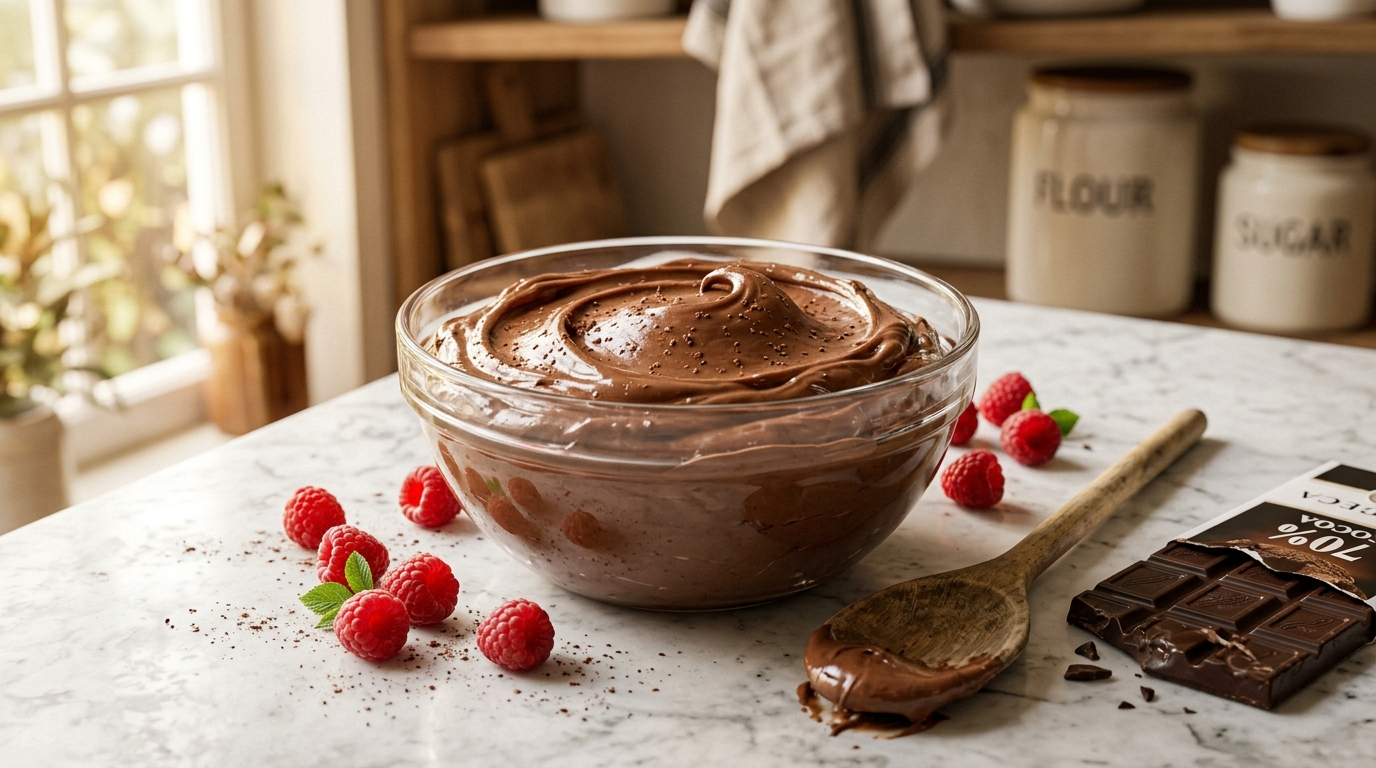
I still remember the exact afternoon my mom pulled me into the kitchen when I was eight years old. She’d just come home from the bakery with a whole tray of her famous triple-layer chocolate cake, and she wanted to show me how she finished it off. Instead of buying that store-bought frosting everyone raved about, she opened the fridge, pulled out a block of cream cheese, some cocoa powder, and a few pantry staples, and whipped up what we called “Mom’s magic chocolate frosting.”
I sat on the counter swinging my legs while she hummed along to the radio, and by the time the bowl was thick and glossy I was covered in cocoa dust and convinced this was the best thing I’d ever tasted. That memory has stuck with me for twenty-five years. Every time I bake for birthdays or just because, this chocolate cream cheese frosting is the one I reach for first. It’s the one that makes the whole house smell like happiness.
Why You’ll Love This Recipe

This frosting has become my go-to because it actually tastes like chocolate instead of pretending to. The cream cheese gives it a light tang that cuts through the richness and makes every bite feel bright and indulgent. You only need six ingredients, most of which you probably already have, and you can make a batch in under ten minutes. It’s incredibly forgiving—if you accidentally over-whip it, just add a splash of milk and keep going. Bakers of all levels love it because it stays stable at room temperature for days and it pipes or spreads beautifully on anything from cupcakes to cookies. And honestly? Once you try it, you’ll never go back to those canned cans that sit in your pantry until you forget they exist.
Ingredients

You only need six things for this rich, glossy chocolate cream cheese frosting. Here’s exactly what I use every single time:
- 8 oz (226 g) full-fat cream cheese, softened to room temperature
- 1 cup (114 g) powdered sugar
- 1/2 cup (40 g) unsweetened cocoa powder (Dutch-processed if you can find it)
- 1/2 cup (113 g) unsalted butter, softened
- 1 tsp pure vanilla extract
- 2–3 tbsp heavy whipping cream or milk (start with 2 and add more as needed)
That’s it. No powdered milk, no weird additives—just real ingredients that come together in minutes. You can swap the cream cheese for a dairy-free version (I’ll cover that in the variations section), but the classic version is my favorite.
Step-by-Step Instructions

I’ve walked you through this recipe so many times that the steps feel second nature. Grab a stand mixer (or a hand mixer if you’re on the smaller side) and a medium bowl. It takes less than ten minutes total, and the result is silky and stable.
- Start by letting everything sit out for at least 30 minutes so the butter and cream cheese are soft enough to mix easily. Cold ingredients will whip into harder frosting that’s too dense. My mom taught me that one the hard way when she chilled everything by mistake and the frosting cracked like crazy.
- In your mixer bowl, add the softened cream cheese, powdered sugar, and cocoa powder. Mix on low speed for about 30 seconds just to combine. Don’t jump straight to high speed—that’s a mistake I still see new bakers make. You’ll end up with chunky, dry-looking frosting.
- Next, add the softened butter in pieces. Mix on low until it’s incorporated, about 1 minute. The butter should be fully mixed in before you crank the speed up.
- Turn the mixer to medium-high and beat for 3–4 minutes, scraping down the sides halfway through. The mixture will look a little grainy at first, but it will smooth out as you go. This is the most important part—keep going until it’s light and fluffy.
- Add the vanilla extract and mix on low until it’s evenly distributed, another 20–30 seconds.
- Finally, add 1–2 tablespoons of heavy cream or milk. Taste it and add more cream if you need it to be a little looser. It should hold soft peaks but still be spreadable. I usually stop at 2 tablespoons the first time and adjust on the next batch if it’s too thick.
- Give it one final stir with a spatula to make sure everything is incorporated. If it looks too thick, add another splash of liquid. Done! Your chocolate cream cheese frosting is ready to use.
I always make a double batch because it keeps in the fridge for a week and I never have to run to the store again.
Pro Tips & Tricks
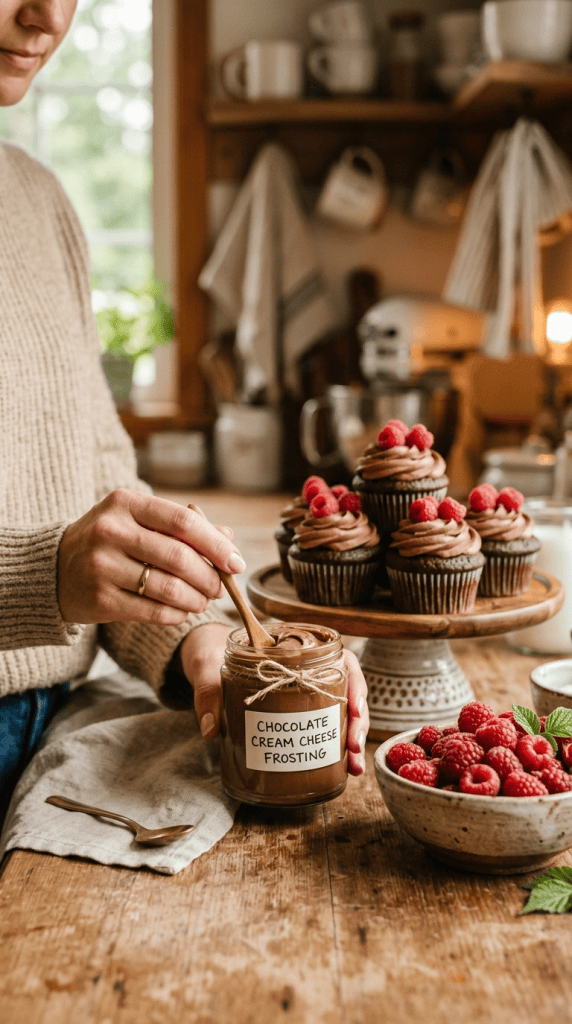
I’ve collected these over years of making this frosting and a few kitchen disasters:
- Room temperature everything is non-negotiable. If your butter or cream cheese is straight from the fridge, melt it gently in the microwave for 10 seconds at a time until it’s soft but not melted.
- Want a silkier finish? Strain the frosting through a fine-mesh sieve before using. It takes thirty seconds and removes any tiny cream cheese curds.
- Thickening hack: If it’s too runny for piping, add another 1–2 tablespoons of powdered sugar and beat for 30 seconds more.
- For best results with cupcakes, let them cool completely on a wire rack so the frosting doesn’t sink into the warm cake.
- Storage: Keep it in an airtight container in the fridge for up to 7 days. Let it come to room temperature for 10–15 minutes before spreading—it softens perfectly.
- Make-ahead option: You can whip the whole batch up to 3 days in advance and just give it a quick stir with a spatula when you’re ready to use it.
- Pro mistake to avoid: Never use cold ingredients or skip the scraping. I learned that the hard way once when my frosting looked like cottage cheese.
Variations & Substitutions

I love experimenting, so here are a few ways I tweak this recipe to suit different needs:
- Vegan version: Use 8 oz vegan cream cheese and 1/4 cup coconut oil (melted) instead of butter. The flavor is still amazing, just a touch less rich. I tested this one for my dairy-free friend, and she swore it was the real thing.
- Gluten-free? It’s already naturally gluten-free—just make sure your powdered sugar is certified GF (some regular powdered sugar contains wheat starch).
- Classic chocolate upgrade: Add 1/4 cup melted chocolate chips or extra cocoa powder to the mix. It deepens the chocolate flavor without changing the texture much.
- Cinnamon twist (my secret favorite for fall): Stir in 1/2 tsp ground cinnamon along with the vanilla. It adds warmth that pairs amazingly with spiced cupcakes or cookies.
Serving Suggestions

This frosting shines on so many desserts it’s hard to pick just one. I use it on chocolate cupcakes for my daughter’s birthday parties, sandwiched between two layers of my super-dark chocolate cake for Sunday morning breakfast, and even as a dip for fresh strawberries or apple slices on lazy afternoons. It’s the perfect topping for sugar cookie bars, blondie brownies, or even a simple peanut butter cookie sandwich. When I’m feeling fancy, I pipe it in rosettes on red velvet cupcakes and finish with a chocolate shard. The best part? It works with both buttercream and buttercream-style cakes.
FAQ’s
How long does this chocolate cream cheese frosting last?
Up to 7 days in the refrigerator when stored in an airtight container. It actually improves slightly after a day or two.
Can I freeze this frosting?
Yes! I make a double batch and freeze half in small containers for up to 2 months. Thaw overnight in the fridge and give it a quick stir. It’s still spreadable and tastes just as good.
What can I use instead of cream cheese?
For a dairy-free version, I already mentioned vegan cream cheese and coconut oil. If you want to keep it dairy but change it up, you can use Greek yogurt for a lighter tang, though it won’t be quite as rich.
Is this frosting good for piping? Absolutely.
It holds shape beautifully at room temperature and pipes smoothly with a star tip. Just keep it covered when not in use.
Why is my frosting too thick?
Simple—add a tablespoon at a time of heavy cream or milk and beat on low. I usually check after the first 2 tbsp and adjust based on my kitchen’s climate.
Can I make this ahead of time?
Yes! Mix everything up to step 4 and refrigerate for up to 3 days. When you’re ready, pull it out, let it soften for 10 minutes, and finish with the vanilla and cream.
Final Thoughts
There you have it—my absolute favorite chocolate cream cheese frosting that I’ve been making since I was a kid and still can’t stop reaching for. It’s simple, delicious, and always a crowd-pleaser. Next time you’re baking something chocolatey, give this a try. The house will smell incredible, your guests will ask for the recipe, and you’ll feel like a total kitchen hero.
Drop your version in the comments—did you use it on cupcakes, cookies, or something totally different? I read every single one and love hearing what you create. Bake something beautiful this week, and tag me if you want—I might even feature your creation on the blog. Happy baking!
Leave a Reply
You must be logged in to post a comment.