

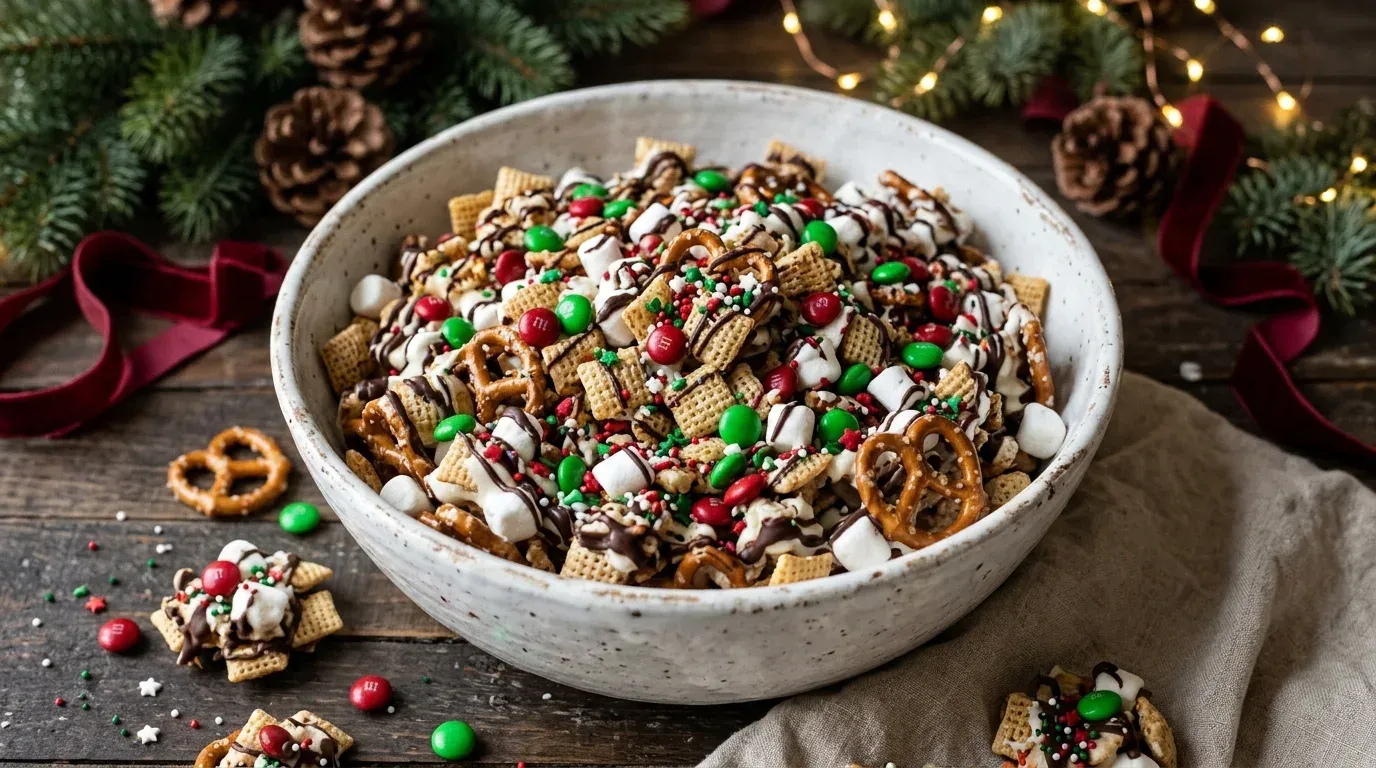
There is something about the smell of melted chocolate, peanut butter, and crunchy cereal that makes the holiday season feel extra special. Every December, when the Christmas decorations come out and holiday music starts playing, I find myself looking for easy treats that I can make without spending an entire afternoon in the kitchen.
That’s where Christmas Trash Mix comes in.
I love making this festive snack because it combines everything I enjoy in a holiday treat: crunchy cereal, salty pretzels, sweet candy, creamy peanut butter, and a generous coating of chocolate. Every handful tastes a little different, which makes it hard to stop reaching into the bowl!
The first time I made a batch, I thought I had added too many pretzels. I almost took some out, but I decided to leave everything alone. That turned out to be one of my favorite discoveries. The extra pretzels balanced the sweetness beautifully and gave the mixture a satisfying crunch.
Christmas Trash Mix also makes a wonderful homemade gift. Pack it into clear treat bags, tie them with red and green ribbons, or fill a festive tin for friends, neighbors, teachers, and family members.
Best of all, you don’t need an oven. A microwave, a couple of large mixing bowls, and a little patience will get the job done.
Whether you’re preparing snacks for Christmas movie night, filling your holiday dessert table, or making edible gifts, this recipe deserves a place on your holiday baking list.
Why You’ll Love This Christmas Trash Mix Recipe

There are plenty of reasons to keep this recipe handy throughout December.
- No baking required: You can make the entire batch without turning on your oven. That’s especially helpful when your kitchen already has several holiday dishes competing for oven space.
- A wonderful sweet-and-salty combination: Chocolate and candy bring the sweetness, while pretzels and cereal add a salty crunch.
- Easy to customize: Use your favorite cereals, chocolates, candies, and festive sprinkles.
- Perfect for sharing: One batch makes plenty of snack mix for parties, family gatherings, and homemade Christmas gifts.
- Beginner-friendly: You don’t need special baking skills or expensive equipment. If you can melt chocolate and stir ingredients together, you can make this treat.
Another thing I appreciate is how forgiving the recipe feels. You don’t have to measure every cereal piece perfectly or arrange the ingredients in a particular order.
The goal is a generous mixture of different textures and flavors that everyone can enjoy.
Ingredients
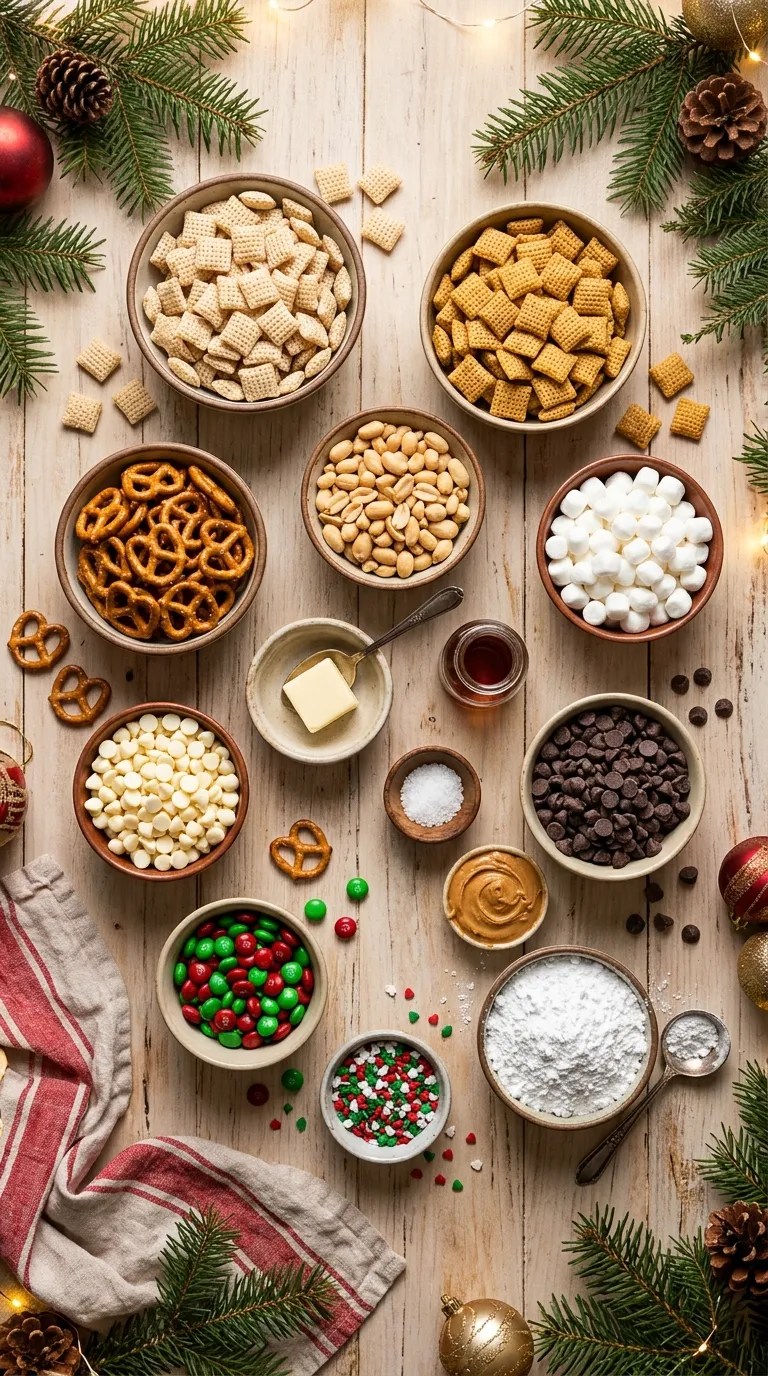
This recipe makes approximately 12–14 cups of Christmas Trash Mix, depending on the size of your cereal and pretzels.
You can easily double the quantities if you’re preparing treats for a large Christmas party.
The crunchy ingredients
- 4 cups Rice Chex cereal: This gives the mixture a light, crispy texture and holds the chocolate coating nicely.
- 3 cups Corn Chex cereal: I like combining two cereals because they create a little variety in every handful.
- 2 cups mini pretzels: Use traditional mini twists or pretzel sticks. Both work beautifully.
- 1 cup salted peanuts: These add a savory crunch. You can leave them out if you’re making the mix for someone with a peanut allergy.
- 1 cup mini marshmallows: These add a soft, sweet contrast to the crunchy ingredients.
The chocolate and peanut butter coating
- 2 cups white chocolate chips: White chocolate creates a creamy coating and gives the snack mix a festive appearance.
- 1 cup semi-sweet chocolate chips: These balance the sweetness of the white chocolate.
- ½ cup creamy peanut butter: Choose a smooth, conventional peanut butter for the easiest melting and mixing.
- 2 tablespoons unsalted butter: Butter helps create a smooth coating.
- 1 teaspoon vanilla extract: This adds a lovely warm flavor.
- ¼ teaspoon salt: A little salt brings the chocolate and peanut butter flavors together.
The Christmas decorations
- 1½ cups red and green M&M’s: These add color, crunch, and chocolate flavor.
- ½ cup red and green candy-coated chocolates or holiday candies: Optional, but they make the mixture look extra festive.
- ¼ cup Christmas sprinkles: Choose your favorite red, green, white, or gold sprinkles.
Optional powdered sugar coating
– ½ cup powdered sugar: Use this if you’d like a slightly snowy, muddy-buddy-style finish.
A few ingredient notes:
If you can’t find Christmas-colored M&M’s, regular M&M’s work just as well. You can also use chopped chocolate candies or other small holiday sweets.
For the white chocolate, choose good-quality baking chips or white chocolate melting wafers. Some inexpensive white chocolate chips can become thick or grainy when melted, so a reliable brand makes a difference.
Step-by-Step Instructions for Christmas Trash Mix
Before you start, gather your ingredients and prepare your workspace. Once the chocolate melts, you’ll want to work fairly quickly so the coating doesn’t begin to set before you finish mixing.
Step 1: Prepare your baking sheets (5 minutes)
Line two large baking sheets with parchment paper or wax paper.
These sheets will give your finished Christmas Trash Mix plenty of room to cool without sticking together.
If you don’t have baking sheets, you can use a large tray or countertop covered with parchment paper.
Step 2: Combine the crunchy ingredients (3–4 minutes)
Add the Rice Chex, Corn Chex, mini pretzels, and salted peanuts to a very large mixing bowl.
A bowl with plenty of extra space makes mixing much easier.
Use a large silicone spatula or wooden spoon to gently combine everything.
Don’t add the mini marshmallows or holiday candies just yet. We’ll add those later so they don’t get covered in too much melted chocolate.
Step 3: Melt the peanut butter and white chocolate (2–3 minutes)
Place the white chocolate chips, peanut butter, and butter in a microwave-safe bowl.
Microwave for 30 seconds at a time, stirring after each interval.
White chocolate can scorch easily, so avoid microwaving it for too long without stirring.
Continue until the mixture looks smooth and creamy. Depending on your microwave, this usually takes about 1½–2 minutes.
Stir in the vanilla extract and salt.
The finished mixture should look glossy and pour easily from your spatula.
My tip: If the mixture feels too thick, don’t immediately add more butter. Give it a good stir first. The remaining chocolate pieces often melt from the residual heat.
Step 4: Coat the cereal and pretzels (3–5 minutes)
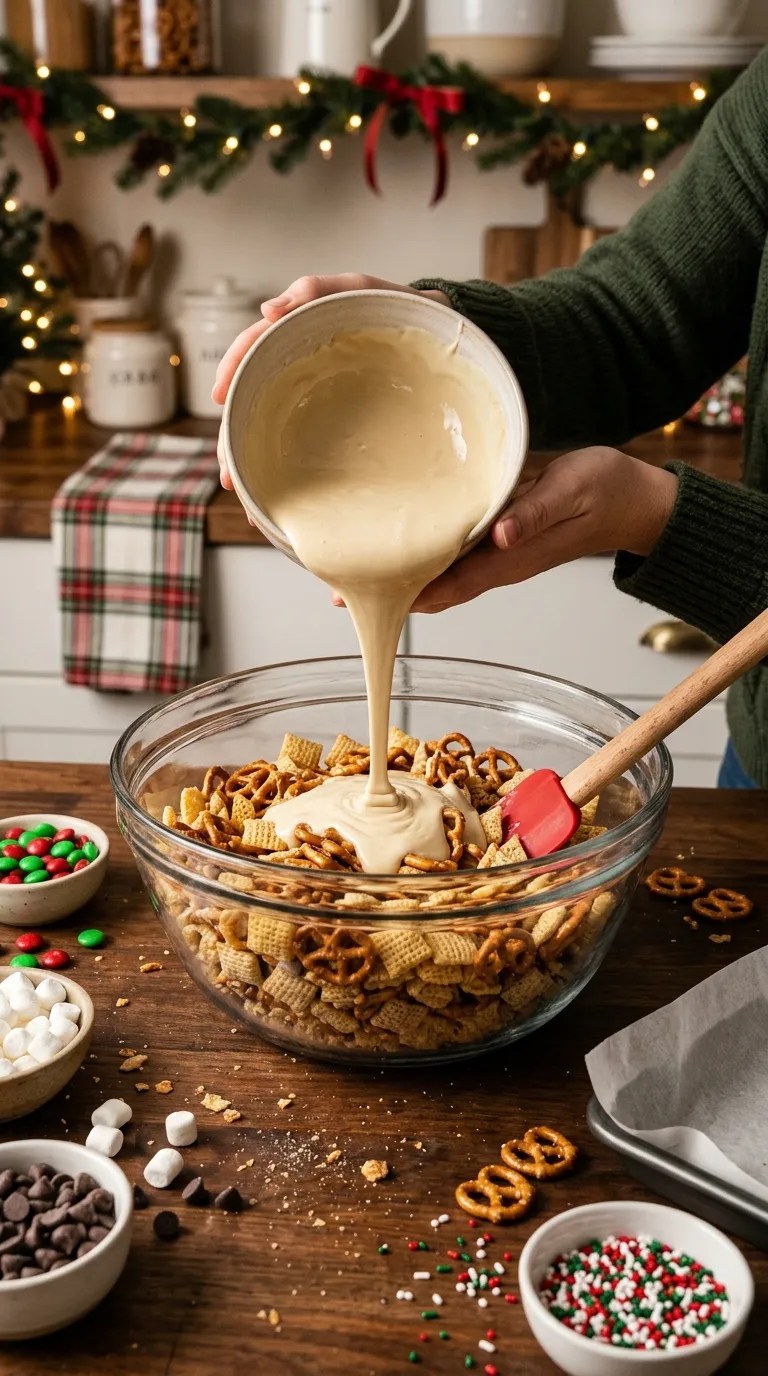
Pour the melted white chocolate mixture over the cereal, pretzels, and peanuts.
Gently fold everything together using your spatula.
Work from the bottom of the bowl upward so the coating reaches as many pieces as possible.
Try not to stir too aggressively. Chex cereal breaks easily, and you want plenty of whole pieces in the finished snack mix.
Don’t worry if some pieces have more coating than others. That uneven coating gives homemade snack mix its charm.
Step 5: Add the semi-sweet chocolate (2 minutes)
Place the semi-sweet chocolate chips in a separate microwave-safe bowl.
Microwave in 20–30-second intervals, stirring between each interval, until melted and smooth.
Drizzle the chocolate over the coated cereal mixture.
Use your spatula to gently toss a few times. You want ribbons of chocolate throughout the mixture rather than a completely uniform coating.
This combination of white and dark chocolate gives the snack mix a pretty marbled appearance.
Step 6: Add the Christmas candies and marshmallows (2 minutes)
Allow the mixture to cool for approximately 3–5 minutes.
Then add the mini marshmallows, red and green M&M’s, additional holiday candies, and Christmas sprinkles.
Fold gently until everything looks evenly distributed.
Adding the candies after the warm coating has cooled slightly helps prevent the candy shells from becoming sticky or losing their color.
Step 7: Spread the mixture out to cool (30–45 minutes)
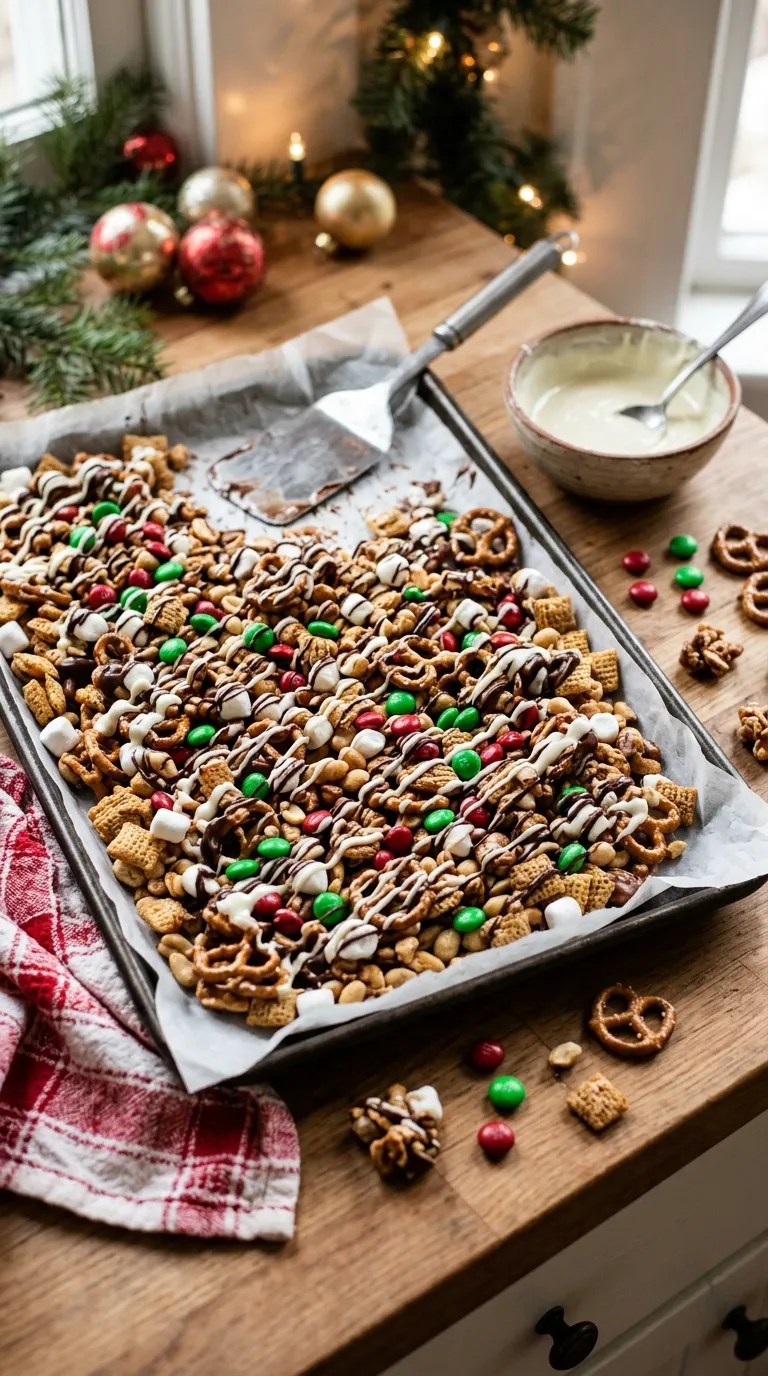
Transfer the mixture onto your prepared parchment-lined baking sheets.
Spread it into a fairly even layer.
Separate any large clusters slightly if you prefer individual snack-sized pieces. If you enjoy chunky clusters, leave some larger pieces together.
Let everything cool at room temperature for approximately 30–45 minutes, or until the chocolate coating feels firm.
If your kitchen feels particularly warm, place the trays in the refrigerator for 15–20 minutes.
Step 8: Add powdered sugar (optional) and break into pieces (2–3 minutes)
If you’d like a snowy finish, place the cooled mixture in a large bowl and sprinkle powdered sugar over it.
Toss gently until lightly coated.
Break apart any large clusters into bite-sized pieces, then transfer everything to a festive serving bowl or airtight container.
Your Christmas Trash Mix is ready!
Pro Tips and Tricks
A few small details can make a noticeable difference in the finished snack mix. These are the things I’d pay attention to whenever I prepare a batch.
1. Use a really large mixing bowl
This might sound like a small detail, but it makes a huge difference.
A bowl that’s too small forces you to stir aggressively, which can crush the cereal and send pretzels flying across the counter.
Choose a bowl that leaves plenty of room for folding the ingredients together.
2. Melt chocolate slowly
White chocolate needs a little extra attention.
Unlike some other chocolate varieties, it can become thick and grainy if you overheat it. Microwave it in short intervals and stir frequently.
If you prefer, use a double boiler. Place a heatproof bowl over a saucepan of gently simmering water, making sure the bottom of the bowl doesn’t touch the water.
Stir until smooth.
3. Add candies after the chocolate cools slightly
I learned this lesson when I once added colorful candies while the coating was still quite warm.
The candies started looking a little messy, and some of their colors transferred onto the chocolate.
Now I let the coated cereal sit for a few minutes before adding the colorful ingredients.
You still get everything mixed together, but the finished snack looks much prettier.
4. Don’t skip the parchment paper
Chocolate-coated cereal can stick to trays and plates as it cools.
Parchment paper makes cleanup much easier and helps you lift the finished mixture without breaking too many pieces.
5. Store it properly
Once the chocolate has completely hardened, transfer the snack mix into an airtight container.
Keep it away from direct sunlight and warm kitchen appliances. Heat can soften the coating and make the mixture sticky.
For the best texture, add the marshmallows and any delicate decorations just before serving if you’re preparing the snack several days ahead.
Variations and Substitutions
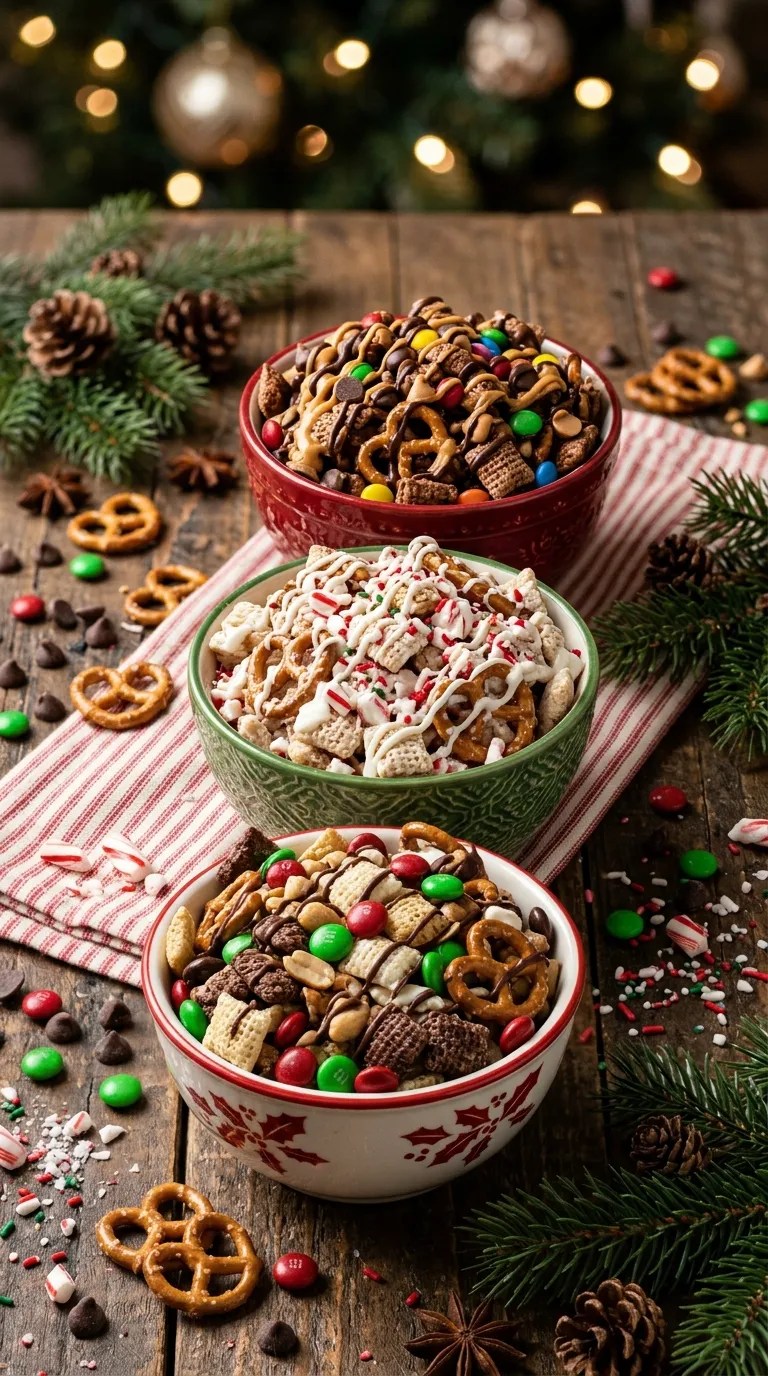
One of my favorite things about Christmas Trash Mix is that you can change it depending on what you already have in your pantry.
Here are a few variations worth trying.
White Chocolate Peppermint Christmas Mix
If you enjoy peppermint during the holidays, this version is especially fun.
Replace the semi-sweet chocolate drizzle with an additional ½ cup of melted white chocolate.
Add ½ teaspoon peppermint extract to the melted coating and sprinkle ⅓ cup crushed candy canes over the mixture before it sets.
Be careful with the peppermint extract. It has a strong flavor, so a little goes a long way.
This variation tastes wonderful alongside hot chocolate.
Peanut Butter Chocolate Christmas Mix
For a richer, more chocolate-forward snack, increase the peanut butter to ¾ cup and use 1½ cups semi-sweet chocolate chips.
You can also add chocolate candies, peanut butter baking chips, or chopped peanut butter cups.
If you enjoy the flavor combination of chocolate and peanut butter, this version is hard to resist.
Nut-Free Christmas Trash Mix
If you’re making this recipe for a gathering where someone has a peanut allergy, leave out the peanuts and use sunflower seed butter instead of peanut butter.
You can replace the peanuts with another cup of pretzels or a cup of roasted pumpkin seeds, provided those ingredients suit your guests’ needs.
Also check the labels on your chocolate, candies, and cereal for allergen and cross-contact information. Simply removing peanuts from the recipe doesn’t automatically make every ingredient safe for someone with an allergy.
Gluten-Free Christmas Snack Mix
You can make a gluten-free version by choosing certified gluten-free Chex-style cereal, pretzels, and other packaged ingredients.
Check every label, especially the pretzels and holiday candies, because ingredients and manufacturing practices vary by brand.
The chocolate coating and decorating process stay exactly the same.
Serving Suggestions for Christmas Trash Mix

Christmas Trash Mix works for almost any holiday occasion. I especially like serving it when guests want something sweet to nibble on without sitting down for a full dessert.
Here are some fun ways to serve it.
Christmas Movie Night
Pour the snack mix into a large bowl and place it on the coffee table alongside popcorn, hot chocolate, and other favorite movie snacks.
It makes a lovely addition to a cozy Christmas movie night.
Holiday Dessert Tables
Add Christmas Trash Mix to your holiday dessert spread.
Serve it in a decorative glass bowl or small individual cups. The red, green, and white colors make it look right at home next to Christmas cookies, brownies, and fudge.
Homemade Christmas Gifts
This recipe makes a thoughtful edible gift.
Fill clear cellophane bags with snack mix, tie them with festive ribbon, and attach a small handwritten gift tag.
You can also use mason jars, decorative tins, or small food-safe gift boxes.
If you’re gifting the mix, include a simple ingredient and allergen note so recipients know what’s inside.
School and Office Holiday Parties
Individual portions make serving easier at parties.
Use small paper cups or food-safe treat bags so guests can grab a serving without everyone reaching into the same bowl.
Check the event’s food-allergy rules before bringing homemade snacks.
Pair It With Hot Drinks
The sweet and salty flavors work especially well with:
- Hot chocolate topped with marshmallows.
- Warm apple cider.
- Coffee or a festive latte.
- Chai tea.
- A glass of cold milk.
For a simple Christmas afternoon treat, put out a bowl of snack mix and a pitcher of hot chocolate. You don’t need anything fancy.
Related Recipes:
- Christmas Punch Recipe Non Alcoholic
- Christmas Dinner Recipe – Easy Holiday Favorite
- Christmas Appetizer Recipes – Easy Holiday Bites
- Christmas Brunch Recipe
FAQ’s
Can I make Christmas Trash Mix ahead of time?
Absolutely! You can prepare it 2–3 days before your Christmas gathering.
Let the chocolate coating set completely before transferring the mixture into an airtight container.
Keep it in a cool, dry place. If your kitchen gets warm, refrigerate it to help the chocolate stay firm.
For the freshest appearance, add delicate decorations and marshmallows closer to serving time.
How long does Christmas Trash Mix last?
When stored in an airtight container in a cool, dry place, Christmas Trash Mix generally keeps well for about 5–7 days.
The exact storage time depends on the ingredients you use and your kitchen conditions.
Keep the container away from moisture and heat. If the mix contains ingredients that require refrigeration, follow their package storage instructions.
Discard the mixture if you notice an unusual smell, visible mold, or signs of spoilage.
Can I freeze Christmas Trash Mix?
Yes, you can freeze this snack mix.
Place completely cooled portions in freezer-safe airtight containers or freezer bags. Remove excess air and label the containers with the date.
Freeze for up to 1–2 months for best quality.
When you’re ready to serve it, let the container thaw in the refrigerator while still sealed. This helps reduce condensation on the chocolate.
Once thawed, check the texture before serving.
Why is my melted white chocolate thick and grainy?
This usually happens when white chocolate overheats or comes into contact with moisture.
White chocolate needs gentle heat, so use short microwave intervals and stir frequently.
Make sure your bowl and utensils are completely dry before melting the chocolate.
For more consistent results, use white chocolate melting wafers instead of ordinary chocolate chips.
Can I make Christmas Trash Mix without peanut butter?
Yes! You can leave out the peanut butter entirely.
Replace it with sunflower seed butter if you want a similar creamy texture, or use additional melted white chocolate with a little neutral vegetable oil to achieve a smoother coating.
Add the oil gradually, about ½ teaspoon at a time, until the chocolate reaches a pourable consistency.
Always check ingredient labels if you’re preparing a peanut-free version for someone with an allergy.
Can I make this recipe without a microwave?
Of course.
Use a double boiler to melt the white chocolate, peanut butter, and butter together.
Place a heatproof bowl over a saucepan containing a small amount of gently simmering water.
Stir continuously until the mixture becomes smooth. Keep the water below the bowl and avoid letting steam or water enter the chocolate.
Melt the semi-sweet chocolate separately using the same method.
Why does my Christmas Trash Mix stick together?
A little clustering is completely normal because melted chocolate acts as a binder.
However, if the entire mixture forms one large sticky mass, you may have added too much coating or allowed the ingredients to sit in a thick pile while cooling.
Next time, spread the mixture into a thin, even layer on parchment paper.
You can also gently separate larger clusters while the chocolate remains slightly soft.
Final Thought
Christmas is full of special meals, elaborate desserts, and recipes that take hours to prepare. But sometimes, the simplest treats become the ones everyone remembers.
That’s exactly why I keep coming back to Christmas Trash Mix.
It brings together crunchy cereal, salty pretzels, creamy chocolate, colorful candies, and just enough sweetness to make every handful enjoyable. You can prepare it without baking, customize it with whatever you have in the pantry, and share it with practically everyone at your holiday gathering.
I also love that it doesn’t need to look perfect. A few extra pretzels here, a generous handful of M&M’s there, and some festive sprinkles on top are all part of the fun.
Make a batch for your next Christmas party, package some up for homemade gifts, or simply keep a container ready for family movie nights.
And if you try this Christmas Trash Mix recipe, I’d love to hear how it turned out! Did you stick with the classic chocolate and peanut butter combination, or did you add peppermint, extra candies, or another favorite ingredient?
Happy Christmas snacking!
Leave a Reply
You must be logged in to post a comment.