

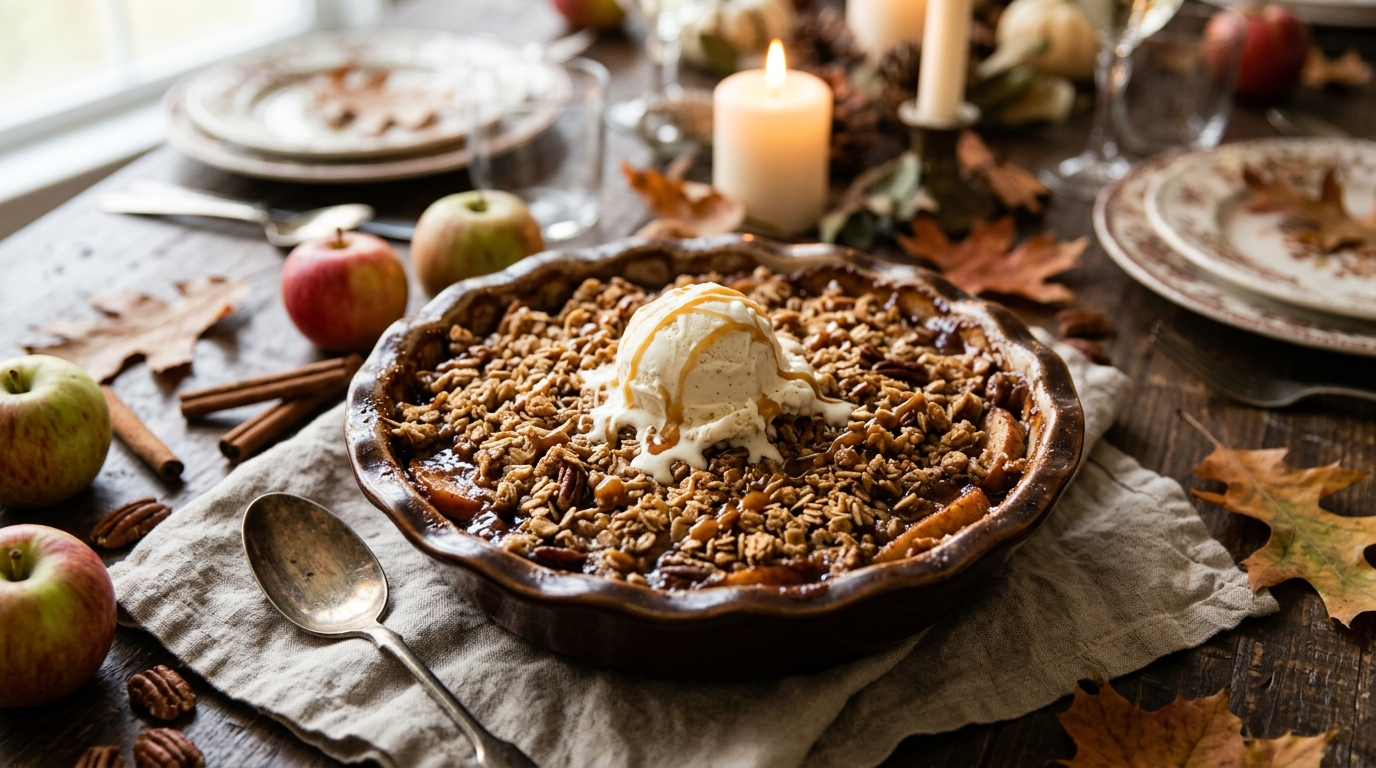
Every Thanksgiving, I reach a point where I look at the kitchen counter and wonder why I thought making six different dishes at once was a good idea.
The turkey needs attention, the potatoes are waiting, someone needs more gravy, and somehow there are already three dirty mixing bowls in the sink. That’s exactly when I reach for this easy apple dessert for Thanksgiving dinner.
I first made a version of this dessert when I had plenty of apples but very little energy left for another complicated recipe. I tossed sliced apples with cinnamon and sugar, topped them with a buttery oat mixture, and crossed my fingers.
The result disappeared faster than the pie.
What I love most is that this dessert feels homemade without requiring pie dough, a rolling pin, or the patience to make a perfectly crimped crust. The apples turn soft and fragrant in the oven, while the topping becomes golden and crisp around the edges.
And if your Thanksgiving table already has plenty going on, that simplicity feels like a gift.
This is the kind of dessert I can assemble while the turkey rests. I can bake it ahead, warm it before serving, and put it on the table with vanilla ice cream. Nobody complains that there isn’t another fancy pie.
In fact, somebody usually asks for seconds.
Why You’ll Love This Recipe
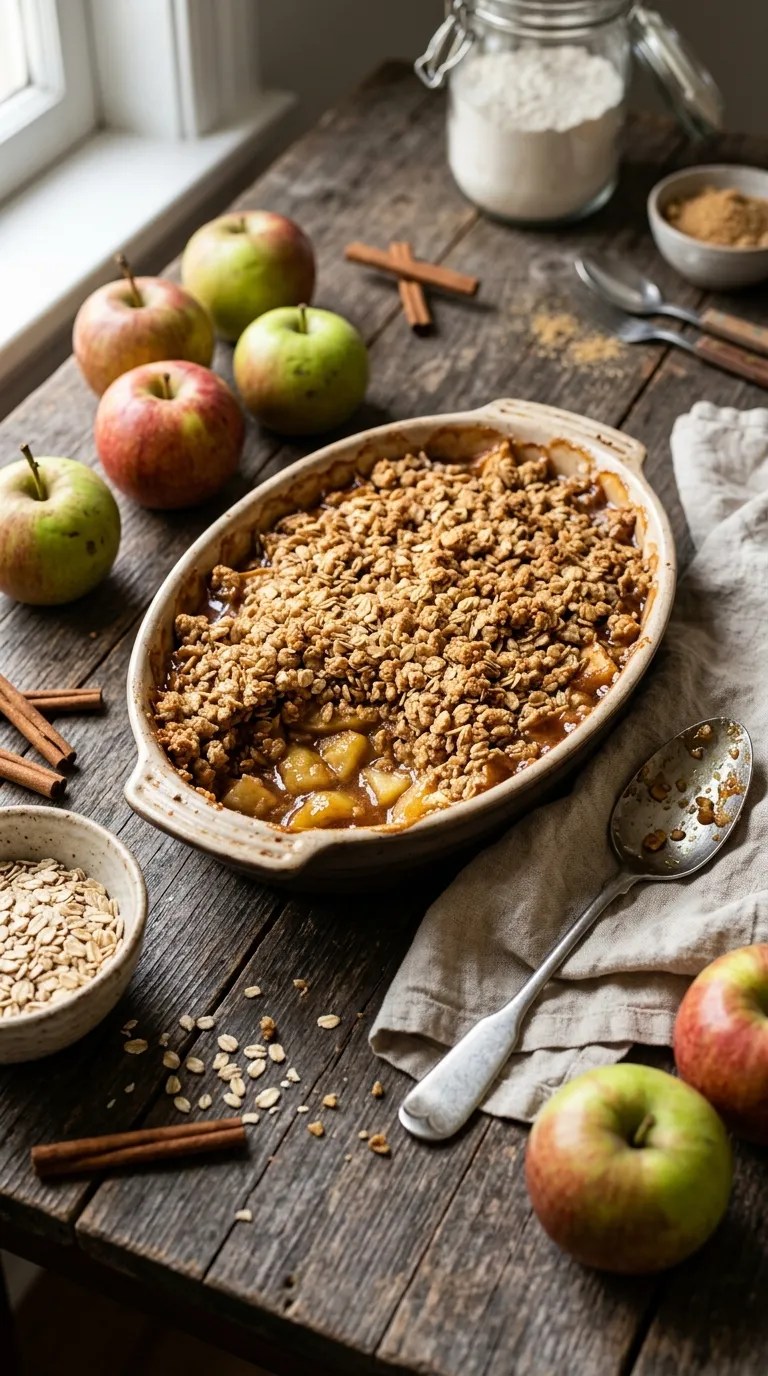
- No pie crust required. You can skip rolling, chilling, and crimping dough.
- Simple pantry ingredients. Apples, oats, flour, butter, sugar, and a few warm spices do most of the work.
- Perfect for a busy Thanksgiving. You can assemble it ahead of time and bake it when you need it.
- Comforting without feeling fussy. Warm apples and cinnamon make the whole kitchen smell like Thanksgiving.
- Easy to customize. Use the apples you already have and adjust the spices to suit your family.
Ingredients
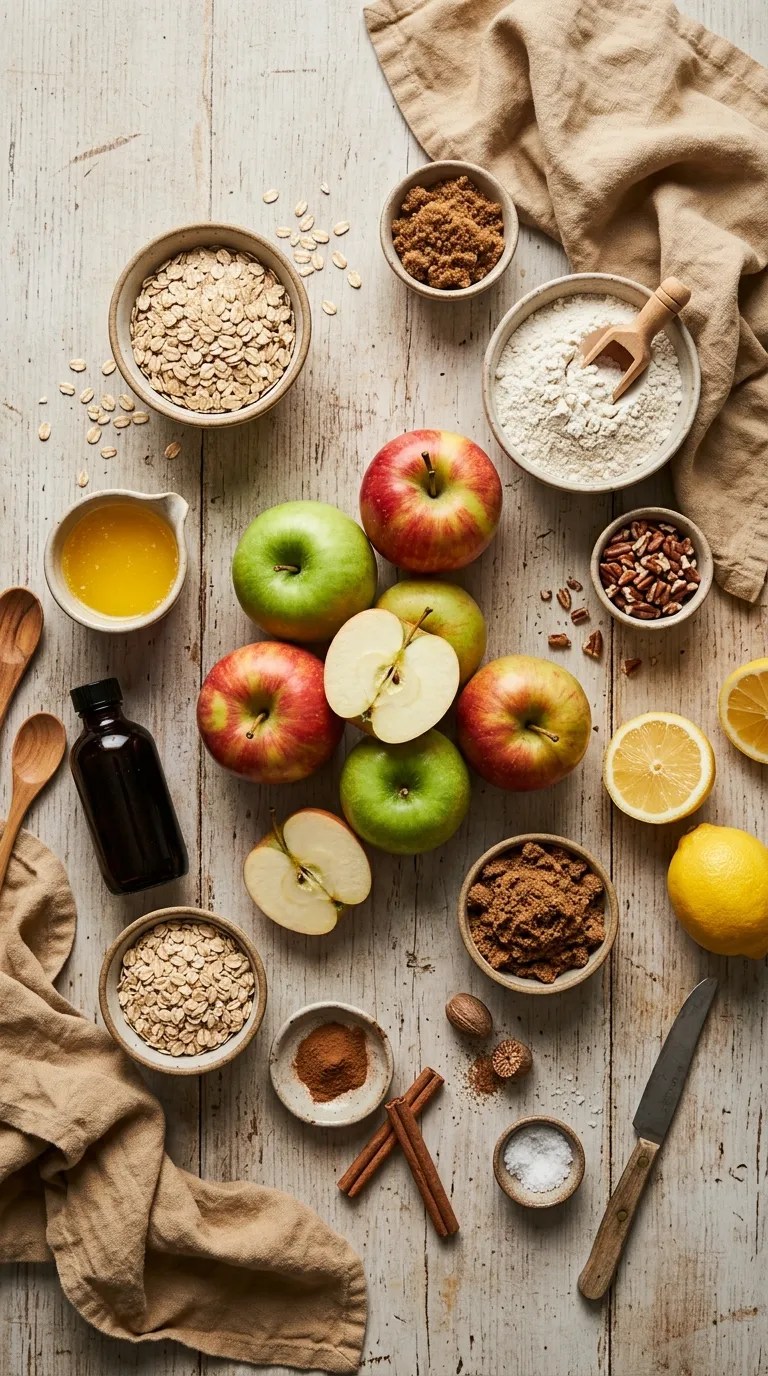
This recipe makes about 8 servings.
For the Apple Filling
- 6 medium apples, about 2 ½ pounds
- ⅓ cup packed light brown sugar
- 2 tablespoons all-purpose flour
- 1 tablespoon fresh lemon juice
- 1 teaspoon ground cinnamon
- ¼ teaspoon ground nutmeg
- ¼ teaspoon salt
- 1 teaspoon vanilla extract
For the Crisp Topping
- ¾ cup old-fashioned rolled oats
- ¾ cup all-purpose flour
- ½ cup packed light brown sugar
- ½ teaspoon ground cinnamon
- ¼ teaspoon salt
- ½ cup unsalted butter, melted
- ½ cup chopped pecans or walnuts, optional
For Serving
- Vanilla ice cream
- Whipped cream
- A light drizzle of caramel sauce, optional
You can use either peeled or unpeeled apples. I usually peel them for Thanksgiving because the filling becomes especially soft and spoonable, but leaving the skins on saves time and adds a little texture.
For the apples, I like a combination of sweet and tart varieties. Granny Smith, Honeycrisp, Pink Lady, Braeburn, and Fuji all work well. If you only have one variety available, don’t worry about it.
If you need a gluten-free version, replace the all-purpose flour with a 1-to-1 gluten-free baking flour. Make sure your oats carry a gluten-free label if cross-contact matters for your needs.
Step-by-Step Instructions
1. Heat the Oven and Prepare the Baking Dish — 5 Minutes
Preheat your oven to 350°F (175°C).
Lightly butter a 9-inch square baking dish or a similar 2-quart baking dish.
I prefer a ceramic baking dish for this dessert because it looks nice enough to take straight from the oven to the Thanksgiving table. A glass dish works perfectly well too.
2. Prepare the Apples — 10 Minutes
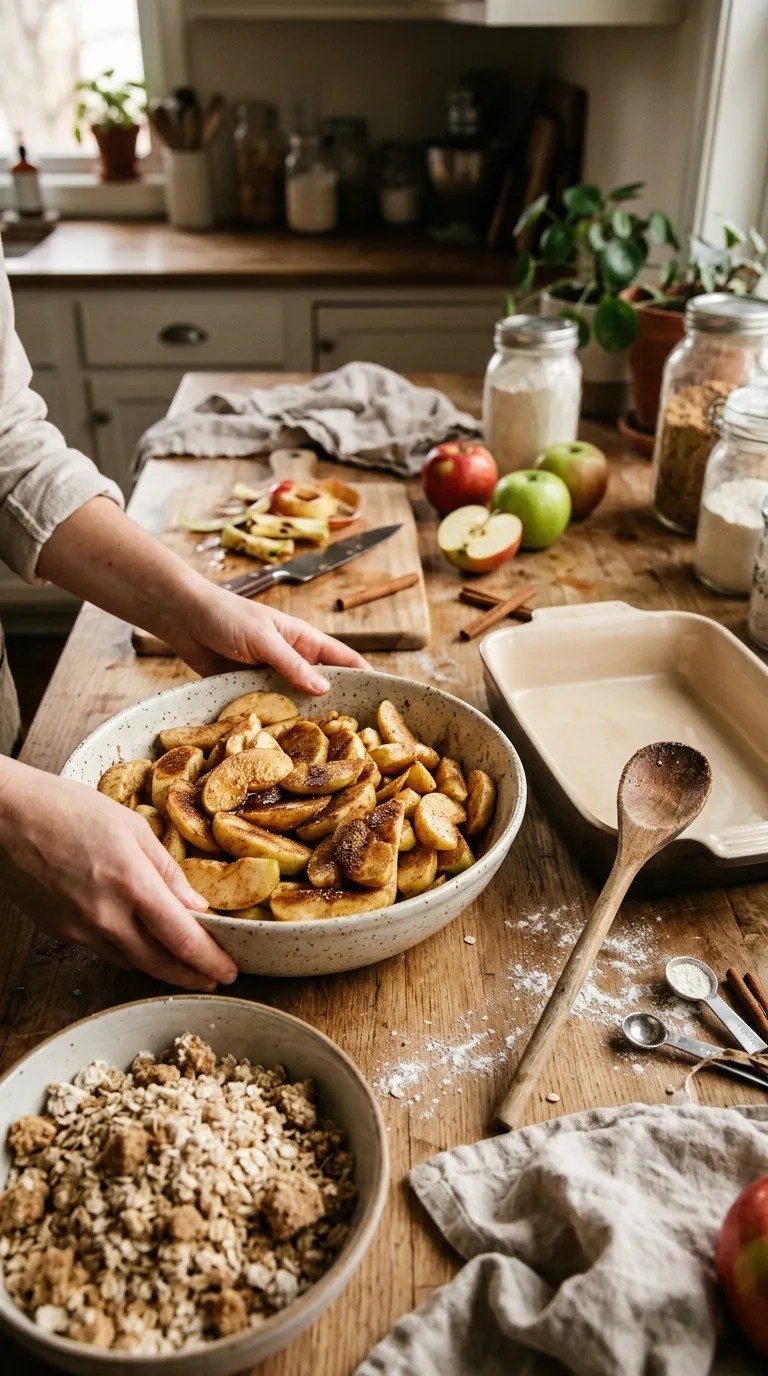
Peel the apples if you prefer, then cut them into quarters.
Remove the cores and slice the apples into pieces about ¼ inch thick.
Try to keep the slices reasonably similar in size. They don’t have to look perfect. This isn’t a pie competition, and nobody at Thanksgiving is going to measure your apple slices.
Put the apples into a large mixing bowl.
Add the brown sugar, flour, lemon juice, cinnamon, nutmeg, salt, and vanilla. Toss everything together until the apples look evenly coated.
The lemon juice adds a little brightness and keeps the filling from tasting overly sweet.
3. Make the Crisp Topping — 5 Minutes
In another bowl, combine the rolled oats, flour, brown sugar, cinnamon, and salt.
Pour in the melted butter and stir with a fork until the mixture forms chunky, moist crumbs.
If you’re using pecans or walnuts, stir them in now.
Here’s one little discovery I made after making this dessert several times: don’t overmix the topping.
You want a mixture with different-sized pieces rather than one smooth paste. Those larger crumbs become the wonderfully crisp bits that everyone seems to hunt for with their spoons.
4. Assemble the Dessert — 3 Minutes
Spread the apples evenly in your prepared baking dish.
Scatter the topping over the apples.
Don’t press it down firmly. Just distribute it across the surface so some of the apples remain tucked underneath while the topping gets plenty of exposure to the heat.
At this point, the dessert should look rustic rather than perfectly arranged.
That’s exactly what you want.
5. Bake Until Bubbling and Golden — 40 to 50 Minutes
Place the baking dish in the center of the oven.
Bake for 40 to 50 minutes, depending on the depth of your dish and the type of apples you use.
Start checking around the 40-minute mark.
You’re looking for a topping that has turned golden brown, with apple juices bubbling around the edges.
The apples should feel tender when you slide a thin knife into the center. If the topping looks brown but the apples still feel firm, loosely cover the dish with aluminum foil and continue baking for another 5 to 10 minutes.
One of my biggest early mistakes was pulling the dessert from the oven as soon as the topping looked done. The top was beautiful, but the apples still had too much bite.
Now I always check the center before I call it finished.
6. Let It Rest — 10 to 15 Minutes
Remove the dish from the oven and let it sit for 10 to 15 minutes.
This step feels unnecessary when the kitchen smells amazing, but give it a few minutes.
The filling thickens slightly as it cools, and the topping settles into the apples. It also makes serving much easier.
If you’re serving it with ice cream, those few minutes are perfect for getting everything else onto the table.
Pro Tips & Tricks
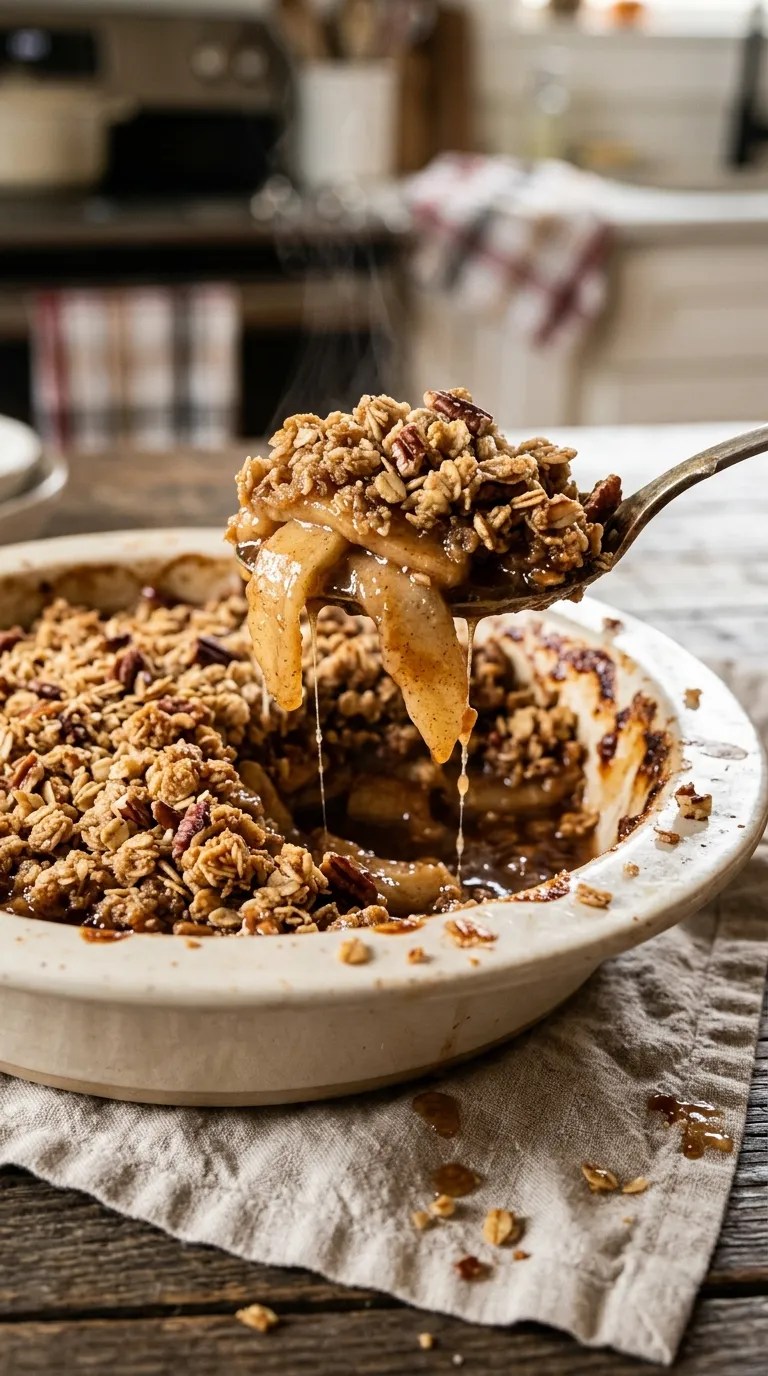
Pick Apples That Can Handle the Oven
Some apples soften beautifully while others turn mushy very quickly.
For a balanced filling, I like mixing a firm, tart apple such as Granny Smith with a sweeter variety such as Honeycrisp or Fuji.
You get a little contrast instead of one-note sweetness.
Don’t Cut the Apples Too Thin
Thin slices can become overly soft before the topping finishes baking.
Aim for roughly ¼-inch slices. They soften nicely while still holding enough shape to make each spoonful satisfying.
Keep the Topping Chunky
This might be my favorite tip.
When you mix the melted butter into the oat mixture, stop once you have irregular crumbs. Don’t keep stirring until everything becomes uniform.
The chunky pieces create more texture and give you those crisp little clusters.
Watch the Top Near the End
Every oven behaves a little differently.
If your topping starts browning too quickly, place a loose piece of foil over the dish for the remainder of the baking time.
Don’t wrap it tightly. You simply want to shield the topping while the apples finish cooking.
Make It Ahead for Thanksgiving
You can prepare the apple filling and topping earlier in the day and keep them covered in the refrigerator separately.
When you’re ready to bake, assemble the dessert and place it in the oven.
If the ingredients are very cold, expect the baking time to increase slightly.
You can also bake the dessert earlier in the day and reheat it gently before serving.
Store Leftovers in the Refrigerator
Let the dessert cool, cover it, and refrigerate it for up to 4 days.
The topping will soften somewhat in the refrigerator, but reheating brings some of its texture back.
For the best texture, warm individual portions in the oven or toaster oven rather than relying entirely on the microwave.
Variations & Substitutions
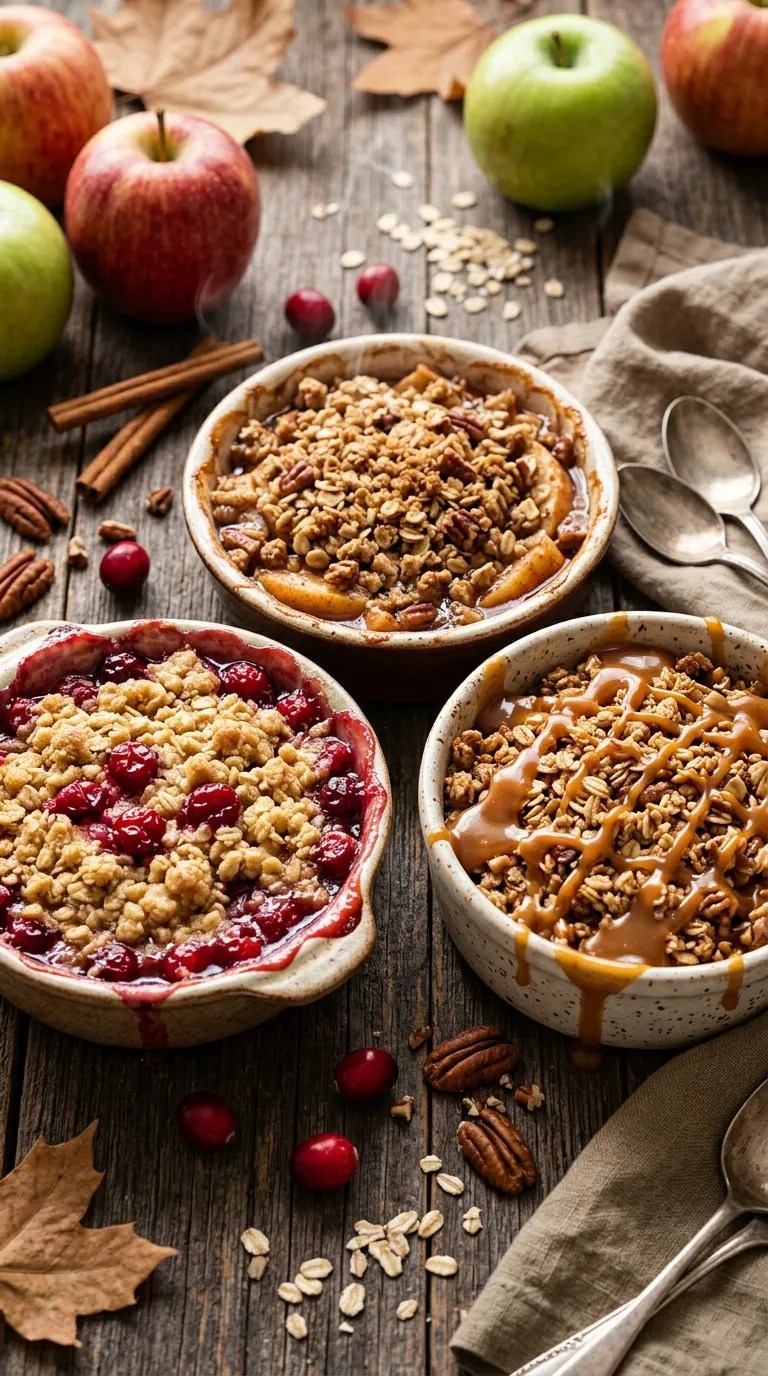
Add Cranberries for a Thanksgiving Twist
For a little extra tartness and color, toss ½ cup fresh or frozen cranberries with the apples.
You may want to add another tablespoon of brown sugar if your apples taste particularly tart.
The cranberry-and-apple combination works especially well on a Thanksgiving table because it brings a bright contrast to all the rich, savory food.
Make It Nut-Free
Simply leave out the pecans or walnuts.
The topping still tastes buttery and crisp without them. If you want extra texture, add a little more oats in their place.
Try a Caramel Apple Version
For a richer dessert, drizzle a small amount of caramel sauce over the baked apples just before serving.
I prefer adding it at the end instead of mixing it into the filling. That way, you can control how sweet each serving becomes.
A scoop of vanilla ice cream plus warm caramel plus cinnamon apples is hard to beat.
Make It Gluten-Free
Use a gluten-free all-purpose flour blend in both the filling and topping.
Choose certified gluten-free oats if you need to avoid gluten cross-contact.
The finished dessert keeps the same cozy oat-and-apple character, so you won’t feel like you’re settling for a completely different dessert.
Serving Suggestions
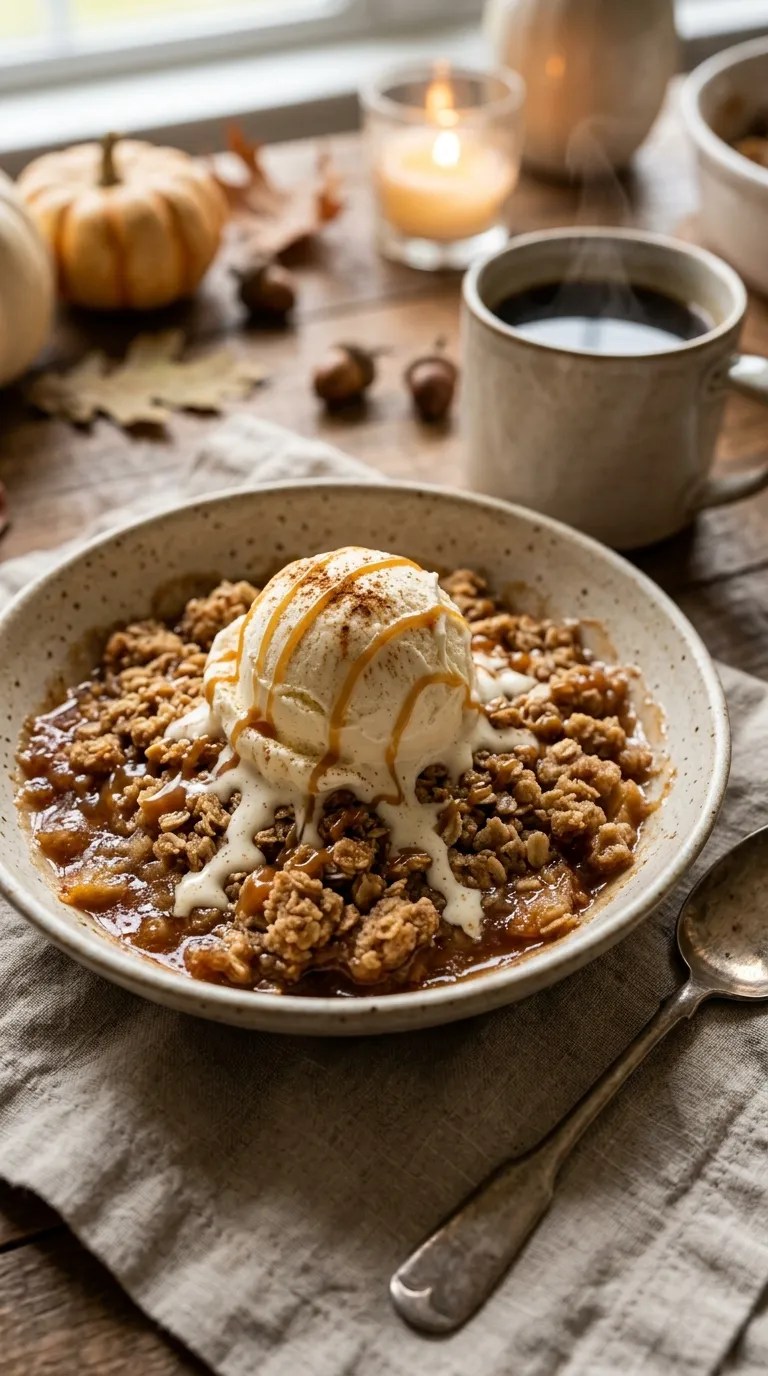
This easy apple dessert for Thanksgiving dinner tastes best while it’s still warm.
My favorite way to serve it is with a scoop of vanilla ice cream right on top. The ice cream melts into the warm apples and crisp topping, creating a creamy sauce as you eat.
For a slightly lighter finish, use whipped cream instead.
You can also serve smaller portions alongside coffee or tea after the main Thanksgiving meal. The warm spices make it particularly nice when everyone settles down for a long conversation around the table.
If you’re hosting a larger Thanksgiving dinner, double the recipe and use a larger baking dish. Just avoid piling the apples too deeply, because a very deep layer can take longer to cook evenly.
This dessert also fits beautifully into a casual Friendsgiving, a fall potluck, or a Sunday family dinner.
And unlike a delicate layer cake, it doesn’t mind looking a little rustic.
Related Recipes:
- Apple Cheesecake With Caramel Sauce – Creamy, Cozy & Irresistible
- Brown Sugar Pecan Pie Bars – Easy Homemade Recipe
- Easy Pumpkin Cheesecake Recipe From Scratch – Cream & Delicious
- Super Moist Pumpkin Bars With Cream Cheese Frosting
- Easy Sheet Pan Pumpkin Bars With Cream Cheese Frosting
FAQ’s
Can I make this apple dessert the day before Thanksgiving?
Yes. Bake it the day before, let it cool, cover it, and refrigerate it.
For serving, warm it in a 325°F oven until heated through. The exact time will depend on how much you’re reheating, so check the center rather than relying only on the clock.
What are the best apples for this dessert?
Granny Smith, Honeycrisp, Pink Lady, Braeburn, and Fuji all work well.
I especially like combining a tart apple with a sweeter apple because the filling develops more balanced flavor.
Avoid using only very soft apples if you want the slices to retain some texture after baking.
Can I use quick oats instead of old-fashioned rolled oats?
You can, but old-fashioned rolled oats give the topping more texture.
Quick oats create a finer, softer topping. If that’s what you have in your pantry, the dessert will still work.
I wouldn’t use steel-cut oats because they need much longer to soften.
Why did my apple filling turn watery?
A little juice bubbling around the edges is completely normal.
If the filling seems unusually thin, the apples may have released more liquid than expected, or the dessert may need a few additional minutes in the oven.
The flour in the filling helps thicken those juices, while resting the dessert after baking gives the filling additional time to set.
Can I freeze apple crisp?
Yes, but the topping may lose some of its original crispness after freezing.
For the best texture, freeze the fully baked and cooled dessert in a well-sealed, freezer-safe container for up to about 3 months.
Thaw it in the refrigerator, then reheat it in the oven until warm.
If you’re making it specifically for a holiday gathering, I prefer preparing it fresh because the topping tastes best that way.
Can I make the topping ahead of time?
Absolutely.
Mix the topping ingredients, cover the bowl, and refrigerate it for up to a couple of days.
When you’re ready to bake, sprinkle the chilled topping over the prepared apples and bake as directed.
This little bit of prep can make Thanksgiving morning much calmer.
Final Thought
There are Thanksgiving desserts that require a quiet kitchen, perfect timing, and a fair amount of concentration.
This isn’t one of them.
That’s why I keep coming back to this easy apple dessert for Thanksgiving dinner. It gives you all the warm, cinnamon-scented comfort I want from a holiday dessert without asking me to spend half the afternoon fussing over it.
The first time I made it, I wasn’t trying to create a new Thanksgiving tradition. I just needed something simple.
Now, when the apples start piling up in the kitchen and the holiday menu gets crowded, I know exactly what I’m making.
Put it in the oven, let the apples bubble away under that golden oat topping, and don’t worry if it comes out looking a little rustic.
Give everyone a spoon, add a scoop of vanilla ice cream, and watch how quickly the dish empties.
And if you make it for your Thanksgiving table, I hope it becomes one of those recipes people quietly expect to see every year.
Leave a Reply
You must be logged in to post a comment.