

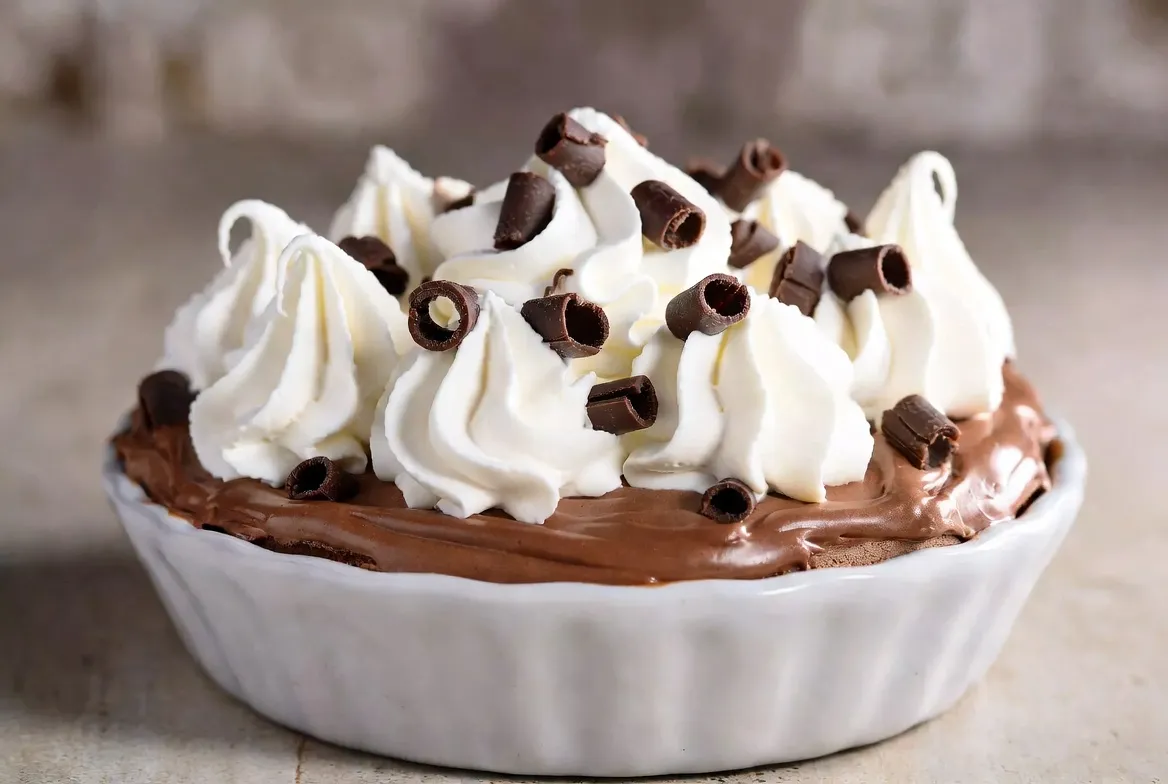
I still remember the first time I pulled a French silk pie from my fridge on a sticky July evening. My sister had just broken up with her boyfriend, and I wanted something that felt like a hug in dessert form. I had never made one before. The filling looked impossibly smooth, almost too perfect, and I kept poking it with a spoon while it chilled, convinced it would somehow collapse. When we finally cut into it, that first silky bite stopped conversation. She looked at me with wide eyes and said, “This tastes like what expensive restaurants try to make.”
I’ve made this pie at least two dozen times since then—birthdays, potlucks, quiet Tuesday nights when I just need chocolate. Every single time, it delivers that same quiet magic.
Why You’ll Love This Recipe

- It tastes like a fancy bakery treat but comes together with pantry staples and zero fancy techniques.
- The filling is light and mousse-like, never heavy or pudding-thick.
- You can make the whole thing a day ahead, so you’re not stressed when guests arrive.
- One pie feeds a crowd and somehow always disappears faster than expected.
- No raw eggs here—everything is gently cooked so you can serve it without worry.
Ingredients List

For the crust
- 1 refrigerated pie crust (the kind that comes rolled up in a box works perfectly)
- Or, if you prefer a cookie crust: 24 Oreo cookies and 5 tablespoons melted unsalted butter
For the chocolate silk filling
- 8 ounces bittersweet or semisweet chocolate (I reach for a good bar like Ghirardelli or Lindt—chop it finely)
- 1 cup heavy whipping cream, cold
- 3 large eggs
- ¾ cup granulated sugar
- Pinch of salt
- ½ cup (1 stick) unsalted butter, softened to room temperature
- 1 teaspoon pure vanilla extract
- Optional but recommended: ½ teaspoon instant espresso powder (it deepens the chocolate without tasting like coffee)
For the whipped cream topping
- 1 cup heavy whipping cream, cold
- 2 tablespoons powdered sugar
- ½ teaspoon vanilla extract
- Chocolate shavings or curls for garnish (just drag a vegetable peeler along a room-temperature chocolate bar)
Simple swaps
If you only have milk chocolate, use it—just know the pie will be sweeter. Dairy-free cream works in a pinch for the whipped portions, though the texture is slightly less stable. And yes, you can use a homemade pastry crust if that’s your thing; just blind-bake it the same way.
Step-by-Step Instructions

Prep the crust.
Preheat your oven to 375°F. Unroll the refrigerated pie crust into a 9-inch pie plate. Press it gently into the bottom and up the sides. Prick the bottom all over with a fork. Line it with parchment paper and fill with pie weights or dried beans. Bake for 15 minutes, then carefully lift out the parchment and weights. Bake another 8–10 minutes until the crust is golden and looks dry. Cool completely on a wire rack. (If you’re going the Oreo route, crush the cookies in a food processor, mix with melted butter, press into the pie plate, and bake 8–10 minutes at 350°F. Cool fully.)
Whip the cream.
Pour 1 cup of the cold heavy cream into a mixing bowl. Using a hand mixer or stand mixer with the whisk attachment, beat on medium-high until stiff peaks form—about 2–3 minutes. The cream should hold its shape when you lift the beaters. Scoop it into a separate bowl and pop it in the fridge. You’ll use this later.
Cook the egg mixture.
In a medium heatproof bowl (glass or stainless steel), whisk together the eggs, sugar, and salt until well combined. Set the bowl over a saucepan of gently simmering water—make sure the bottom of the bowl doesn’t touch the water. Whisk constantly for 6–8 minutes. You’re looking for the mixture to thicken slightly and reach 160°F on an instant-read thermometer. It will look pale and foamy. This step is what keeps everything safe and gives the filling its signature volume.
Melt the chocolate.
Remove the bowl from the heat. Immediately add the finely chopped chocolate and the optional espresso powder. Whisk until the chocolate melts completely and the mixture is smooth and glossy. Let it cool for about 10 minutes, stirring every couple of minutes so a skin doesn’t form. It should feel just warm to the touch, not hot.
Beat in the butter.
In a large mixing bowl (or the bowl of your stand mixer fitted with the paddle), beat the softened butter on medium speed until it’s creamy and light—about 1–2 minutes. With the mixer running, slowly pour in the cooled chocolate mixture. Beat until everything is fully combined and looks silky, scraping the sides of the bowl a couple of times. Add the vanilla and mix just until incorporated.
Fold in the whipped cream.
Take about one-third of the chilled whipped cream and stir it into the chocolate mixture to lighten it. Then gently fold in the remaining whipped cream in two additions. Use a rubber spatula and a light hand—cut down through the middle, scoop under, and fold over. Stop as soon as you no longer see white streaks. The filling should look airy and mousse-like.
Assemble and chill.
Scrape the filling into the completely cooled crust. Smooth the top with an offset spatula or the back of a spoon. Cover loosely with plastic wrap (don’t let it touch the surface) and refrigerate for at least 4 hours, preferably overnight. The longer it sits, the better the texture becomes.
Finish with whipped cream.
Right before serving, whip the remaining 1 cup of cream with the powdered sugar and vanilla until medium-stiff peaks form. Pile or pipe it over the pie. Scatter chocolate shavings on top. Slice with a sharp knife dipped in hot water and wiped clean between cuts for the prettiest pieces.
Pro Tips & Tricks
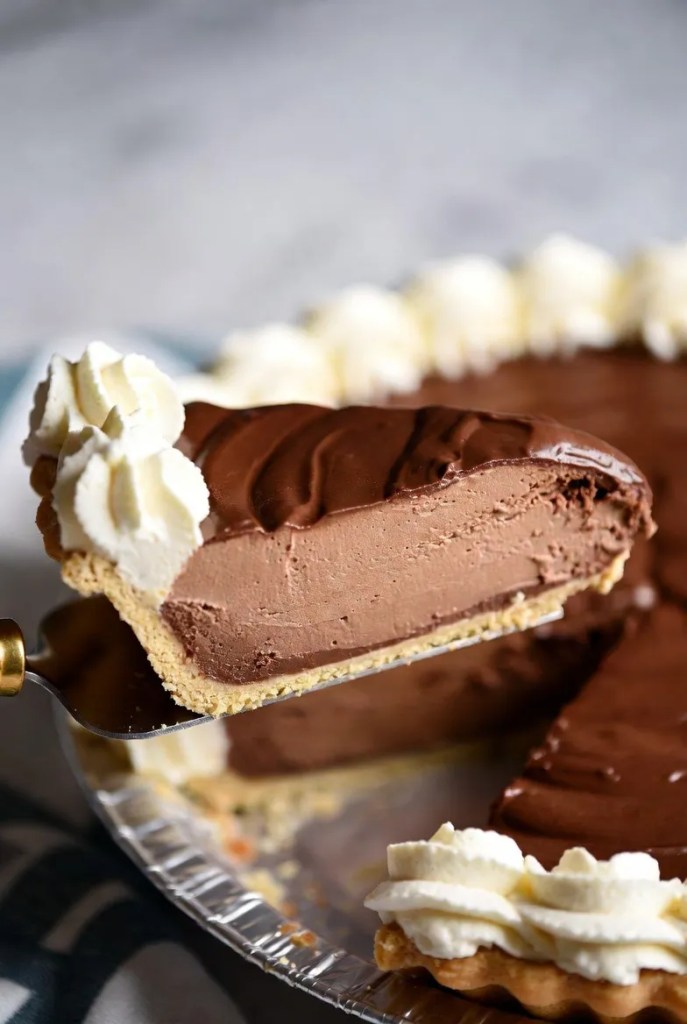
I’ve learned these the hard way so you don’t have to.
- Temperature is everything with the eggs. If you don’t have a thermometer, cook until the mixture coats the back of a spoon and leaves a clear trail when you run your finger through it. Under-cooked eggs can leave the filling a little loose; over-cooked ones scramble. Steady whisking is your friend.
- Room-temperature butter is non-negotiable. Cold butter will seize the chocolate mixture and leave little lumps. I usually set the stick out an hour before I start.
- Don’t rush the chill. I once tried to serve it after only two hours because company arrived early. The slices slumped. Four hours minimum, overnight ideal.
- Make the crust a day ahead if life is chaotic. A fully cooled crust is happier and less likely to get soggy.
- For clean slices, run your knife under hot water, dry it, cut, then repeat. The filling is soft and will stick otherwise.
Variations & Substitutions
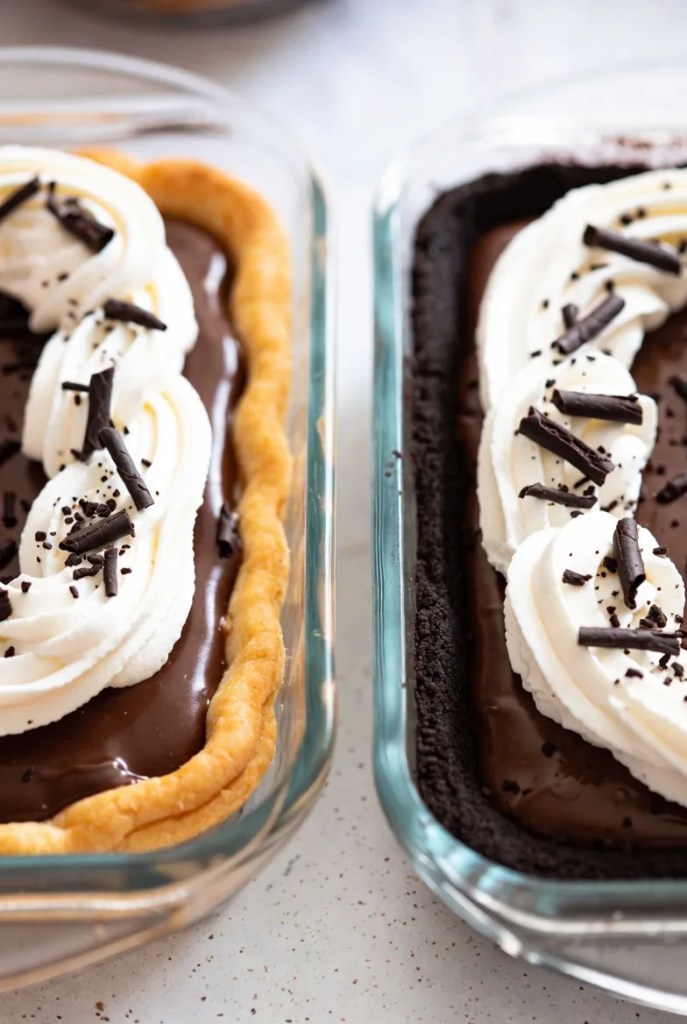
Once you’ve nailed the classic, play a little.
Swap the pastry crust for a simple Oreo cookie crust if you want extra chocolate intensity and zero rolling. Just press and bake—done in ten minutes.
For a deeper mocha vibe, increase the espresso powder to a full teaspoon. The chocolate still shines, but there’s a quiet coffee note that adults go crazy for.
If you need it gluten-free, use a gluten-free refrigerated crust or a crust made from gluten-free chocolate cookies. The filling itself has no flour, so it stays the same.
I’ve even made a version with dark chocolate (70%) for friends who prefer less sweetness. It turns out elegant and almost truffle-like.
Serving Suggestions

This pie feels right at home on a holiday table next to pumpkin or pecan, but I love it most on ordinary nights when someone needs cheering up. Serve it slightly chilled—never frozen solid—with a cup of strong coffee or a glass of cold milk. For a dinner party, add a few fresh raspberries on the side; the tartness cuts the richness perfectly. It’s also perfect for potlucks because it travels well in its pie plate and doesn’t need last-minute fussing beyond the whipped cream.
FAQ’s
How long does French silk pie keep in the fridge?
Covered tightly, it stays wonderful for 3–4 days. The whipped cream topping is best added the day you serve it so it doesn’t weep.
Can I freeze French silk pie?
Yes. Freeze the filled, untopped pie (wrapped well) for up to a month. Thaw overnight in the refrigerator, then add fresh whipped cream and shavings. The texture stays remarkably close to fresh.
What if my filling seems too soft after chilling?
It probably needed more time or the eggs didn’t reach 160°F. Next time, give it the full overnight chill. You can also refrigerate the mixing bowl and beaters before whipping the cream—cold tools make stiffer peaks.
Can I use milk chocolate instead of bittersweet?
Absolutely. The pie will be sweeter and a bit milder. Taste as you go and maybe reduce the sugar by a tablespoon if you like.
Is this safe for pregnant people or kids?
Because the eggs are cooked to 160°F, yes. That’s the temperature that makes them safe. Still, use the freshest eggs you can find.
Can I make this without a stand mixer?
A sturdy hand mixer works just fine. You’ll just need a little extra elbow grease when beating the butter and chocolate together.
Final Thoughts
There’s something deeply satisfying about watching people’s faces when they take that first bite of homemade French silk pie. The way the spoon glides through, the way the chocolate coats your tongue without weighing you down—it never gets old. I’ve shared this recipe with neighbors, mailed it to my sister across the country, and made it for myself on nights when the world felt a little too sharp.
If you try it, I’d love to hear how it turned out. Did you go classic or throw in espresso? Did the slices hold up? Drop a note or tag me if you post a photo. Now go clear a spot in your fridge—this pie is waiting to become one of your kitchen wins, too.
Leave a Reply
You must be logged in to post a comment.