

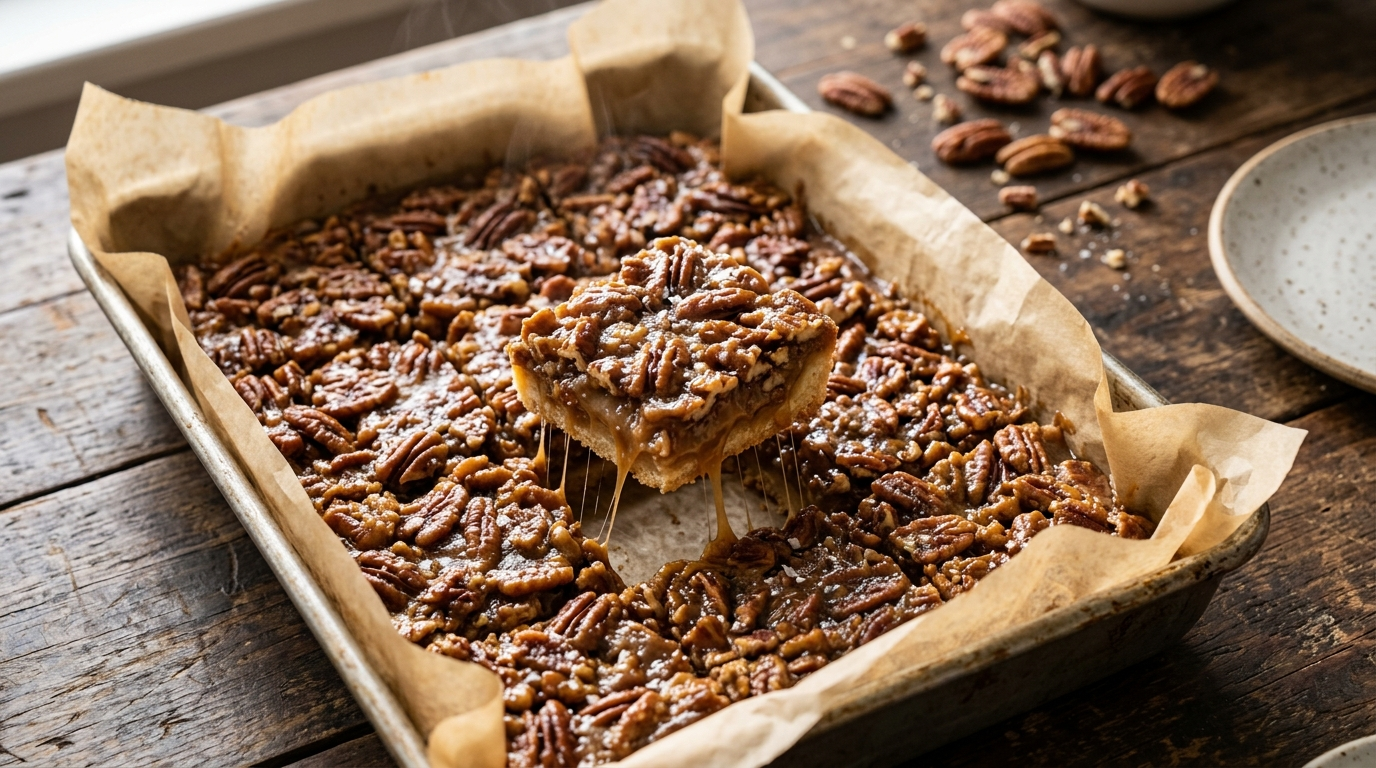
The first time I made these gooey pecan bars, I planned to save them for the weekend. That plan lasted about an hour.
The buttery crust came out of the oven smelling like toasted sugar and warm vanilla, and the pecan topping bubbled around the edges while the center stayed soft. I told myself I would wait until the bars cooled completely before cutting them.
Then I made the mistake of walking past the pan.
One corner somehow became a small square, and that square became two. The next thing I knew, everyone in the kitchen wanted “just one little piece.”
I have made these bars many times since then, and I have learned that patience matters. The center needs time to set, and the crust needs enough color to hold up beneath that rich pecan filling. When you get those two things right, you end up with a dessert that tastes like a cross between a pecan pie and a buttery shortbread cookie.
That combination is exactly why I keep coming back to this recipe.
Why You’ll Love This Recipe

- The crust uses simple pantry staples. You don’t need a complicated pastry technique.
- The filling stays wonderfully gooey. The middle sets enough to slice while keeping that soft, caramel-like texture.
- You can make it ahead. The bars actually become easier to cut after they rest.
- They travel well. Pack them for a potluck, bake sale, family gathering, or lunchbox treat.
- The pecans do most of the heavy lifting. Toast them lightly, and their flavor becomes even better.
Ingredients
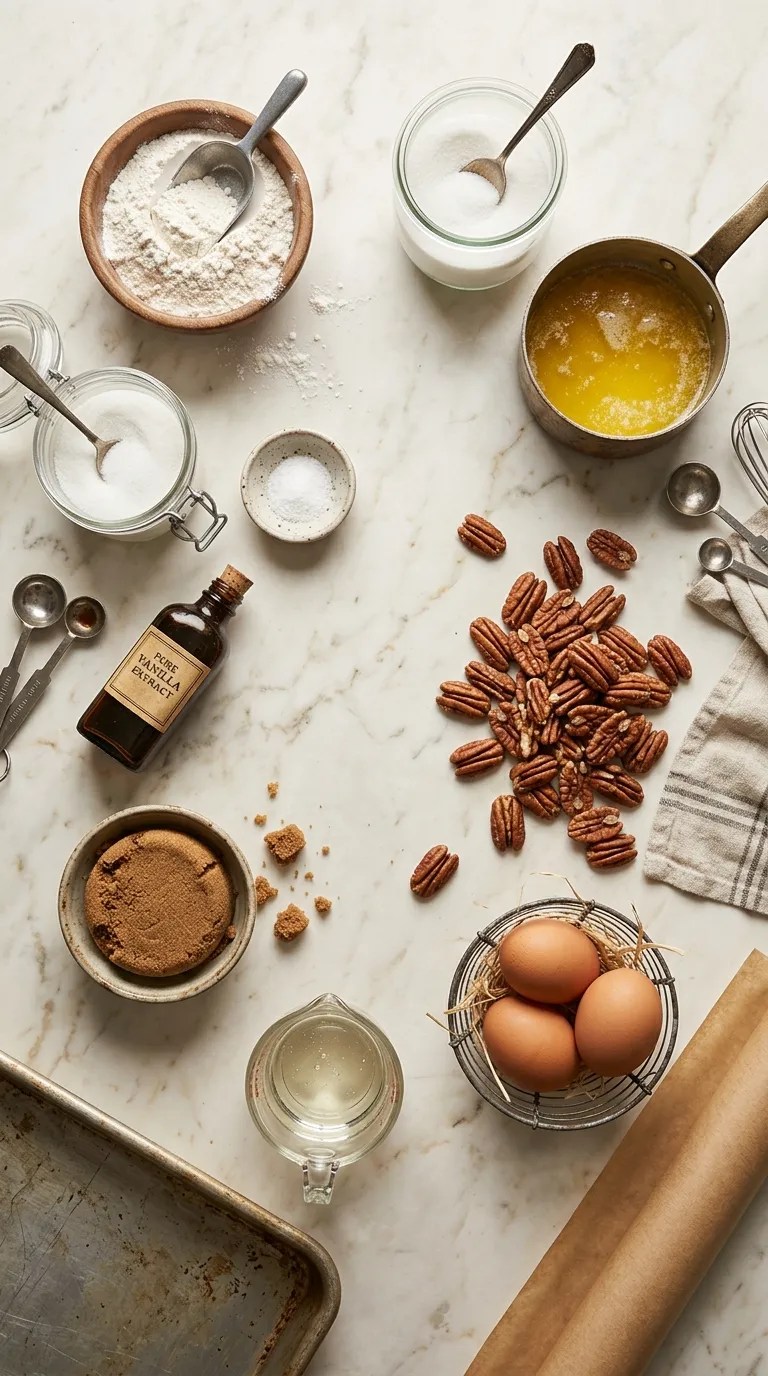
I use a 9-by-13-inch metal baking pan for this recipe. A metal pan gives the crust a nice golden edge and helps the bars bake evenly.
For the Buttery Crust
- 2 cups (250 g) all-purpose flour
- 1/2 cup (100 g) granulated sugar
- 1/2 teaspoon fine salt
- 1 cup (226 g) unsalted butter, melted and slightly cooled
- 1 teaspoon pure vanilla extract
You can use salted butter if that’s what you have. Just reduce the added salt slightly.
For a gluten-free version, use a good-quality 1-to-1 gluten-free baking flour that contains xanthan gum. I prefer a blend designed specifically for baking rather than using a single gluten-free flour such as almond flour.
For the Gooey Pecan Filling
- 1 cup (200 g) packed light brown sugar
- 1/2 cup (120 ml) light corn syrup
- 1/2 cup (113 g) unsalted butter, melted
- 3 large eggs
- 2 teaspoons pure vanilla extract
- 1/2 teaspoon fine salt
- 3 cups (about 330 g) pecan halves or pieces
You can use dark brown sugar instead of light brown sugar for a deeper molasses flavor. I often use a mixture of pecan halves and roughly chopped pecans because the smaller pieces fill the spaces between the larger nuts.
Optional Finishing Touch
- Flaky sea salt, for sprinkling
- A little whipped cream or vanilla ice cream, for serving
The flaky salt isn’t essential, but I love what it does here. A tiny sprinkle cuts through the sweetness and makes the buttery pecan flavor stand out.
Step-by-Step Instructions
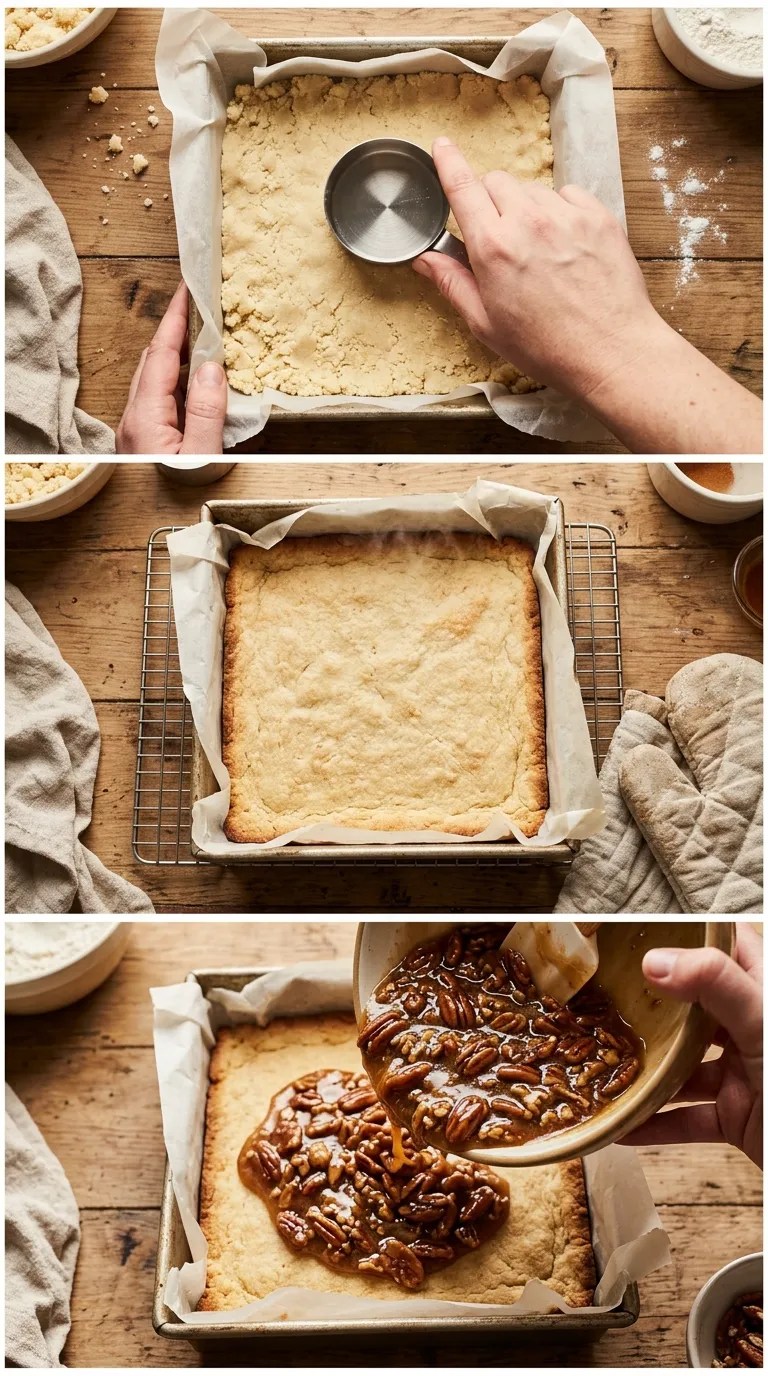
1. Heat the Oven and Prepare the Pan
Preheat your oven to 350°F (175°C).
Line a 9-by-13-inch baking pan with parchment paper, leaving some paper hanging over two sides. Lightly grease the parchment and exposed sides of the pan.
The parchment overhang gives you handles later. Trust me, you’ll appreciate them when you’re lifting out a pan of sticky pecan bars.
2. Mix the Crust
In a medium mixing bowl, whisk together the flour, granulated sugar, and salt.
Pour in the melted butter and vanilla. Stir with a wooden spoon or sturdy spatula until the mixture forms a soft, crumbly dough.
It won’t look like traditional cookie dough. Instead, it should resemble damp crumbs that hold together when you squeeze them.
That’s exactly what you want.
3. Press the Crust Into the Pan
Tip the dough into your prepared pan.
Press it firmly and evenly across the bottom. I like to use the flat bottom of a measuring cup to create an even layer, but your hands work perfectly well too.
Don’t leave thin spots around the edges. The filling can seep underneath the crust if you leave gaps.
4. Bake the Crust
Bake the crust for 18–22 minutes, or until the edges turn lightly golden and the surface looks set.
The crust doesn’t need to become deeply brown at this stage because it will bake again with the pecan filling.
When you pull it from the oven, let it sit while you prepare the topping.
5. Prepare the Gooey Filling
While the crust bakes, melt the butter if you haven’t already.
In a large bowl, whisk together the brown sugar, corn syrup, melted butter, eggs, vanilla, and salt.
Whisk until everything looks smooth and glossy.
Don’t whip the mixture aggressively. You don’t need lots of air in the filling. A gentle, thorough whisk gives you the texture we’re after.
6. Add the Pecans
Stir the pecans into the filling.
If you have a few extra minutes, toast the pecans before adding them. Spread them on a baking sheet and toast them at 350°F for about 6–8 minutes, watching carefully.
I discovered this little upgrade after making the bars several times. Toasted pecans give the finished dessert a noticeably richer, nuttier flavor.
Let them cool briefly before stirring them into the filling.
7. Pour the Filling Over the Crust
Pour the pecan mixture over the warm crust.
Use a spatula to spread the nuts evenly so every future square gets a generous amount.
The filling should look quite loose at this point. Don’t worry if you think it looks too liquidy. The eggs and sugar will transform it as it bakes.
8. Bake Until the Center Looks Set
Return the pan to the oven and bake for 25–32 minutes.
Start checking around the 25-minute mark.
The edges should look puffed and set, while the center should still have a slight jiggle when you gently move the pan.
Think soft wobble, not liquid sloshing.
This is one of the most important visual cues in the entire recipe. If you wait until the center looks completely firm in the oven, your bars may lose some of that lovely gooey texture once they cool.
9. Cool Completely
Place the pan on a wire rack and let the bars cool for at least 2 hours.
I know. Waiting is the hardest part.
But don’t rush this step.
The filling continues to set as it cools, and cutting too early can turn your neat squares into a delicious but messy pile of pecans and caramel.
If you have time, refrigerate the cooled pan for about 30–60 minutes before slicing. The chilled filling cuts beautifully.
10. Slice and Serve
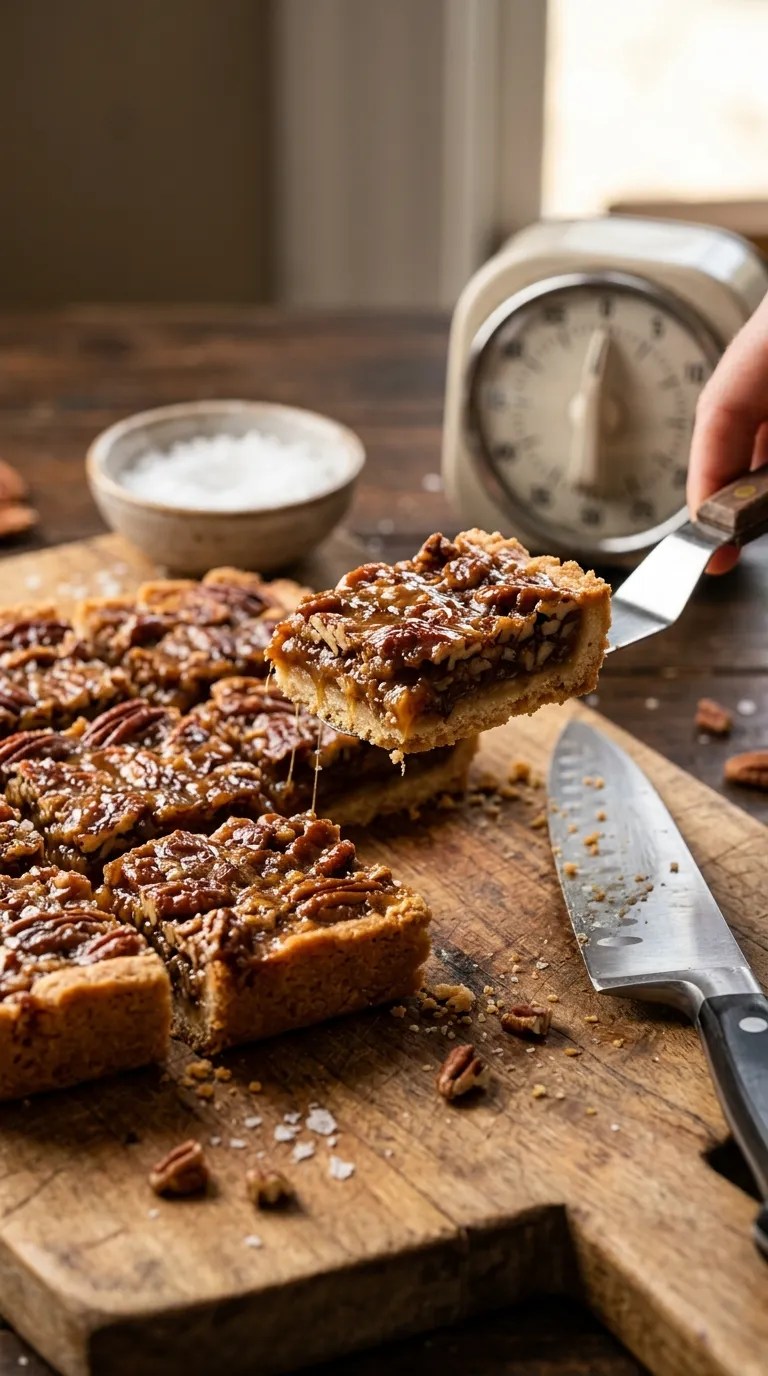
Use the parchment handles to lift the entire slab from the pan.
Place it on a cutting board and use a sharp knife to cut it into squares or rectangles.
For cleaner cuts, wipe the knife between slices.
If you like a little contrast, sprinkle the bars with flaky sea salt just before serving.
And if you’re serving them warm, add a scoop of vanilla ice cream.
That’s a combination I have never regretted.
Pro Tips & Tricks
Don’t Skip the Crust Bake
The short pre-bake gives the buttery crust enough structure to support the gooey topping.
If you pour the filling onto completely unbaked crust, you can end up with a softer base that doesn’t slice as neatly.
Watch the Edges During the Second Bake
The edges naturally cook faster than the center.
If the perimeter becomes very dark while the middle still looks loose, loosely cover the pan with foil for the remaining baking time.
Don’t press the foil onto the filling. Simply tent it over the top.
Let the Bars Cool Before Cutting
This deserves repeating.
Warm pecan bars taste fantastic, but they won’t give you those clean bakery-style squares while they’re hot.
For tidy slices, cool them completely and chill them briefly.
Don’t Overbake Them
The filling should look set around the edges and gently jiggle in the middle.
It will firm up as it cools.
Overbaking can turn the soft center from pleasantly gooey to firm and chewy. They’re still tasty, but you lose the texture that makes these bars special.
Store Them Properly
Once completely cool, cover the bars tightly and store them in the refrigerator for up to 5 days.
Bring them toward room temperature before serving for a softer texture.
You can also warm an individual bar gently in the microwave for about 10–15 seconds. Keep the heating brief because the filling becomes very hot and soft.
Make Them Ahead
These bars work beautifully as a make-ahead dessert.
Bake them the day before you need them, let them cool completely, cover them, and refrigerate.
The next day, slice them and let them sit at room temperature for a little while before serving.
Variations & Substitutions
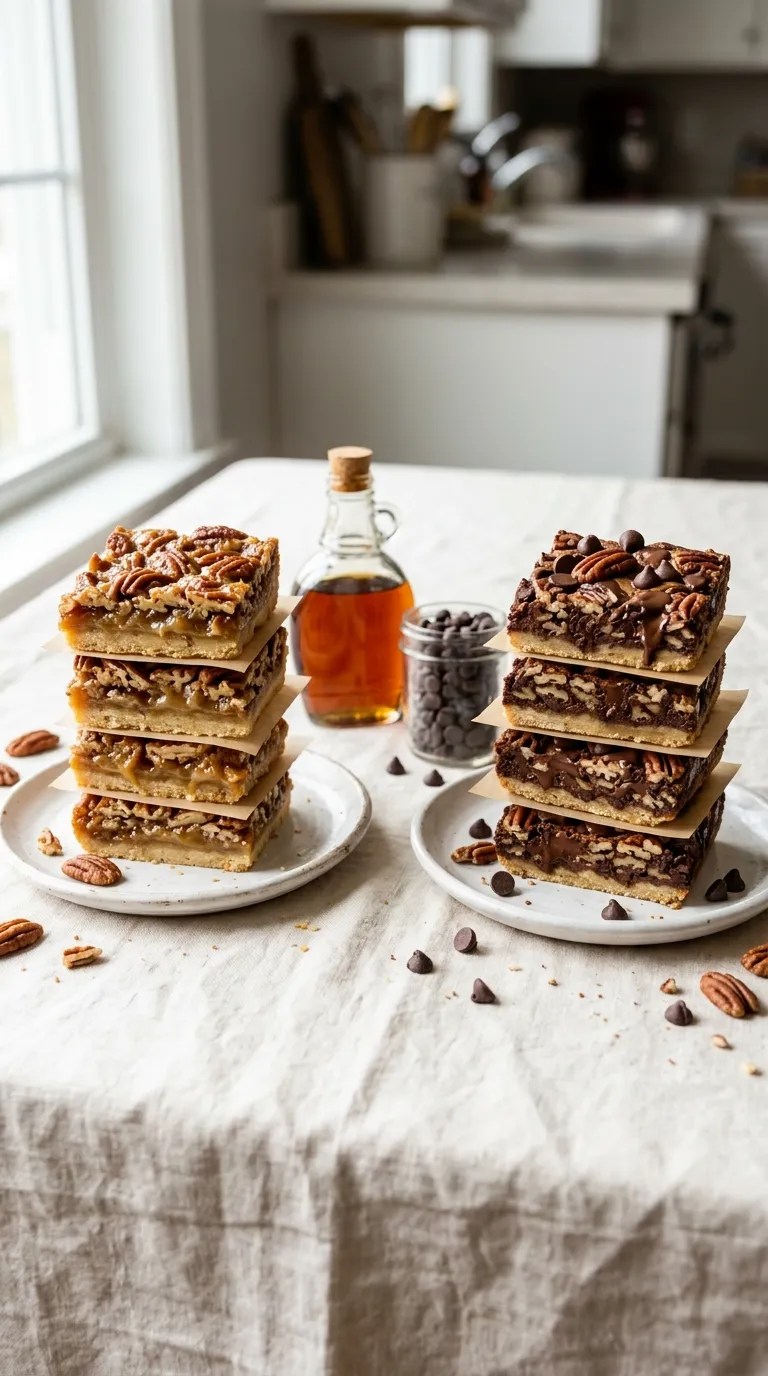
Chocolate Pecan Bars
For a chocolate version, scatter 1/2 cup of semisweet chocolate chips over the baked crust before pouring in the pecan filling.
The chocolate melts into little pockets throughout the bars and pairs especially well with the toasted pecans.
Maple Pecan Bars
Replace about half of the corn syrup with pure maple syrup.
The texture may vary slightly, but you’ll get a lovely maple note that works naturally with pecans.
Use real maple syrup rather than pancake syrup if you want the maple flavor to come through clearly.
Gluten-Free Pecan Bars
Use a 1-to-1 gluten-free all-purpose baking flour in the crust.
Check the flour’s package directions and make sure it works as a direct replacement for wheat flour. The filling itself doesn’t require flour, so the main adjustment happens in the crust.
I wouldn’t replace the butter with a random oil. The butter plays an important role in the flavor and structure of the base.
Serving Suggestions

These bars fit almost any dessert table because you can dress them up or keep them completely casual.
For a simple afternoon treat, serve one with coffee or tea. The slightly bitter drink balances the sweet pecan filling nicely.
For a dinner party, warm the bars gently and serve them with vanilla ice cream. Add a small pinch of flaky salt right before serving.
For holidays, cut the bars into smaller squares and arrange them on a platter alongside other cookies and bite-size desserts.
They’re also a great choice for potlucks because you can bake them in advance and transport the whole chilled slab before slicing it at your destination.
If you’re packing them for a bake sale, let them cool completely and cut them into uniform pieces. Place small squares of parchment between layers so the sticky tops don’t cling together.
Related Recipes:
- How to Make Caramel Apple Streusel Cheesecake
- How to Make Pecan Pie Cheesecake From Scratch
- Southern Pecan Pie Cheesecake for Thanksgiving
- Easy Pumpkin Cupcake Recipe for Fall Baking
- Homemade Pumpkin Cupcake With Cinnamon
FAQ’s
Can I make these pecan bars without corn syrup?
Yes, although the texture will change somewhat.
Corn syrup helps create the characteristic smooth, sticky filling. You can experiment with maple syrup or another liquid sweetener, but don’t expect the finished bars to have exactly the same texture.
Why is my pecan bar filling still runny?
The most common reason is that the bars haven’t cooled enough.
The filling remains soft immediately after baking and continues to set as it cools.
If the bars have completely cooled and still seem unusually loose, they may need a little more baking time. Next time, look for a gently wobbly center rather than a liquid-looking center before removing the pan.
Can I use chopped pecans instead of pecan halves?
Absolutely.
Chopped pecans make the bars easier to cut and distribute more evenly through the filling. I personally like using a mixture of chopped pecans and larger pieces because I enjoy getting a few substantial pecan pieces in each bite.
Can I prepare the bars the day before?
Yes. In fact, I recommend it when you’re serving them to guests.
Bake them the day before, cool them completely, cover them, and refrigerate. Slice them the next day.
The chilled bars also give you cleaner edges.
Can I freeze gooey pecan bars?
Yes.
Cool them completely, cut them into individual pieces, and wrap them tightly. Place the wrapped bars in a freezer-safe container or bag.
For the best texture, use them within about 2–3 months.
Thaw them in the refrigerator and then bring them closer to room temperature before serving.
What should I do if the crust looks pale?
A pale crust isn’t necessarily a problem.
The crust gets another round of baking beneath the pecan filling, so you don’t want to bake it until deeply browned during the first stage.
Look for lightly golden edges and a surface that feels set.
Final Thought
There are desserts that require an entire afternoon, a long ingredient list, and a kitchen full of dishes.
These aren’t those bars.
Gooey pecan bars give you that rich, special-occasion feeling without asking you to make an elaborate pastry. The buttery crust comes together quickly, the pecan filling needs only a bowl and a whisk, and the oven handles most of the work.
My biggest piece of advice is simple: don’t cut them too soon.
Give the bars time to cool, let the filling settle, and then slice them into generous squares. You’ll get a tender, buttery base, plenty of toasted pecans, and that soft center that makes you reach for another piece.
And if someone wanders into your kitchen while they’re cooling and asks whether they can have one, you can decide whether you’re feeling generous.
I usually am.
At least after I save one for myself.
Leave a Reply
You must be logged in to post a comment.