

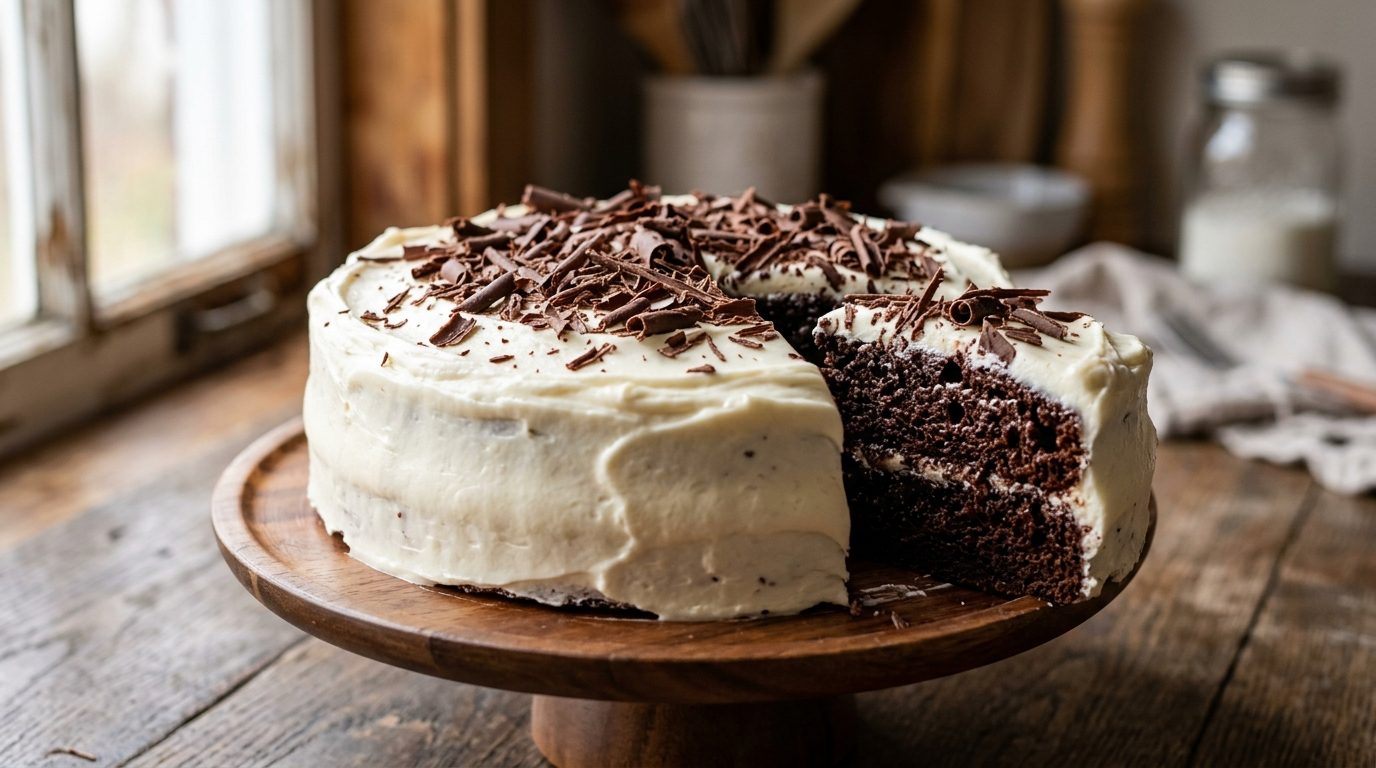
The first time I made this Hershey Bar Cake with Cream Cheese Frosting, I honestly expected it to be good. I did not expect everyone to hover around the cake stand waiting for me to cut the next slice.
That creamy chocolate smell started filling my kitchen while the cake baked, and I knew I had a winner before the frosting even touched it. Then I added the cream cheese frosting, took one bite, and immediately understood why chocolate bar cakes have such a loyal following.
I have made this cake many times since then, and I have learned a few things the hard way. The biggest one? Don’t rush the cooling process. Warm cake and cream cheese frosting are not exactly best friends. I learned that after watching a beautiful layer of frosting slowly slide down the side of the cake. Lesson learned.
This cake has a soft, rich crumb with little bursts of chocolate throughout. The cream cheese frosting adds a tangy sweetness that keeps the chocolate from feeling too heavy. It works beautifully for birthdays, family dinners, holidays, potlucks, or those completely reasonable occasions when you simply want cake.
And yes, sneaking a tiny piece from the corner while frosting it absolutely counts as quality control.
Why You’ll Love This Recipe

- Rich chocolate flavor: Melted chocolate bars give the cake a deeper chocolate taste than a basic cocoa cake.
- Soft and tender crumb: Sour cream keeps the cake moist without making it heavy.
- Cream cheese frosting: The slightly tangy frosting balances the sweetness beautifully.
- Great for sharing: This cake makes enough for a crowd, which makes it perfect for gatherings.
- Make-ahead friendly: You can bake the cake a day ahead and frost it once completely cool.
- No fancy decorating skills needed: A generous swirl of frosting looks homemade and inviting.
- It tastes even better the next day: The flavors settle together beautifully after a night in the refrigerator.
Ingredients
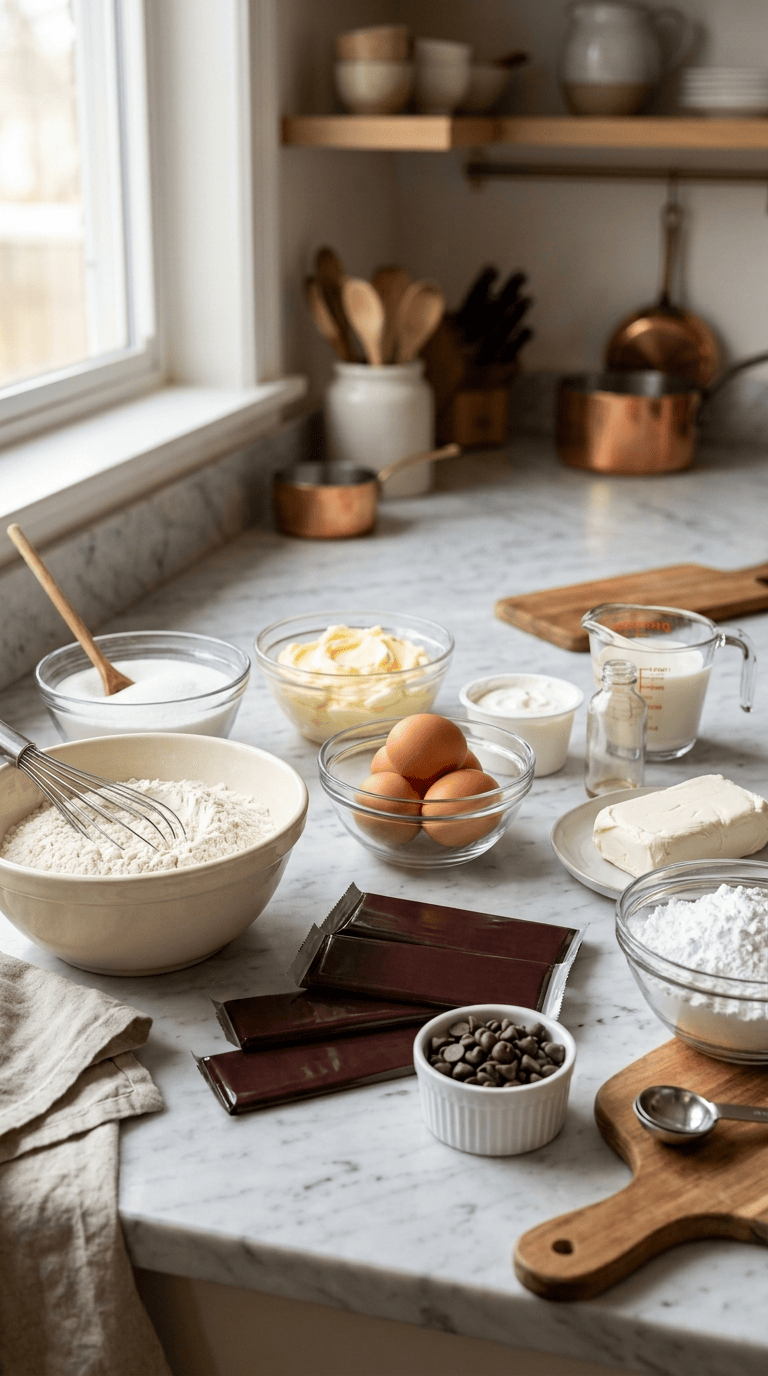
For the Hershey Bar Cake
- 6 regular-size milk chocolate candy bars, about 1.55 ounces each, broken into pieces
- 1 cup unsalted butter, softened
- 2 cups granulated sugar
- 4 large eggs, room temperature
- 2 teaspoons vanilla extract
- 2 1/2 cups all-purpose flour
- 1 teaspoon baking soda
- 1/2 teaspoon salt
- 1 cup sour cream, room temperature
- 1/2 cup buttermilk, room temperature
You can use regular milk chocolate bars for the classic flavor. If you prefer darker chocolate, semisweet chocolate bars work too, although they will give the cake a slightly less sweet and more intense chocolate taste.
If you don’t have buttermilk, add 1 1/2 teaspoons of lemon juice or white vinegar to 1/2 cup of milk. Let it sit for about 5 minutes before using it.
For the Cream Cheese Frosting
- 8 ounces full-fat cream cheese, softened
- 1/2 cup unsalted butter, softened
- 4 cups powdered sugar, sifted
- 2 teaspoons vanilla extract
- 1–2 tablespoons heavy cream or milk, as needed
- Pinch of salt
For the smoothest frosting, use full-fat block cream cheese rather than spreadable tub-style cream cheese. The tub varieties often contain extra moisture, which can make frosting softer than you want.
Optional Garnishes
- Chocolate bar pieces
- Chocolate curls
- Mini chocolate chips
- Finely chopped chocolate
- Light dusting of powdered sugar
You don’t need any of these, but a few chocolate pieces scattered over the frosting make the cake look especially inviting.
Step-by-Step Instructions
1. Prepare Your Pans — About 5 Minutes
Preheat your oven to 350°F (175°C).
Grease and flour a 9×13-inch baking pan. You can also line the bottom with parchment paper if you want an easier release.
I like using a metal 9×13-inch pan for this cake because it gives me consistent baking results. If you use a glass baking dish, keep an eye on the cake toward the end because baking time can vary slightly.
2. Melt the Chocolate Bars — About 3–5 Minutes
Place the broken chocolate bars in a microwave-safe bowl.
Microwave them in 15–20 second intervals, stirring well after each interval. Stop as soon as the chocolate looks mostly melted and stir until completely smooth.
Don’t keep microwaving the chocolate until it looks completely liquid. The remaining heat will finish the job while you stir.
Set the melted chocolate aside for a few minutes so it can cool slightly.
3. Cream the Butter and Sugar — About 3–4 Minutes
Add the softened butter and granulated sugar to a large mixing bowl.
Using a hand mixer or stand mixer, beat them together on medium speed for about 3–4 minutes.
The mixture should look lighter, fluffy, and creamy.
This step matters more than it seems. Properly creaming the butter and sugar helps create a lighter cake texture, so don’t rush through it.
4. Add the Eggs and Vanilla — About 2 Minutes
Add the eggs one at a time, mixing well after each addition.
Scrape down the sides of the bowl as needed.
Add the vanilla extract and mix briefly.
If the batter looks slightly curdled at this point, don’t panic. Once you add the dry ingredients and other ingredients, it should come together.
5. Add the Melted Chocolate
Slowly pour the slightly cooled melted chocolate into the batter.
Mix on low speed until everything looks evenly chocolatey.
Don’t add scorching-hot chocolate directly to the butter mixture. Let it cool enough that it won’t melt the butter or partially cook the eggs.
6. Combine the Dry Ingredients — About 2 Minutes
In a separate bowl, whisk together the flour, baking soda, and salt.
Give it a good stir so the baking soda and salt distribute evenly throughout the flour.
7. Alternate the Dry Ingredients and Dairy
Add about one-third of the flour mixture to the chocolate batter.
Mix briefly.
Add half of the sour cream and half of the buttermilk.
Mix again.
Continue alternating until everything is incorporated, finishing with the dry ingredients.
Don’t overmix the batter. Stop as soon as you no longer see streaks of flour.
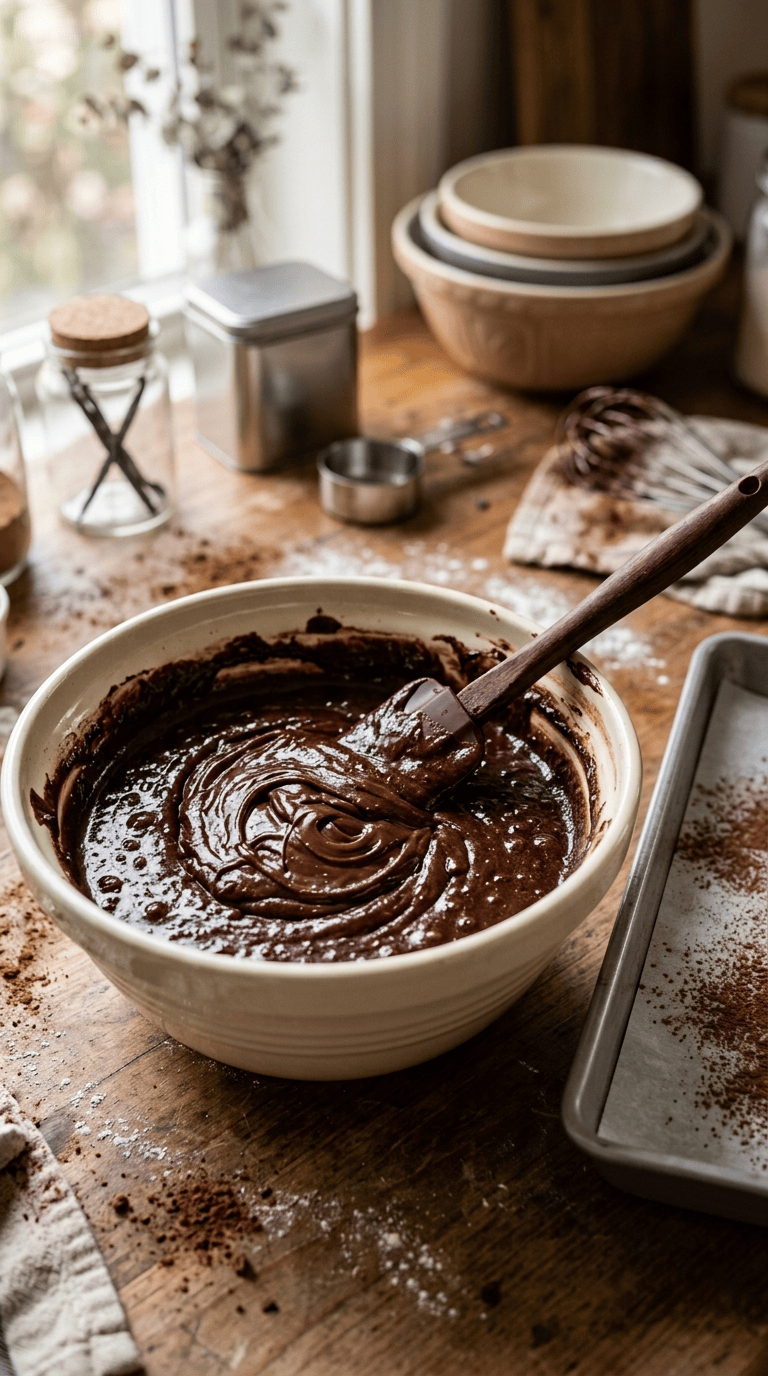
The finished batter should look thick, smooth, and glossy.
8. Bake the Cake — About 35–45 Minutes
Pour the batter into your prepared pan and smooth the top with a spatula.
Place the pan in the center of the preheated oven.
Bake for approximately 35–45 minutes, depending on your oven and pan.
Start checking around 35 minutes.
Insert a toothpick into the center. It should come out with a few moist crumbs but no wet batter.
Don’t wait until the toothpick comes out completely dry. That usually means the cake has baked a little too long.
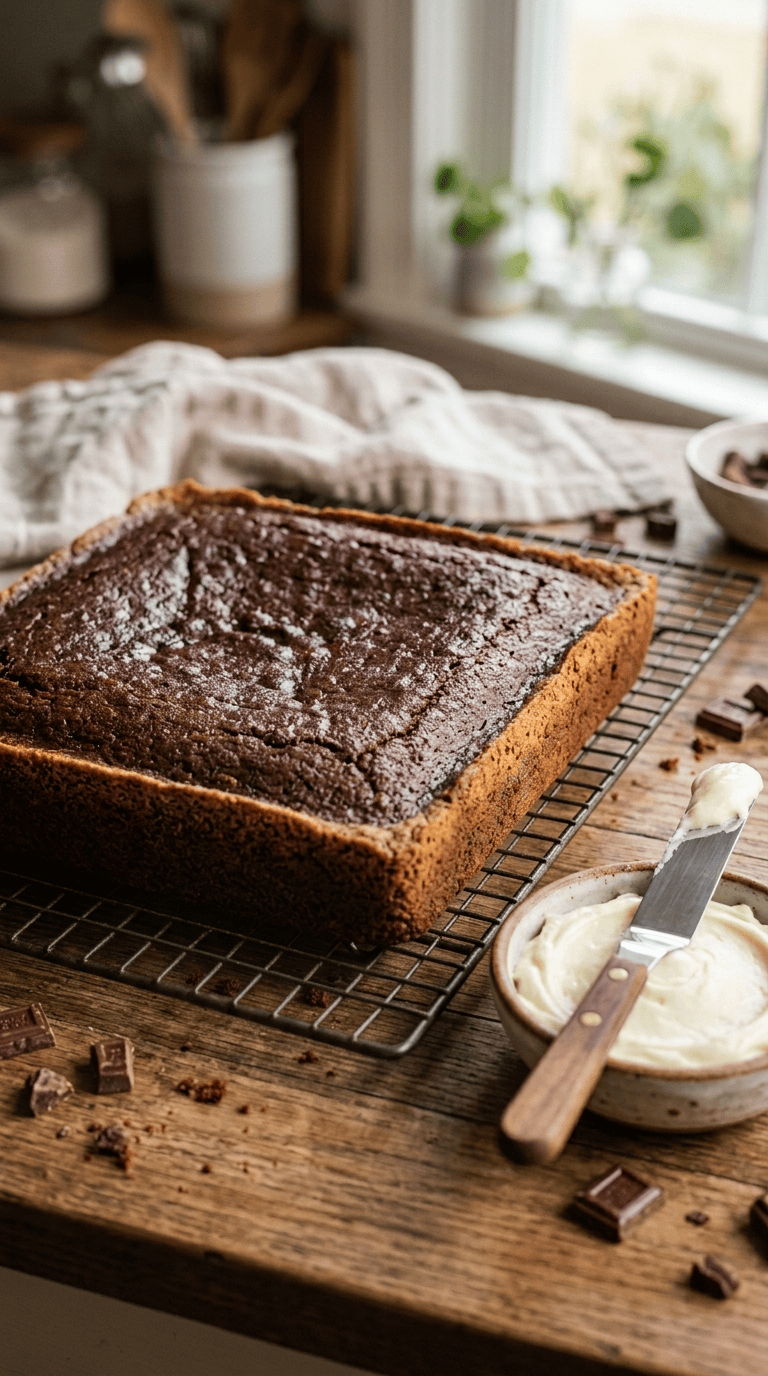
9. Cool Completely — At Least 1 Hour
Let the cake cool in the pan for about 10–15 minutes.
Then place it on a cooling rack if you want to remove it from the pan, or simply let it continue cooling in the pan.
Allow it to cool completely before frosting.
I know that waiting is annoying when your kitchen smells like chocolate heaven, but trust me. If you frost a warm cake, the cream cheese frosting can soften and slide right off.
10. Make the Cream Cheese Frosting — About 5 Minutes
Add the softened cream cheese and butter to a mixing bowl.
Beat them together until completely smooth and creamy.
Add the powdered sugar one cup at a time, mixing on low speed at first to avoid a powdered-sugar cloud covering your kitchen.
Add the vanilla and salt.
Beat the frosting for another 1–2 minutes until fluffy.
If the frosting feels too thick, add heavy cream or milk one teaspoon at a time.
If it feels too soft, add a little more powdered sugar.
11. Frost the Cake
Once the cake has cooled completely, spread the cream cheese frosting over the top.
You can make the frosting perfectly smooth, or you can create casual swirls with the back of a spoon or an offset spatula.
For a little extra chocolate drama, sprinkle chopped chocolate or chocolate curls over the frosting.
Then slice and serve.
And don’t be surprised if somebody asks whether they can take the corner piece.
Pro Tips & Tricks
Bring Your Ingredients to Room Temperature
Room-temperature butter, eggs, sour cream, and cream cheese blend much more easily.
Cold ingredients can create a lumpy batter or frosting, and nobody wants to wrestle with cream cheese frosting at 9 p.m.
Don’t Overbake the Cake
This cake should stay soft and tender.
Start checking it around the 35-minute mark. Every oven behaves a little differently, so use the toothpick test rather than blindly following the clock.
Cool the Cake Before Frosting
This is probably my biggest tip.
A completely cooled cake gives you thick, pretty frosting instead of frosting that melts into a shiny puddle.
If you’re short on time, place the cooled cake in the refrigerator for a little while before frosting.
Don’t Overmix
Once you add the flour, mix only until the ingredients come together.
Overmixing can make the cake denser instead of soft and tender.
Use Block Cream Cheese
For the frosting, choose full-fat block cream cheese.
Tub-style cream cheese often contains more moisture and can produce a softer frosting that doesn’t hold its shape as well.
Make It Ahead
You can bake the cake one day ahead.
Once it cools completely, cover it tightly and store it at room temperature if you’re waiting only until the next day and haven’t frosted it yet.
You can also prepare the frosting ahead and refrigerate it. Let it soften slightly before spreading.
Storage
Because the cake has cream cheese frosting, store leftovers in the refrigerator.
Cover the cake tightly or place individual slices in an airtight container.
It should keep well for about 4–5 days when properly refrigerated.
For the best texture, let a slice sit at room temperature for about 15–20 minutes before eating.
Variations & Substitutions
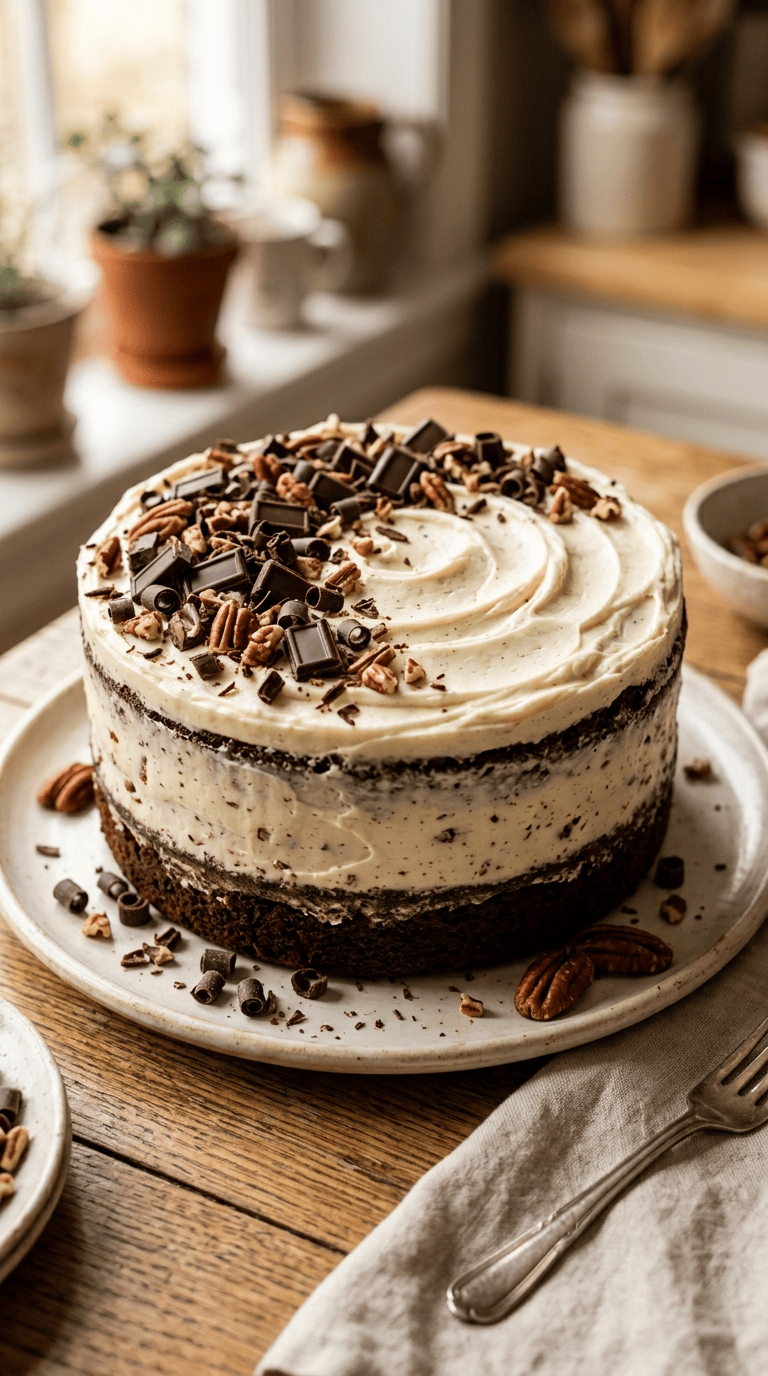
Make It Extra Chocolatey
If you’re the type of person who believes there is no such thing as too much chocolate, sprinkle mini chocolate chips into the batter.
You can also add chocolate shavings over the frosting.
For an even deeper chocolate flavor, use semisweet or dark chocolate bars instead of milk chocolate.
Add Chopped Pecans
Fold about 3/4 cup of finely chopped pecans into the batter.
The nuts add a little crunch and work especially well with the creamy frosting.
You can also sprinkle toasted pecans over the finished cake.
Turn It Into a Layer Cake
For a more special occasion, divide the batter between two greased 9-inch round cake pans.
Bake until the centers spring back lightly when touched and a toothpick comes out with a few moist crumbs.
Cool the layers completely, then use the cream cheese frosting between the layers and over the top.
Keep a little extra frosting around because layer cakes always seem to demand it.
Gluten-Free Option
Use a reliable cup-for-cup gluten-free all-purpose flour blend that includes a suitable binder.
Different gluten-free blends behave differently, so follow the package instructions when substitutions are recommended.
Add a Little Coffee
For a richer chocolate flavor, replace part of the buttermilk with cooled strong coffee.
Coffee can intensify chocolate flavor without making the cake taste strongly like coffee.
I especially like this trick when using darker chocolate bars.
Serving Suggestions
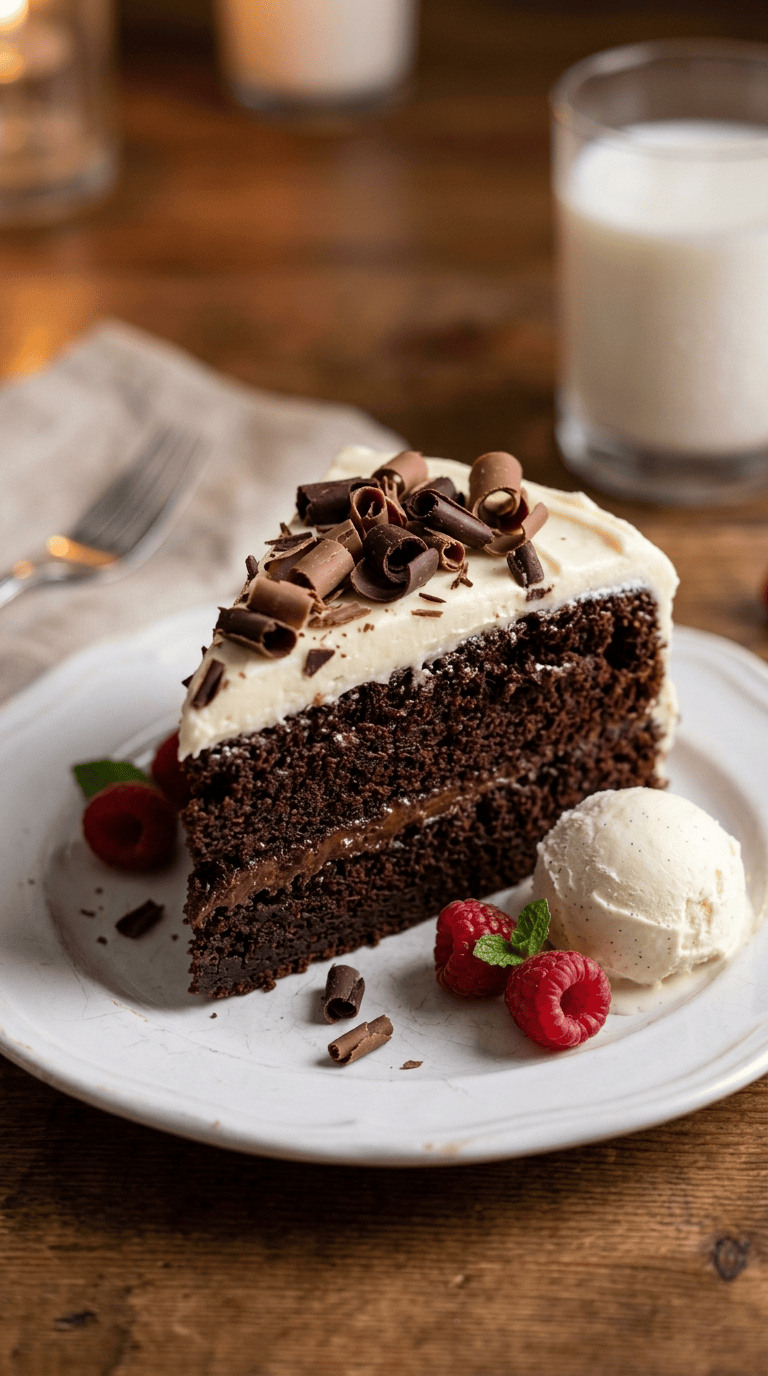
This Hershey Bar Cake makes an easy dessert for family dinners, birthday celebrations, church gatherings, potlucks, holiday tables, and casual weekend baking.
Serve each slice with a cold glass of milk for the classic combination.
For a dinner-party version, add a small scoop of vanilla ice cream beside each slice. The cold ice cream slowly melts into the chocolate cake, and honestly, that combination is hard to beat.
Fresh strawberries or raspberries also add a bright contrast to the rich cake.
For holidays, decorate the top with chocolate curls, chopped nuts, or seasonal sprinkles.
If you’re serving it at a gathering, cut the cake into smaller squares. This cake is rich enough that smaller pieces still feel satisfying.
And save one slice for yourself before putting the cake out.
I say this from experience.
FAQ’s
Can I make Hershey Bar Cake a day ahead?
Absolutely. In fact, making it a day ahead can make serving easier. Bake the cake, let it cool completely, cover it tightly, and refrigerate it once frosted. Let the cake sit at room temperature for about 15–20 minutes before serving for the best texture.
How should I store Hershey Bar Cake with cream cheese frosting?
Store the frosted cake in the refrigerator because of the cream cheese frosting. Cover the cake tightly or keep it in an airtight container. It should stay enjoyable for about 4–5 days.
Can I freeze this cake?
Yes. The unfrosted cake freezes especially well. Wrap the completely cooled cake tightly in plastic wrap, followed by aluminum foil, and freeze for up to about 2–3 months.
Thaw it in the refrigerator overnight before frosting.
You can also freeze individual frosted slices, although the frosting may lose a little of its original texture after thawing.
Why did my cake turn out dry?
The most common reason is overbaking.
Start checking the cake before the minimum baking time ends. Also measure your flour carefully. Too much flour can make the cake dense and dry.
Spoon flour into your measuring cup and level the top instead of scooping directly from a packed flour container.
Can I use a different chocolate bar?
Yes. Milk chocolate gives you the classic sweet flavor, but semisweet or dark chocolate bars work well too.
Just remember that changing the chocolate can change the sweetness and overall flavor of the finished cake.
Why is my cream cheese frosting too runny?
Your cream cheese or butter may have become too warm, or you may have added too much liquid.
Place the frosting in the refrigerator for 15–30 minutes to firm it up.
If it still feels too soft, beat in a little additional powdered sugar until you reach a spreadable consistency.
A Few Final Thoughts From My Kitchen
Some cakes look impressive because of fancy decorations. This one doesn’t need much help.
A soft chocolate cake covered with creamy cream cheese frosting already has everything going for it. The chocolate bars give it that nostalgic candy-shop flavor, while the tangy frosting keeps every bite balanced.
After making this cake again and again, my biggest piece of advice is simple: don’t rush it.
Take your time creaming the butter and sugar. Don’t overmix the flour. Don’t overbake the cake. And, most importantly, let the cake cool completely before you bring out the frosting.
Those little details make a surprisingly big difference.
I love serving this cake when I want something that feels homemade and comforting without spending the entire day decorating a dessert. It has that old-fashioned family-recipe feeling, the kind of cake that disappears from the dessert table one slice at a time.
So grab those chocolate bars, soften your cream cheese, and get your oven warming.
And if you make this Hershey Bar Cake with Cream Cheese Frosting, I hope it becomes one of those recipes you keep coming back to whenever you need a chocolate dessert that never feels boring.
Save yourself a slice.
Future-you will be grateful.
Leave a Reply
You must be logged in to post a comment.