

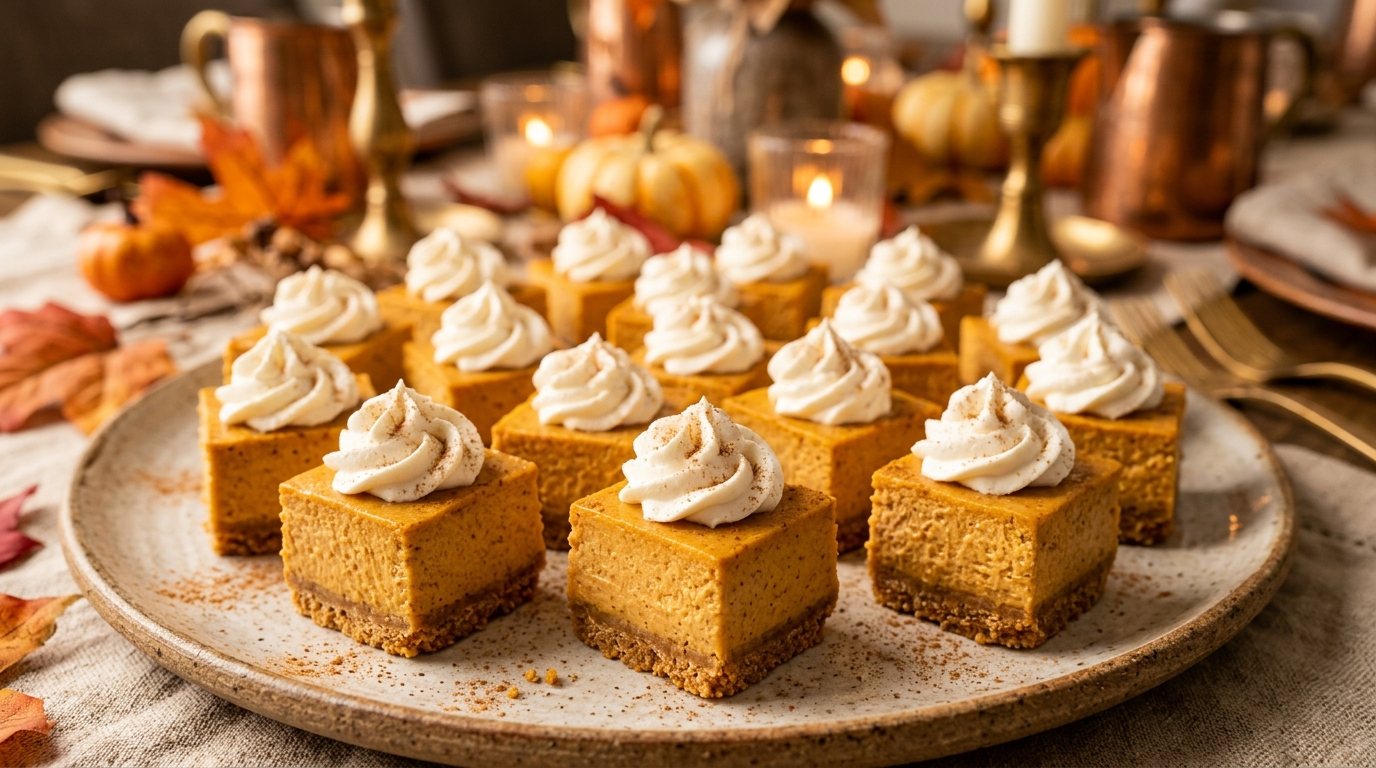
There’s something about Thanksgiving desserts that makes everyone suddenly find room for “just one more bite.” In my kitchen, pumpkin cheesecake bites have become one of those desserts.
I first made them because I wanted something smaller than a full cheesecake. I had already planned pumpkin pie, but I wanted another dessert that felt festive without requiring a giant springform pan or an entire afternoon of babysitting the oven.
The first batch taught me a lesson: don’t rush the cooling process. I was so eager to taste one that I pulled them from the refrigerator too early. They tasted delicious, but the filling hadn’t reached that lovely firm, creamy texture I wanted.
The next batch disappeared before dinner was even over.
These pumpkin cheesecake bites combine a buttery graham cracker crust, creamy cheesecake filling, warm pumpkin spice, and a little whipped cream on top. They look fancy enough for the Thanksgiving table, but they’re surprisingly straightforward to make.
And because each piece is small, guests can grab one while chatting, help themselves to another after dinner, or sample them alongside the other desserts without committing to a huge slice.
Why You’ll Love This Recipe

- No complicated decorating: A simple swirl of whipped cream finishes them beautifully.
- Perfect for Thanksgiving: Pumpkin, cinnamon, and nutmeg give them that classic fall flavor.
- Easy to portion: Small bites make serving a crowd much less messy than slicing a cheesecake.
- Make-ahead friendly: They actually taste better after several hours in the refrigerator.
- Great for dessert tables: Guests can enjoy one without skipping the pumpkin pie.
The best part? You don’t need advanced baking skills. If you can crush graham crackers, mix cream cheese, and follow a few simple temperature cues, you can make these.
Ingredients
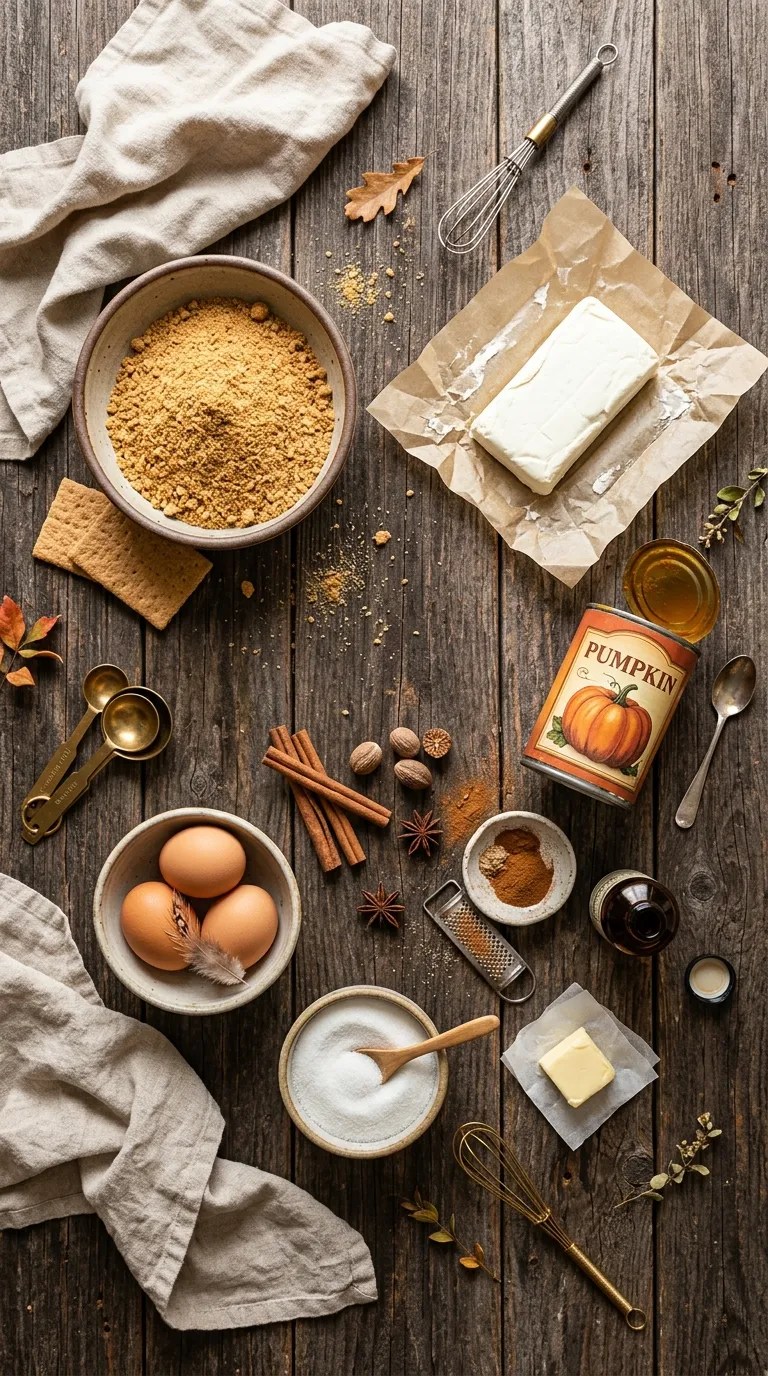
This recipe makes about 24 pumpkin cheesecake bites, depending on the size of your muffin tin and how generously you fill each cup.
For the Graham Cracker Crust
- 1 ½ cups finely crushed graham crackers
- 5 tablespoons unsalted butter, melted
- 2 tablespoons granulated sugar
- ¼ teaspoon ground cinnamon
- Pinch of salt
You can use digestive biscuits if graham crackers aren’t available. The flavor will change slightly, but the crust will still work beautifully.
For the Pumpkin Cheesecake Filling
- 16 ounces cream cheese, softened to room temperature
- ½ cup granulated sugar
- ½ cup pumpkin puree
- 2 large eggs
- 1 teaspoon vanilla extract
- 1 teaspoon pumpkin pie spice
- ½ teaspoon ground cinnamon
- ¼ teaspoon ground nutmeg
- 1 tablespoon all-purpose flour
- ¼ teaspoon salt
Use pure pumpkin puree, not pumpkin pie filling. Pumpkin pie filling already contains sugar and spices, so using it here can throw off both the sweetness and texture.
For the creamiest filling, let the cream cheese sit at room temperature for about 30–45 minutes before mixing.
For the Topping
- 1 cup heavy whipping cream
- 2 tablespoons powdered sugar
- ½ teaspoon vanilla extract
- Ground cinnamon, for dusting
- Optional: chopped pecans for garnish
You can also use a small amount of caramel sauce if you want to turn these into an extra-decadent Thanksgiving dessert.
Step-by-Step Instructions
1. Prepare the Pan — 5 Minutes
Preheat your oven to 325°F (165°C).
Line a standard 24-cup mini muffin pan with paper liners. If your pan has fewer cups, work in batches rather than trying to squeeze everything into one pan.
I strongly recommend using liners. Cheesecake bites can be stubborn little things when you try to pry them directly out of the pan.
2. Make the Graham Cracker Crust — 5 Minutes
Place the crushed graham crackers, sugar, cinnamon, and salt in a bowl.
Pour in the melted butter and stir until everything looks evenly moistened. The mixture should resemble damp sand and hold together when you squeeze a little between your fingers.
Add about 1 tablespoon of the crust mixture to each lined muffin cup.
Press the crumbs down firmly with the back of a small spoon, a measuring teaspoon, or the bottom of a narrow glass.
Don’t pack them so aggressively that they become rock-hard. Just press enough to create a compact, even layer.
Bake the crusts for 5 minutes.
Take the pan out and let the crusts cool slightly while you prepare the filling.
3. Beat the Cream Cheese and Sugar — 3 Minutes
Place the softened cream cheese in a large mixing bowl.
Using a hand mixer or stand mixer fitted with the paddle attachment, beat the cream cheese on medium speed until smooth.
Add the sugar and beat again until creamy and evenly combined.
Scrape down the sides of the bowl with a rubber spatula. This small step prevents those annoying little lumps of cream cheese from hiding along the edges.
4. Add the Pumpkin and Flavorings — 2 Minutes
Add the pumpkin puree, vanilla, pumpkin pie spice, cinnamon, nutmeg, flour, and salt.
Mix on low speed until everything combines.
At this stage, the filling should look smooth and slightly thicker than regular cake batter.
5. Add the Eggs — 1 Minute
Add the eggs one at a time, mixing on low speed after each addition.
Stop mixing as soon as the eggs disappear into the batter.
This matters more than you might think. Overmixing cheesecake filling can incorporate extra air, which may lead to cracks or a puffier texture while baking.
The filling doesn’t need a long workout. Once it looks smooth, put the mixer away.
6. Fill the Muffin Cups — 5 Minutes
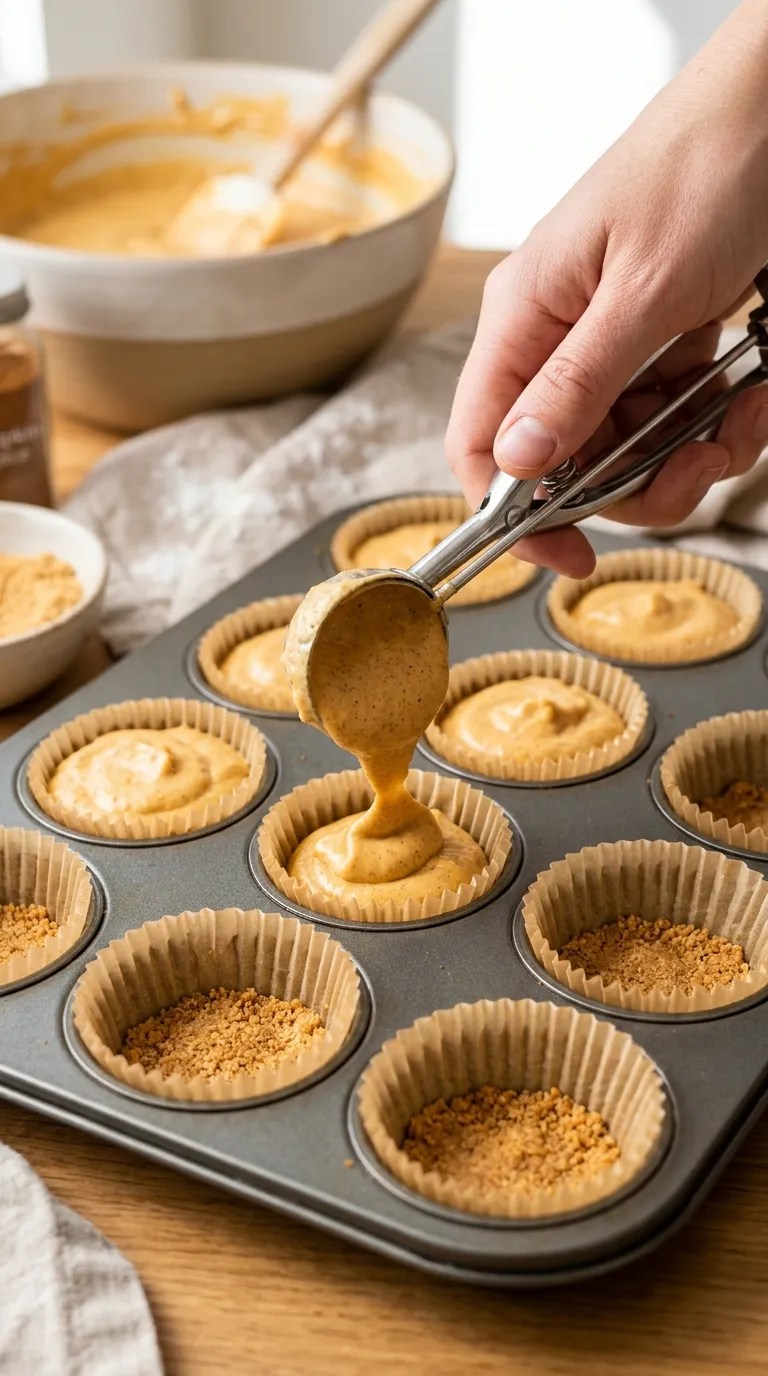
Spoon the pumpkin cheesecake filling over the cooled crusts.
Fill each cup about ¾ full, leaving a little room at the top.
Give the pan a gentle tap against the counter once or twice to encourage any large air bubbles to rise.
Don’t bang it hard. We’re making cheesecake, not trying to wake the neighbors.
7. Bake — 15–18 Minutes
Bake the cheesecake bites at 325°F (165°C) for approximately 15–18 minutes.
Start checking around the 15-minute mark.
The edges should look set, while the centers should still have a slight jiggle when you gently move the pan.
That little wobble is what you want.
If the centers look completely firm and dry inside the oven, you’ve probably gone a little too far. Cheesecake continues cooking from residual heat after you remove it from the oven.
8. Cool Completely — About 1 Hour
Place the pan on a wire rack and let the bites cool at room temperature.
Don’t rush this part.
Once they stop steaming and feel close to room temperature, transfer them to the refrigerator.
9. Chill — At Least 3 Hours
Refrigerate the cheesecake bites for at least 3 hours, although I prefer chilling them overnight when I’m making them for Thanksgiving.
This gives the filling time to firm up and allows the pumpkin spice flavor to settle into the cheesecake.
If you try one too early, it may seem softer than expected. Give it time.
10. Make the Whipped Cream — 5 Minutes
Pour the cold heavy cream into a clean mixing bowl.
Add the powdered sugar and vanilla.
Beat with a hand mixer or stand mixer until soft-to-medium peaks form. When you lift the beaters, the cream should hold its shape without becoming stiff or grainy.
Spoon or pipe a small swirl onto each chilled cheesecake bite.
Finish with a tiny sprinkle of cinnamon or a few finely chopped pecans.
Serve them cold and watch how quickly they disappear.
Pro Tips & Tricks
Bring the Cream Cheese to Room Temperature
Cold cream cheese can leave lumps in your filling.
You don’t need to leave it sitting out all day. About 30–45 minutes usually does the trick.
If you forget, cut the cream cheese into smaller pieces so it softens more quickly.
Don’t Overbake Them
This is probably the biggest mistake you can make with mini cheesecakes.
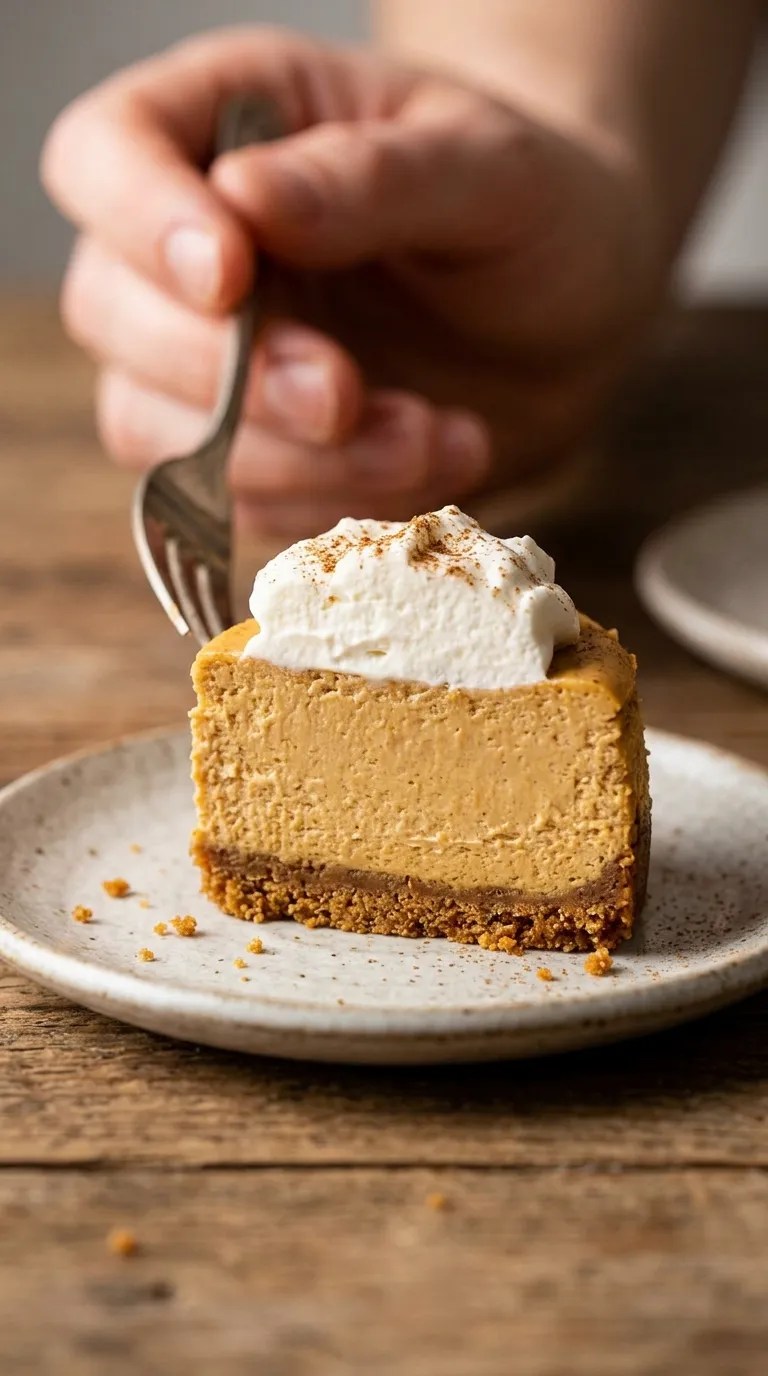
The center should still have a gentle jiggle when you remove them from the oven. They’ll firm up as they cool and chill.
If you wait until the center looks completely solid, the finished bites may turn out firmer and less creamy.
Use a Cookie Scoop
A small cookie scoop makes filling the muffin cups much easier.
It also helps keep the portions consistent, which means the bites will finish baking at roughly the same time.
Chill Before Decorating
I know it’s tempting to add whipped cream while the cheesecake bites are still warm.
Don’t.
Warm cheesecake will soften the whipped cream almost immediately. Let the bites become thoroughly chilled first.
Make Them Ahead
These are an excellent make-ahead Thanksgiving dessert.
You can bake the cheesecake bites 1–2 days before serving and keep them covered in the refrigerator.
For the freshest presentation, add the whipped cream shortly before serving.
If you want to prepare even further ahead, freeze the un-topped cheesecake bites and thaw them overnight in the refrigerator.
Variations & Substitutions
Make Them Gluten-Free
Use gluten-free graham-style crackers for the crust and check the labels on your other ingredients.
The filling itself is naturally simple, so the crust usually provides the main ingredient you need to replace.
Add a Pecan Crust
For a nuttier fall flavor, replace about ¼ cup of the graham cracker crumbs with finely chopped pecans.
You can also sprinkle a few toasted pecans over the whipped cream just before serving.
The combination of pumpkin, warm spices, cheesecake, and toasted pecans tastes especially good together.
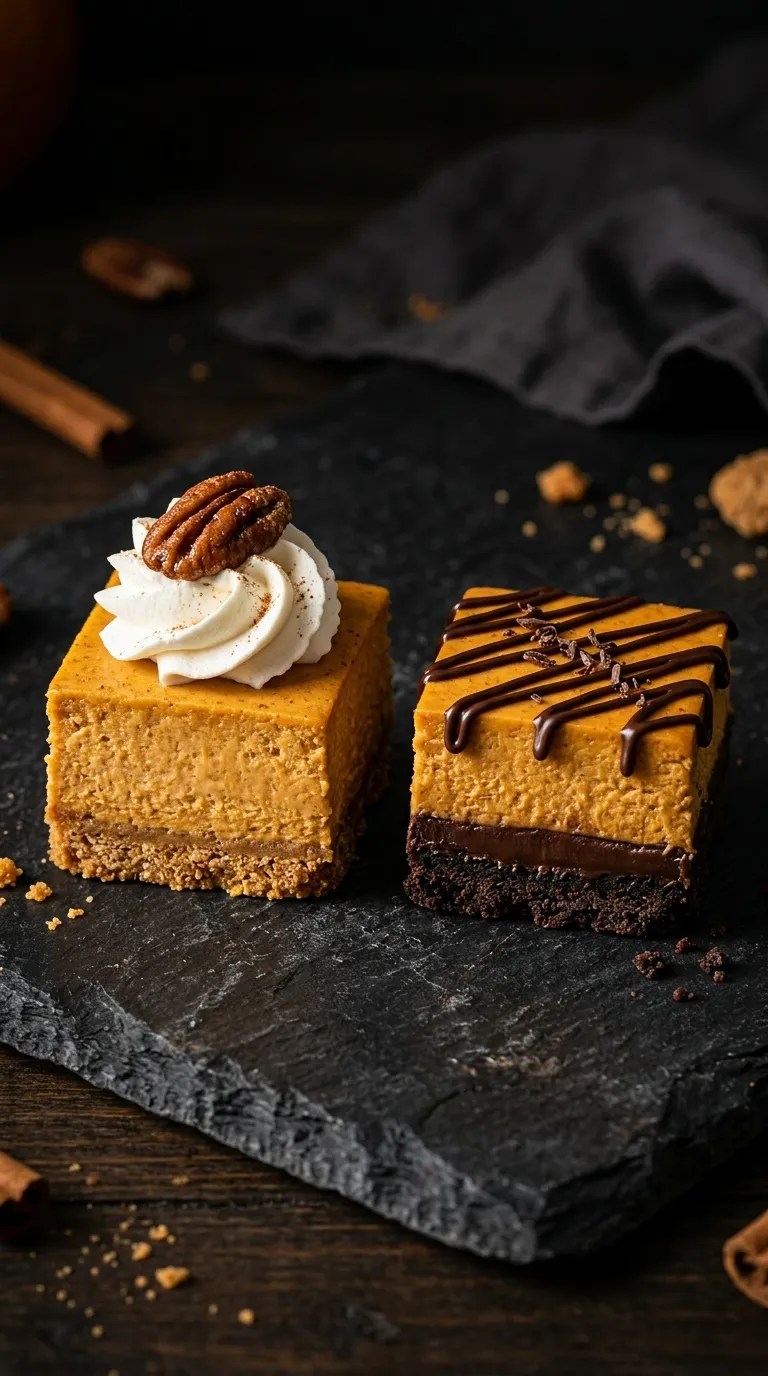
Try a Chocolate-Pumpkin Version
For a chocolate twist, add a thin layer of melted chocolate to the cooled crust before spooning in the cheesecake filling.
Let the chocolate set first.
You can also drizzle a small amount of chocolate over the chilled bites just before serving.
Keep the drizzle light so it doesn’t overpower the pumpkin.
Give Them a Gingerbread Touch
If you love stronger holiday spice, replace some of the graham crackers with crushed gingersnap cookies.
Gingersnaps bring a sharper spice and a little extra crunch to the crust.
I especially like this version when I serve the bites alongside coffee after Thanksgiving dinner.
Serving Suggestions

Pumpkin cheesecake bites work particularly well on a Thanksgiving dessert table because they don’t require a fork and plate.
Arrange them on a large serving platter and add a light dusting of cinnamon just before guests arrive.
For a more polished look, pipe the whipped cream using a small star tip and place a tiny pecan piece on each one.
You can also serve them with a bowl of whipped cream, caramel sauce, or a simple cinnamon-sugar mixture nearby so guests can add their own finishing touch.
For drinks, coffee is an obvious favorite, but black tea, chai, or a warm spiced apple drink also pairs nicely with the pumpkin and cream cheese flavors.
If you’re hosting Thanksgiving, I recommend placing these toward the front of the dessert table. Their small size makes them easy for guests to pick up while they’re deciding whether they have room for another dessert.
And yes, someone will probably take two.
Related Recipes:
- How to Make Caramel Apple Streusel Cheesecake
- How to Make Pecan Pie Cheesecake From Scratch
- Southern Pecan Pie Cheesecake for Thanksgiving
- Easy Pumpkin Cupcake Recipe for Fall Baking
- Homemade Pumpkin Cupcake With Cinnamon
FAQ’s
How long do pumpkin cheesecake bites last in the refrigerator?
Store them in an airtight container in the refrigerator for up to 4 days.
If you add whipped cream, the topping may lose some of its shape over time, so you’ll get the nicest presentation if you decorate them close to serving time.
Can I make pumpkin cheesecake bites ahead of Thanksgiving?
Absolutely.
Bake them up to 2 days ahead, let them cool completely, and refrigerate them in a covered container.
Add whipped cream and garnishes shortly before serving.
This is one of the reasons I like this recipe for Thanksgiving. You can finish the dessert before the kitchen gets busy.
Can I freeze pumpkin cheesecake bites?
Yes.
Freeze the cooled, un-topped cheesecake bites in a freezer-safe container. Place parchment or wax paper between layers if you stack them.
For best texture, use them within about 1 month.
Thaw them overnight in the refrigerator and add the whipped cream after they thaw.
Why did my cheesecake bites crack?
Cracks usually happen because the cheesecake gets too hot or bakes too long.
Don’t worry if you see a small crack, though. A swirl of whipped cream hides plenty of imperfections.
More importantly, focus on the texture. A slightly imperfect-looking cheesecake that stays creamy tastes much better than a beautiful one that turns dry.
Can I use pumpkin pie filling instead of pumpkin puree?
I wouldn’t recommend it.
Pumpkin pie filling usually contains added sugar and spices. This recipe uses plain pumpkin puree so you can control the sweetness and seasoning yourself.
Using pie filling could make the bites noticeably sweeter and alter the flavor balance.
Why are my cheesecake bites still soft?
Cheesecake needs time to cool and chill.
If the bites feel soft after baking, don’t automatically put them back in the oven. First, let them cool completely and refrigerate them for several hours.
They firm up considerably as they chill.
If they remain unusually loose even after several hours, the most likely causes include underbaking, inaccurate ingredient measurements, or using a different pumpkin product than the recipe calls for.
Final Thought
I love recipes that make Thanksgiving feel special without making the cook work twice as hard, and these pumpkin cheesecake bites fit that sweet spot.
They have all the cozy flavors I want from a fall dessert, but their small size makes them much easier to serve than a traditional cheesecake.
My favorite way to make them is the day before Thanksgiving. I bake and chill the bites, keep them covered in the refrigerator, and then add the whipped cream while everyone else is finishing dinner.
That little bit of planning makes dessert feel almost effortless.
And if your first batch doesn’t look absolutely perfect, don’t panic. Mine certainly didn’t. Cheesecake has a funny way of looking much more impressive once you add whipped cream and a sprinkle of cinnamon.
Give these pumpkin cheesecake bites a try for your Thanksgiving table. I have a feeling the hardest part won’t be making them — it’ll be keeping a few around long enough for everyone to get one.
Leave a Reply
You must be logged in to post a comment.