

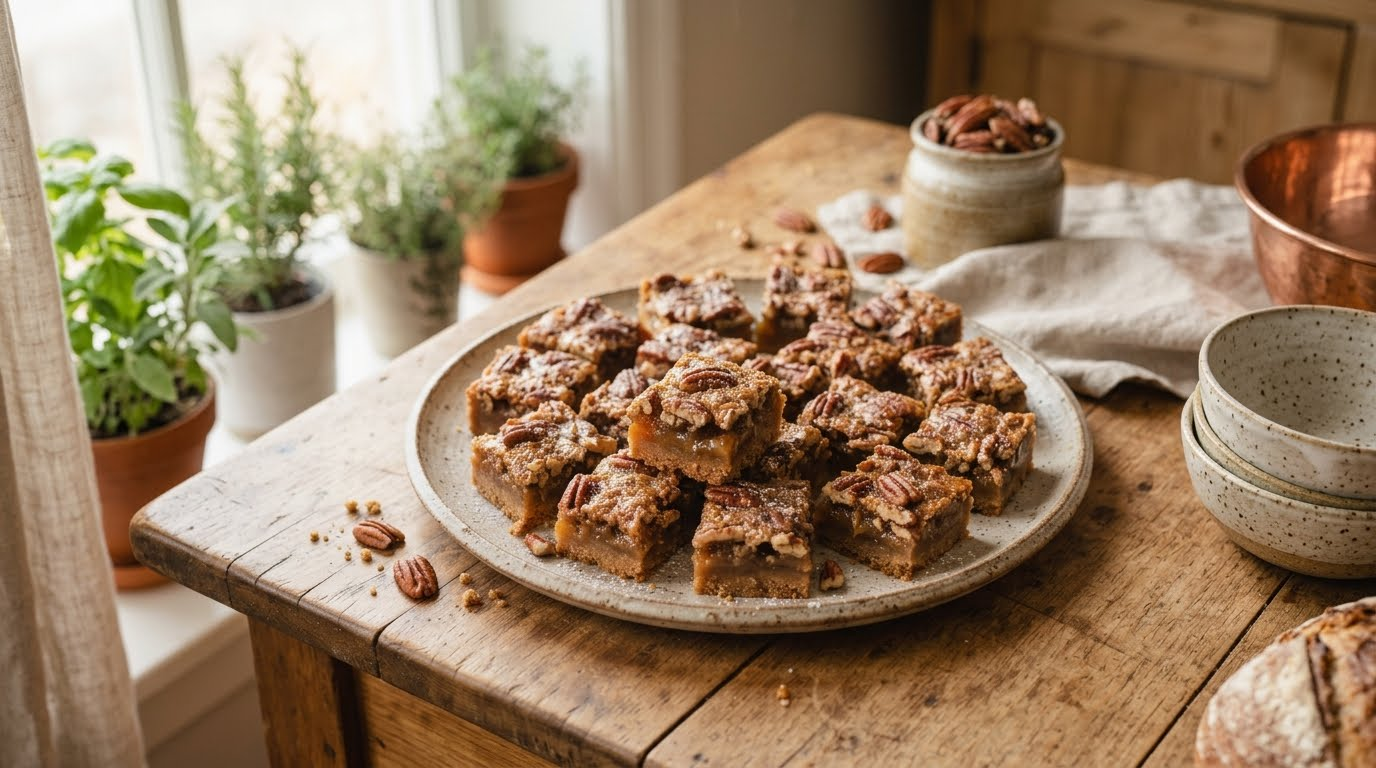
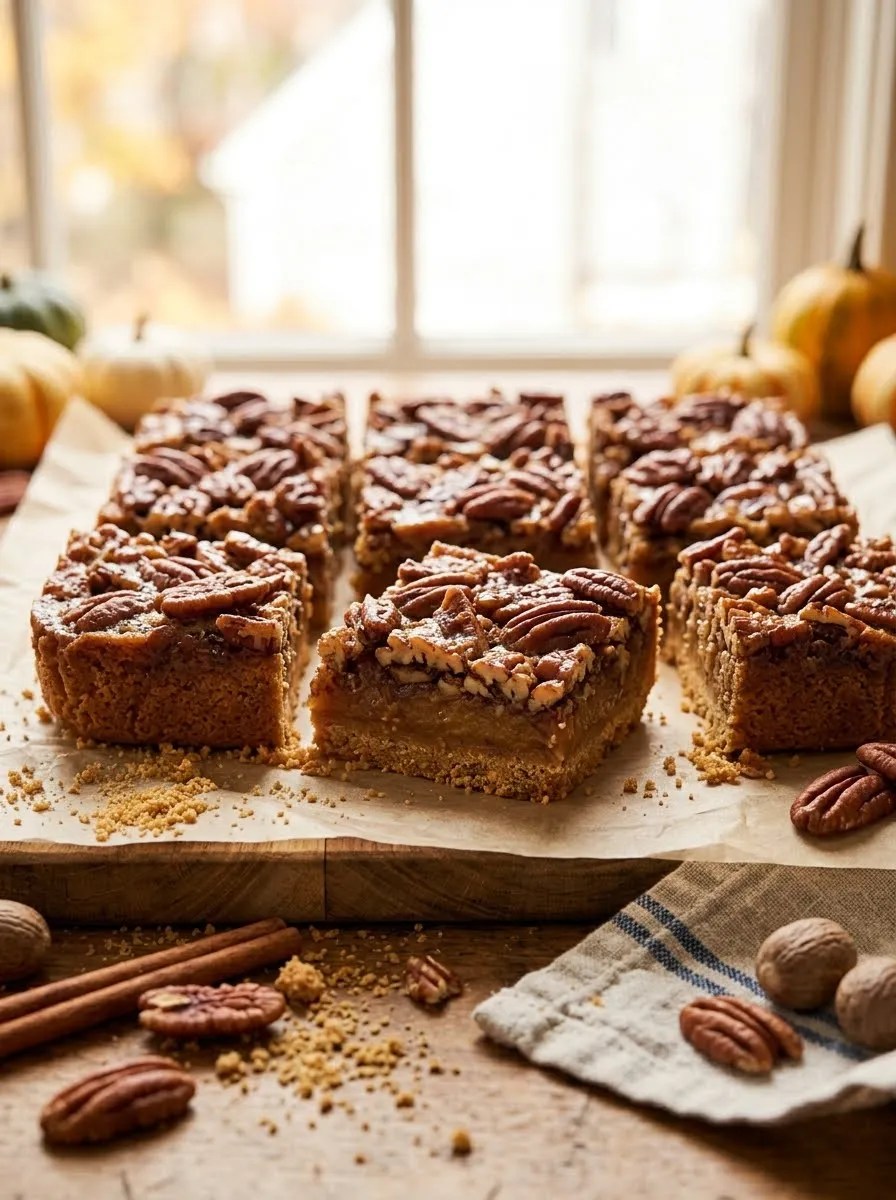
The first time I made these pecan bars, I expected the graham cracker crust to be the easy part and the pecan topping to steal the show. It turned out to be the crust that kept me sneaking little bites from the corner of the pan.
There’s something about toasted pecans, buttery graham crackers, and a soft caramel-like filling that makes a kitchen smell instantly cozy. I especially love making these when I want a dessert that looks like I put in far more effort than I actually did.
I’ve made a few batches over the years, and I learned one important lesson the slightly annoying way: don’t rush the crust. Give it enough time in the oven to become lightly golden before adding the pecan filling. That simple step helps the bars hold together instead of turning into a crumbly mess.
These pecan bars with graham cracker crust also have a nice advantage over a traditional pie. You don’t need to roll pastry, crimp edges, or worry about getting a perfect pie crust. Press, bake, pour, bake again, cool, and slice.
And yes, waiting for them to cool completely is the hardest part.
Why You’ll Love This Recipe
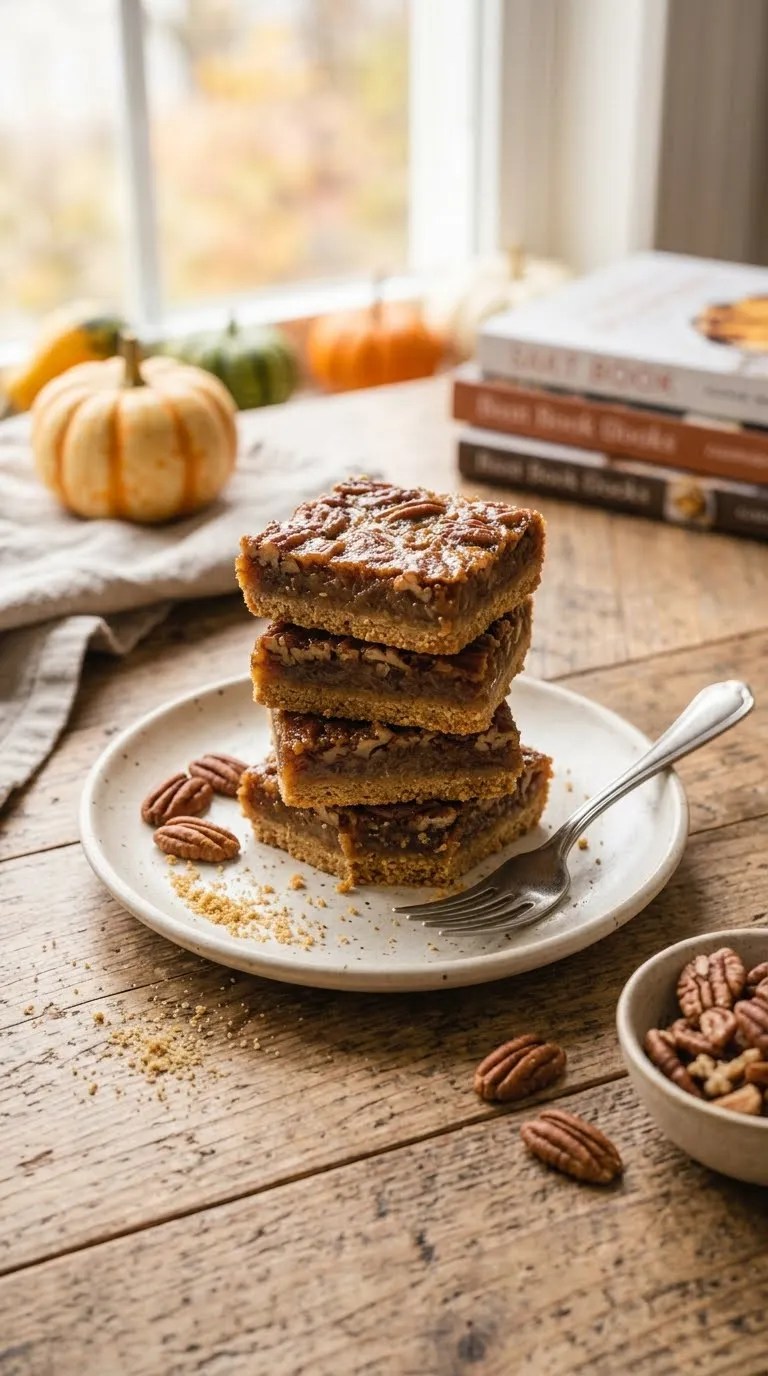
- No pie crust rolling: The graham cracker base comes together with melted butter and takes minutes to press into the pan.
- Rich but balanced: The buttery crust offsets the sweet pecan topping.
- Great for sharing: Cut the slab into small squares and you have an easy dessert for a gathering.
- Make-ahead friendly: The bars actually slice more neatly after they’ve had time to chill.
- Simple ingredients: You can find everything at a regular grocery store without hunting down specialty ingredients.
Ingredients
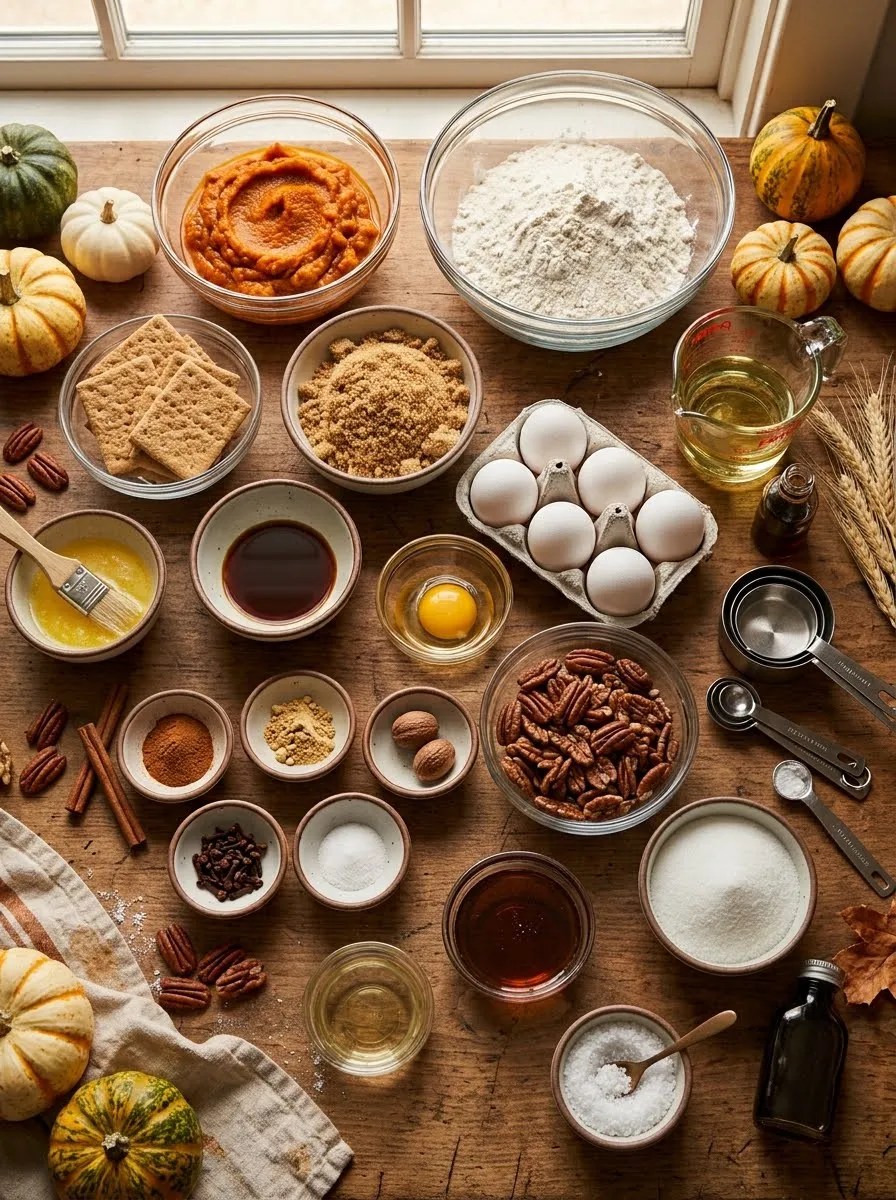
For the Graham Cracker Crust
- 12 full graham cracker sheets, crushed into fine crumbs
- 6 tablespoons unsalted butter, melted
- 3 tablespoons granulated sugar
- ¼ teaspoon salt
You can use store-bought graham cracker crumbs if you have them. You’ll need about 1½ cups of crumbs.
If you only have salted butter, use it and reduce the added salt to a small pinch.
For the Pecan Filling
- 2 cups pecan halves, roughly chopped
- ½ cup unsalted butter
- ¾ cup packed light brown sugar
- ½ cup pure maple syrup
- ¼ cup light corn syrup
- 2 large eggs
- 1 teaspoon vanilla extract
- ¼ teaspoon salt
For the best texture, use fresh pecans. If your pecans have been sitting in the pantry for a long time, taste one before you start. Pecans can develop a stale or bitter flavor, and no amount of brown sugar will completely hide that.
You can replace the maple syrup with additional corn syrup, but I prefer the flavor from the maple syrup. It gives the filling a deeper, more rounded sweetness.
Step-by-Step Instructions
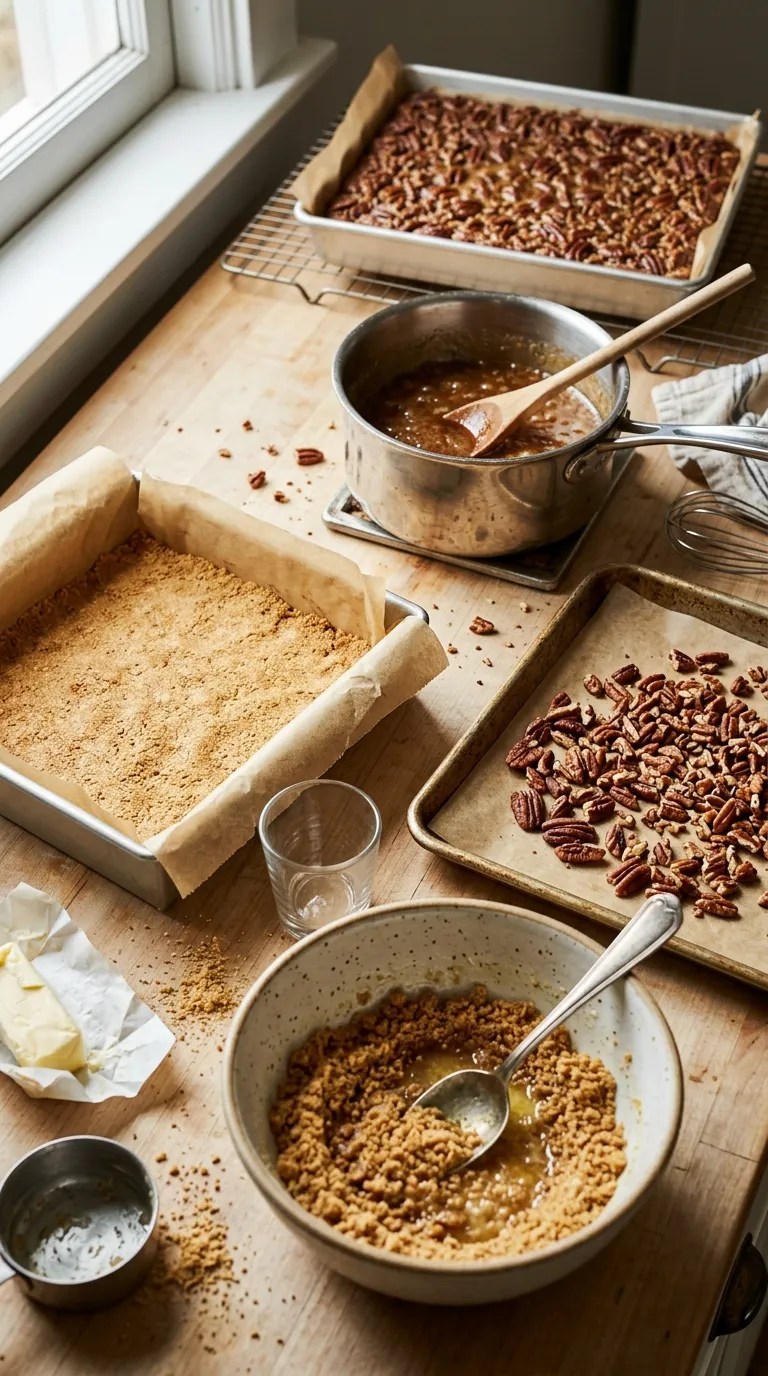
1. Prepare the Pan — 5 Minutes
Heat your oven to 350°F (175°C).
Line an 8-by-8-inch square baking pan with parchment paper, leaving some paper hanging over two sides. That little bit of overhang will become your best friend when it’s time to lift the cooled bars from the pan.
Lightly grease the parchment and the exposed sides of the pan with butter or nonstick spray.
I like using a metal baking pan for this recipe because it gives the crust a nicely baked edge. A glass pan works too, but the baking time can vary slightly.
2. Make the Graham Cracker Crust — 5 Minutes
Crush the graham crackers until they resemble fine sand.
A food processor makes this ridiculously quick. If you don’t have one, put the crackers in a sturdy zip-top bag and crush them with a rolling pin or the bottom of a measuring cup.
Mix the crumbs, granulated sugar, salt, and melted butter in a bowl.
The mixture should look like damp sand. When you squeeze a handful, it should hold together rather than fall apart immediately.
If it still looks very dry, add another teaspoon of melted butter.
3. Press and Bake the Crust — 10 to 12 Minutes
Pour the crumb mixture into your prepared pan.
Press it firmly and evenly across the bottom. Use the flat bottom of a measuring cup to compact the crust if you want an especially even surface.
Pay attention to the corners. They tend to end up thinner than the middle if you only press with your fingertips.
Bake the crust for 10 to 12 minutes, until it looks lightly golden and smells buttery.
Don’t wait for it to become deeply brown. It will bake again with the pecan filling.
Set the pan aside while you prepare the topping.
4. Toast the Pecans — 5 to 7 Minutes
Spread the chopped pecans on a baking sheet and toast them in the oven for about 5 to 7 minutes.
Keep an eye on them because pecans can go from beautifully fragrant to overdone surprisingly quickly.
You’ll know they’re ready when they smell nutty and toasted. Let them cool for a few minutes.
You can skip this step if you’re in a hurry, but I recommend it. Toasting brings out a deeper pecan flavor and adds a little more character to the finished bars.
5. Make the Filling — About 8 Minutes
Melt the butter in a medium saucepan over medium-low heat.
Add the brown sugar, maple syrup, corn syrup, and salt.
Stir until the butter melts and the sugar mixture becomes smooth, which should take about 3 to 4 minutes.
You don’t need to boil the mixture aggressively. Just heat it until everything combines.
Remove the saucepan from the heat and let it cool for about 5 minutes.
This short cooling period matters. You don’t want to pour very hot syrup over your eggs and accidentally scramble them.
In a separate bowl, whisk the eggs and vanilla together.
Slowly whisk a little of the warm butter mixture into the eggs. Add a little more while whisking, then pour the egg mixture back into the saucepan.
Stir until everything is smooth.
6. Add the Pecans — 2 Minutes
Stir the toasted pecans into the filling.
Make sure the nuts get coated evenly. The mixture should look glossy and thick, with plenty of pecans distributed throughout.
If you like especially nutty bars, you can reserve a small handful of pecans to scatter across the top before baking.
7. Bake the Pecan Bars — 25 to 30 Minutes
Pour the pecan filling over the warm graham cracker crust.
Spread it gently so the pecans reach all four corners.
Bake at 350°F (175°C) for 25 to 30 minutes.
The center should look set around the edges while still having a slight, gentle wobble in the middle. Don’t wait until the entire surface looks completely firm in the oven.
The filling continues to set as it cools.
If the edges become dark before the center looks ready, loosely cover the pan with aluminum foil for the remaining baking time.
8. Cool Completely — At Least 2 Hours
This step requires patience.
Place the pan on a cooling rack and let the bars cool completely at room temperature. Then refrigerate them for about 30 to 60 minutes if you want especially clean slices.
Use the parchment overhang to lift the whole slab from the pan.
Run a sharp knife under hot water, dry it, and slice the bars.
Clean the knife between cuts if you want those neat bakery-style edges.
For casual snacking, though, I won’t judge if you skip the perfect slicing routine.
Pro Tips & Tricks
Crush the Graham Crackers Finely
Large chunks can create weak spots in the crust.
Aim for fine, even crumbs so the butter coats everything properly. A food processor makes this easiest, but a rolling pin works perfectly well.
Don’t Pack the Crust Too Aggressively
Press the crust firmly enough to hold together, but don’t turn it into a rock.
A flat measuring cup helps you create an even layer without using too much pressure.
Let the Syrup Cool Before Adding the Eggs
I learned this one after moving too quickly with a batch.
The butter-sugar mixture should feel warm rather than piping hot when you combine it with the eggs. Whisk constantly while adding it gradually.
Watch the Pecans
Toasted pecans taste fantastic. Burnt pecans do not.
Stay nearby during toasting and start checking them around the five-minute mark.
Cool Before Cutting
Warm pecan filling can look wonderfully tempting, but it won’t give you tidy bars.
For clean squares, let the dessert cool completely before slicing.
Store Them Airtight
Keep leftover bars in an airtight container at room temperature for about 2 days, or refrigerate them for up to 5 days.
If you refrigerate them, let them sit at room temperature for 10 to 15 minutes before serving. The filling softens slightly and the pecan flavor comes through better.
Make Them Ahead
These bars work beautifully as a make-ahead dessert.
Bake them the day before you plan to serve them, cool them completely, cover the pan, and refrigerate. Slice them shortly before serving.
Variations & Substitutions
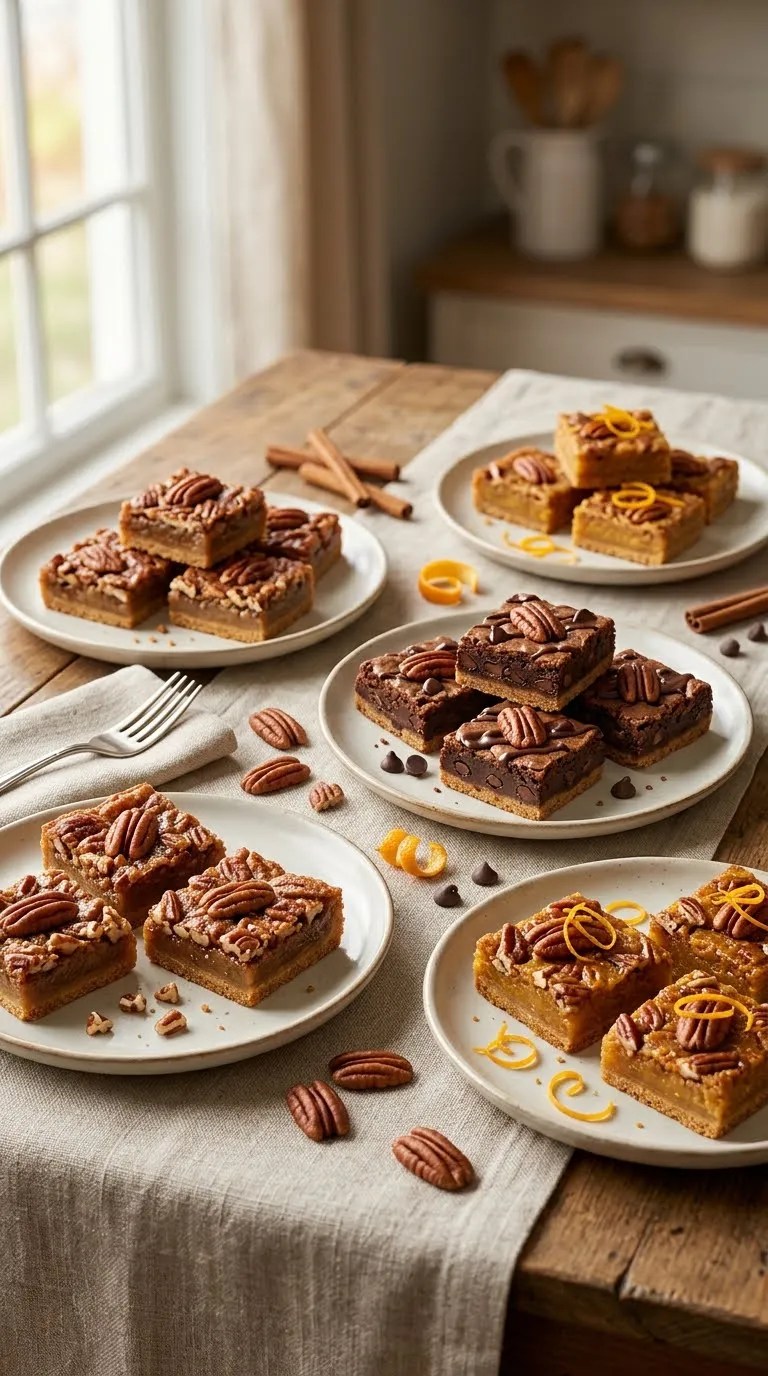
Chocolate Pecan Bars
For a chocolate twist, sprinkle about ½ cup of semisweet chocolate chips over the warm graham cracker crust before pouring in the pecan filling.
The chocolate melts into little pockets beneath the pecans, which makes an already rich dessert feel extra indulgent.
Orange Pecan Bars
Add 1 teaspoon of finely grated orange zest to the filling along with the vanilla.
Orange and pecan make a lovely combination, especially around the holidays. You can also add a tiny pinch of cinnamon if you enjoy a warmer spice flavor.
Gluten-Free Version
Use certified gluten-free graham crackers or gluten-free graham-style cookies in the same quantity by weight.
Check the package carefully if you’re cooking for someone with a gluten allergy or celiac disease, since ingredients and manufacturing practices vary between brands.
Walnut Swap
You can replace some or all of the pecans with walnuts.
The flavor will change, of course, but the same general method works. I personally prefer pecans here because their buttery texture fits the graham cracker crust so well.
Serving Suggestions
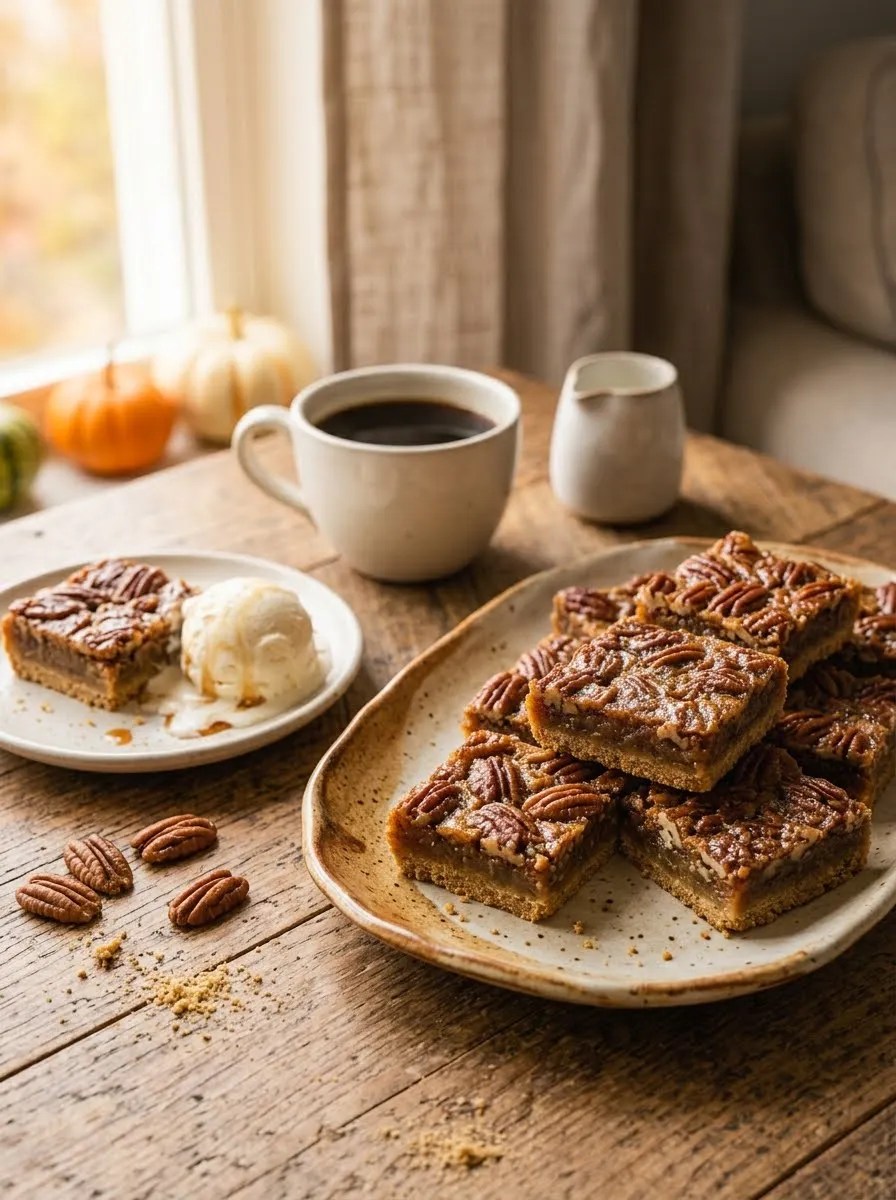
These pecan bars make an easy dessert for Thanksgiving, Christmas, potlucks, bake sales, family dinners, and weekend coffee breaks.
Cut them into small squares for a dessert tray. The filling is rich, so you don’t need enormous portions.
For an especially cozy serving, warm one bar slightly and add a scoop of vanilla ice cream. The cool ice cream against the buttery pecan filling is hard to beat.
A dollop of lightly sweetened whipped cream works nicely too.
If you’re serving them with coffee, choose something with a straightforward roast rather than a heavily flavored coffee. The nutty pecans and caramel notes already provide plenty of flavor.
For a holiday dessert table, I like arranging the bars on a simple platter and dusting them very lightly with powdered sugar just before serving. It takes almost no effort and makes them look festive.
Related Recipes:
- Gooey Pecan Bar – Easy, Buttery & Delicious Recipe
- Easy Pecan Coffee Cake With a Crumb Topping – Moist & Delicious
- Easy Apple Dessert for Thanksgiving Dinner
- Pumpkin Bars With Cream Cheese Frosting – Easy & Moist Recipe
- Old Fashioned Pumpkin Bars With Cream Cheese Frosting – Easy Recipe
FAQ’s
Can I use a 9-by-9-inch pan?
Yes, but the bars will be slightly thinner.
Start checking them a few minutes earlier because the shallower filling may finish baking sooner. An 8-by-8-inch pan gives you thicker, more substantial bars.
Why did my pecan filling turn out runny?
The most common reason is underbaking or slicing before the bars have fully cooled.
The center should have a slight wobble when you remove the pan from the oven, but it shouldn’t look liquid. Remember that the filling continues setting as it cools.
If you’ve already cut into them while warm, don’t panic. Refrigerating the bars will help them firm up.
Can I make pecan bars the day before?
Absolutely.
In fact, I often prefer making them a day ahead. The flavors settle, the filling firms up, and the bars become much easier to slice.
Cover them well and refrigerate them until you’re ready to serve.
Can I freeze pecan bars?
Yes. Cool them completely, cut them into individual portions, and wrap each piece tightly.
Place the wrapped bars in a freezer-safe container or bag and freeze for up to 2 months for the best quality.
Thaw them in the refrigerator overnight or at room temperature for a few hours.
Can I use whole pecans instead of chopped pecans?
You can, although chopped pecans make the bars easier to cut and eat.
If you prefer a more dramatic appearance, use mostly pecan halves and arrange a few attractive halves on top before baking.
How do I keep the graham cracker crust from falling apart?
Measure the crumbs accurately and make sure you mix them thoroughly with the melted butter.
Then press the crust into an even, compact layer and bake it before adding the filling.
Most importantly, let the finished bars cool completely before cutting. A warm crust has a much harder time holding its shape.
Final Thought
There’s a reason I keep coming back to these pecan bars with graham cracker crust. They have that homemade-dessert feeling without asking you to spend an afternoon making pastry.
The crust gives you a buttery, slightly crisp foundation, while the pecan topping turns soft and rich in the oven. Every bite has a little crunch from the nuts and a satisfying sweetness from the brown sugar and maple syrup.
If you make them, give yourself permission to make the first batch exactly as written. Once you know how the filling behaves in your oven, start playing around with chocolate, orange zest, or different nuts.
And don’t forget to save one bar for yourself before putting the pan out for everyone else. I’ve learned that lesson the hard way.
Leave a Reply
You must be logged in to post a comment.