

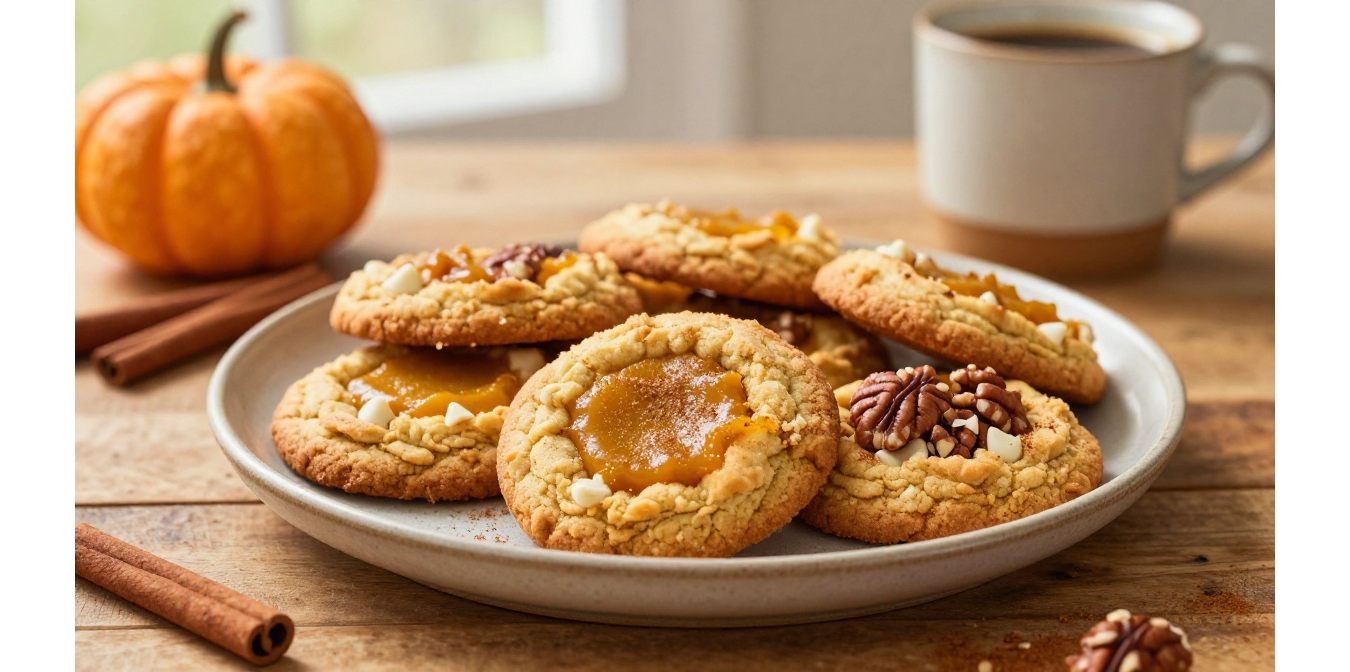
The first time I made pumpkin cookies with pie filling, I expected them to be a simple fall treat. I had a little pumpkin pie filling left in the refrigerator after making a pie, and I hated the idea of letting it go to waste.
So I stirred some into cookie dough.
The first batch taught me an important lesson: pumpkin pie filling adds a lot of moisture. My cookies spread more than I wanted, and I pulled them from the oven just a little too early. They tasted good, but they had the texture of soft pumpkin cakes instead of cookies.
After a few tweaks, I landed on the version I make now. I use a modest amount of pumpkin pie filling, add enough flour to balance the moisture, and chill the dough before baking. The result is a soft, warmly spiced cookie with lightly crisp edges and a tender center.
I especially love making these when the kitchen smells like cinnamon and brown sugar. They feel homemade in the best possible way, and you don’t need fancy decorating skills to make a batch disappear quickly.
Why You’ll Love This Recipe

- Uses leftover pumpkin pie filling: A great way to turn an extra spoonful or two into something everyone can enjoy.
- Soft and cozy: These cookies stay tender in the center rather than turning crunchy.
- Simple pantry ingredients: You probably already have most of what you need.
- Easy enough for beginners: No complicated techniques or special pastry skills.
- Perfect for fall baking: Cinnamon, nutmeg, and pumpkin make these especially good with a warm drink.
Ingredients
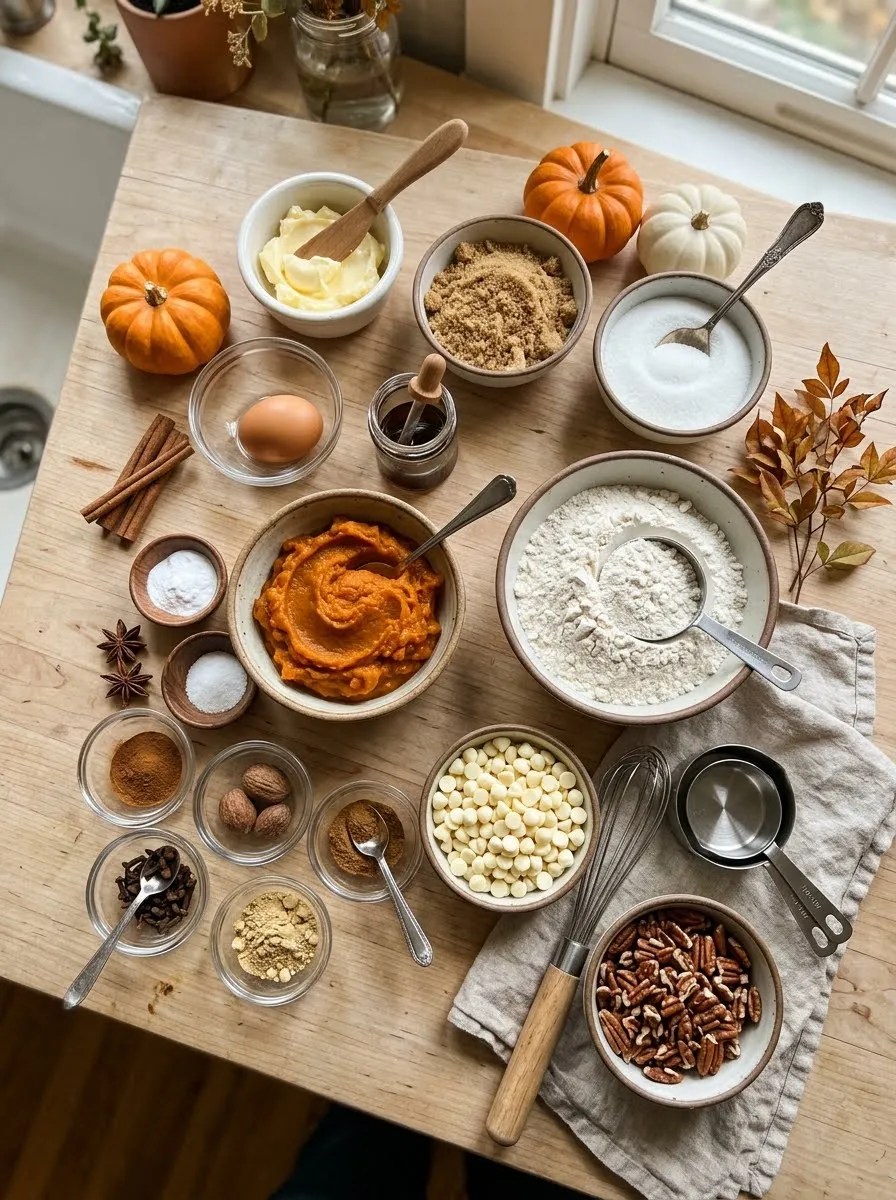
This recipe makes about 24 medium cookies.
For the Cookie Dough
- 1 cup unsalted butter, softened
- ¾ cup packed light brown sugar
- ¼ cup granulated sugar
- 1 large egg
- 1 teaspoon pure vanilla extract
- ½ cup canned pumpkin pie filling
- 2 ¼ cups all-purpose flour
- 1 teaspoon baking soda
- ½ teaspoon baking powder
- ½ teaspoon salt
- 1 teaspoon ground cinnamon
- ½ teaspoon ground nutmeg
- ¼ teaspoon ground ginger
- ¼ teaspoon ground cloves
Optional Topping
- 2 tablespoons granulated sugar
- ½ teaspoon ground cinnamon
- ½ cup white chocolate chips or chopped pecans
You can skip the topping completely. The cookies already have plenty of flavor on their own.
A note about the pumpkin: Use prepared canned pumpkin pie filling, not plain pumpkin puree. Pie filling already contains sweeteners and spices, so it behaves differently in the dough. If you only have pumpkin puree, you can still make the cookies, but you’ll need to adjust the sugar and spices.
For the butter, you can use salted butter if that’s what you have. Just reduce the added salt slightly.
Step-by-Step Instructions
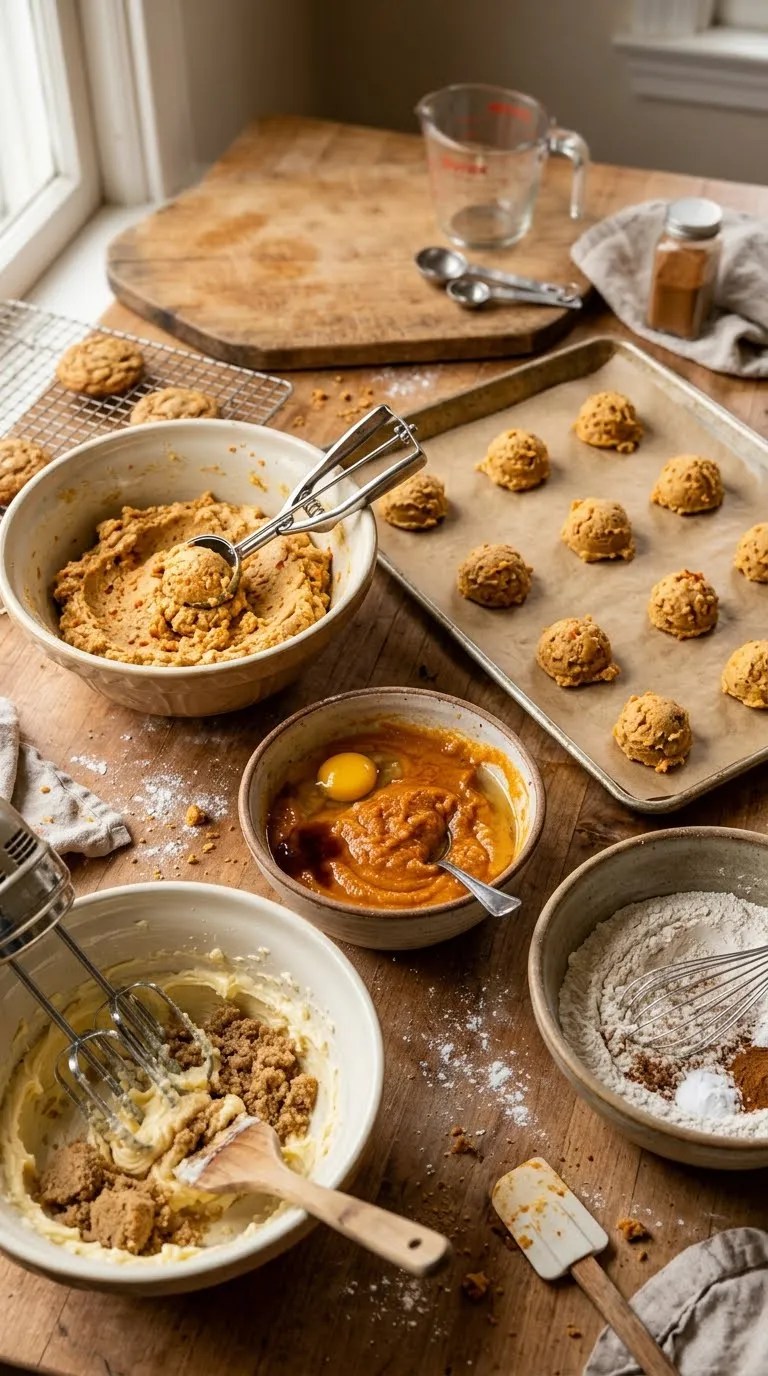
1. Soften the Butter
Time: 15–30 minutes
Let the butter soften at room temperature until you can press a finger into it easily.
Don’t melt it.
I learned this the slightly annoying way. Melted butter can make the dough much looser, especially when you also add moist pumpkin pie filling.
If you forget to soften the butter, cut it into small cubes and let it sit for a few minutes. That speeds things along without turning it into liquid.
2. Cream the Butter and Sugars
Time: 2–3 minutes
Add the softened butter, brown sugar, and granulated sugar to a large mixing bowl.
Beat everything with a hand mixer or stand mixer on medium speed until the mixture looks lighter and creamy.
Scrape down the sides of the bowl once or twice.
You don’t need to whip it for ages. Once the butter looks fluffy and the sugar blends evenly throughout, move on.
3. Add the Wet Ingredients
Time: 1–2 minutes
Beat in the egg and vanilla extract.
Then add the pumpkin pie filling and mix just until everything comes together.
The mixture may look slightly curdled or uneven at this point. Don’t panic. The flour will bring it together.
4. Mix the Dry Ingredients
Time: 2 minutes
In a separate bowl, whisk together:
- Flour
- Baking soda
- Baking powder
- Salt
- Cinnamon
- Nutmeg
- Ginger
- Cloves
Whisking the dry ingredients first helps distribute the baking soda and spices throughout the flour.
This matters with cookies because nobody wants one bite that tastes like pure baking soda.
5. Combine the Dough
Time: 1–2 minutes
Add the dry mixture to the bowl of wet ingredients.
Mix on low speed until you no longer see dry streaks of flour.
Stop there.
Overmixing develops the gluten in the flour and can make the cookies tougher. The finished dough should be soft and slightly sticky, but it shouldn’t look like cake batter.
If it seems unusually loose, don’t immediately dump in a lot of extra flour. The chilling step will firm it up.
6. Chill the Dough
Time: 30–45 minutes
Cover the bowl and refrigerate the dough for at least 30 minutes.
I recommend 45 minutes if your kitchen feels warm.
This step makes a noticeable difference. The butter firms up, the flour absorbs some of the moisture, and the dough becomes much easier to scoop.
If you skip chilling, you may end up with flatter cookies.
7. Prepare the Oven and Baking Sheets
Time: 5 minutes
Heat your oven to 350°F (175°C).
Line two baking sheets with parchment paper or silicone baking mats.
I prefer parchment because cleanup becomes almost effortless.
Don’t grease the baking sheets heavily. The cookies already contain plenty of butter, and excess grease can encourage spreading.
8. Mix the Cinnamon Sugar
Time: 1 minute
If you’re using the optional topping, stir the 2 tablespoons of granulated sugar with ½ teaspoon of cinnamon in a small bowl.
You’ll roll or sprinkle the dough with this mixture just before baking.
This little step adds a pleasant sugary crunch to the surface without making the cookies overly sweet.
9. Scoop the Cookies
Time: 5 minutes
Use a tablespoon-sized cookie scoop to portion the chilled dough.
Place each mound about 2 inches apart on the prepared baking sheet.
For slightly thicker cookies, don’t flatten the dough much. If you want a wider cookie, gently press the tops with your fingers.
Sprinkle each cookie with a little cinnamon sugar.
If you’re adding white chocolate chips or pecans, press a few pieces into the tops before baking.
10. Bake
Time: 10–13 minutes
Bake the cookies at 350°F for about 10–13 minutes.
Look for lightly golden edges and centers that still look a little soft.
Don’t wait until the entire cookie looks completely firm. Cookies continue cooking from the residual heat after you remove them from the oven.
I usually start checking at 10 minutes.
If the edges have set but the center still looks slightly underdone, that’s usually exactly where you want them.
11. Cool on the Baking Sheet
Time: 5 minutes
Let the cookies sit on the baking sheet for about 5 minutes.
They’ll firm up during this time.
Then transfer them to a wire rack and let them cool completely.
If you move them immediately, they can break because the centers haven’t finished setting.
12. Enjoy
Time: immediately
Once they’re cool enough to handle, grab one.
Or two.
I’m not going to pretend I always wait until they’re completely cool before tasting the first one.
The warm version has an especially nice texture, with buttery edges and a soft pumpkin-spiced middle.
Pro Tips & Tricks
Don’t Confuse Pumpkin Pie Filling With Pumpkin Puree
This recipe specifically uses pumpkin pie filling.
Pie filling typically contains sugar and spices, while plain pumpkin puree doesn’t. Swapping one for the other without changing the rest of the recipe can throw off both the flavor and texture.
Chill the Dough Even If It Looks Fine
The dough may seem perfectly scoopable after mixing, but chilling still helps.
Pumpkin pie filling adds moisture, and the refrigerator gives the flour time to absorb some of it.
If you have the patience, chill the dough for the full 45 minutes.
Don’t Overbake Them
These cookies don’t need to look completely finished when they leave the oven.
The edges should look set while the centers remain soft.
If you bake them until the centers look dry and firm, you’ll likely lose the tender texture that makes these cookies special.
Measure Flour Carefully
Too much flour can turn soft pumpkin cookies dense.
For the most consistent results, fluff the flour with a spoon, scoop it into your measuring cup, and level the top with a straight edge.
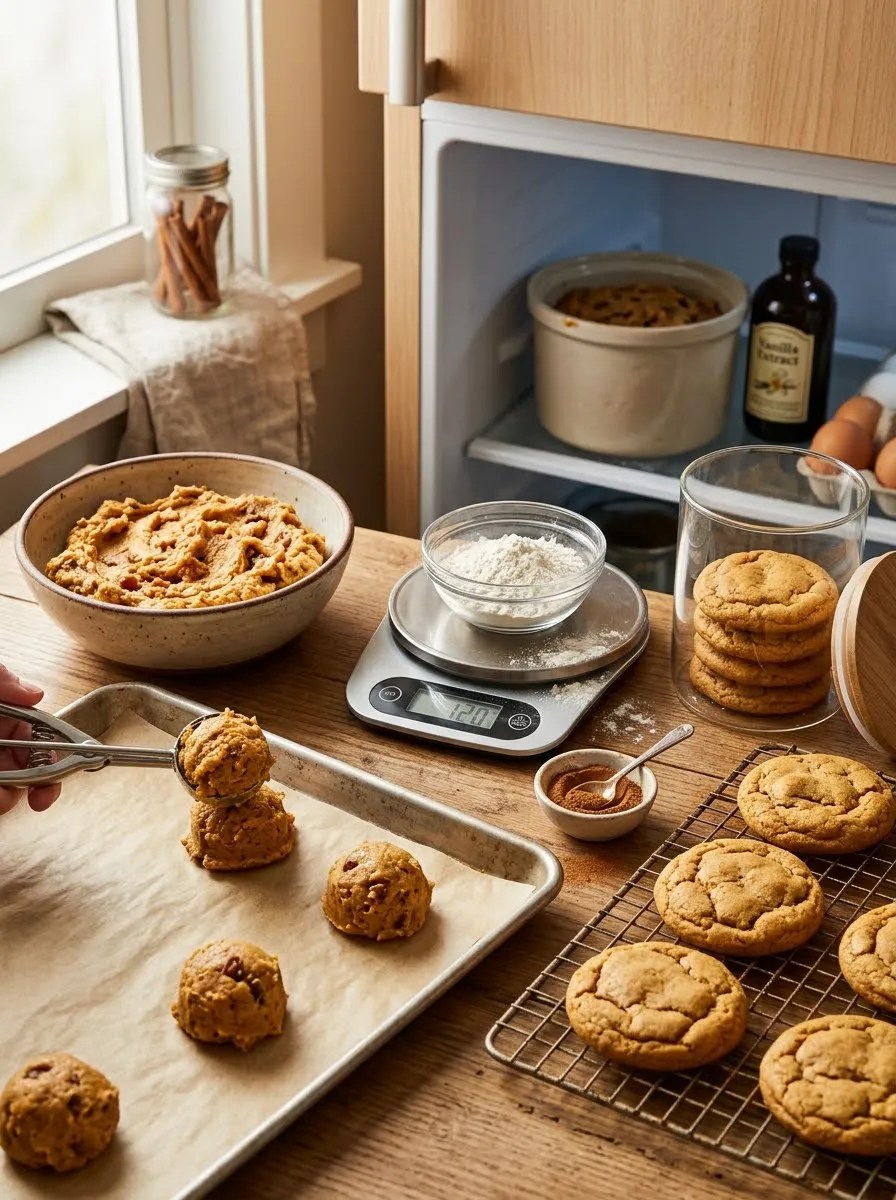
Even better, use a kitchen scale and measure about 270 grams of flour.
Store Them Properly
Once completely cool, store the cookies in an airtight container at room temperature for about 3–4 days.
Place parchment between layers if you don’t want the cookies sticking together.
For longer storage, freeze them in a freezer-safe container for up to 2 months.
Make the Dough Ahead
You can prepare the dough a day ahead and keep it covered in the refrigerator.
When you’re ready to bake, scoop the cold dough and place it directly on the baking sheets. If the dough becomes very firm overnight, let it sit at room temperature for about 10–15 minutes before scooping.
Variations & Substitutions
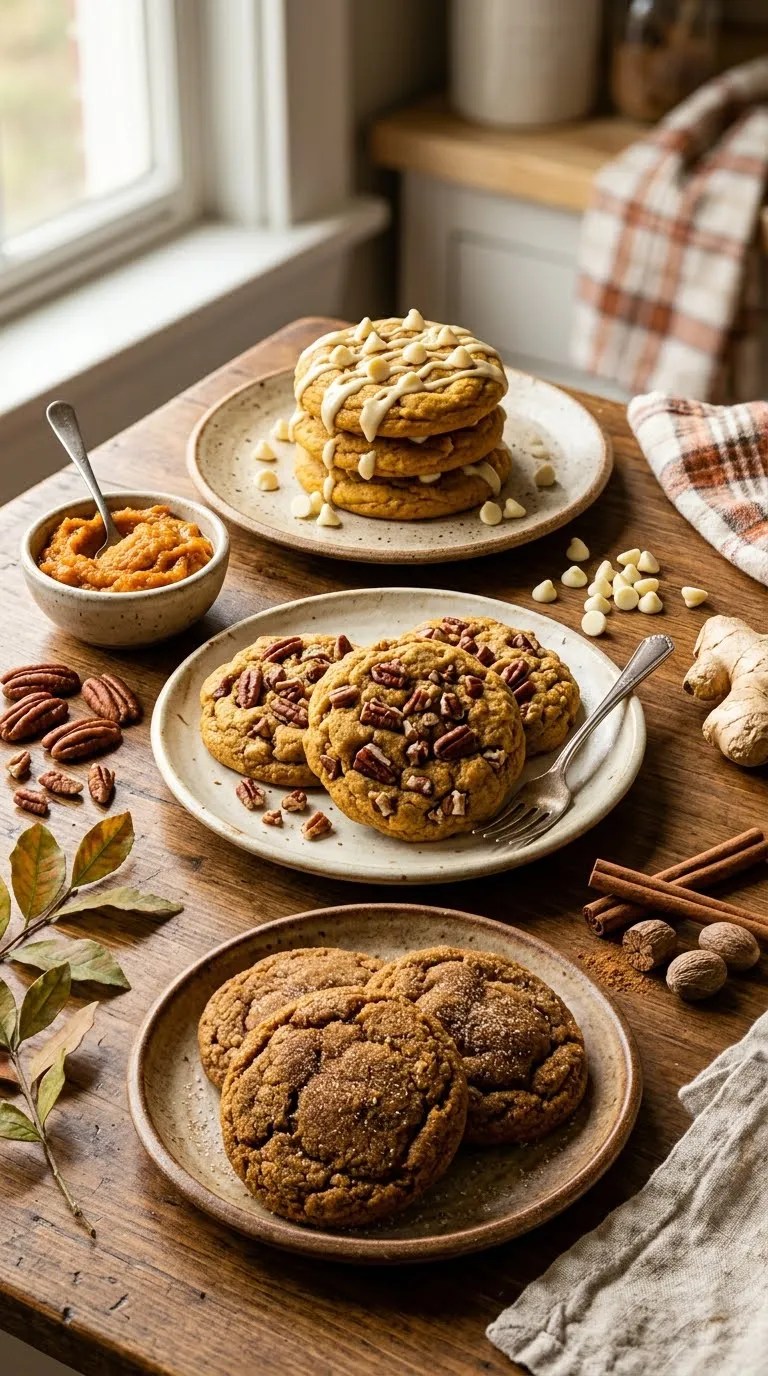
Add White Chocolate
White chocolate pairs beautifully with pumpkin spice.
Fold about ½ cup of white chocolate chips into the finished dough before chilling. The creamy sweetness balances the cinnamon, nutmeg, and cloves.
For an extra bakery-style appearance, press a few chips into the tops of the cookies before baking.
Try Toasted Pecans
For a little crunch, replace the white chocolate with ½ cup chopped pecans.
If you have a few extra minutes, toast the pecans in a dry skillet over medium-low heat until they smell nutty. Let them cool before adding them to the dough.
That small step makes a surprisingly big difference.
Make Them More Ginger-Forward
If you love a stronger gingerbread-style flavor, increase the ground ginger from ¼ teaspoon to ½ teaspoon.
You can also add a tiny pinch of extra cloves, but go slowly. Cloves have a strong flavor, and it’s easy to let them overpower the pumpkin.
Gluten-Free Option
For a gluten-free version, use a good-quality 1-to-1 gluten-free all-purpose flour blend designed for baking.
Choose a blend that contains xanthan gum if the manufacturer recommends it for cookies.
Since different gluten-free blends absorb moisture differently, the dough may need a little more chilling time.
Serving Suggestions

These pumpkin cookies fit right into a casual fall afternoon.
Serve them with coffee, hot chocolate, chai, or a glass of cold milk. I especially like them slightly warm with a mug of coffee because the spices become more noticeable as the cookie warms.
For a dessert table, arrange them on a simple platter with other homemade treats. You don’t need elaborate decoration. A dusting of cinnamon sugar gives them enough visual appeal.
They’re also a nice option for a Thanksgiving weekend breakfast spread or an autumn bake sale.
If you’re serving them for a gathering, bake them the day before. The flavors settle nicely overnight, and you won’t have to worry about baking while everyone else arrives.
For a simple dessert, warm a cookie for a few seconds and serve it alongside a scoop of vanilla ice cream. The warm cookie and cold ice cream make an excellent combination.
Related Recipes:
- Easy Pecan Coffee Cake With a Crumb Topping – Moist & Delicious
- Easy Apple Dessert for Thanksgiving Dinner
- Pumpkin Bars With Cream Cheese Frosting – Easy & Moist Recipe
- Pumpkin Cheesecake No Sour Cream: Creamy, Spiced, and Easy to Make
-
Pumpkin Cupcakes With Cinnamon Cream Cheese Frosting
FAQ’s
Can I use pumpkin puree instead of pumpkin pie filling?
Yes, but you shouldn’t make a straight one-for-one substitution without adjusting the recipe.
Pumpkin puree doesn’t contain the sugar and spices found in prepared pie filling. If you want to use puree, the recipe needs additional sugar and seasoning, and the final texture can also change.
For the easiest result, stick with pumpkin pie filling.
Why did my pumpkin cookies spread too much?
The most common culprit is dough that was too warm or too wet.
Make sure you used the correct type of pumpkin filling and measured the flour accurately. Also, chill the dough before baking.
If your kitchen is particularly warm, refrigerate the shaped dough for another 10–15 minutes before putting the tray in the oven.
Why are my cookies more cakey than chewy?
Pumpkin naturally adds moisture, so pumpkin cookies often have a softer, more cake-like texture than classic chocolate chip cookies.
If yours seem unusually cakey, check that you didn’t add too much pumpkin pie filling or flour.
Also avoid overmixing the dough once you add the flour.
Can I freeze pumpkin cookies?
Absolutely.
Let the baked cookies cool completely, then place them in a freezer-safe container or freezer bag with parchment between layers.
They’ll keep well for about 2 months.
Let them thaw at room temperature before serving. You can also warm them briefly in the microwave if you enjoy a softer, warm cookie.
Can I freeze the cookie dough?
Yes.
Scoop the chilled dough into individual portions and arrange them on a parchment-lined tray. Freeze the portions until firm, then transfer them to a freezer-safe container.
Bake them from frozen, adding a couple of minutes to the baking time as needed. Watch the first batch closely because ovens and dough portions vary.
How should I reheat leftover cookies?
For a warm, soft cookie, microwave one for about 8–12 seconds.
Start with less time because you can always add another few seconds.
For several cookies, place them on a baking sheet and warm them in a low oven for a few minutes.
Can I make these without a stand mixer?
Yes.
A hand mixer works perfectly, and you can even mix the dough by hand with a sturdy wooden spoon.
The butter needs to be properly softened, though. If it’s too firm, creaming the butter and sugars by hand becomes a workout.
Final Thought
I love recipes that come from trying to use what I already have in the kitchen, and these pumpkin cookies started exactly that way.
They aren’t fussy. They don’t require perfect decorating, and you don’t need a long list of unusual ingredients. The important parts are simple: use the right pumpkin filling, chill the dough, and pull the cookies from the oven while the centers still look soft.
Once you’ve made a batch, you’ll probably understand why they don’t last long around my kitchen.
If you make them, let the first cookie cool just enough to handle and taste it while it’s still warm. That’s my favorite part. And if you add white chocolate, pecans, or your own twist, I’d love to hear how they turned out.
Leave a Reply
You must be logged in to post a comment.