

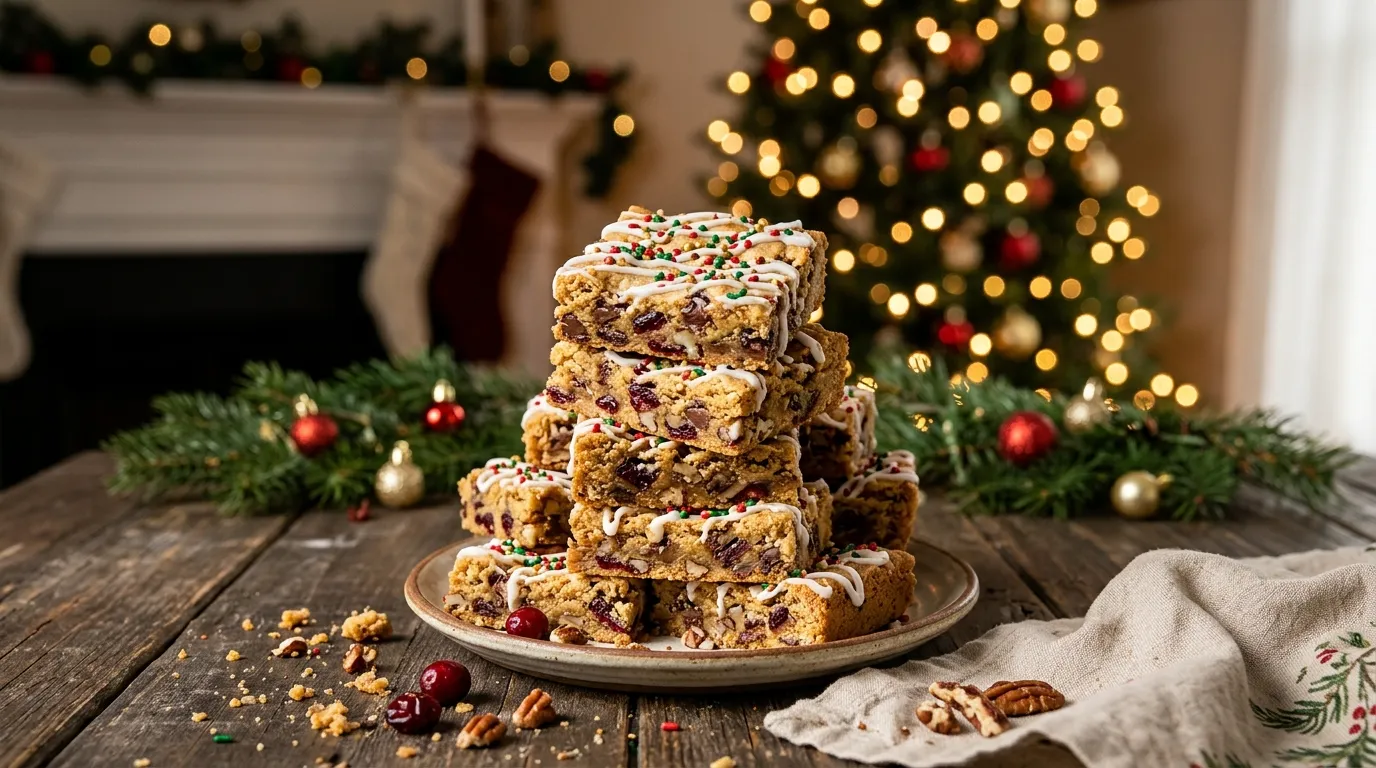
Every December, I seem to find an excuse to turn on the oven.
Sometimes it starts with a neighbor dropping off a tin of cookies. Other times, I just want that unmistakable Christmas smell drifting through the house: butter, brown sugar, cinnamon, vanilla, and something warm baking in the oven.
This Christmas baking recipe is one of my favorite holiday treats because it gives me that cozy feeling without turning the kitchen into a disaster zone. I first made a version of these Christmas cookie bars when I had less time than ambition, and I learned one important lesson: holiday baking doesn’t need to be complicated to feel special.
The first batch came out a little too dark around the edges because I left it in the oven while I answered a phone call. They still disappeared before dinner.
Since then, I’ve made a few small changes. I use softened butter rather than melted butter, I avoid overmixing the dough, and I pull the pan from the oven when the center still looks slightly soft. Those little details make a surprisingly big difference.
The result is a soft, buttery Christmas treat with lightly crisp edges, a tender center, and plenty of festive flavor. You can cut it into squares for a cookie tray, wrap individual pieces for gifts, or put the whole pan on the table and let everyone help themselves.
And yes, I’ve absolutely eaten one while it was still warm.
Why You’ll Love This Recipe

- Easy enough for a busy December afternoon. You don’t need complicated techniques or specialty equipment.
- One-pan convenience. Less scooping, shaping, and washing up means more time for everything else on your holiday list.
- Soft and buttery. The center stays pleasantly tender while the edges develop a golden finish.
- Easy to customize. Add chocolate chips, dried cranberries, nuts, or festive sprinkles depending on what you have.
- Great for sharing. These work beautifully on Christmas dessert tables, cookie exchanges, school gatherings, and casual family get-togethers.
Ingredients
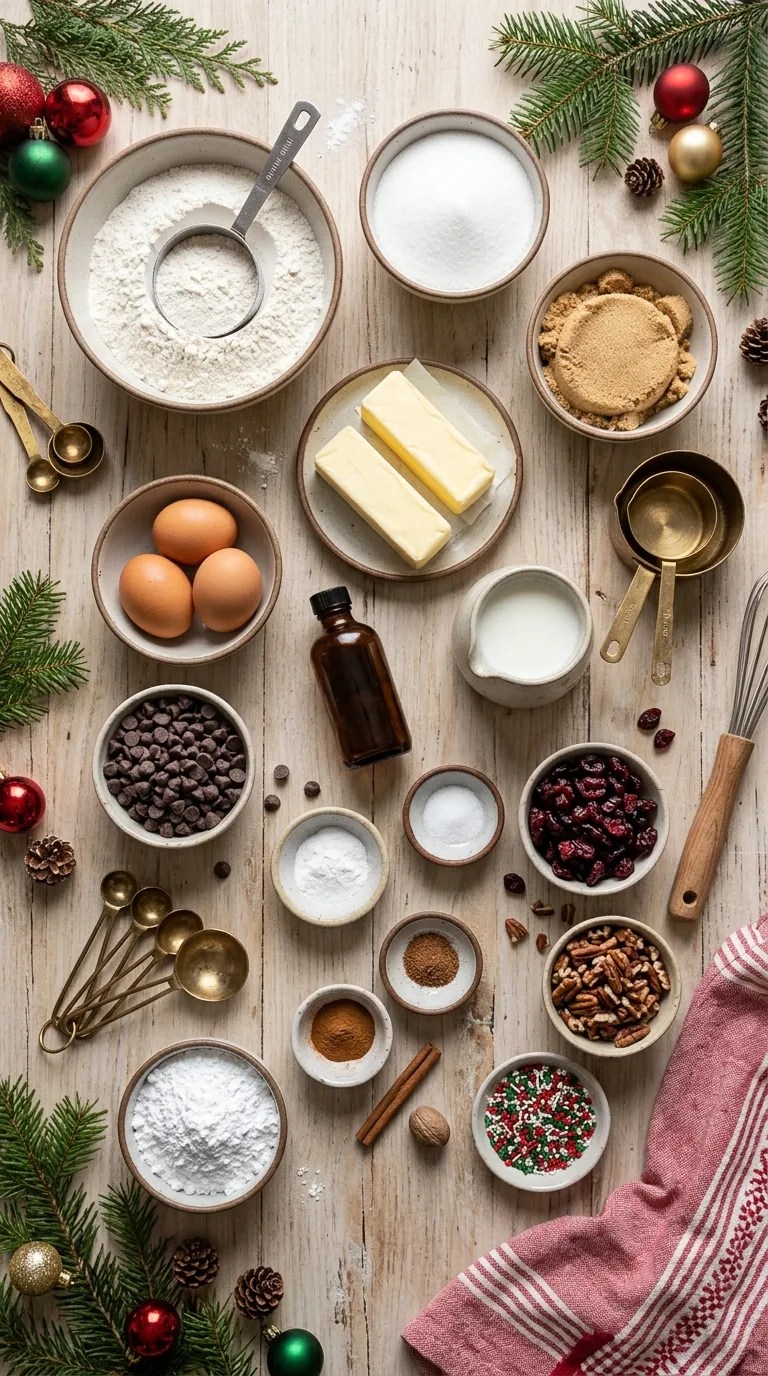
This recipe makes about 24 Christmas cookie bars in a 9-by-13-inch baking pan.
For the cookie bars
- 1 cup (226 g) unsalted butter, softened
- 1 cup (200 g) granulated sugar
- 3/4 cup (150 g) packed light brown sugar
- 2 large eggs, at room temperature
- 2 teaspoons vanilla extract
- 2 3/4 cups (345 g) all-purpose flour
- 1 teaspoon baking powder
- 1/2 teaspoon baking soda
- 1/2 teaspoon salt
- 1 teaspoon ground cinnamon
- 1/4 teaspoon ground nutmeg
- 1 cup (170 g) semi-sweet chocolate chips
- 3/4 cup (90 g) dried cranberries
- 1/2 cup (60 g) chopped pecans, optional
For the simple holiday topping
- 1 cup (120 g) powdered sugar
- 2 tablespoons milk
- 1/2 teaspoon vanilla extract
- 2–3 tablespoons festive sprinkles, optional
You can replace the pecans with chopped walnuts if that’s what you have. If you’re baking for someone with a nut allergy, simply leave them out.
For the chocolate chips, milk chocolate works if you prefer a sweeter bar. White chocolate also pairs nicely with the cranberries and makes the finished bars look especially festive.
If you don’t have brown sugar, you can use additional granulated sugar, although the bars won’t have quite the same soft texture or caramel-like flavor.
Step-by-Step Instructions
1. Prepare the pan and oven — 10 minutes
Preheat your oven to 350°F (175°C).
Grease a 9-by-13-inch baking pan, then line it with parchment paper. Leave some parchment hanging over two sides of the pan. Those little handles make removing the cooled bars much easier.
I used to skip the parchment because I didn’t want the extra step. Then I tried lifting a whole batch from the pan without it. Let’s just say I no longer skip it.
2. Cream the butter and sugars — 3 to 4 minutes
Add the softened butter, granulated sugar, and brown sugar to a large mixing bowl.
Using a hand mixer or stand mixer fitted with the paddle attachment, beat everything together on medium speed for about 3–4 minutes.
The mixture should look lighter, creamy, and fluffy.
Don’t rush this part. You don’t need to beat it forever, but properly softened butter helps create the texture you’re after.
If your butter feels hard straight from the refrigerator, don’t microwave it until it melts. Let it sit at room temperature until you can press a finger into it easily without it feeling greasy.
3. Add the eggs and vanilla — 1 to 2 minutes
Beat in the eggs one at a time.
Wait until the first egg disappears into the mixture before adding the second. Then mix in the vanilla extract.
At this point, the batter should look smooth and creamy.
If it looks slightly curdled, don’t panic. The flour will bring everything together.
4. Mix the dry ingredients — 2 minutes
In a separate bowl, whisk together:
- Flour
- Baking powder
- Baking soda
- Salt
- Cinnamon
- Nutmeg
This quick step distributes the leavening agents and spices throughout the flour so you don’t end up with a concentrated pocket of baking soda in one bite.
I’ve made that mistake before. It wasn’t my finest Christmas dessert moment.
5. Combine the wet and dry mixtures — 1 to 2 minutes
Add the dry ingredients to the butter mixture.
Mix on low speed just until the flour disappears.
Don’t overmix.
The dough should look thick and soft, similar to a very thick cookie dough. Once you no longer see streaks of dry flour, stop mixing.
6. Fold in the festive extras — 1 minute
Add the chocolate chips, dried cranberries, and pecans if you’re using them.
Use a sturdy spatula to fold everything through the dough.
Try to distribute the mix-ins evenly so every square gets a little chocolate and cranberry.
If your family has strong opinions about chocolate, you can increase the chocolate chips slightly and reduce the cranberries. Holiday baking should leave room for personal preferences.
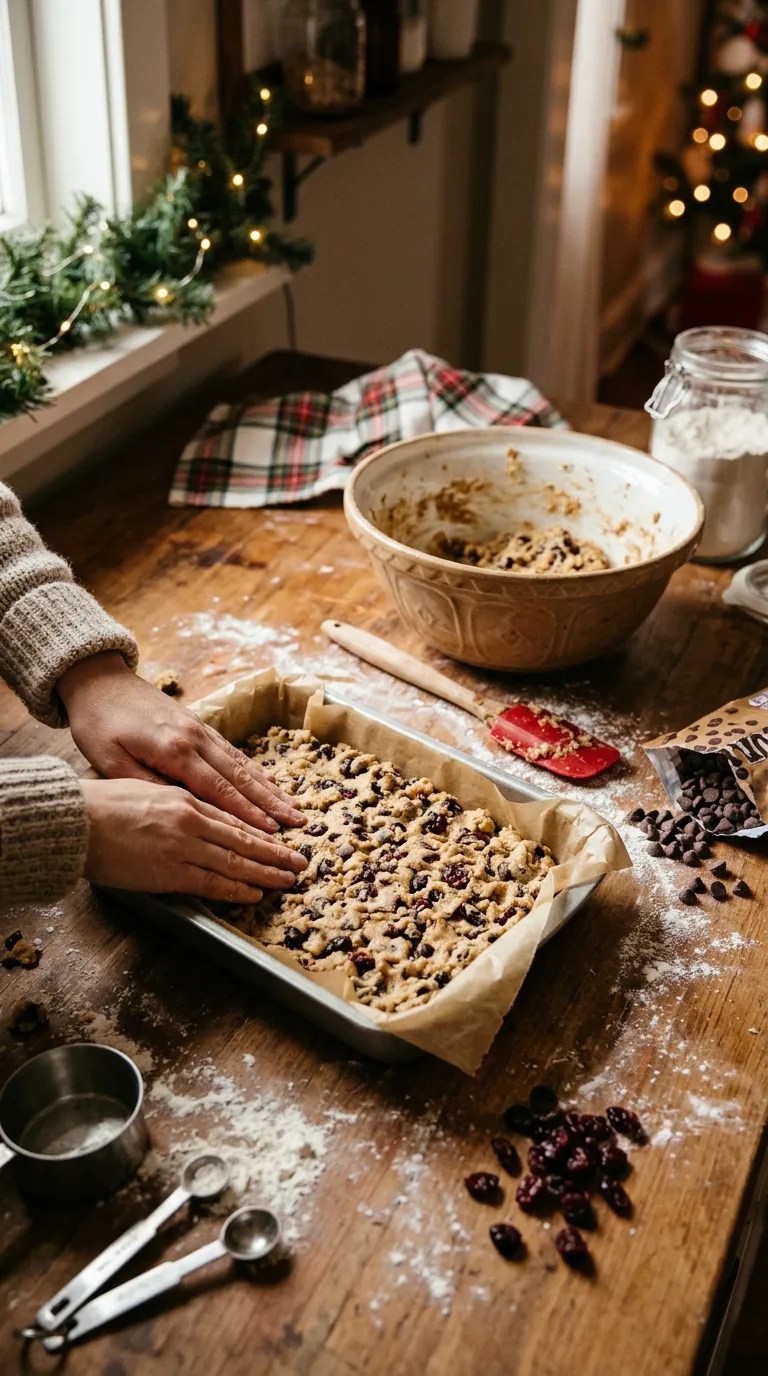
7. Press the dough into the pan — 2 minutes
Transfer the dough to your prepared baking pan.
Press it into an even layer with a spatula or lightly greased hands.
The dough can feel a little stubborn here. Instead of aggressively pushing it around, work from the center toward the corners.
Make the thickness as even as possible. That helps the edges and center finish baking at roughly the same time.
8. Bake — 20 to 25 minutes
Place the pan in the center of your preheated oven.
Bake for 20–25 minutes, checking toward the lower end of that range.
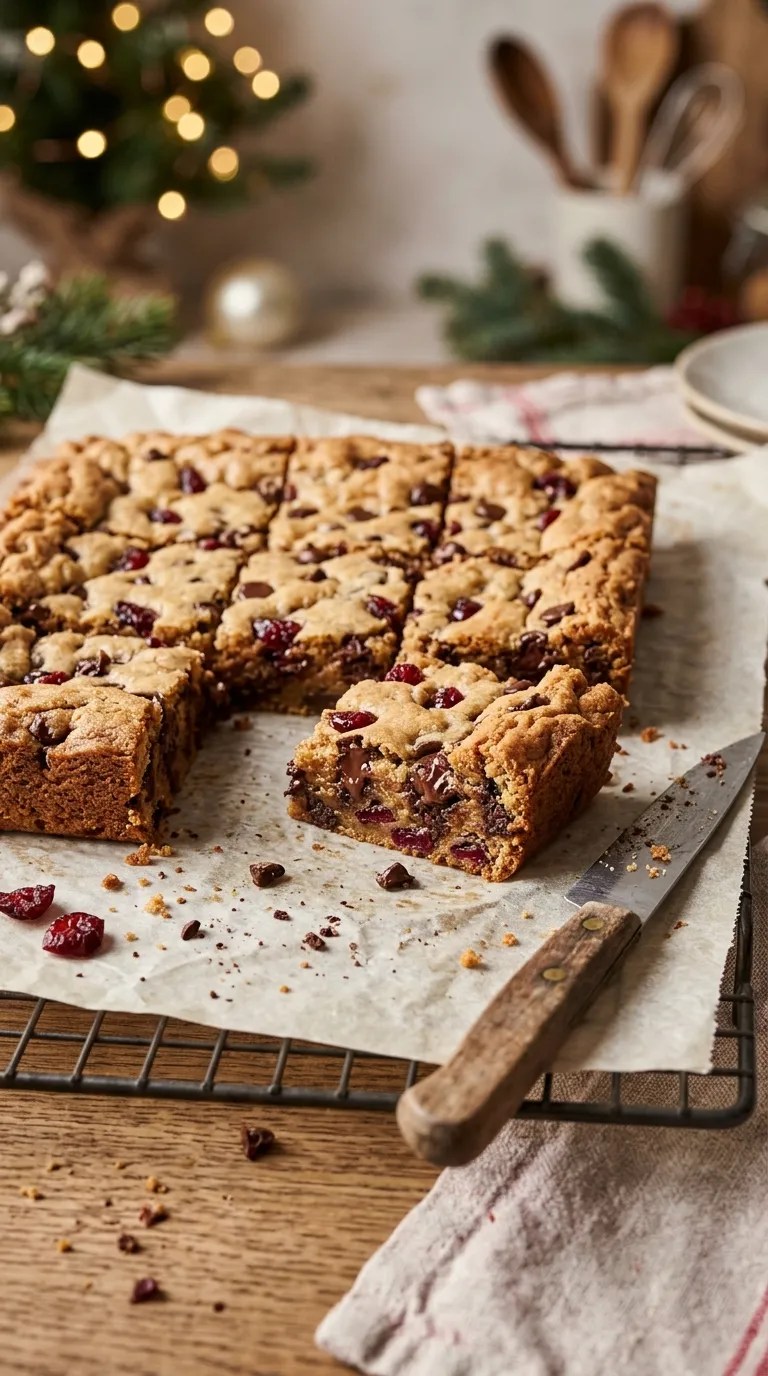
You’re looking for lightly golden edges and a center that looks set but still slightly soft.
Don’t wait for the middle to look completely firm. The bars continue cooking from residual heat after you remove them from the oven.
This is one of the biggest discoveries I made with this recipe. My early batches looked underdone when I pulled them out, so I kept baking them. Once they cooled, they turned out much firmer than I wanted.
A little softness in the center is your friend.
9. Cool completely — at least 45 minutes
Set the pan on a cooling rack and let the bars cool completely.
Give them at least 45 minutes before slicing.
If you cut them while they’re hot, they’ll taste wonderful but may fall apart more easily.
Once they’re cool, use the parchment overhang to lift the entire slab from the pan.
10. Add the holiday topping — 5 minutes
Whisk the powdered sugar, milk, and vanilla together in a small bowl.
You want a smooth glaze that’s thick enough to drizzle but thin enough to spread easily.
If it’s too thick, add milk about 1/2 teaspoon at a time. If it’s too thin, whisk in a little more powdered sugar.
Drizzle the glaze over the cooled bars, then add festive sprinkles before the glaze sets.
Let the topping sit for about 10–15 minutes before cutting.
11. Slice and serve
Use a sharp knife to cut the slab into 24 squares.
For neat edges, wipe the knife with a clean, slightly damp cloth between cuts.
Or don’t worry about perfect squares at all.
At Christmas, nobody has ever complained because my cookie bars weren’t geometrically perfect.
Pro Tips & Tricks
Use properly softened butter
Soft butter should give slightly when you press it, but it shouldn’t look shiny or melted.
Melted butter changes the texture of these bars and can make them flatter and denser.
Don’t overbake them
The center should still look a little soft when you take the pan out.
The bars firm up as they cool, so baking until the entire surface looks completely dry usually gives you a harder result.
Measure flour carefully
Too much flour can make the bars dry and crumbly.
If you have a kitchen scale, use it. If you measure with cups, spoon the flour into the measuring cup and level it with the back of a knife instead of scooping directly from the flour bag.
Let the bars cool before glazing
A warm surface melts the glaze and sends it sliding toward the edges.
Wait until the bars feel completely cool to the touch before adding the topping.
Make them ahead
You can bake these 1–2 days before serving.
Keep them in an airtight container at room temperature. Place parchment or wax paper between layers if you stack them.
For the freshest appearance, you can also wait to add the glaze and sprinkles until the day you plan to serve them.
Store leftovers properly
Keep the finished bars in an airtight container at room temperature for up to 4 days.
If your kitchen runs particularly warm, refrigerate them, but allow them to sit at room temperature for a little while before serving so the texture softens again.
Variations & Substitutions
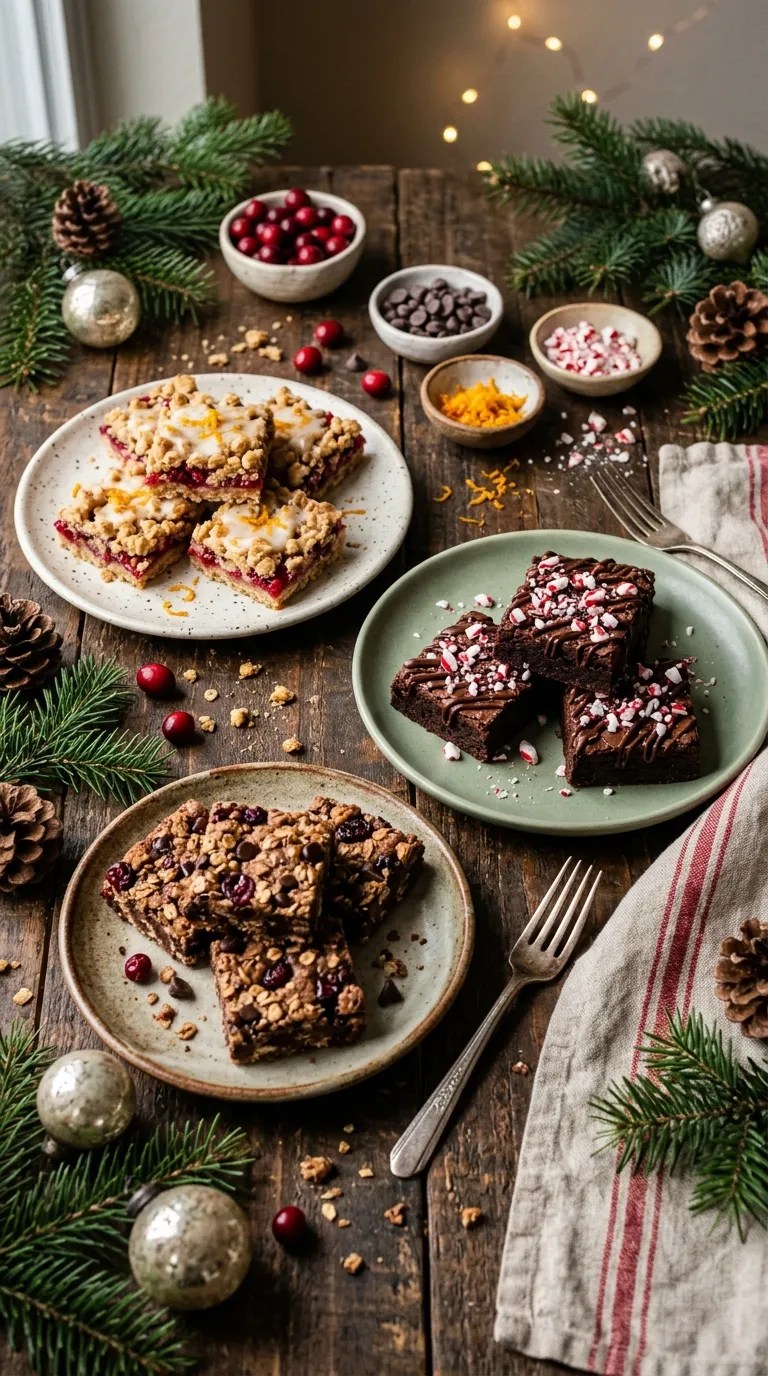
Cranberry Orange Christmas Bars
For a brighter holiday flavor, add 1 tablespoon of finely grated orange zest to the butter and sugar mixture.
You can also replace part of the chocolate chips with white chocolate chips. The combination of orange, cranberry, and white chocolate feels wonderfully festive without requiring a completely different recipe.
Chocolate Peppermint Bars
For a more classic Christmas-candy flavor, leave out the cranberries and add 1/2 cup extra chocolate chips.
Once the bars cool, drizzle them with chocolate glaze and sprinkle a small amount of crushed peppermint candy over the top.
Add the peppermint close to serving time so it keeps its texture.
Nut-Free Holiday Bars
Simply omit the pecans.
You don’t need to replace them with anything, although an extra handful of chocolate chips or dried cranberries works nicely if you want more mix-ins.
Gluten-Free Option
You can try replacing the all-purpose flour with a 1-to-1 gluten-free baking flour blend designed for baking.
Choose a blend that already contains a binder such as xanthan gum. Since different gluten-free flour blends behave differently, expect the texture to vary slightly from the original.
For anyone with celiac disease or a serious gluten allergy, check every packaged ingredient and avoid cross-contact in your kitchen.
Serving Suggestions
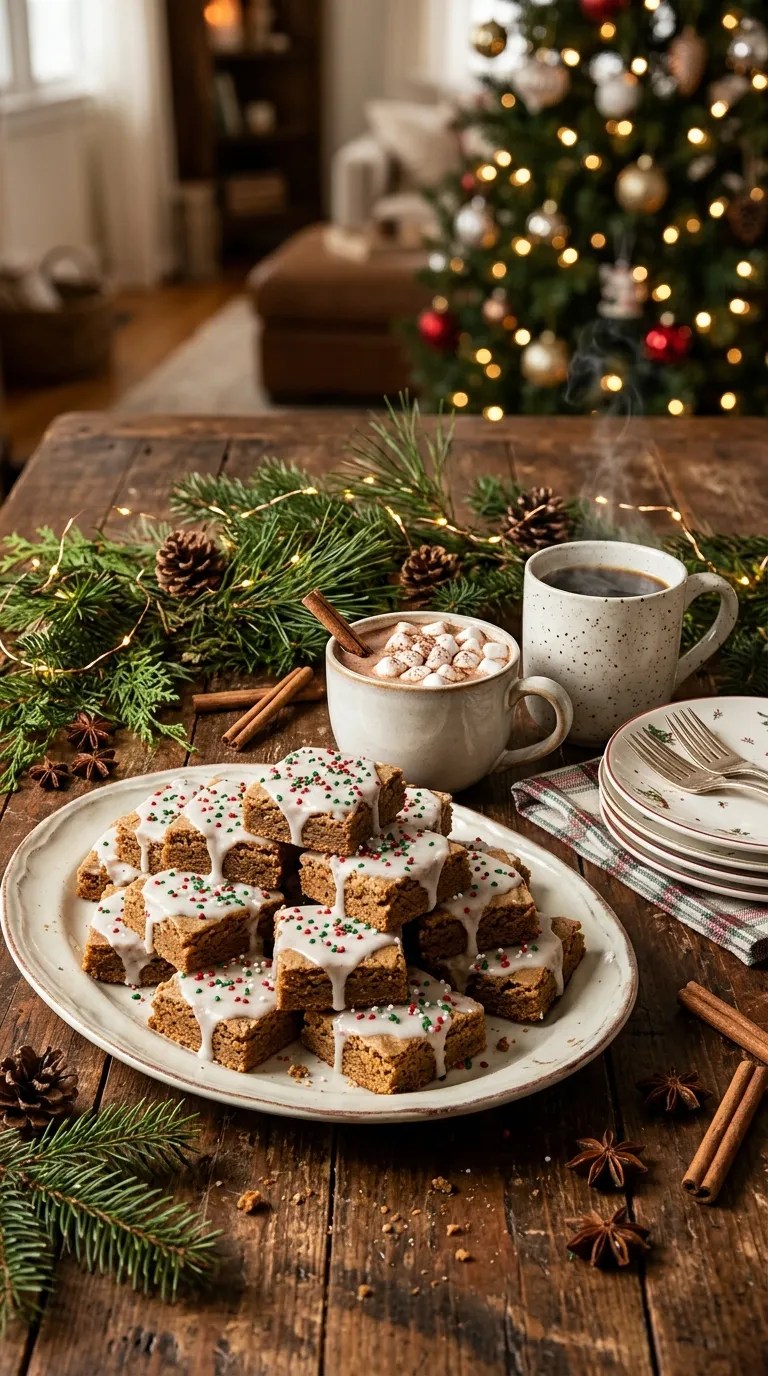
These Christmas cookie bars fit almost anywhere you need a simple holiday dessert.
For a Christmas morning spread, serve them alongside coffee, tea, hot chocolate, fresh fruit, and other breakfast-friendly treats.
For an afternoon cookie exchange, cut them into smaller squares so guests can sample several desserts without taking one enormous piece.
I also like putting a platter of them beside a pot of hot chocolate during a family movie night. They don’t require plates if you cut them small enough, which makes cleanup much easier.
For gifting, let the glaze set completely before placing the bars into a decorative tin or food-safe gift box. Separate layers with parchment paper.
You can also package a few pieces in small treat bags for teachers, neighbors, or friends.
If you’re serving a larger crowd, cut the bars into 32 smaller pieces rather than 24 standard squares. They still look generous on a dessert tray, especially when you arrange them with cookies in different shapes and sizes.
Related Recipes:
- Cream Cheese Desserts for Holidays and Parties
- Easy Holiday Desserts for Every Celebration
- How to Make Butter Pecan Pie From Scratch
- Homemade Pecan Pie Brownie With a Gooey Topping
FAQ’s
Can I make these Christmas cookie bars ahead of time?
Absolutely. Bake them up to two days before serving and store them in an airtight container.
For the best presentation, you can prepare the bars in advance and add the glaze and sprinkles shortly before serving.
Can I freeze Christmas cookie bars?
Yes. Freeze the unglazed, completely cooled bars in an airtight freezer-safe container for up to 2 months.
Place parchment paper between layers to prevent sticking. Thaw them at room temperature, then add the glaze and sprinkles once they’re completely thawed.
Why did my cookie bars turn out dry?
The most common reason is overbaking, although too much flour can also cause dryness.
Next time, start checking the pan around the 20-minute mark. The edges should look golden while the center should retain a little softness.
Can I use salted butter instead of unsalted?
Yes. If you use salted butter, reduce the added salt to about 1/4 teaspoon.
The exact salt level varies between butter brands, so this approach keeps the overall flavor balanced without making the bars noticeably salty.
Can I make the dough without a stand mixer?
Definitely.
A hand mixer works perfectly well, and you can even mix the dough by hand with a sturdy wooden spoon. The butter needs to be properly softened so you can cream it with the sugars without exhausting your arm.
Can I leave out the chocolate chips?
Yes.
The recipe still works without them. You can replace them with additional dried cranberries, chopped nuts, white chocolate chips, or simply leave the bars plain and let the cinnamon and vanilla carry the flavor.
How should I reheat the bars?
You don’t really need to reheat them.
If you enjoy a warm cookie bar, place one on a microwave-safe plate and warm it for about 8–10 seconds. Let it sit briefly before eating because the center can become quite warm.
If you’ve already added a delicate glaze, warming may soften or melt the topping, so I prefer reheating unglazed pieces.
Final Thought
There’s something I love about recipes like this.
They don’t require an entire afternoon, a dozen bowls, or a perfectly organized kitchen. You can mix the dough, press it into a pan, and have the house smelling like Christmas before you’ve finished wrapping all the presents.
I’ve made fancier holiday desserts, but I keep coming back to these bars because they’re dependable. They taste homemade, they travel well, and nobody seems able to walk past the pan without taking “just one little piece.”
If you make this Christmas baking recipe, don’t worry too much about making every square perfect. Add your favorite holiday mix-ins, put on some Christmas music, and enjoy the process.
And if your first batch gets a little darker around the edges than planned?
Just call them extra-toasty.
That’s what I did. They still disappeared.
Leave a Reply
You must be logged in to post a comment.