


There are desserts that disappear politely, one little square at a time, and then there are desserts that make everyone hover around the kitchen waiting for the pan to cool.
These pecan pie brownies belong firmly in the second category.
I first made them when I wanted something a little more exciting than ordinary brownies but didn’t have the patience for a complicated dessert. I had a bag of pecans in the pantry and a serious craving for something chocolatey, so I decided to combine two favorites.
The first batch taught me an important lesson: don’t judge the topping while it’s still hot. Straight from the oven, it looked loose and almost too soft. I worried that I’d made a mess. After cooling, though, the topping settled into a glossy, chewy layer that clung beautifully to the fudgy brownie underneath.
That gooey pecan layer became my favorite part.
The brownies themselves stay rich and chocolatey, while the pecans add a buttery crunch and the topping brings that familiar caramel-like flavor you expect from pecan pie. Every bite gives you something slightly different.
And yes, I’ve made these more than once since then. I’ve also learned that cutting them too soon creates very messy squares. Delicious messes, but still messes.
If you love brownies and pecan pie, this is the dessert I’d make for a holiday table, a family gathering, or simply a weekend when you want something special sitting on the kitchen counter.
Why You’ll Love This Recipe

- Two desserts in one: You get fudgy brownies and a gooey pecan pie topping in every square.
- No fancy equipment required: A saucepan, mixing bowls, whisk, spatula, and baking pan handle the job.
- Big payoff for simple ingredients: Most of the ingredients are pantry and refrigerator staples.
- Make-ahead friendly: The brownies actually become easier to cut after they cool completely.
- Perfect for sharing: One pan gives you plenty of rich little squares for a crowd.
The only warning I’d give you is that these are rich. I prefer cutting them into smaller squares rather than serving giant pieces. Nobody complains about getting a second one.
Ingredients
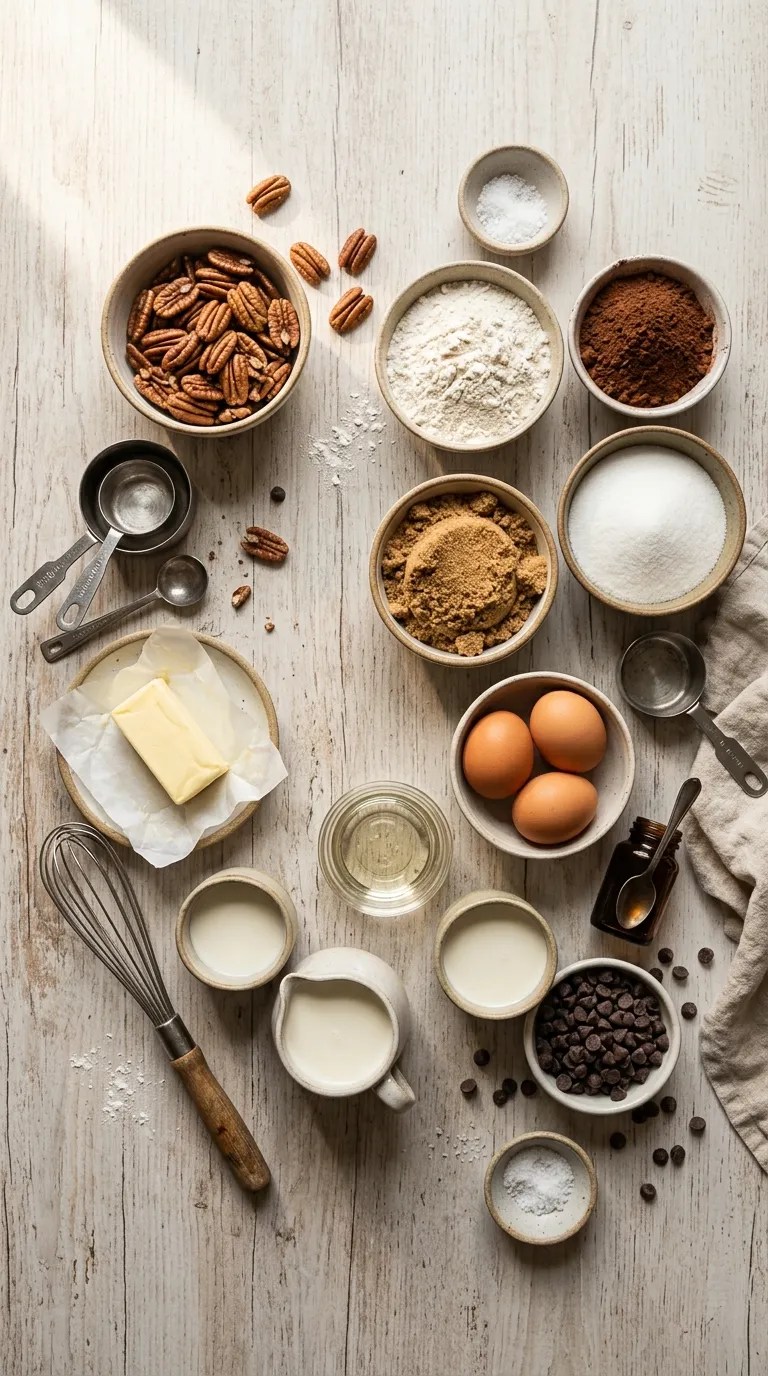
For the Brownie Layer
- 1 cup (226 g) unsalted butter
- 1 1/2 cups (300 g) granulated sugar
- 1/2 cup (100 g) packed light brown sugar
- 4 large eggs
- 2 teaspoons pure vanilla extract
- 1 cup (125 g) all-purpose flour
- 3/4 cup (65 g) unsweetened cocoa powder
- 1/2 teaspoon salt
- 1 cup (170 g) semisweet chocolate chips
You can use dark chocolate chips if you prefer a deeper chocolate flavor. I usually reach for semisweet because it balances the sweet pecan topping nicely.
For the Gooey Pecan Topping
- 1/2 cup (113 g) unsalted butter
- 3/4 cup (150 g) packed light brown sugar
- 1/2 cup (120 ml) light corn syrup
- 1/4 cup (60 ml) heavy cream
- 2 large eggs
- 1 teaspoon pure vanilla extract
- 1/4 teaspoon salt
- 2 cups (220 g) pecan halves or roughly chopped pecans
For a more rustic topping, chop about half of the pecans and leave the rest in larger pieces. The mixture of textures makes each bite more interesting.
If you don’t have light corn syrup, you can substitute an equal amount of maple syrup. The flavor will change slightly, but you’ll still get a delicious topping.
Equipment
You’ll need:
- 9 x 13-inch metal baking pan
- Parchment paper
- Medium saucepan
- Two mixing bowls
- Whisk
- Rubber spatula
- Measuring cups and spoons
- Cooling rack
I prefer a metal baking pan for brownies because it gives me more predictable edges. If you use a glass dish, keep an eye on the baking time because the brownies may behave a little differently.
Step-by-Step Instructions
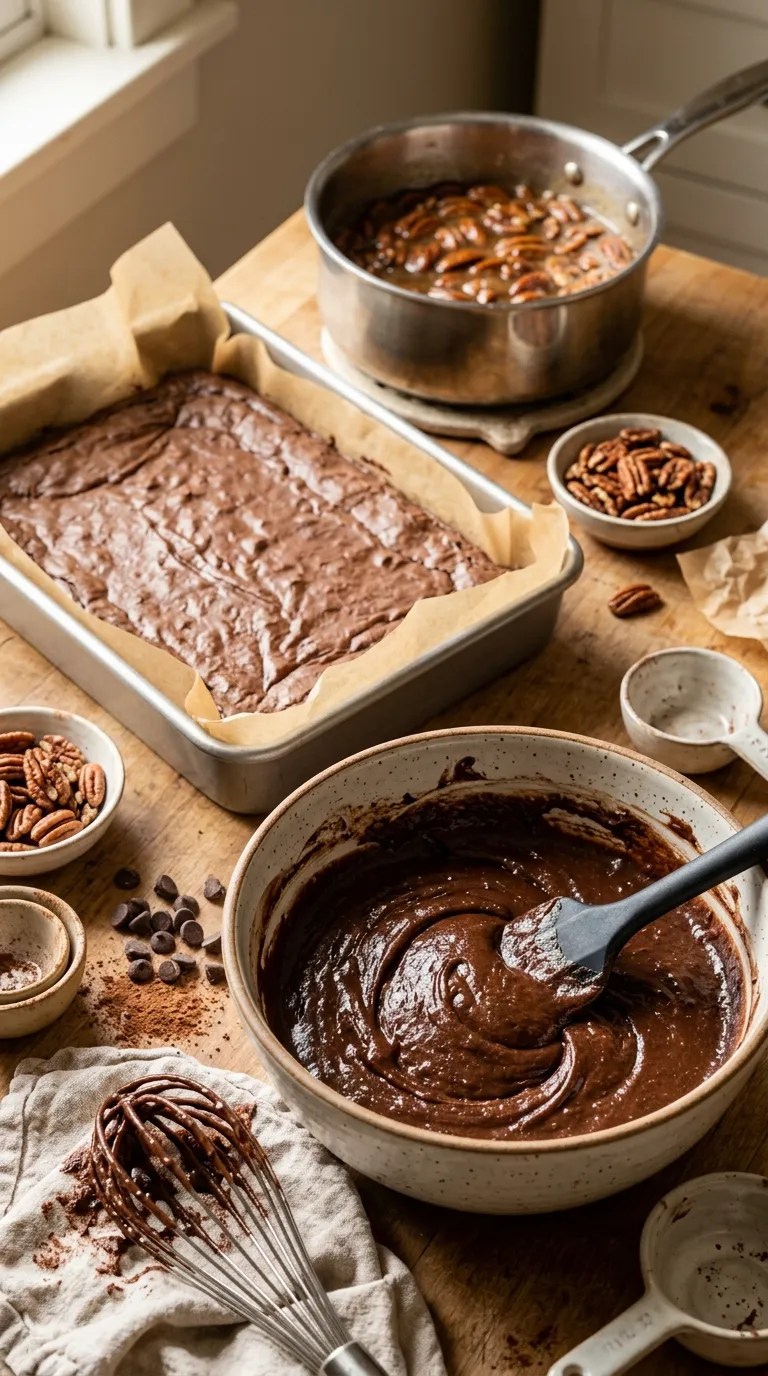
1. Prepare the Pan — 5 Minutes
Start by heating your oven to 350°F (175°C).
Line a 9 x 13-inch baking pan with parchment paper, leaving a little overhang on two sides. Lightly grease the parchment and exposed sides of the pan.
The parchment makes a huge difference later. Once the brownies cool, you can lift the entire slab from the pan instead of trying to dig individual pieces out with a spatula.
2. Melt the Butter and Build the Brownie Batter — 10 Minutes
Melt the butter in a medium saucepan over low heat.
Once melted, remove the saucepan from the heat and whisk in the granulated sugar and brown sugar. The mixture will look glossy and thick.
Let it cool for a few minutes. You don’t want the butter mixture piping hot when you add the eggs.
Whisk in the eggs one at a time, followed by the vanilla.
In a separate bowl, whisk together the flour, cocoa powder, and salt.
Add the dry ingredients to the butter mixture and fold everything together with a rubber spatula.
Stop mixing as soon as you no longer see dry streaks. Overmixing can make brownies less tender.
Fold in the chocolate chips.
The finished batter should look thick and glossy, almost like a very thick chocolate pudding.
3. Bake the Brownie Base — 18 to 22 Minutes
Spread the brownie batter evenly into your prepared pan.
Bake for about 18 to 22 minutes.
At this stage, don’t bake the brownies until they’re completely finished. The center should still look slightly soft, but it shouldn’t look like raw batter.
This partial bake gives the pecan topping something sturdy to sit on while allowing the two layers to finish baking together.
I learned this the hard way after overbaking an early batch. The brownies tasted good, but they lost that fudgy texture I wanted.
4. Make the Pecan Topping — About 8 Minutes
While the brownie base bakes, prepare the topping.
Melt the butter in a saucepan over medium-low heat.
Add the brown sugar, corn syrup, heavy cream, and salt. Stir until the sugar dissolves and the mixture becomes smooth and glossy.
Let it gently bubble for about 2 minutes, stirring frequently.
Remove the pan from the heat and let the mixture cool for a few minutes.
Whisk the eggs and vanilla together in a separate bowl.
Slowly whisk a little of the warm sugar mixture into the eggs. Then gradually whisk the egg mixture back into the saucepan.
This gradual mixing helps prevent the eggs from scrambling.
Stir in the pecans.
The topping should look thick, shiny, and loaded with nuts.
5. Add the Gooey Layer — 2 Minutes
Carefully remove the partially baked brownies from the oven.
Pour the pecan mixture evenly over the top.
Use a spatula to gently spread the pecans toward the corners if needed.
Don’t press the topping down into the brownie batter. Just spread it across the surface.
6. Finish Baking — 20 to 25 Minutes
Return the pan to the oven and bake for another 20 to 25 minutes.
This is where you want to pay attention to the visual cues rather than relying only on the clock.
The edges should look set, the pecans should look toasted, and the center should still have a slight wobble when you gently move the pan.
That wobble matters.
If the whole topping ripples like liquid, give it a few more minutes. If it looks completely firm and dry in the center, you’ve probably gone a little too far.
Remember that the topping continues to set as it cools.
7. Cool Completely — At Least 2 Hours
This step requires patience.
Place the pan on a cooling rack and let the brownies cool completely.
For the cleanest cuts, I recommend giving them at least 2 hours. If you have time, refrigerate the cooled pan for another hour before slicing.
The topping will firm up while staying pleasantly gooey, and the brownie layer will become easier to cut.
Use the parchment overhang to lift the slab from the pan.
Then use a sharp knife to cut it into squares. Wipe the knife between cuts if you want neat edges.
Pro Tips & Tricks
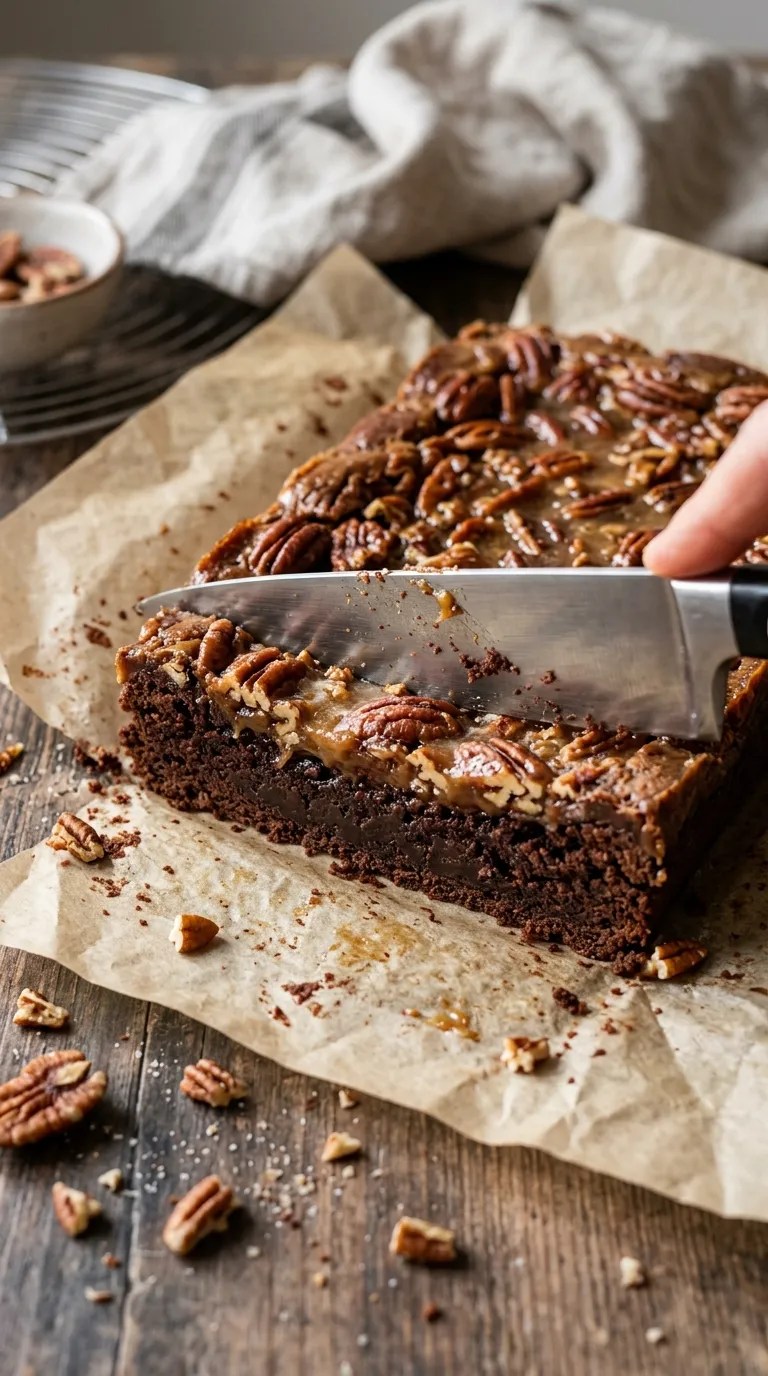
Don’t Skip the Cooling Time
I know the smell coming from the oven makes waiting almost impossible.
But if you cut these brownies while they’re hot, the topping can slide around and the brownie layer may fall apart. Letting them cool gives everything time to settle.
If you’re serving them at a party, make them the night before. That solves the waiting problem completely.
Use Good Pecans
Pecans play a starring role here, so stale nuts can noticeably affect the finished dessert.
Give your pecans a quick smell before using them. They should smell sweet and nutty, not bitter or oily.
If your pecans have been sitting in the pantry for a while, toast them lightly in a dry skillet for a few minutes before adding them. Let them cool first.
Don’t Overbake the Brownies
Fudgy brownies don’t need a dry toothpick.
For this recipe, look for set edges and a slightly soft center. The brownies will continue cooking from residual heat after you remove them from the oven.
A toothpick inserted into the brownie section should come out with moist crumbs rather than wet batter.
Watch the Topping Carefully
The pecan topping contains eggs, so don’t let the sugar mixture become extremely hot before you combine it with the eggs.
Letting the mixture cool slightly and tempering the eggs gradually keeps the topping smooth.
Cut Smaller Squares
These are wonderfully rich.
I usually cut the finished slab into 24 smaller squares rather than 12 large ones. Smaller pieces also make them easier to serve at parties or holiday dinners.
And if someone wants another piece, that’s their business.
Storage
Store completely cooled brownies in an airtight container at room temperature for up to 3 days.
For longer storage, refrigerate them in a covered container for up to 5 days.
The refrigerator firms up the topping, so let individual pieces sit at room temperature for about 15 to 20 minutes before serving.
You can also warm a piece briefly in the microwave if you prefer a softer, gooier texture.
Variations & Substitutions
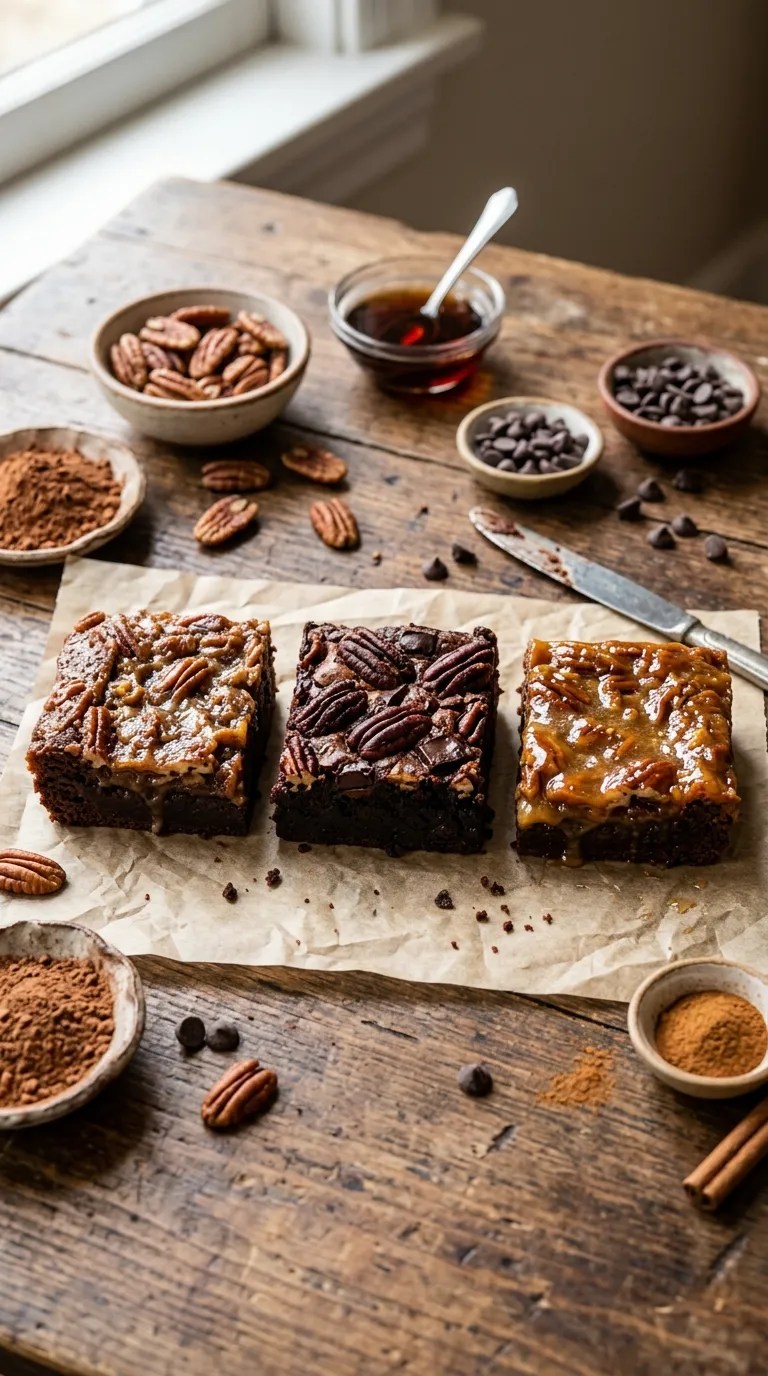
Make Them Extra Chocolatey
For serious chocolate lovers, replace half of the semisweet chocolate chips with dark chocolate chips.
You can also add 1/2 teaspoon of instant espresso powder to the brownie batter. It won’t make the brownies taste like coffee; instead, it can give the chocolate flavor more depth.
Try a Maple-Pecan Version
Swap the corn syrup in the topping for pure maple syrup.
The topping will have a more pronounced maple flavor, which works especially well with pecans and dark chocolate.
Because maple syrup behaves somewhat differently from corn syrup, expect a slightly different texture. Don’t judge the topping until it has cooled completely.
Make a Gluten-Free Batch
Use a good-quality 1-to-1 gluten-free baking flour in place of the all-purpose flour.
Check the labels on your other ingredients if you need to avoid gluten strictly, particularly chocolate chips and any packaged flavorings.
The texture may vary slightly depending on the flour blend you use, but a blend designed as a direct baking substitute usually works best.
Add a Little Warm Spice
If you love the flavor of pecan pie during the holidays, add 1/2 teaspoon of ground cinnamon to the topping.
For a subtle extra warmth, you can add a tiny pinch of nutmeg as well.
I wouldn’t go overboard. The chocolate and pecans should remain the main flavors.
Serving Suggestions

These brownies don’t need much help, but a few simple additions can make them feel extra special.
For a classic dessert plate, serve a brownie with a small scoop of vanilla ice cream. The cold, creamy ice cream against the rich brownie and sticky pecan topping is hard to beat.
A dollop of lightly whipped cream also works beautifully.
If you’re serving them for a holiday dinner, dust the plate with a little powdered sugar just before serving. Don’t add it too early because moisture from the topping can make it disappear.
For a casual gathering, arrange the brownies on a large platter and let everyone grab a square.
They’re particularly good for Thanksgiving, Christmas cookie exchanges, potlucks, bake sales, family dinners, and weekend baking projects.
If you’re packing them for transport, chill them first. The firmer topping travels much better than a warm, freshly baked batch.
Related Recipes:
- Southern Pecan Pie Cheesecake for Thanksgiving
- Homemade Pecan Pie Bars for Thanksgiving
- Pumpkin Crisp Bars
- No-Bake Pumpkin Cheesecake Ball
FAQ’s
Can I make pecan pie brownies ahead of time?
Absolutely.
These brownies work particularly well as a make-ahead dessert. Bake them the day before you plan to serve them and let them cool completely before covering them.
Keep them at room temperature for short-term storage or refrigerate them if you want them to stay firmer.
Why is my pecan topping too runny?
The most common reason is that the brownies haven’t cooled yet.
The topping starts out quite soft when it comes out of the oven and firms as it cools.
If the topping remains unusually loose even after the brownies have cooled completely, the dessert may need a little more baking time next time. Make sure the center reaches a gently set consistency before removing the pan.
Can I use chopped pecans instead of pecan halves?
Yes.
Chopped pecans make the brownies easier to cut and distribute the nutty flavor throughout the topping.
I like using a mixture of chopped and halved pecans because you get both a substantial crunch and smaller pieces in every bite.
Can I freeze pecan pie brownies?
Yes, you can freeze them.
Let the brownies cool completely, then cut them into individual portions. Wrap each piece well and place the wrapped pieces in a freezer-safe container.
Freeze for up to 2 months for the best quality.
Thaw them in the refrigerator overnight or at room temperature for a few hours.
How should I reheat them?
For a soft, gooey texture, place one brownie on a microwave-safe plate and warm it for about 10 to 15 seconds.
Microwaves vary, so start with a short burst rather than heating it for too long.
You can also enjoy them cold or at room temperature. Honestly, I like them both ways.
Can I use salted butter?
Yes.
If you use salted butter, reduce or omit the added salt in the corresponding part of the recipe.
I prefer unsalted butter because it lets me control the salt level, but salted butter works perfectly well when you adjust the recipe accordingly.
Final Thought
There’s something wonderfully excessive about a pecan pie brownie, and I mean that as a compliment.
You get a dense, chocolatey brownie underneath, then a buttery pecan topping that turns soft and glossy in the oven. It feels like the kind of dessert you make when ordinary brownies just won’t do.
The best part, at least for me, is the contrast between the textures. The brownie stays fudgy while the pecans bring crunch and the topping adds that sticky, caramel-like finish.
Give yourself enough time to let the pan cool, don’t panic if the topping looks soft when it first comes out, and keep an eye on that center during the final bake.
Then cut yourself a square.
Or two.
And if you make these homemade pecan pie brownies, I’d love to hear how they turned out for you—especially if you added your own twist to the topping.
Leave a Reply
You must be logged in to post a comment.