

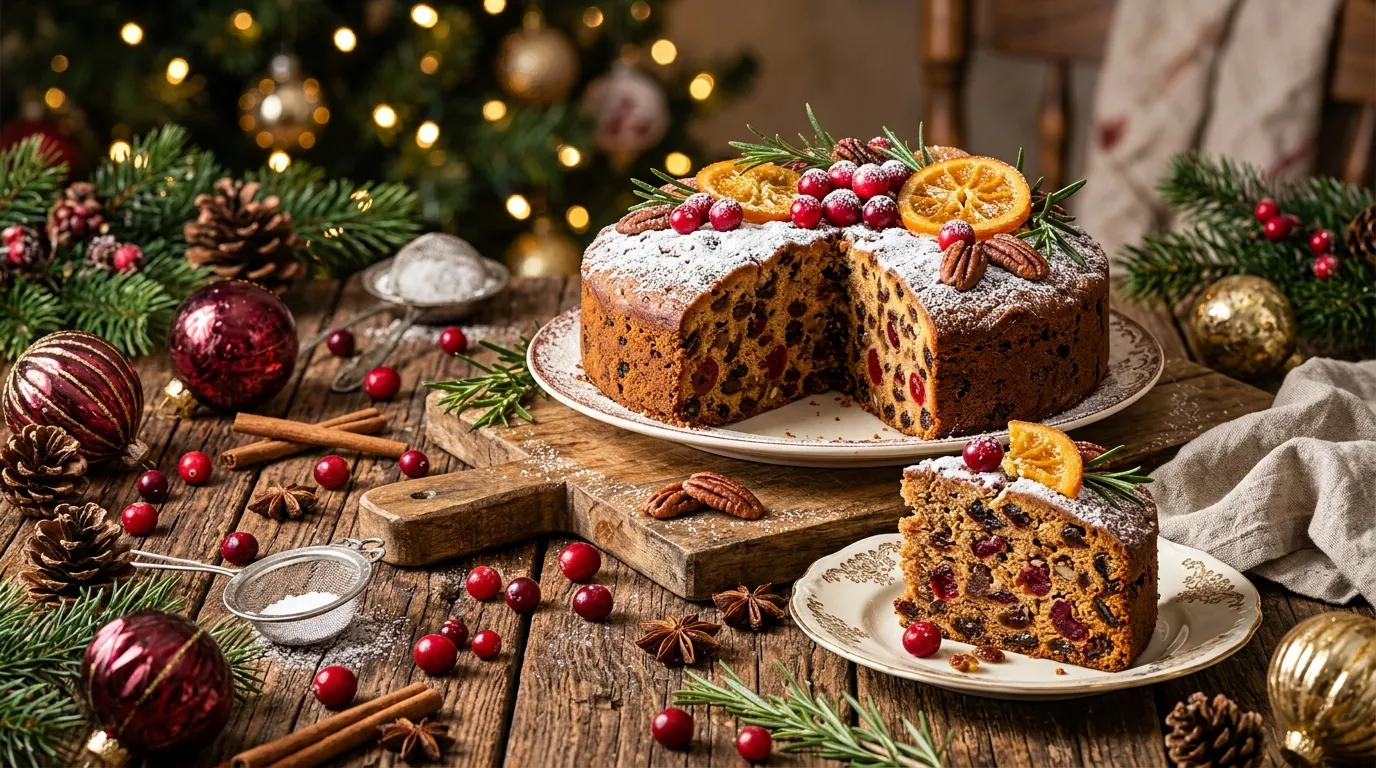
There is something wonderful about walking into a kitchen filled with the smell of freshly baked Christmas cake. The sweet aroma of butter, brown sugar, cinnamon, orange zest, and dried fruit instantly brings a festive feeling to the home. Even before the decorations go up, that familiar smell makes Christmas feel just around the corner.
One of my favorite holiday baking memories involves preparing a fruit cake while everyone else in the house was busy getting ready for Christmas. I remember mixing the dried fruit, sneaking a few glazed cherries from the bowl, and checking the oven more often than necessary because the smell was simply irresistible.
My first attempt wasn’t perfect. I added too much soaking liquid to the fruit, which made the batter heavier than I expected. The cake still tasted lovely, but I learned an important lesson: drain excess liquid and keep the batter thick enough to support all those delicious fruits.
Since then, I’ve kept my Christmas cake recipe simple, reliable, and flexible. It combines a soft buttery crumb with raisins, cranberries, cherries, crunchy nuts, and warming spices. A little orange zest brings everything together and gives the cake a lovely seasonal flavor.
The best part? You don’t need professional baking equipment, expensive ingredients, or complicated decorating skills. A mixing bowl, an electric hand mixer, and an ordinary cake pan are enough to make a beautiful homemade dessert.
Whether you’re preparing a Christmas dinner, planning a family gathering, or simply craving something sweet with your afternoon tea, this festive cake deserves a place on your holiday baking list.
Why You’ll Love This Christmas Cake Recipe

There are plenty of reasons to add this easy Christmas cake to your holiday menu.
- Simple preparation: Straightforward mixing instructions make this recipe suitable for beginners.
- Classic festive flavors: Cinnamon, nutmeg, vanilla, orange, and dried fruit create a delicious seasonal combination.
- Perfect for sharing: One 8-inch cake provides approximately 10–12 generous servings.
- Easy to customize: Use your favorite combination of raisins, cranberries, cherries, dates, and nuts.
- Make-ahead friendly: Bake it a day before your celebration to give the flavors time to develop.
I especially love that this cake doesn’t need fancy frosting. Its colorful fruit and golden surface already look beautiful. A little powdered sugar and a few cherries are all you need to create a festive finish.
Christmas Cake Recipe Ingredients
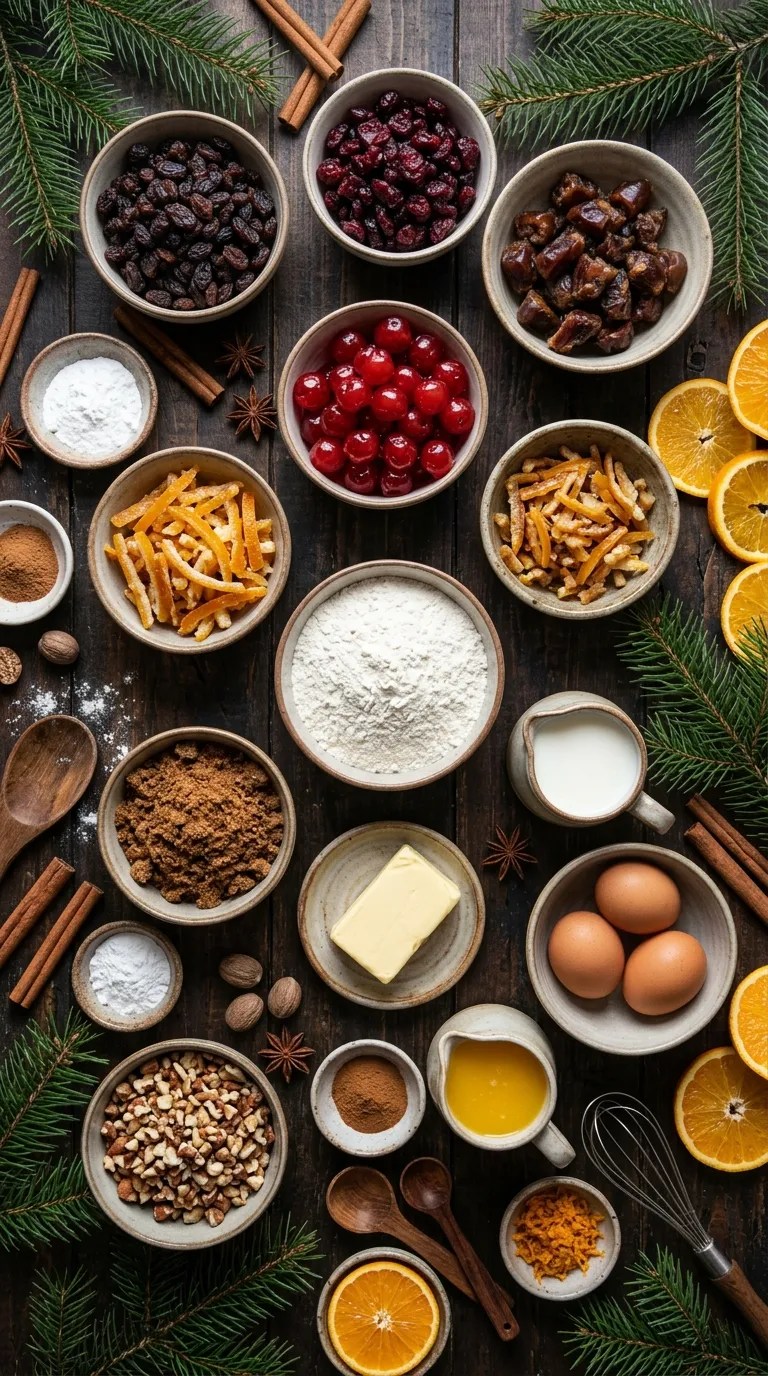
Before starting, gather your ingredients and measure everything. This small step makes baking much easier and helps prevent last-minute searching through kitchen cupboards.
This recipe makes one 8-inch round cake and serves approximately 10–12 people.
For the Dried Fruit Mixture
- 1 cup raisins
- ½ cup dried cranberries
- ½ cup chopped dates
- ½ cup chopped glazed cherries
- ¼ cup candied orange peel
- ¼ cup orange juice
- 2 tablespoons apple juice (optional)
You can replace dried cranberries with currants or use additional raisins. If candied orange peel isn’t available, add another teaspoon of freshly grated orange zest to the batter.
For the Cake Batter
- 1¾ cups all-purpose flour
- ¾ cup unsalted butter, softened
- ¾ cup packed brown sugar
- 3 large eggs, at room temperature
- ¼ cup milk
- 1 teaspoon vanilla extract
- 1 teaspoon baking powder
- ½ teaspoon ground cinnamon
- ¼ teaspoon ground nutmeg
- ¼ teaspoon ground ginger
- ¼ teaspoon salt
- 1 tablespoon orange zest
Brown sugar gives the cake a deeper flavor and a slightly richer color. You can use light or dark brown sugar depending on what you have available.
For the Nuts
- ¼ cup chopped walnuts
- ¼ cup chopped almonds
- 2 tablespoons chopped pecans
Feel free to use your preferred combination. If you need a nut-free cake, simply leave them out.
For the Festive Decoration
- 2 tablespoons powdered sugar
- ¼ cup glazed cherries
- ¼ cup sliced almonds
- A few pieces of candied orange peel
You don’t need to use every topping. Even a light dusting of powdered sugar gives the cake a lovely holiday appearance.
Kitchen Equipment
You’ll need:
- One 8-inch round cake pan
- Parchment paper
- Two large mixing bowls
- Electric hand mixer or stand mixer
- Measuring cups and spoons
- Fine-mesh sieve
- Rubber spatula
- Whisk
- Wire cooling rack
A KitchenAid stand mixer makes creaming butter and sugar especially convenient, but an ordinary hand mixer works perfectly well.
Step-by-Step Instructions for Christmas Cake
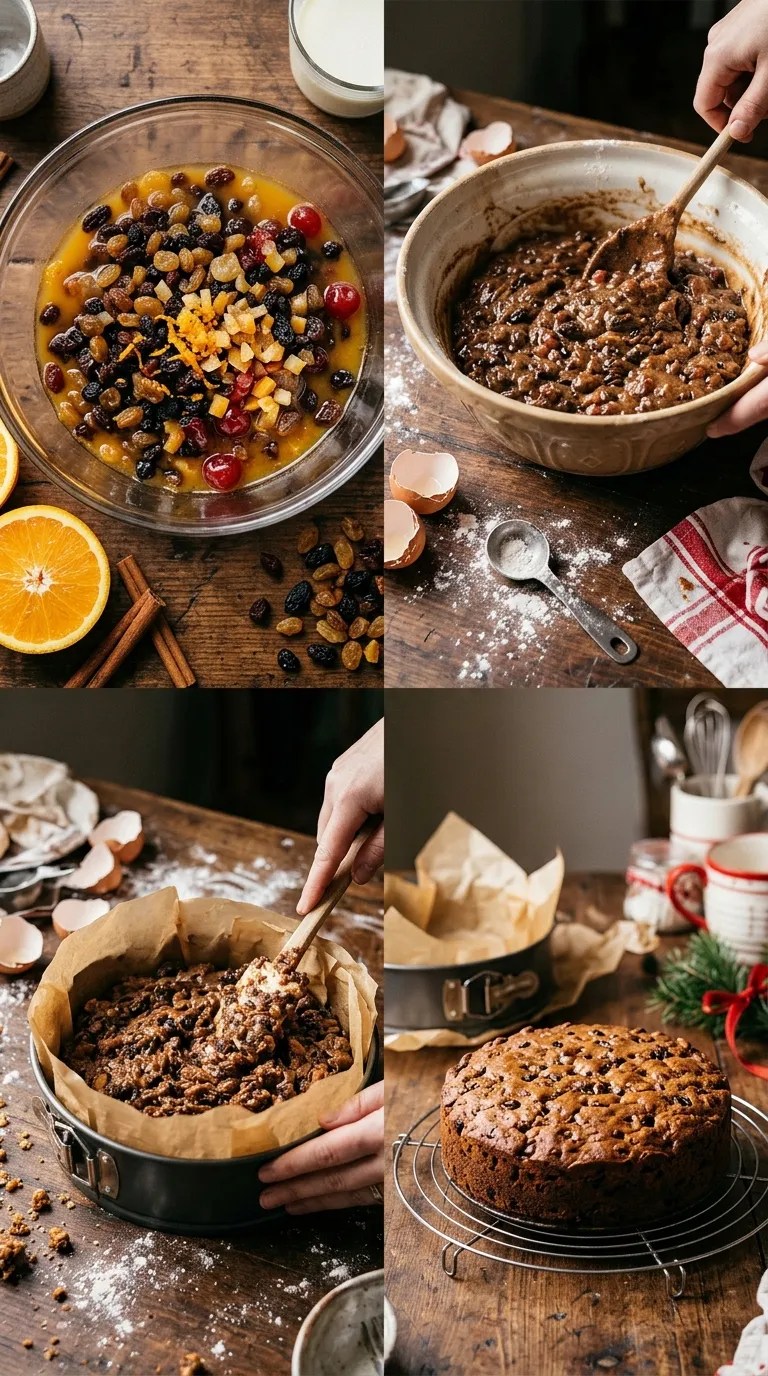
Follow these instructions in order, and take your time with each stage. The secret to a good fruit cake is gentle mixing, properly prepared fruit, and steady oven heat.
Step 1: Soak the Dried Fruit (15–30 Minutes)
Add the raisins, cranberries, chopped dates, glazed cherries, and candied orange peel to a medium-sized mixing bowl.
Pour in the orange juice and optional apple juice. Stir everything together so the liquid coats the fruit.
Cover the bowl and let the mixture rest for 15–30 minutes.
During this time, the dried fruit absorbs some moisture and becomes softer. If you have extra time, prepare the fruit several hours ahead and refrigerate it in a covered container.
Helpful tip: Don’t pour every drop of soaking liquid into the batter. Drain any excess liquid before adding the fruit so the cake mixture doesn’t become too wet.
Step 2: Prepare the Oven and Cake Pan (5 Minutes)
Preheat your oven to 160°C (320°F) using conventional top-and-bottom heat.
Grease an 8-inch round cake pan with butter. Line the bottom and sides with parchment paper.
Make sure the parchment fits neatly inside the pan. A little butter underneath helps it stay in position.
Set the pan aside while you prepare the batter.
Step 3: Mix the Dry Ingredients (5 Minutes)
Take a large bowl and add the all-purpose flour, baking powder, cinnamon, nutmeg, ginger, and salt.
Whisk everything together until the spices distribute evenly.
Next, sift the mixture through a fine-mesh sieve to remove lumps and create a lighter mixture.
Set the bowl aside.
Step 4: Cream the Butter and Brown Sugar (5–7 Minutes)
Add the softened butter and brown sugar to another mixing bowl.
Using an electric hand mixer, beat the ingredients on medium speed until they become pale, creamy, and fluffy.
Scrape the sides of the bowl with a rubber spatula whenever necessary.
This step helps incorporate air into the mixture and contributes to a soft cake texture.
Make sure your butter feels soft when pressed but hasn’t melted. Butter that’s too cold won’t blend smoothly, while melted butter won’t create the same fluffy mixture.
Step 5: Add the Eggs and Vanilla (5 Minutes)
Crack the eggs into a small bowl first.
Add one egg to the butter mixture and beat until combined. Repeat with the remaining eggs, adding them individually.
Pour in the vanilla extract and add the orange zest.
Mix until the ingredients look smooth.
If the mixture appears slightly curdled, don’t panic. This can happen when the eggs are colder than the butter. Add a tablespoon of the measured flour mixture and mix gently.
Step 6: Add the Flour and Milk (3–4 Minutes)
Add approximately one-third of the dry ingredient mixture to the butter mixture.
Mix on low speed until the flour disappears.
Pour in half the milk and mix gently.
Continue alternating between the dry ingredients and milk, finishing with the remaining flour.
Avoid overmixing. Stop as soon as the batter looks smooth and evenly combined.
The mixture should feel thick and creamy rather than watery.
Step 7: Fold in the Dried Fruit and Nuts (3–4 Minutes)
Drain any excess soaking liquid from the dried fruit.
Add the fruit, walnuts, almonds, and pecans to the cake batter.
Use a rubber spatula to fold everything together gently.
Move the spatula around the sides of the bowl, lift the batter from the bottom, and repeat until the fruit distributes evenly.
If you want to reduce the chance of fruit sinking, toss it with one tablespoon of the measured flour before adding it to the batter.
Step 8: Transfer the Batter to the Pan (3 Minutes)
Spoon the prepared batter into your lined cake pan.
Spread it evenly with a spatula, paying attention to the center and edges.
Gently tap the pan against the kitchen counter once or twice to release large air pockets.
Arrange a few glazed cherries or sliced almonds on top if you want a decorative finish.
Don’t add too many toppings because the cake will rise slightly during baking.
Step 9: Bake the Christmas Cake (60–80 Minutes)
Place the cake pan on the middle rack of your preheated oven.
Bake at 160°C (320°F) for approximately 60–80 minutes.
The exact baking time depends on your oven, pan material, and the moisture in your fruit mixture.
Avoid opening the oven during the first 45 minutes because sudden temperature changes can affect the cake’s rise.
After about 60 minutes, check the cake.
Look for these signs:
- The surface should look golden brown.
- The center should feel set rather than wet.
- The edges should begin pulling slightly away from the pan.
- A wooden skewer inserted into the center should come out clean or with a few moist crumbs.
If the surface browns too quickly while the center still needs time, loosely cover the cake with aluminum foil.
Continue baking in 5–10-minute intervals until the center finishes cooking.
Step 10: Cool and Decorate (30–45 Minutes)
Remove the cake from the oven and place the pan on a wire cooling rack.
Allow it to rest inside the pan for approximately 15 minutes.
Run a thin knife around the edges if necessary, then carefully remove the cake.
Peel away the parchment paper and leave the cake on the rack until it cools completely.
Don’t rush this stage. Warm fruit cake can crumble when you cut it, and powdered sugar can disappear into a warm surface.
Once the cake cools, dust the top with powdered sugar.
Finish with glazed cherries, sliced almonds, and candied orange peel.
Your homemade Christmas cake is ready to serve!
Pro Tips and Tricks for the Perfect Christmas Cake
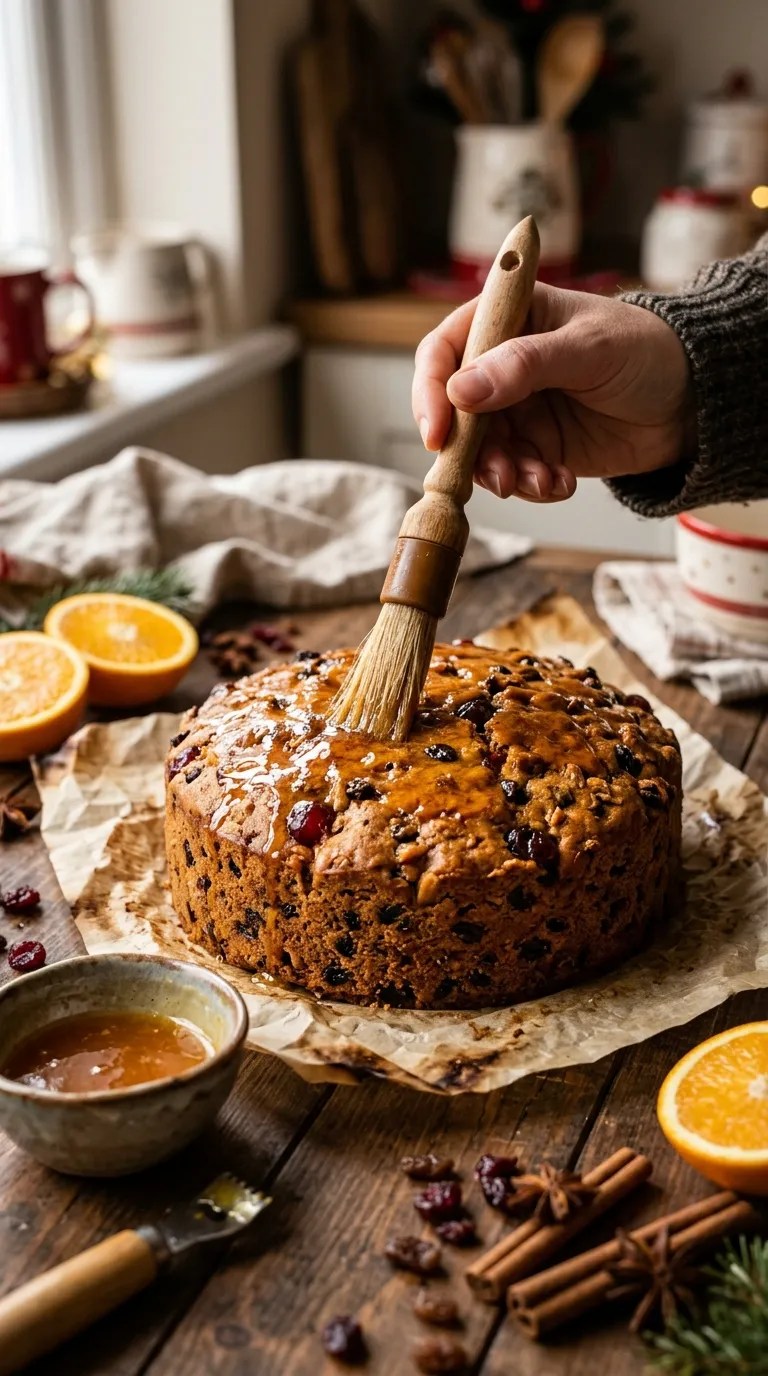
A few small details can make a noticeable difference between an ordinary fruit cake and one that everyone wants another slice of.
1. Always Use Room-Temperature Ingredients
Bring the butter, eggs, and milk to room temperature before mixing.
Cold ingredients don’t combine as smoothly and can leave the batter uneven.
Take them out approximately 30–45 minutes before baking, depending on your kitchen temperature.
2. Don’t Add Too Much Soaking Liquid
Soaking the fruit improves its texture, but too much liquid can make the batter heavy.
Drain excess juice before adding the fruit. You want plump, soft fruit rather than fruit dripping with liquid.
3. Protect the Cake From Excessive Browning
Fruit cakes contain sugar and dried fruit, so their surfaces can brown before the centers finish cooking.
If the top becomes dark too quickly, cover it loosely with aluminum foil.
An oven thermometer also helps you check whether your oven maintains the correct temperature.
4. Avoid Overmixing
Once you add the flour, mix gently.
Overmixing can develop too much gluten and make the finished cake dense.
A rubber spatula works particularly well when folding in the dried fruit and nuts.
5. Store the Cake Properly
Let the cake cool completely before storing it.
Wrap it securely or place it inside an airtight container. Keep it in a cool, dry location away from direct sunlight.
You can refrigerate it for longer storage or freeze individual slices for later enjoyment.
Christmas Cake Variations and Substitutions
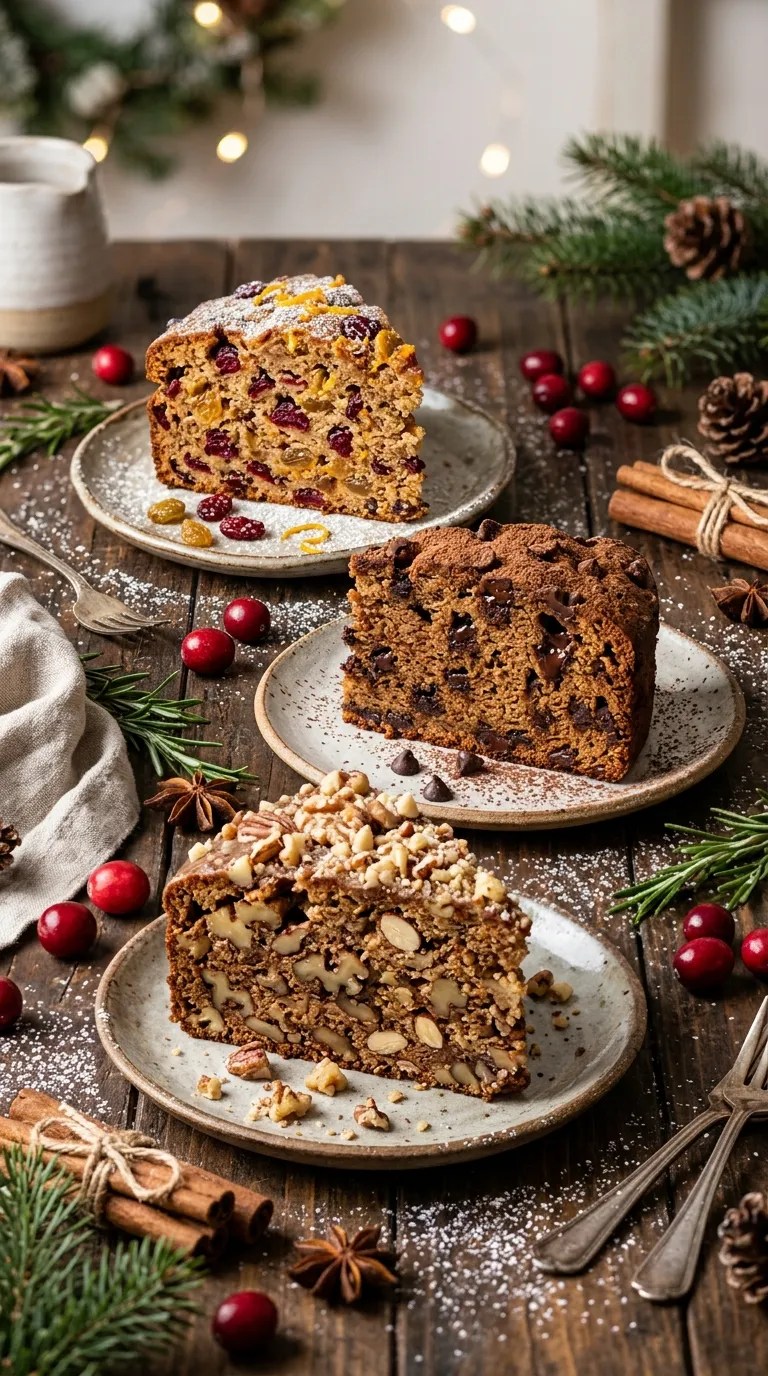
One reason I enjoy homemade fruit cakes is their flexibility. You can adjust the fruit, spices, and toppings without changing the basic baking method.
Chocolate Christmas Cake
If you’re a chocolate lover, add ¼ cup unsweetened cocoa powder to the dry ingredients and reduce the flour by ¼ cup.
You can also fold in ½ cup chocolate chips.
Dark chocolate pairs especially well with raisins, cherries, and orange zest.
This version creates a richer dessert while keeping the familiar festive fruit flavors.
Orange and Cranberry Christmas Cake
For a brighter flavor, replace the chopped dates with additional dried cranberries.
Add another teaspoon of orange zest and use orange juice to soak the fruit.
A handful of chopped almonds also works beautifully.
The combination of tangy cranberries and fresh citrus creates a lovely balance against the sweet cake batter.
Egg-Free Christmas Cake
For an egg-free variation, replace the three eggs with approximately ¾ cup plain, unsweetened yogurt.
Use thick yogurt at room temperature and mix it into the butter and sugar mixture gradually.
The texture may differ slightly from the original version, so check the cake carefully and allow additional baking time if necessary.
Gluten-Free Christmas Cake
Replace the all-purpose flour with a good-quality gluten-free baking flour blend designed for cakes.
Choose a blend that contains a suitable binding ingredient, if available.
Different flour blends absorb moisture differently, so follow the manufacturer’s substitution guidance and check the cake during baking.
Nut-Free Christmas Cake
Simply leave out the walnuts, almonds, and pecans.
If you want to maintain the original amount of filling, add another ¾ cup of dried fruit.
Always check ingredient labels if you need to avoid traces of nuts.
Serving Suggestions for Christmas Cake

A homemade Christmas cake tastes wonderful on its own, but serving it with a few simple additions can make the dessert feel extra special.
Serve With Hot Tea or Coffee
A slice of fruit cake and a warm cup of tea make a lovely afternoon treat.
English breakfast tea, black tea, and lightly spiced chai all pair nicely with the sweet dried fruit.
Coffee also makes an excellent companion, especially if you enjoy a stronger flavor alongside dessert.
Add Vanilla Ice Cream
Serve a slice with a small scoop of vanilla ice cream.
The cool, creamy texture contrasts beautifully with the soft cake and sweet fruit.
For an extra-special dessert, drizzle a little caramel sauce over the top.
Pair With Whipped Cream
A spoonful of lightly sweetened whipped cream makes this cake feel more elegant without requiring complicated decoration.
For a citrus twist, add a little orange zest to the cream.
Create a Festive Dessert Platter
If you’re hosting a holiday gathering, cut the cake into smaller slices and arrange them on a serving board.
Add gingerbread cookies, chocolate truffles, fresh orange slices, glazed cherries, and bowls of whipped cream.
This creates a beautiful Christmas dessert display without requiring several hours of extra baking.
Serve After Christmas Dinner
Christmas cake makes a lovely ending to a festive meal.
Its warming spices and sweet fruit complement traditional holiday dishes, and smaller slices usually work well after a large dinner.
You can also serve it during afternoon family visits or holiday breakfasts.
Related Recipes:
- How to Make Butter Pecan Pie From Scratch
- Homemade Pecan Pie Brownie With a Gooey Topping
- Old Fashioned Pecan Pie Brownie
- Easy Pecan Pie Bars With Sugar Cookie Crust
FAQ’s
Can I Make Christmas Cake a Day Ahead?
Absolutely! In fact, I recommend baking it the day before your celebration.
Allow the cake to cool completely, then wrap it securely and store it in an airtight container.
The fruit and spices have additional time to develop their flavors, making the cake especially enjoyable the following day.
You can add the powdered sugar and decorations just before serving.
How Long Does Homemade Christmas Cake Last?
This cake generally keeps for 3–4 days at room temperature when you store it in an airtight container in a cool, dry place.
You can refrigerate it for approximately one week.
Because this recipe uses fruit juice and doesn’t contain the high sugar concentration of traditional long-aged fruit cakes, don’t assume it will keep for months.
Discard the cake if you notice mold, an unusual smell, or other signs of spoilage.
Can I Freeze Christmas Cake?
Yes! Christmas cake freezes well when you wrap it properly.
Allow the cake to cool completely, then wrap the whole cake or individual slices tightly in plastic wrap.
Place the wrapped portions inside a freezer-safe container or bag and label them with the date.
For the best quality, enjoy the frozen cake within 2–3 months.
Thaw it in the refrigerator before serving.
How Do I Reheat Christmas Cake?
You can enjoy this cake at room temperature, but a slightly warm slice tastes lovely too.
Place an individual slice on a microwave-safe plate and heat it for approximately 10–15 seconds.
Check the temperature before serving and avoid overheating because excessive heat can dry out the cake.
You can also cover a slice loosely with foil and warm it in a low-temperature oven for a few minutes.
Why Did My Christmas Cake Turn Out Dry?
Overbaking is one of the most common reasons for dry fruit cake.
Other possible causes include adding too much flour, measuring ingredients inaccurately, or using dried fruit without soaking it.
Next time, check the cake a little earlier and use a kitchen scale for more accurate measurements.
Also, avoid packing flour tightly into measuring cups.
Why Did My Dried Fruit Sink to the Bottom?
Heavy fruit can sink when the batter is too thin or when the fruit doesn’t distribute evenly.
Try tossing the soaked and drained fruit with one tablespoon of the measured flour before folding it into the batter.
Also, make sure you don’t add too much soaking liquid.
A thick, properly mixed batter helps keep the fruit suspended throughout the cake.
Can I Make Christmas Cake Without Alcohol?
Of course!
This recipe uses orange juice and optional apple juice instead of alcohol.
Both ingredients soften the dried fruit and add flavor without requiring alcoholic ingredients.
You can also use plain apple juice or a mixture of orange juice and water.
Final Thought
For me, Christmas baking has never been only about making something sweet. It’s about the little moments that happen along the way: measuring ingredients with family, sneaking a taste of the dried fruit, enjoying the wonderful smell coming from the oven, and sharing the finished dessert around the table.
That’s exactly why I love this Christmas cake recipe.
It doesn’t require complicated techniques, expensive equipment, or hours of decorating. You can prepare it with familiar ingredients, customize the dried fruit, and make it look beautiful with just a little powdered sugar and a few cherries.
The best part is that you can make it your own. Add more cranberries if you enjoy a tangy flavor, use extra orange zest for a citrusy touch, or include your favorite nuts for extra crunch.
And don’t worry if your first cake doesn’t look like something from a professional bakery. Homemade cakes have their own charm, and the taste matters much more than perfect decorations.
So gather your ingredients, preheat your oven, and enjoy a little festive baking.
If you try this recipe, I’d love to hear how it turns out! Share your favorite fruit combination, tell me about any changes you made, or leave a comment with your baking experience.
Happy baking, and may your Christmas season be filled with delicious food, warm memories, and plenty of homemade treats!
Leave a Reply
You must be logged in to post a comment.