


There’s something about making candy at Christmas that makes the whole kitchen feel festive. I usually put on some holiday music, clear a little space beside the stove, and tell myself I’ll keep the candy-making process neat this year.
That last part rarely happens.
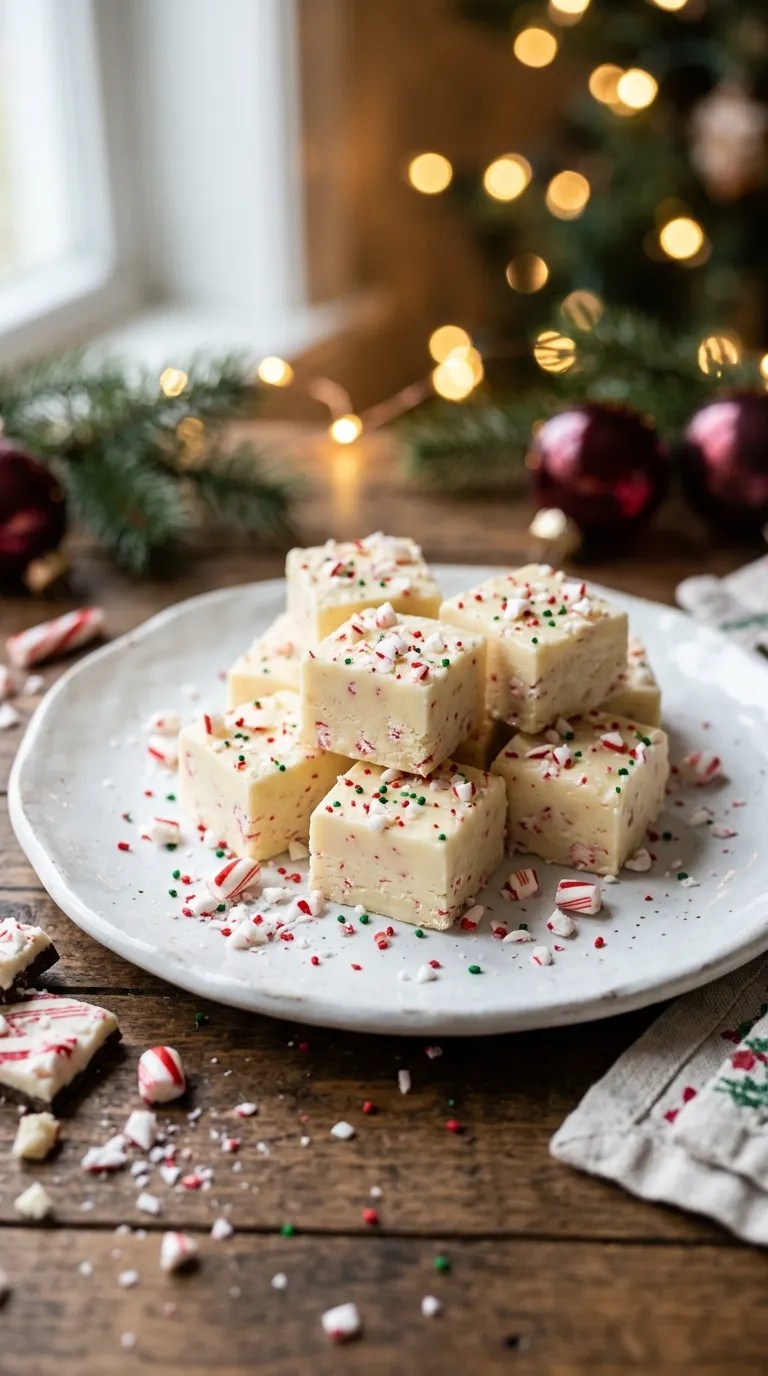
This Christmas Candy Recipe became one of my favorite holiday treats because it looks much more impressive than the amount of work it actually takes. The first time I made it, I expected to spend most of the afternoon standing over a saucepan. Instead, I had a tray of colorful, chocolatey candy setting on the counter surprisingly quickly.
The best part came later when everyone started sneaking pieces from the container.
This recipe combines creamy white chocolate, sweetened condensed milk, peppermint, and festive toppings into a simple no-fuss candy. You don’t need a candy thermometer, and you don’t need years of candy-making experience. If you can melt chocolate gently and stir, you’re already most of the way there.
I’ve made this several times now, and I’ve learned one important lesson: don’t rush the chocolate. A little patience over low heat gives you a much smoother candy.
Why You’ll Love This Christmas Candy Recipe
- Easy enough for beginners: No complicated candy stages or thermometer required.
- Quick to prepare: The actual hands-on work takes only about 15–20 minutes.
- Perfect for gifting: Cut it into small squares and tuck them into holiday treat bags or tins.
- Easy to customize: Change the toppings, chocolate, or peppermint flavor to suit your family.
- Great for holiday gatherings: A colorful candy tray always disappears faster than expected.
And because you can make it ahead, this is one less thing to worry about when Christmas dinner gets busy.
Ingredients

This recipe makes about 36 small pieces, depending on how you cut the candy.
For the Candy
- 3 cups white chocolate chips — use good-quality chips for the smoothest texture.
- 1 can (14 ounces) sweetened condensed milk
- 2 tablespoons unsalted butter
- 1/2 teaspoon peppermint extract
- 1 teaspoon vanilla extract
- Pinch of salt
For the Topping
- 1/3 cup crushed peppermint candies or candy canes
- 2 tablespoons red and green holiday sprinkles
- 2 tablespoons mini chocolate chips, optional
- 1/4 cup melted semi-sweet or dark chocolate, optional for drizzling
You can use peppermint candy canes, peppermint hard candies, or crushed mint candies for the topping. Just make sure you crush them fairly small so the pieces are easy to eat.
If you prefer a less minty candy, reduce the peppermint extract to 1/4 teaspoon or leave it out completely and use vanilla instead.
Helpful Equipment
You don’t need any special candy equipment.
Grab:
- An 8-inch square baking pan
- Parchment paper
- Medium saucepan
- Silicone spatula
- Measuring cups and spoons
- Microwave-safe bowl, if you plan to make the chocolate drizzle
- Sharp knife for cutting
I like using a silicone spatula because it scrapes the corners of the pan cleanly and makes stirring much easier.
Step-by-Step Instructions
1. Prepare the Pan — 5 Minutes
Start by lining an 8-inch square pan with parchment paper.
Leave a little parchment hanging over two opposite sides. Those extra edges will act like handles when you lift the chilled candy from the pan.
Lightly butter the parchment if you want extra insurance against sticking.
Set the pan aside while you make the candy.
2. Melt the Butter and Chocolate — 5 Minutes
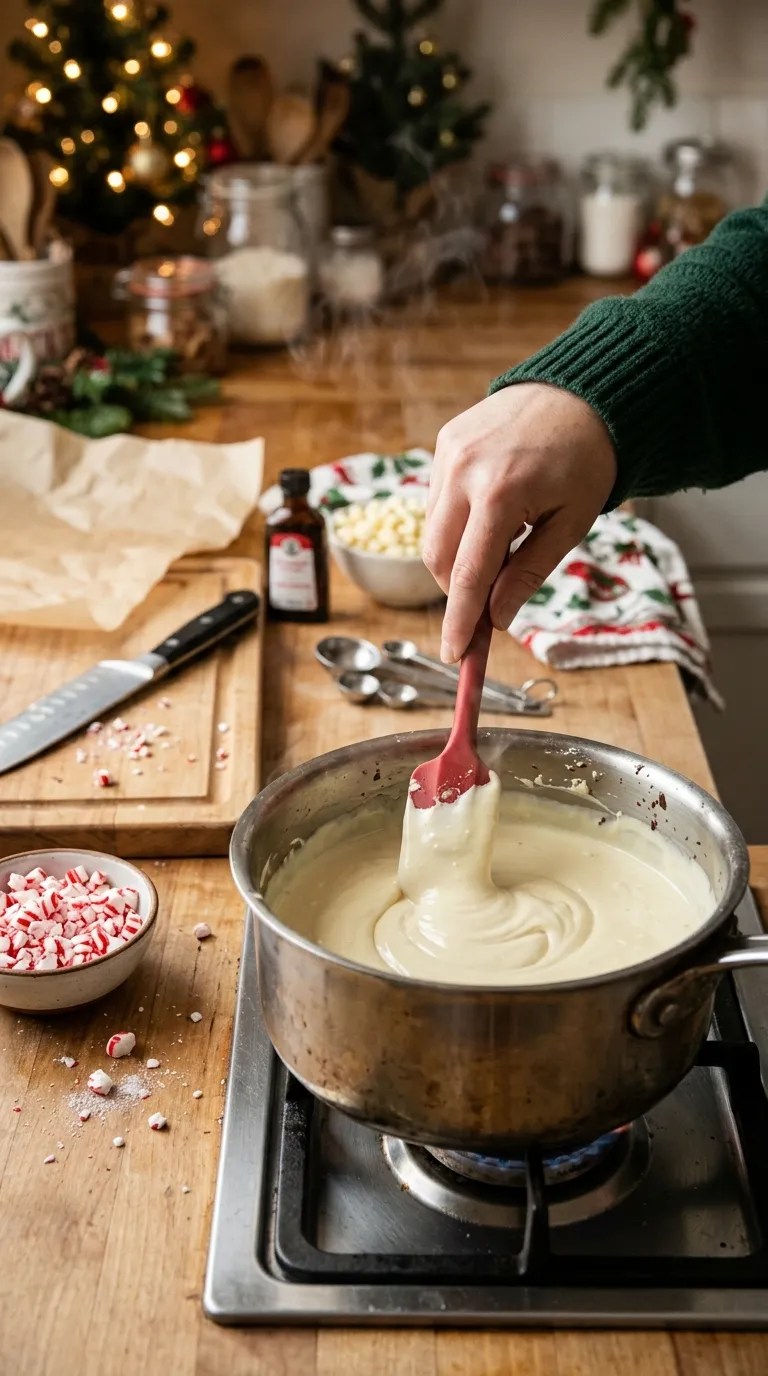
Add the butter, white chocolate chips, and sweetened condensed milk to a medium saucepan.
Place the saucepan over low heat.
Stir slowly and continuously with a silicone spatula.
The chocolate will gradually soften, and the mixture will become thick and glossy. Don’t crank up the heat to make this happen faster. White chocolate can scorch surprisingly easily.
You’re looking for a smooth mixture with no visible chocolate chips remaining.
If your mixture looks grainy or starts sticking to the bottom, lower the heat immediately and keep stirring.
3. Add the Flavoring — 1 Minute
Once everything melts together, remove the saucepan from the heat.
Stir in the vanilla extract, peppermint extract, and a pinch of salt.
The peppermint smell should be noticeable but not overpowering.
This is also the moment when I usually sneak a tiny taste from the spatula. It’s one of the perks of being the person making the candy.
4. Pour Into the Pan — 2 Minutes
Immediately scrape the warm candy mixture into your prepared pan.
Use the spatula to spread it into an even layer.
If the mixture seems thick, don’t worry. That’s exactly what you want.
Smooth the surface as best you can. It doesn’t need to look perfect because the toppings will cover most little imperfections.
5. Add the Christmas Toppings — 2 Minutes
While the candy is still warm, sprinkle the crushed peppermint candies evenly over the top.
Add the red and green sprinkles.
If you want a chocolate finish, drizzle the melted semi-sweet or dark chocolate over the surface.
Work fairly quickly here. Once the candy begins cooling, the toppings won’t stick as well.
For a prettier finish, lightly press the larger peppermint pieces into the surface with clean fingers or the back of a spoon.
6. Chill Until Firm — 2 Hours
Place the pan in the refrigerator for about 2 hours, or until the candy feels firm in the center.
You can also leave it in the refrigerator overnight if you’re making it ahead.
I prefer to chill it uncovered for the first hour. Once it firms up, you can cover it loosely if you plan to leave it overnight.
7. Cut Into Pieces — 5 Minutes
Lift the candy from the pan using the parchment-paper handles.
Place it on a cutting board.
Use a sharp knife to cut it into small squares.
For clean edges, let the candy sit at room temperature for about 5–10 minutes before cutting. If it feels too hard straight from the refrigerator, give it a few extra minutes.
Wipe the knife between cuts if little crumbs or chocolate build up on the blade.
And that’s it.
You’ve got a festive tray of homemade Christmas candy without spending hours at the stove.
Pro Tips & Tricks
Keep the Heat Low
This is probably the biggest lesson I learned while making this recipe.
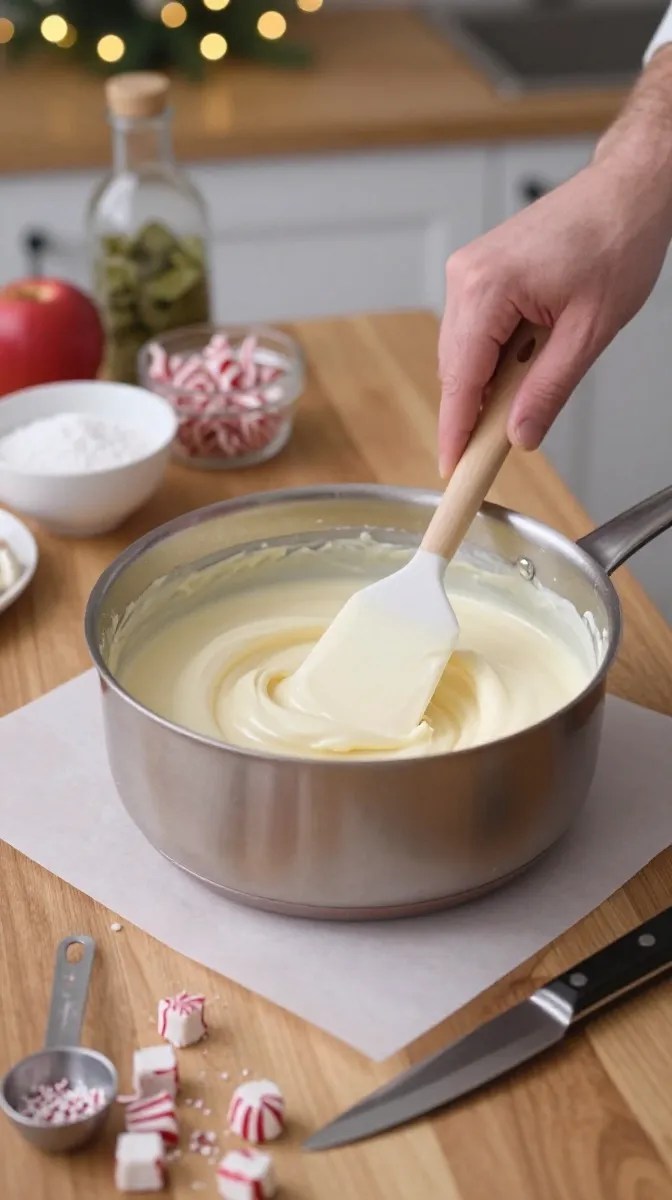
White chocolate doesn’t need aggressive heat. Low and slow gives you a smoother result and greatly reduces the chance of scorching.
If your stove runs hot, use the lowest setting and take the saucepan off the burner briefly if necessary.
Crush the Peppermint Before You Start
Don’t wait until the candy is ready to start smashing candy canes.
I learned that the slightly chaotic way.
Put the peppermint candies inside a sturdy zip-top bag and gently crush them with a rolling pin or the bottom of a heavy mug.
Aim for a mixture of small crumbs and tiny pieces rather than a pile of peppermint powder.
Don’t Overdo the Extract
Peppermint extract packs a lot of flavor into a very small amount.
Start with the recommended quantity. If you make this candy again and want a stronger peppermint flavor, adjust it slightly.
Too much peppermint can quickly overpower the creamy white chocolate.
Let the Candy Set Completely
It can be tempting to cut a corner and start slicing after 30 minutes.
Don’t.
The center needs enough time to firm up. If you cut it too early, the pieces may look messy and feel softer than you expect.
Give it the full chilling time.
Store It Properly
Once the candy has completely set, place the pieces in an airtight container.
Separate layers with parchment or wax paper so they don’t stick together.
Keep the container in a cool, dry place or refrigerate it if your kitchen stays warm.
For the best texture, let refrigerated pieces sit at room temperature for several minutes before serving.
Make It Ahead
This recipe works beautifully as a make-ahead Christmas treat.
You can prepare it 1–2 days before serving, then keep it covered in the refrigerator until you’re ready to arrange it on a platter.
That makes it especially handy when you have several holiday dishes competing for your attention.
Variations & Substitutions

One reason I keep coming back to this Christmas Candy Recipe is how easy it is to change.
Chocolate Peppermint Candy
For a richer version, replace half of the white chocolate chips with semi-sweet chocolate chips.
You’ll get a two-tone chocolate candy with a deeper flavor while keeping the peppermint topping.
Cranberry Pistachio Christmas Candy
Skip the peppermint and sprinkle the warm candy with chopped dried cranberries and pistachios.
The red and green colors still give you that Christmas look, but the flavor feels completely different.
You can also drizzle the top with a little melted dark chocolate.
Vanilla Holiday Candy
Not everyone loves peppermint.
For a gentler version, leave out the peppermint extract and crushed candy canes. Increase the vanilla extract slightly and decorate the top with colorful Christmas sprinkles.
This version works particularly well for kids who prefer simple vanilla and chocolate flavors.
Gluten-Free Option
The basic ingredients in this recipe can fit into a gluten-free diet, but ingredients and manufacturing practices vary by brand.
If gluten is a concern, check the labels on your chocolate chips, sweetened condensed milk, sprinkles, and candy toppings and choose products that meet your needs.
Dairy-Free Experiment
If you need a dairy-free version, you’ll need dairy-free white chocolate and a suitable dairy-free condensed milk alternative.
Because different brands melt differently, expect the texture to vary slightly from the original recipe.
Serving Suggestions

This candy fits almost anywhere during the holiday season.
For a Christmas party, arrange the pieces on a large serving platter alongside cookies, brownies, and other homemade treats.
For a family movie night, pile the candy into a small bowl and let everyone grab a piece.
It also makes a lovely homemade gift. Put several pieces into a small food-safe treat bag, tie it with ribbon, and add a handwritten label.
If you’re putting together a holiday dessert table, cut some pieces smaller than others. The different shapes and sizes make the platter look homemade and inviting.
I especially like serving this candy with a mug of hot cocoa or coffee. The cool, creamy peppermint flavor pairs nicely with a warm drink.
For a cookie exchange, package a few pieces separately so guests can take them home with their cookies.
Related Recipes:
- Homemade Pecan Pie Brownie With a Gooey Topping
- Easy Pecan Pie Bars With Sugar Cookie Crust
- Easy Brown Sugar Pecan Pie Bars
- How to Make Pecan Pie Cheesecake From Scratch
FAQ’s
How long does homemade Christmas candy last?
Stored in an airtight container, the candy should keep well for about 1–2 weeks when kept in a cool, dry place. Refrigeration can help maintain its texture, especially in a warm kitchen.
Always check for changes in smell, appearance, or texture before serving.
Can I make Christmas candy ahead of time?
Absolutely.
This recipe is ideal for making ahead. Prepare it a day or two before your gathering and store it in a covered container.
For the neatest presentation, wait until the candy has completely set before cutting and packaging it.
Can I freeze this Christmas Candy Recipe?
You can freeze the candy, although the texture may change slightly after thawing.
Wrap the candy tightly, place it in a freezer-safe container, and separate layers with parchment paper.
Thaw it in the refrigerator, then allow it to sit at room temperature for several minutes before serving.
If you’re making candy specifically for a holiday party, I prefer preparing it fresh a few days ahead rather than freezing it.
Why did my white chocolate turn thick or grainy?
The most common culprit is excessive heat.
White chocolate contains ingredients that can react poorly to high temperatures. Keep the burner low and stir frequently.
Water can also cause melted chocolate to seize, so make sure your saucepan and utensils are completely dry before you begin.
Can I use white chocolate bars instead of white chocolate chips?
Yes.
Chop the white chocolate into small, similarly sized pieces so it melts evenly.
Good-quality white chocolate usually gives the candy a smoother flavor and texture, but regular white chocolate chips work perfectly well for a convenient holiday batch.
Can I make this without peppermint?
Definitely.
Simply leave out the peppermint extract and crushed peppermint candy. Use vanilla, chocolate, dried fruit, nuts, or holiday sprinkles instead.
That small change makes the recipe much more flexible for families with different tastes.
Final Thought
I love recipes that give you that little feeling of accomplishment without turning the kitchen into a disaster zone, and this Christmas Candy Recipe does exactly that.
It’s simple, festive, and forgiving enough that you can make it while juggling the rest of your holiday baking.
The first batch may not come out perfectly square. Mine certainly didn’t. But once you cut it into little pieces, scatter some peppermint and sprinkles over the top, and put it on a Christmas platter, nobody seems to care about perfectly straight edges.
They just reach for another piece.
So make a batch, taste one while you’re cutting it, and save a few pieces before the family discovers them. And if you put your own spin on the toppings, I’d love to hear what you tried.
Leave a Reply
You must be logged in to post a comment.