

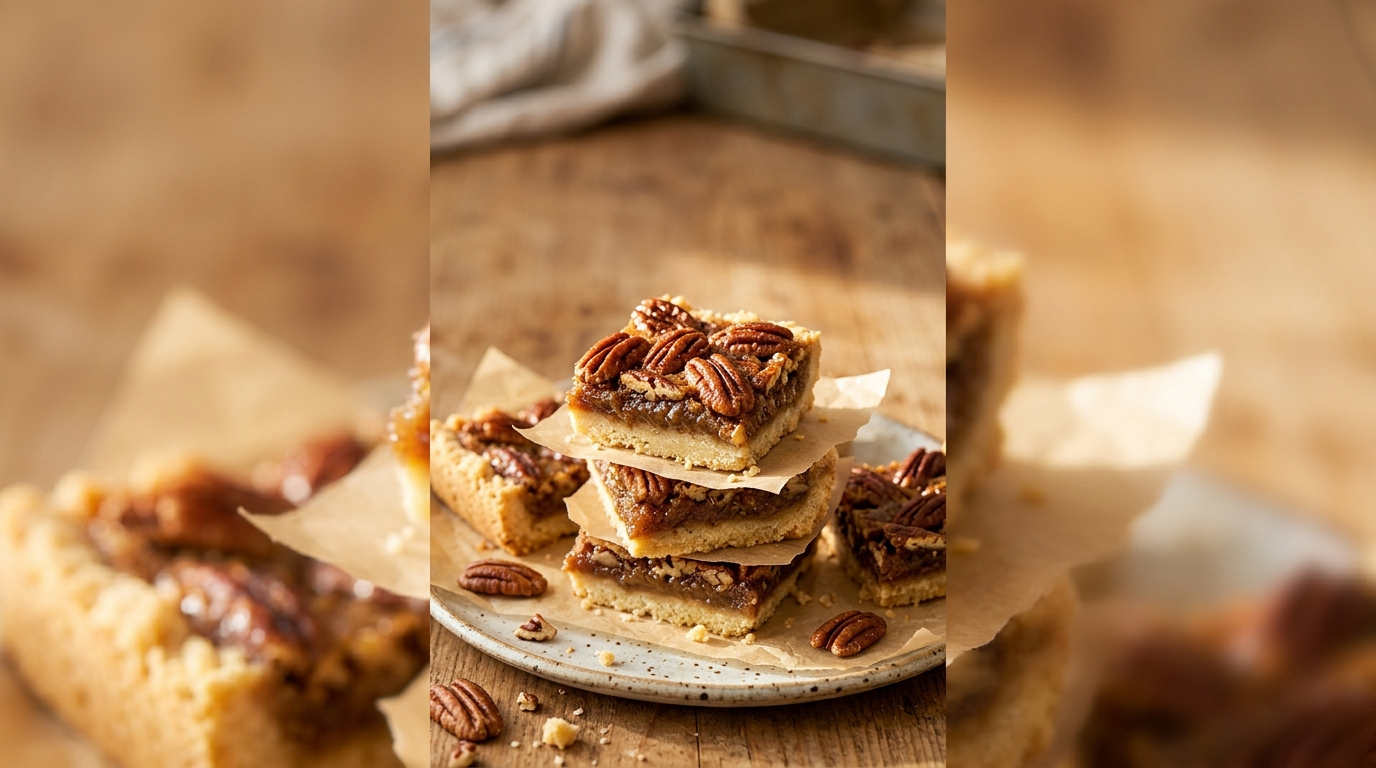
I have a soft spot for desserts that look like I spent all afternoon making them when, in reality, I had flour on the counter and very little patience.
These Easy Brown Sugar Pecan Pie Bars are exactly that kind of dessert.
I first made a batch when I wanted something pecan-pie-like but didn’t want to fuss with rolling out a pie crust. The bars seemed simple enough, so I confidently put them in the oven and wandered off to clean the kitchen. A little too much wandering, as it turned out. I caught them just before the edges went too far, and thankfully, they still tasted wonderful.
Since then, I’ve made these more times than I can count, and I’ve learned that the secret isn’t complicated. You need a buttery shortbread base, a rich brown-sugar filling, plenty of toasted pecans, and enough baking time for the center to set without drying out.
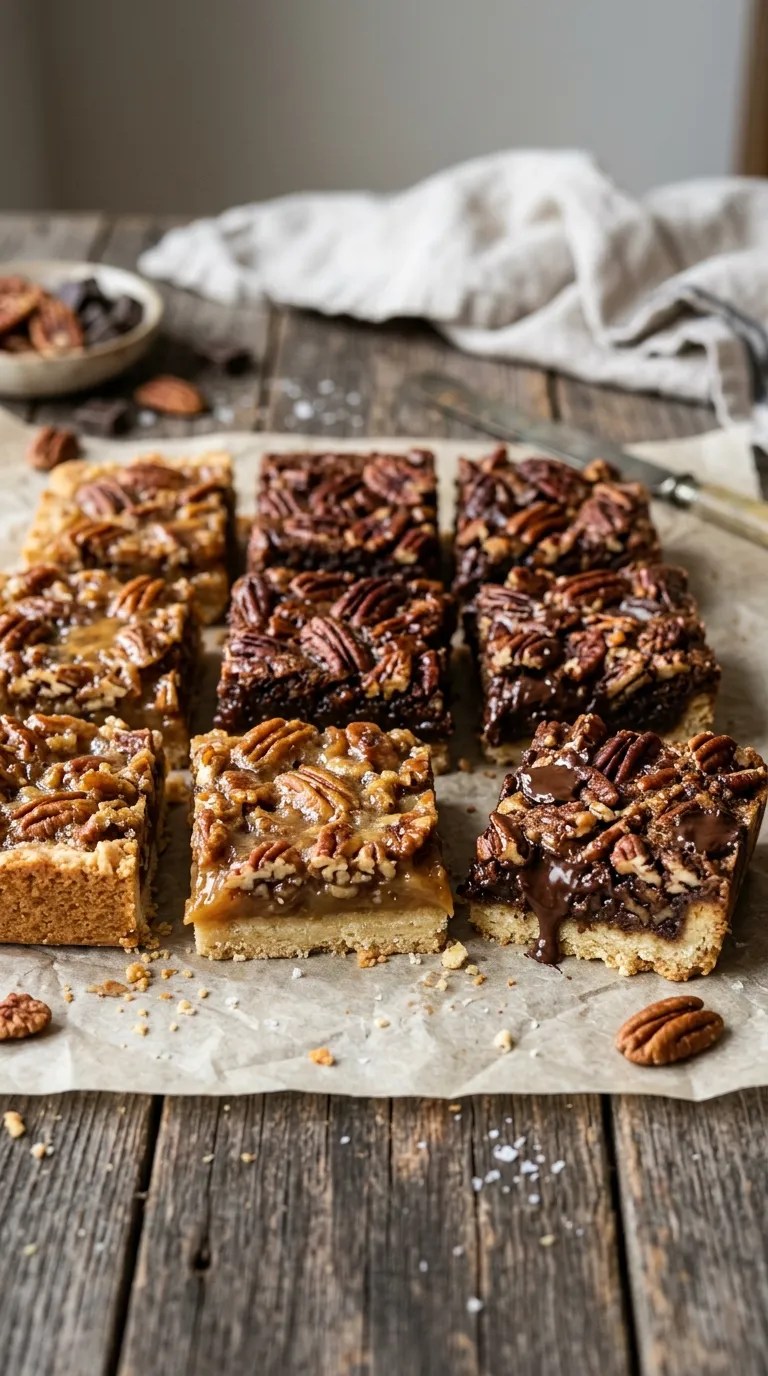
The finished bars have crisp, tender edges, a soft caramel-like center, and plenty of crunchy pecans on top. They taste like pecan pie decided to become a little more casual.
And honestly, I prefer them that way.
Why You’ll Love This Recipe

- No rolling pin required. The shortbread crust gets pressed straight into the pan.
- The ingredients are simple. You probably have most of them sitting in your pantry already.
- They’re easy to serve. Cut them into squares and skip the pie plates and forks.
- They travel well. They’re great for potlucks, bake sales, holiday tables, and lunchbox treats.
- You can make them ahead. In fact, they slice even better after they’ve cooled completely.
Ingredients
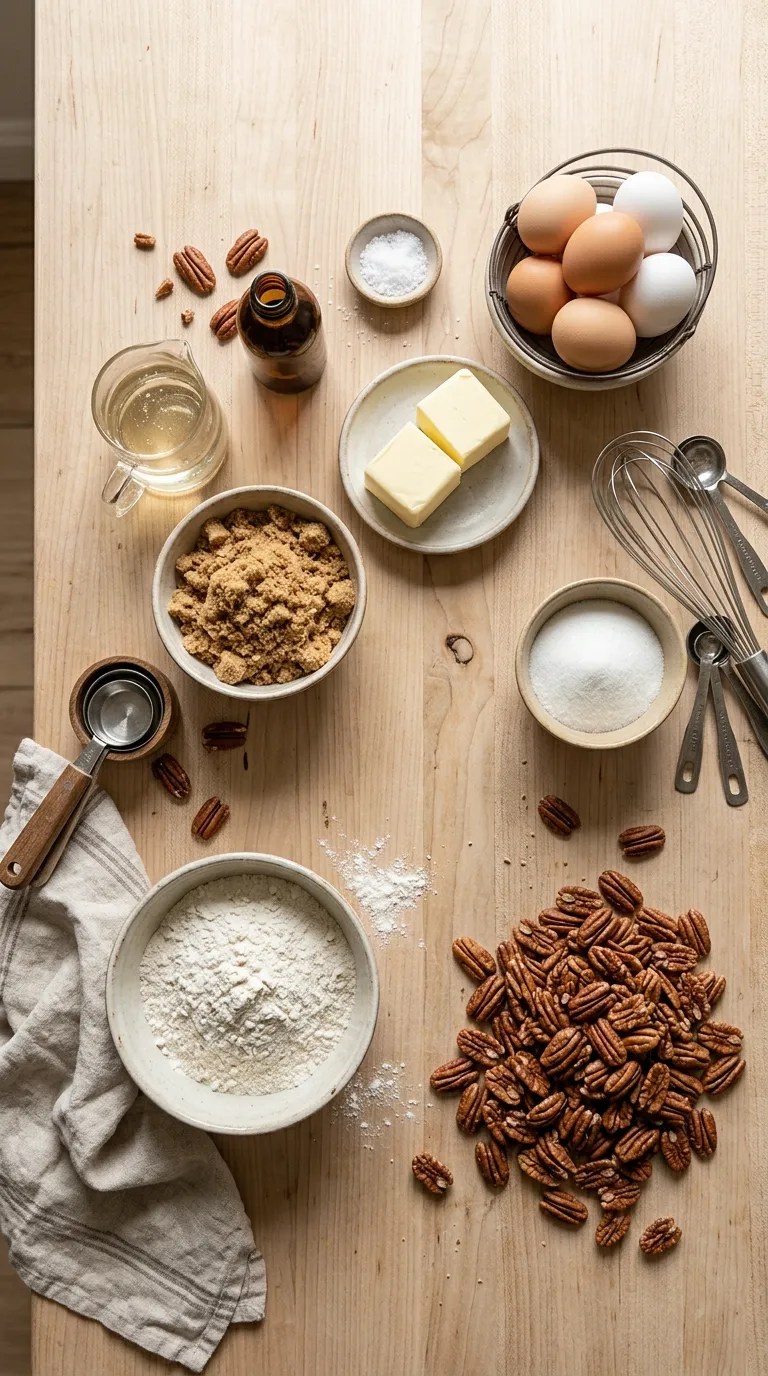
The recipe makes about 16 bars when baked in an 8-inch square pan.
For the Shortbread Crust
- 1 1/2 cups (190 g) all-purpose flour
- 1/2 cup (100 g) granulated sugar
- 1/2 teaspoon salt
- 3/4 cup (170 g) unsalted butter, melted
- 1 teaspoon vanilla extract
You can use salted butter if that’s what you have. Just reduce the added salt to about 1/4 teaspoon.
For the Brown Sugar Pecan Filling
- 1 cup (200 g) packed light brown sugar
- 1/2 cup (120 ml) light corn syrup
- 1/2 cup (113 g) unsalted butter, melted
- 2 large eggs
- 1 teaspoon vanilla extract
- 1/4 teaspoon salt
- 1 1/2 cups (170 g) pecan halves or roughly chopped pecans
I like light brown sugar for a balanced caramel flavor, but dark brown sugar works too. Dark brown sugar gives the filling a deeper molasses note.
If you don’t have corn syrup, you can use an equal amount of maple syrup. The texture may turn out a little softer and the flavor will have a noticeable maple character.
For the pecans, use halves if you want larger crunchy pieces or chop them into smaller pieces if you prefer a more even layer in every bite.
Step-by-Step Instructions
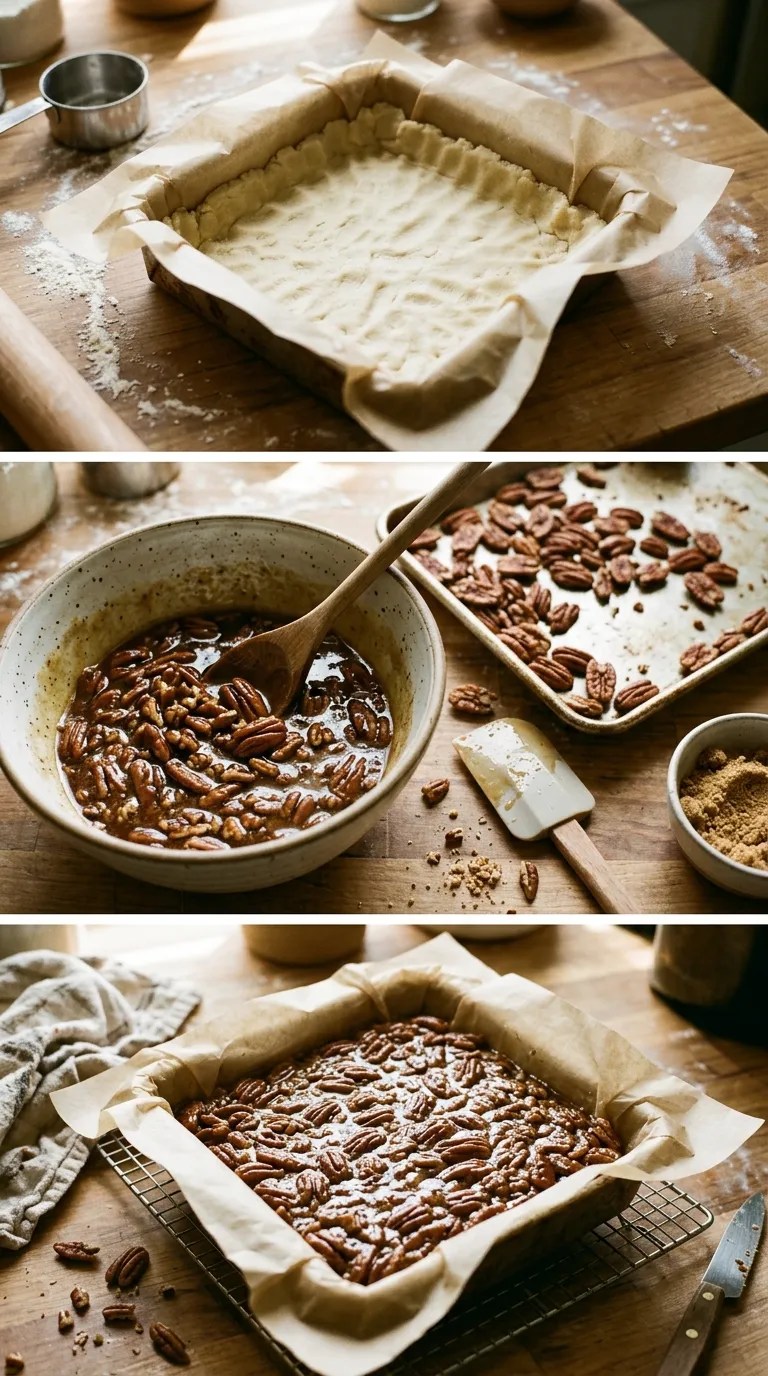
1. Prepare the Pan — 5 Minutes
Heat your oven to 350°F (175°C).
Line an 8-inch square baking pan with parchment paper, leaving some parchment hanging over two sides. Those extra edges will give you something to grab when it’s time to lift the cooled bars from the pan.
Give the parchment a light coating of cooking spray or butter.
I learned not to skip this step. The parchment prevents sticking, but a little grease makes the bars much easier to release.
2. Make the Shortbread Crust — 5 Minutes
In a medium mixing bowl, stir together the flour, granulated sugar, and salt.
Pour in the melted butter and vanilla. Stir until the mixture looks crumbly but holds together when you squeeze it between your fingers.
You don’t need a stand mixer here. A wooden spoon or sturdy silicone spatula does the job perfectly.
Press the mixture firmly and evenly into the bottom of the prepared pan.
Try to create an even layer, especially around the corners. If the crust gets much thicker in the middle, it can bake unevenly.
Bake the crust for 15–18 minutes, until the edges look lightly golden.
Don’t wait for the entire crust to become dark brown. It will continue baking with the pecan filling.
3. Toast the Pecans — About 5 Minutes
While the crust bakes, spread the pecans on a baking sheet.
Toast them in the oven for about 5 minutes, watching them closely.
You don’t have to toast the pecans, but I strongly recommend it. Toasting brings out their nutty flavor and gives the finished bars a little more depth.
Let them cool for a few minutes, then roughly chop them if you’re using pecan halves.
A small warning from my kitchen: pecans can go from beautifully toasted to unpleasantly bitter surprisingly quickly. Stay nearby.
4. Mix the Filling — 5 Minutes
In a large bowl, whisk together the brown sugar, melted butter, corn syrup, eggs, vanilla, and salt.
Whisk until everything looks smooth and glossy.
You don’t need to beat the mixture aggressively. Just make sure the eggs blend in completely.
Fold in the toasted pecans.
The filling should look thick and syrupy, with pecans distributed throughout instead of sitting in one big clump.
5. Add the Filling — 2 Minutes
When the crust comes out of the oven, let it rest for about 2–3 minutes.
Pour the pecan mixture evenly over the warm crust.
Use a spatula to spread the pecans around if they gather in one area. You want a fairly even layer from corner to corner.
6. Bake Until Set — 25–30 Minutes
Return the pan to the oven and bake for 25–30 minutes.
This is the part where I recommend trusting your eyes rather than the clock alone.
The edges should look set and slightly puffed. The center can still have a gentle jiggle when you carefully move the pan, but it shouldn’t look liquid or sloshy.
If the center looks completely loose after 25 minutes, give it another 3–5 minutes and check again.
Don’t overbake the bars just because the middle isn’t rock-solid. The filling firms as it cools.
7. Cool Completely — At Least 2 Hours
This step requires the most patience.
Let the bars cool in the pan on a wire rack for at least 2 hours.
For the cleanest slices, I actually prefer chilling them for another hour after they’ve reached room temperature.
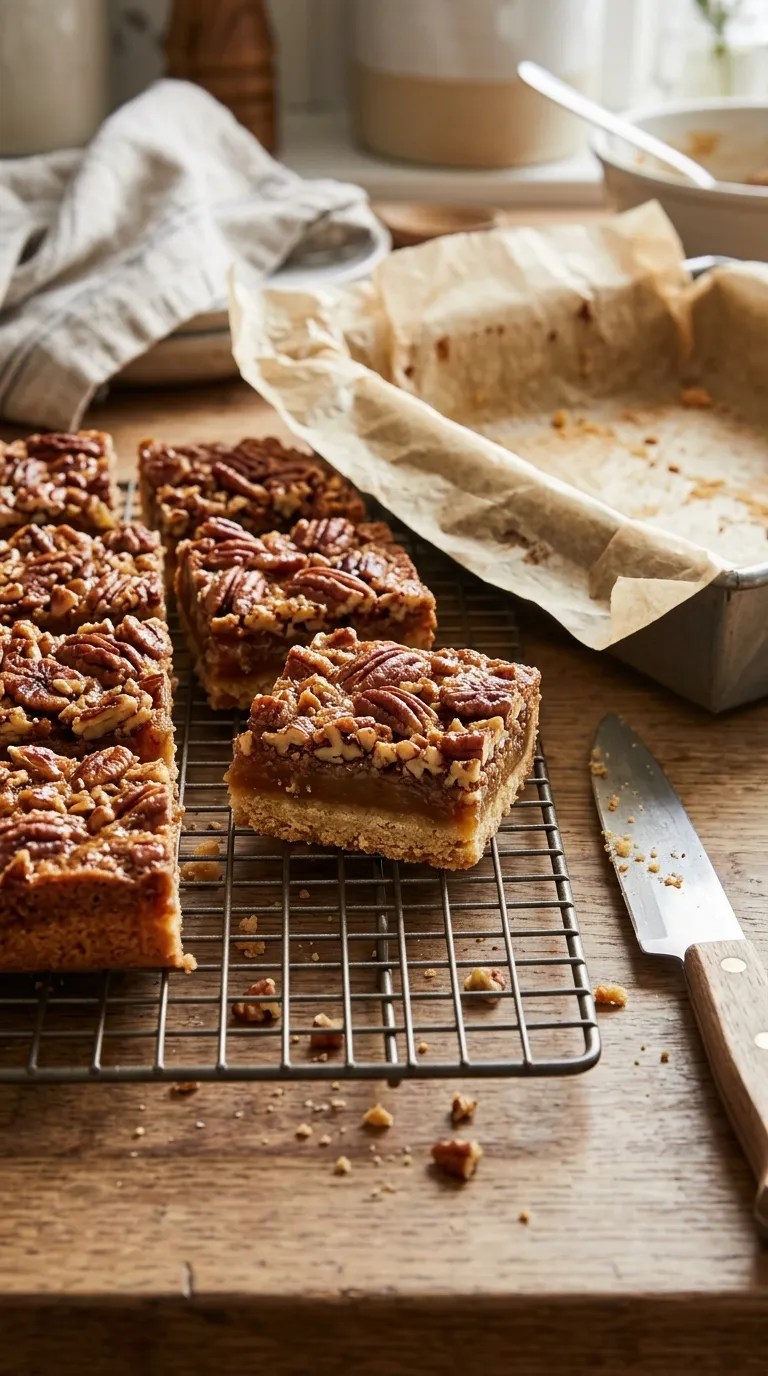
Once completely cool, lift the bars out using the parchment overhang.
Place them on a cutting board and use a sharp knife to cut them into squares.
For neat edges, wipe the knife between cuts. It sounds fussy, but it makes a noticeable difference when you’re serving them to guests.
Pro Tips & Tricks
Don’t Pack the Flour Into the Measuring Cup
If you use volume measurements, spoon the flour into your measuring cup and level the top with a knife.
Scooping directly from a flour bag can pack extra flour into the cup, which can make the crust heavier and drier.
A kitchen scale gives you the most consistent result, especially for baking.
Press the Crust Firmly
The crust doesn’t need to be compacted until it’s rock-hard, but press it firmly enough that there aren’t loose crumbs or thin patches.
I use the flat bottom of a measuring cup to smooth the surface.
Don’t Skip the Cooling Time
I know it’s tempting to cut one while it’s still warm.
I’ve done it.
The flavor will still be good, but the filling won’t have fully set, so you’ll probably end up with a softer, messier bar.
If you’re serving these at a gathering, make them the day before. They become much easier to slice once they’ve had plenty of time to cool.
Watch the Pecans
Toasted pecans taste fantastic, but burned pecans taste bitter and can overpower the whole dessert.
Keep the oven time short and check them early, especially if your oven runs hot.
Use Parchment With an Overhang
Leave two opposite sides of the pan lined with extra parchment.
Once the bars cool, you can simply lift the entire slab out. It saves you from digging a spatula underneath every piece.
Variations & Substitutions
Maple Pecan Pie Bars
Replace the corn syrup with pure maple syrup.
The filling will have a softer maple flavor that pairs beautifully with toasted pecans. Since maple syrup can produce a slightly different texture, let these bars cool completely before cutting.
Dark Brown Sugar Bars
Use dark brown sugar instead of light brown sugar.
You’ll get a richer, more molasses-forward filling with a darker color. If you love deeply caramelized flavors, this is an easy change.
Chocolate Pecan Bars
Add about 1/2 cup of semisweet chocolate chips over the baked crust before pouring in the filling.
The chocolate melts into the filling as the bars bake, creating little pockets of chocolate throughout.
I wouldn’t add much more than that because too many chocolate chips can overpower the brown sugar and pecan flavors.
Gluten-Free Option
For a gluten-free version, use a reliable 1-to-1 gluten-free all-purpose flour blend that is designed for baking.
Choose a blend that contains a binder such as xanthan gum if the manufacturer’s instructions recommend it.
Because gluten-free flour blends vary, the crust may have a slightly different texture from the original.
Serving Suggestions

These brown sugar pecan pie bars are delicious at room temperature, but there’s something especially good about serving one slightly chilled with a cup of coffee.
For a dessert plate, add a small scoop of vanilla ice cream.
The contrast between the cool ice cream and the buttery pecan filling is hard to beat.
For a holiday dessert table, cut the bars into smaller squares. They’re rich enough that guests often appreciate a two- or three-bite portion alongside other sweets.
They’re also a great choice for Thanksgiving, Christmas gatherings, fall potlucks, bake sales, and casual family dinners.
If you’re taking them somewhere, wait until they’re completely cool before stacking them. Put parchment between layers so the tops don’t stick together.
Related Recipes:
- How to Make Pumpkin Cheesecake Without Cream Cheese
- Homemade Pecan Pie Bars for Thanksgiving
- Pumpkin Crisp Bars
- No-Bake Pumpkin Cheesecake Ball
- How to Make Caramel Apple Streusel Cheesecake
FAQ’s
How should I store brown sugar pecan pie bars?
Store the cooled bars in an airtight container.
They can sit at room temperature for a short period if your kitchen is cool, but refrigerating them is the better option for longer storage. Keep them covered so the crust doesn’t dry out or absorb refrigerator odors.
Can I make these pecan pie bars ahead of time?
Yes. They’re actually a convenient make-ahead dessert.
Bake them the day before you need them, let them cool completely, cover the pan, and refrigerate. Bring them closer to room temperature before serving if you prefer a softer filling.
Why is my pecan filling still runny?
The most common reason is that the bars haven’t cooled enough.
The filling continues to firm as it cools, so don’t judge the final texture immediately after removing the pan from the oven.
If the bars are completely cool and still unusually loose, they may have needed a little more baking time.
Can I use chopped pecans instead of pecan halves?
Absolutely.
Chopped pecans make the bars easier to cut and distribute the nutty flavor more evenly. I usually use a mixture of roughly chopped pieces and a few larger pieces because I like getting different textures in each bite.
Can I freeze pecan pie bars?
Yes.
Let the bars cool completely, cut them, and wrap individual pieces well. Place them in a freezer-safe container with parchment between the layers.
Thaw them in the refrigerator overnight or at room temperature for a few hours.
The crust may lose a little of its original crispness after freezing, but the bars still make a very convenient make-ahead dessert.
How do I reheat them?
You don’t need to reheat them, but if you like your pecan bars slightly warm, place an individual bar in the microwave for about 10–15 seconds.
Heat gently rather than blasting it for a long time. The filling can become extremely hot while the crust stays relatively cool.
Final Thought
There are complicated desserts that deserve a whole afternoon, and then there are desserts like these Easy Brown Sugar Pecan Pie Bars that quietly become the ones you make again and again.
I love that you don’t have to wrestle with pie dough, crimp edges, or worry about making a picture-perfect pie. Press the crust into the pan, stir together the filling, add the pecans, and let the oven do most of the work.
The hardest part is waiting for them to cool.
If you make these for your family, a holiday gathering, or just because you have a bag of pecans sitting in the pantry, I hope they disappear as quickly in your kitchen as they do in mine.
And if you find your own little trick along the way, keep it. That’s how favorite recipes get better over time.
Leave a Reply
You must be logged in to post a comment.