


Every December, I reach a point where the kitchen starts smelling like butter, vanilla, and sugar before I have even finished decorating the tree. That smell always tells me Christmas has officially arrived.
I started making these Christmas cookies because I wanted something simple enough for a busy holiday afternoon but special enough to put on a cookie tray. After a few batches, I learned that the little details matter. Chilling the dough makes a big difference, and pulling the cookies from the oven while the edges are just turning golden keeps the centers tender.
I also learned not to worry when the first tray looks slightly less perfect than expected. Christmas cookies do not need to look bakery-perfect. A little uneven icing or an extra sprinkle usually makes them look even more homemade.
This easy Christmas Cookie Recipe has become one of my favorite holiday treats because the dough comes together with basic pantry ingredients, the cookies hold their shape well, and everyone can have fun decorating them.
Why You’ll Love This Recipe

- Easy ingredients: You probably already have most of them in your kitchen.
- Beginner-friendly: You don’t need advanced baking skills or fancy equipment.
- Great for decorating: The cookies give you a simple blank canvas for icing and sprinkles.
- Make-ahead friendly: You can prepare the dough ahead of time and bake it later.
- Perfect for sharing: Pack them into little boxes or tins for neighbors, teachers, friends, or family.
Ingredients You’ll Need
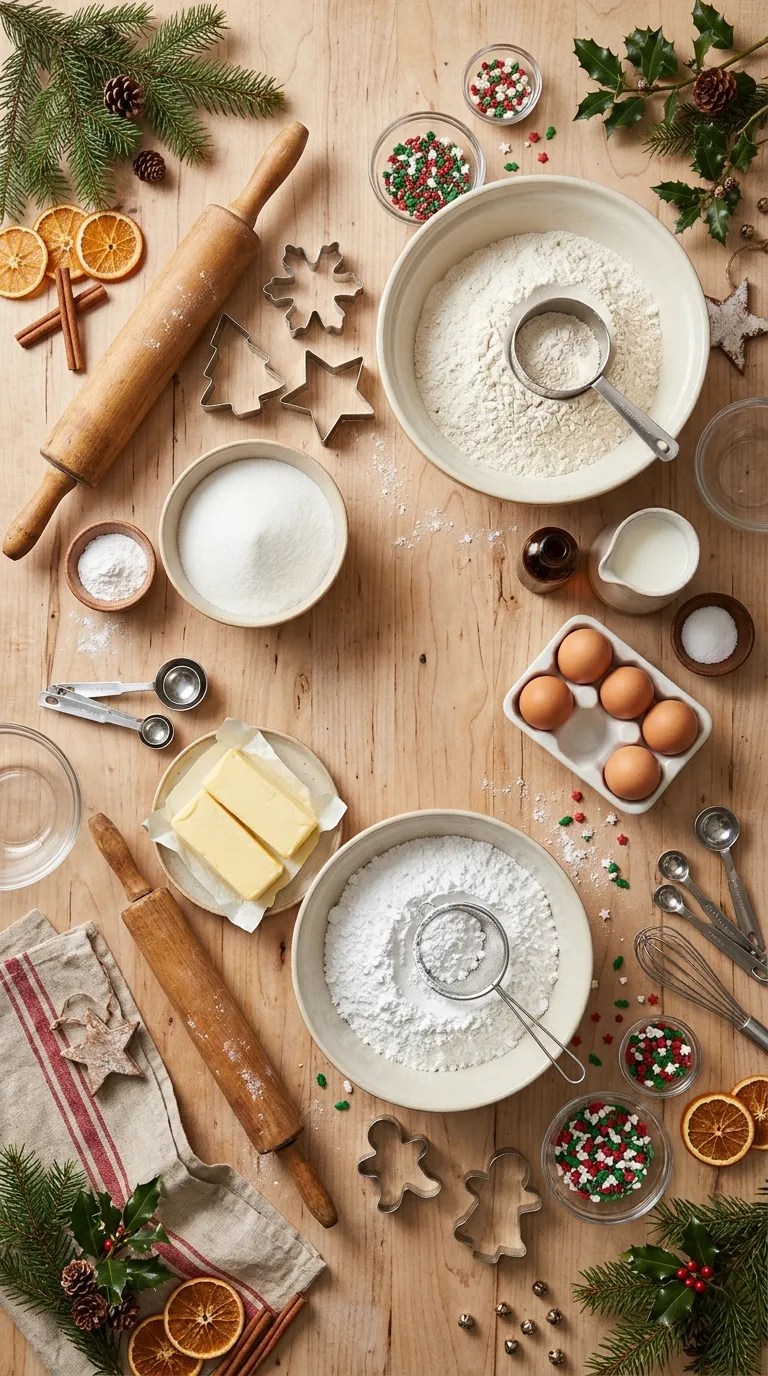
For the Cookie Dough
- 1 cup (226 g) unsalted butter, softened
- ¾ cup (150 g) granulated sugar
- 1 large egg
- 2 teaspoons vanilla extract
- 2¾ cups (345 g) all-purpose flour
- ½ teaspoon baking powder
- ¼ teaspoon salt
If you only have salted butter, you can use it and reduce the added salt slightly. The cookies will still turn out nicely.
For a slightly richer flavor, you can replace 1 teaspoon of the vanilla with 1 teaspoon of almond extract. I especially like this version for Christmas cookie trays, although vanilla alone gives you a classic flavor.
For the Simple Icing
- 1½ cups (180 g) powdered sugar
- 2 tablespoons milk
- ½ teaspoon vanilla extract
- 1–2 teaspoons additional milk, as needed
You can tint the icing with a small amount of food coloring if you want red, green, blue, or other festive shades.
For Decorating
- Christmas sprinkles
- Colored sugar
- Mini candy decorations
- Extra powdered sugar, if desired
Don’t feel pressured to buy a huge collection of decorations. A couple of sprinkle colors can make an entire batch look festive.
Step-by-Step Instructions
1. Soften the Butter — 10 to 15 Minutes
Take the butter out of the refrigerator and let it soften at room temperature.
You want the butter soft enough that your finger can make a gentle indentation, but you don’t want melted butter. Melted butter can change the texture of the dough and make the cookies spread more than you want.
If you forget to soften the butter ahead of time, cut it into small cubes and leave the pieces on a plate. They will soften much faster.
2. Cream the Butter and Sugar — 2 to 3 Minutes
Place the softened butter and granulated sugar in a large mixing bowl.
Using a hand mixer or stand mixer, beat them together for about 2 to 3 minutes. Stop when the mixture looks pale, creamy, and fluffy.
This step gives the cookies a lighter texture, so don’t rush through it.
I used to beat the mixture for barely a minute because I wanted to get to the fun part faster. After a few batches, I noticed that giving the butter and sugar a little more time produced a nicer dough.
3. Add the Egg and Vanilla — About 30 Seconds
Add the egg and vanilla extract.
Mix until everything looks smooth and evenly combined. Scrape down the sides of the bowl with a rubber spatula if butter or sugar sticks to the edges.
The mixture might look a little loose at this point. That’s completely fine.
4. Mix the Dry Ingredients — 2 Minutes
In a separate bowl, whisk together the flour, baking powder, and salt.
Add the dry ingredients gradually to the butter mixture.
Mix on low speed just until the flour disappears. Don’t keep mixing once the dough comes together.
The finished dough should feel soft and pliable rather than wet or sticky. If you press it gently, it should hold its shape.
5. Chill the Dough — 30 to 60 Minutes
Divide the dough into two portions and flatten each portion into a thick disk.
Wrap the disks and refrigerate them for at least 30 minutes.
This is one step I wouldn’t skip. Chilling firms up the butter and makes the dough much easier to roll. It also helps the cookies maintain their shape during baking.
If you plan to make the dough ahead, you can refrigerate it for up to a couple of days.
6. Heat the Oven — About 10 Minutes
Preheat your oven to 350°F (175°C).
Line baking sheets with parchment paper.
If you don’t have parchment, lightly grease the baking sheets, although parchment makes cleanup much easier.
For the most consistent results, I recommend baking one tray at a time if your oven tends to have uneven hot spots.
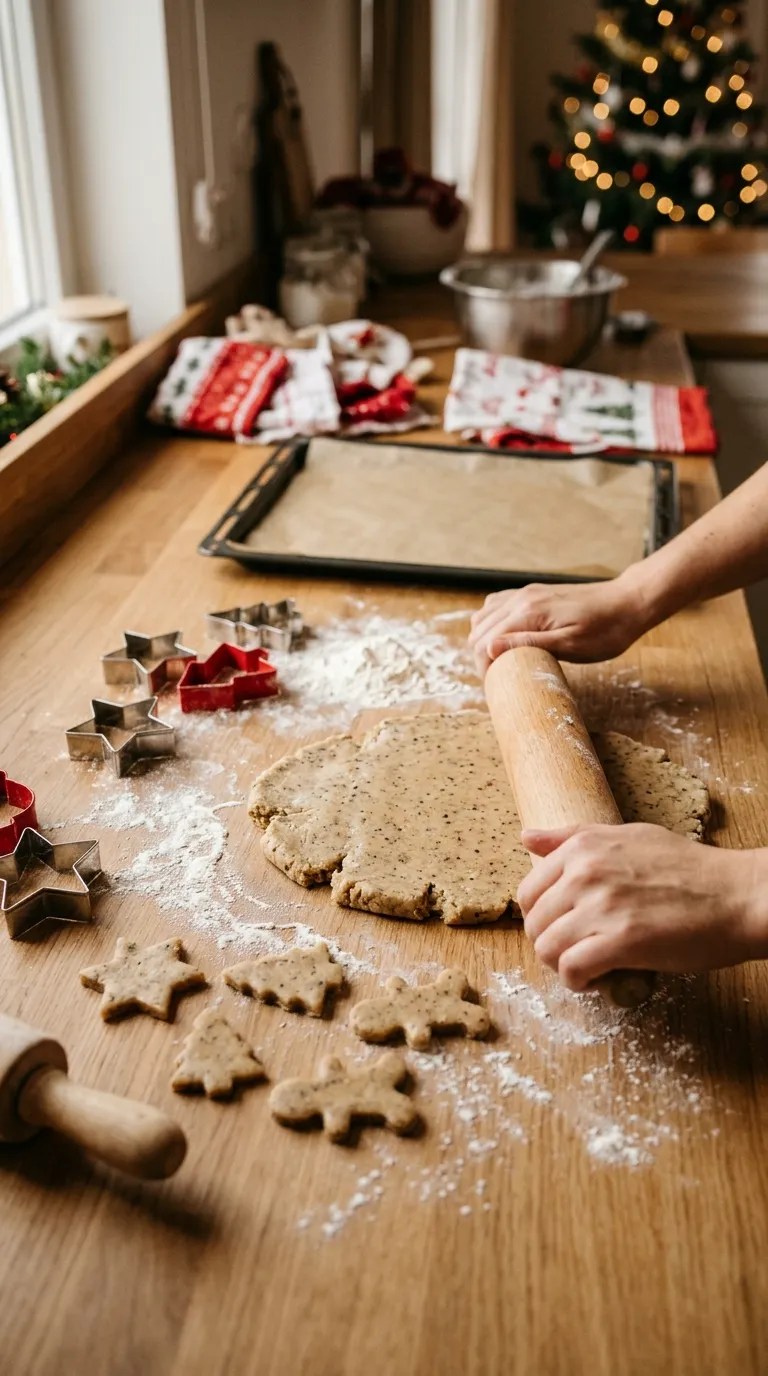
7. Roll Out the Dough — 5 to 10 Minutes
Lightly flour your work surface and rolling pin.
Take one dough disk from the refrigerator and roll it to about ¼ inch (6 mm) thick.
Try to keep the thickness fairly even. If one cookie is very thin while another is much thicker, they won’t finish baking at the same time.
If the dough starts sticking badly, add a very small amount of flour. Don’t keep adding flour every time it sticks, though, because too much flour can make the cookies tough.
8. Cut the Cookies — 5 Minutes
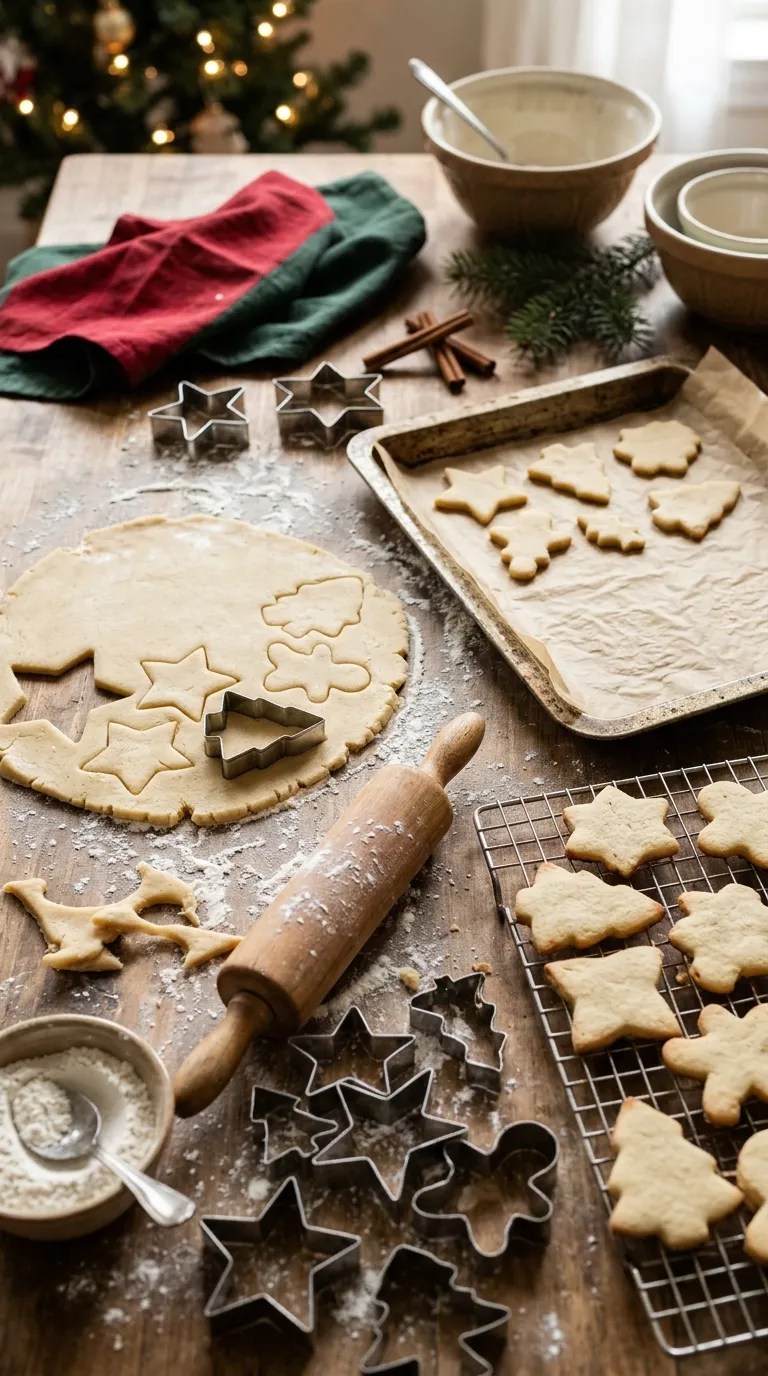
Use your favorite Christmas cookie cutters to cut shapes from the dough.
Stars, trees, snowflakes, bells, and gingerbread-style shapes all work well.
Transfer the cookies to the prepared baking sheets, leaving about 1 inch of space between them.
Gather the scraps, gently press them together, and roll them again. Try not to knead the scraps repeatedly because overworking the dough can make later batches less tender.
9. Bake — 8 to 11 Minutes
Bake the cookies for approximately 8 to 11 minutes, depending on their size and thickness.
Watch the edges rather than waiting for the entire cookie to turn brown. The centers should look set, while the edges should just begin to turn lightly golden.
For softer cookies, I usually pull them out when the centers still look fairly pale.
For a slightly crisper cookie, let them bake another minute or so.
Every oven behaves a little differently, so treat the first tray as your test batch.
10. Cool Completely — 20 to 30 Minutes
Let the cookies sit on the baking sheet for about 5 minutes after removing them from the oven.
Then transfer them to a wire cooling rack.
Don’t ice them while they’re warm. The icing will soften and slide around instead of setting neatly.
This part can feel painfully slow when you have a bowl of sprinkles sitting nearby, but it’s worth waiting.
11. Make the Icing — 2 Minutes
Whisk the powdered sugar, milk, and vanilla together in a small bowl.
If the icing feels too thick, add milk a few drops at a time.
If it becomes too thin, add a little more powdered sugar.
You want a smooth icing that spreads easily but doesn’t immediately run off the cookie.
For decorating with a piping bag, keep the icing a little thicker. For dipping the tops of the cookies, make it slightly thinner.
12. Decorate — 10 to 20 Minutes
Spread or pipe icing onto the completely cooled cookies.
Add sprinkles while the icing is still wet so they stick properly.
This is where you can get the whole family involved. Give everyone a few cookies and let them decorate however they like.
Don’t worry if your snowflake looks more like a star or your Christmas tree has enough sprinkles to cover an entire forest. Homemade cookies should have personality.
Let the icing set before stacking the cookies.
Pro Tips & Tricks
Don’t Overwork the Dough
Once the flour disappears, stop mixing.
Overmixing can develop too much gluten, which may leave you with cookies that feel tougher than you intended.
Chill Again If Necessary
If your cut-out cookies become soft while you’re working, place the entire baking sheet in the refrigerator for about 10 to 15 minutes before baking.
This little trick helps the shapes hold their edges.
Don’t Add Too Much Flour
It’s tempting to keep dusting the counter whenever the dough sticks.
Instead, use a light coating of flour on the work surface and rolling pin. Too much flour can make the cookies dry and dull the buttery flavor.
Use a Light-Colored Baking Sheet
A dark baking sheet can brown cookie bottoms more quickly.
If you use a darker pan, start checking the cookies toward the earlier end of the baking time.
Store Them Properly
Once completely cool and decorated, store the cookies in an airtight container at room temperature.
Place parchment or wax paper between layers if you’ve added icing or delicate decorations.
They usually keep their best texture for several days.
Make the Dough Ahead
You can prepare the dough, wrap it tightly, and refrigerate it before baking.
You can also freeze the unbaked dough. Thaw it in the refrigerator before rolling and cutting.
For holiday baking, I love making the dough one evening and baking the cookies the next day. It splits the work into two much more manageable jobs.
Variations & Substitutions

Add a Little Citrus
For a brighter holiday flavor, add 1 teaspoon of finely grated orange zest to the dough.
Orange and vanilla work beautifully together, and the citrus gives the cookies a slightly different character without making the recipe complicated.
Try a Chocolate Version
Replace ¼ cup (30 g) of the flour with ¼ cup (about 25 g) unsweetened cocoa powder.
The dough will become chocolatey while still working well with Christmas cookie cutters.
Chocolate icing or simple white icing makes a fun contrast.
Make Them Spiced
For a warmer holiday flavor, add:
- ½ teaspoon ground cinnamon
- ¼ teaspoon ground ginger
- A small pinch of ground nutmeg
You can also leave out the vanilla and use a little orange zest for a more aromatic cookie.
If you need gluten-free cookies, use a 1:1 gluten-free all-purpose flour blend designed for baking. Different blends behave differently, so follow the package guidance if it recommends any additional ingredients.
For dairy-free baking, use a plant-based butter made for baking. Check the package to make sure it works as a direct butter substitute.
Serving Suggestions

These Christmas cookies belong on just about every holiday dessert table.
Serve them with hot chocolate, warm milk, tea, or coffee. A plate of colorful cookies also looks lovely beside a pot of hot cocoa when friends come over.
For a Christmas party, arrange several shapes on a large platter rather than stacking everything into one pile. The different shapes and decorations make the table feel more festive.
You can also package a few cookies in small food-safe bags or tins as homemade gifts.
One of my favorite ideas is to put together a little cookie decorating station. Bake the cookies ahead of time, prepare several icing colors, and set out bowls of sprinkles. Everyone can decorate their own.
These cookies also work well for cookie exchanges. If you’re taking them to one, choose sturdy shapes and let the icing dry completely before packing them.
Related Recipes:
- Southern Pecan Pie Cheesecake for Thanksgiving
- Pecan Bars With Graham Cracker Crust
- Apple Cheesecake With Caramel Sauce – Creamy, Cozy & Irresistible
- Best Fall Cookie Recipes for Holiday Baking
FAQ’s
How long do Christmas cookies stay fresh?
Stored in an airtight container at room temperature, these cookies generally stay enjoyable for several days. Keep them away from heat and moisture, especially if you’ve decorated them with icing.
Can I make the cookie dough ahead of time?
Yes. Wrap the dough tightly and refrigerate it for up to a couple of days before rolling and baking.
If the dough becomes very firm in the refrigerator, let it sit at room temperature briefly until it becomes workable.
Can I freeze the cookie dough?
Yes. Wrap the dough well and place it in a freezer-safe container or bag.
When you’re ready to use it, thaw the dough in the refrigerator, then let it soften slightly before rolling it out.
Why did my cookies spread in the oven?
The butter may have been too warm, or the dough may not have chilled enough.
Next time, chill the cut-out cookies for 10 to 15 minutes before baking. Also check that your oven has reached the full baking temperature before putting the tray inside.
Why are my cookies hard instead of soft?
Overbaking and adding too much flour are two common causes.
Start checking the cookies at around 8 minutes. The centers should look set, but you don’t need to wait for the whole cookie to become deeply golden.
Can I decorate the cookies the next day?
Absolutely.
Bake the cookies, cool them completely, and store them in an airtight container. Decorate them the next day when you have more time.
This actually makes holiday baking much easier because you don’t have to bake and decorate everything in one session.
Final Thought
There is something wonderfully uncomplicated about a tray of homemade Christmas cookies. You mix a few familiar ingredients, roll out some dough, cut cheerful little shapes, and suddenly the kitchen feels like the holidays.
I’ve made plenty of batches where the decorations weren’t perfectly even and a few cookies came out slightly different sizes. Nobody ever complained. In fact, those are often the cookies people reach for first.
So put on some Christmas music, clear a little space on the counter, and don’t worry about making every cookie look identical.
The best part of this easy Christmas Cookie Recipe isn’t getting every star perfectly symmetrical. It’s having a warm kitchen, a plate full of homemade treats, and something delicious to share when the people you love wander in looking for a cookie.
And if a few sprinkles end up on the floor along the way, consider that part of the recipe.
Leave a Reply
You must be logged in to post a comment.