

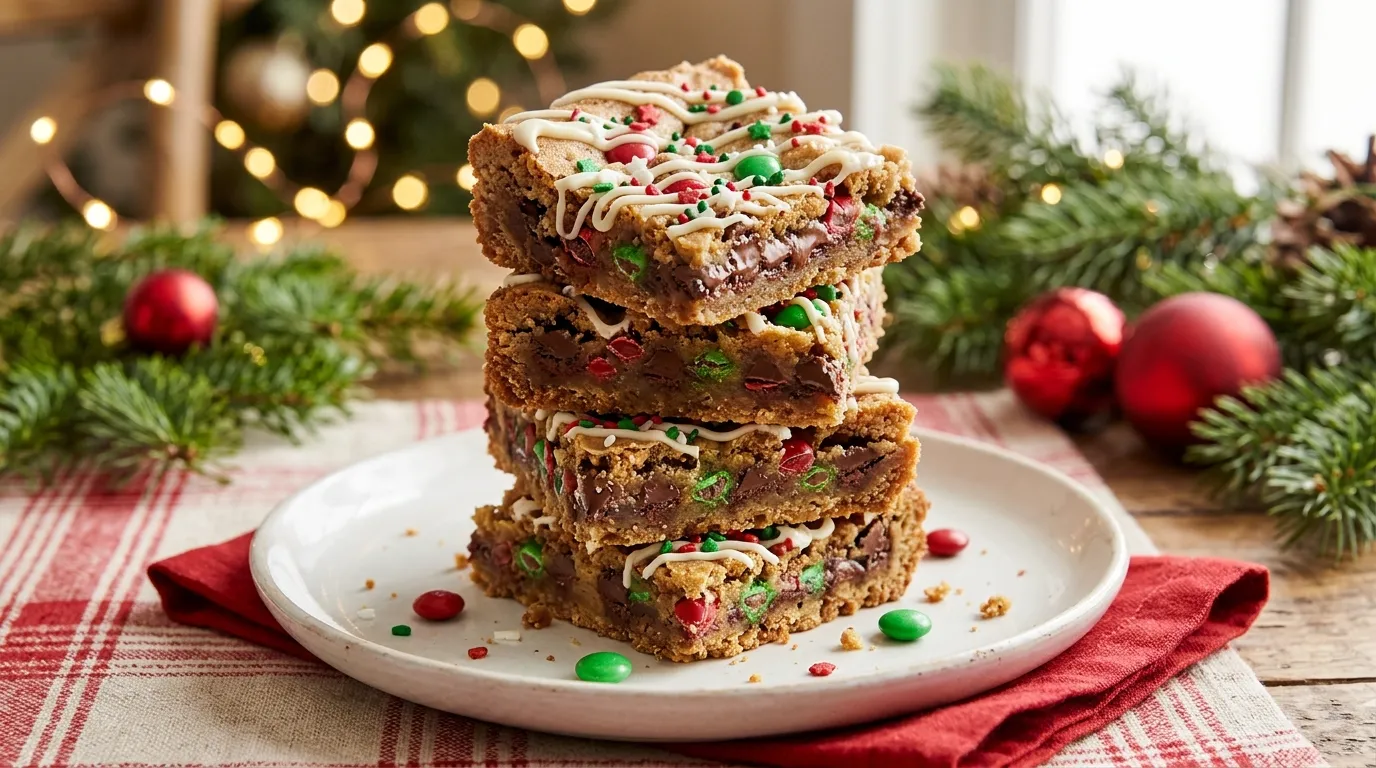
There is something special about the smell of a Christmas dessert baking in the oven. The combination of vanilla, butter, cinnamon, and chocolate makes the whole kitchen feel warmer, even on the coldest winter evening.
I love making festive desserts during the holidays, especially when family and friends gather around the kitchen looking for something sweet. A few years ago, I wanted to make a Christmas treat that looked beautiful on the dessert table but didn’t require hours of preparation. I wanted something that tasted homemade, felt special, and didn’t leave me with a mountain of dishes.
That’s how I fell in love with these Christmas Dessert Bars.
They combine a soft, buttery cookie base, a rich chocolate center, and a colorful topping of red and green candies. A little white chocolate drizzle gives them a snowy Christmas finish. They look like something from a holiday bakery, but you can make them with simple ingredients from your pantry.
The best part? You don’t need fancy baking skills, complicated decorating techniques, or expensive equipment.
I have learned a few little tricks along the way, too. For example, I once tried cutting the bars while they were still warm because I was impatient to taste them. The flavor was wonderful, but the pieces looked rather messy! Now I always let them cool completely before slicing.
Whether you’re preparing a Christmas Eve dessert, hosting a holiday party, or simply craving something sweet with your afternoon coffee, these festive dessert bars deserve a place on your holiday baking list.
Why You’ll Love This Christmas Dessert Recipe

There are plenty of reasons to make these Christmas Dessert Bars, but here are a few of my favorites.
- Easy to prepare: You don’t need complicated techniques or special baking experience. Mix, spread, bake, and decorate.
- Festive appearance: Red and green candies, white chocolate, and colorful sprinkles give every bar a cheerful Christmas look.
- Simple ingredients: Most ingredients are everyday baking staples that you may already have in your kitchen.
- Perfect for sharing: Cut the dessert into small squares for Christmas parties, family gatherings, school celebrations, or holiday dessert platters.
- Make-ahead friendly: Prepare the bars a day before your celebration and decorate them when you’re ready.
Another thing I appreciate is how flexible this recipe feels. You can change the toppings, use different chocolate, or add chopped nuts without changing the basic baking method.
Ingredients
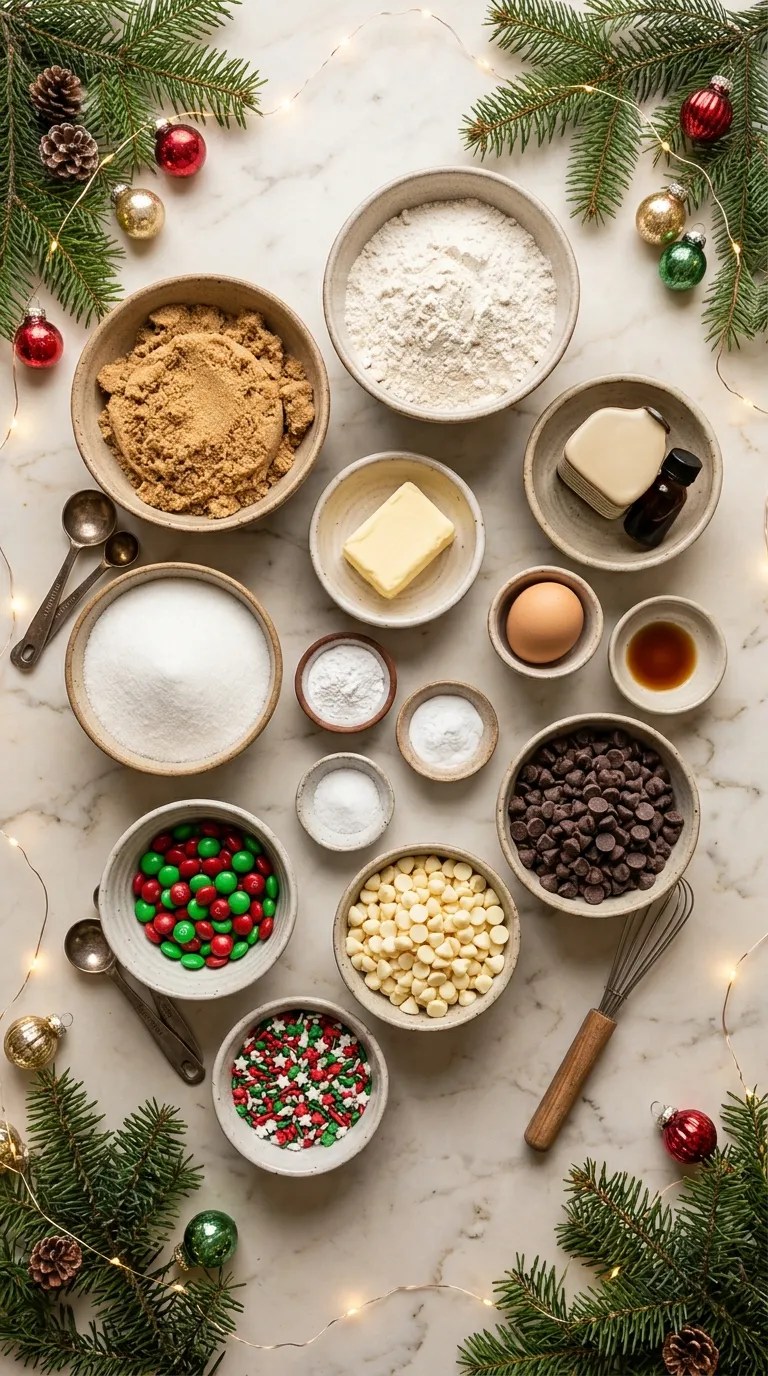
You only need a handful of ingredients to make these colorful holiday treats. For the best results, measure everything before you begin.
Preparation time: 15 minutes
Baking time: 22–27 minutes
Cooling time: 1–2 hours
Total time: Approximately 2 hours 45 minutes
Yield: 16 dessert bars
For the buttery cookie base
- ½ cup (113 g) unsalted butter, softened
- ¾ cup (150 g) light brown sugar, packed
- ¼ cup (50 g) granulated white sugar
- 1 large egg, at room temperature
- 2 teaspoons vanilla extract
- 1½ cups (190 g) all-purpose flour
- ½ teaspoon baking powder
- ¼ teaspoon baking soda
- ¼ teaspoon salt
- ½ cup (85 g) semi-sweet chocolate chips
For the festive topping
- ⅓ cup (about 55 g) red and green chocolate candies
- ¼ cup (45 g) white chocolate chips
- 2 tablespoons Christmas-themed sprinkles
- 2 tablespoons extra chocolate chips, optional
Optional additions
- ¼ cup chopped walnuts or pecans
- ½ teaspoon ground cinnamon
- A pinch of nutmeg
- A few crushed peppermint candies
Ingredient substitutions:
You can replace semi-sweet chocolate chips with milk chocolate or dark chocolate chips. If you prefer a slightly richer flavor, dark chocolate makes a lovely addition.
No light brown sugar? Use dark brown sugar instead. It will give the bars a deeper caramel-like flavor.
You can also use dairy-free butter and dairy-free chocolate chips if you need a dairy-free variation. Check the labels of your other ingredients as well.
Step-by-Step Instructions
Follow these simple steps, and you’ll have a beautiful batch of Christmas treats ready for your holiday table.
Step 1: Prepare Your Baking Pan
Time: 5 minutes
Start by preheating your oven to 350°F (175°C).
Take an 8-inch square baking pan and line it with parchment paper. Leave a little extra parchment hanging over two opposite sides. These edges will help you lift the baked dessert out of the pan later.
Lightly grease the parchment paper with butter or cooking spray.
I recommend using a metal baking pan because it distributes heat evenly and helps the edges develop a lovely golden color.
Step 2: Mix the Butter and Sugars
Time: 3–4 minutes
Place the softened butter in a large mixing bowl.
Add the brown sugar and granulated sugar. Beat everything together with a hand mixer or stand mixer until the mixture looks creamy and smooth.
This usually takes around 2–3 minutes.
Don’t worry if the mixture looks slightly grainy. Brown sugar naturally adds some texture.
The butter should feel soft enough to mix easily but shouldn’t look melted or oily.
Step 3: Add the Egg and Vanilla
Time: 1–2 minutes
Crack the egg into the butter mixture and add the vanilla extract.
Mix until everything combines smoothly.
Scrape down the sides of the bowl with a silicone spatula so you don’t leave any butter or sugar behind.
At this point, the mixture should look creamy and smell wonderfully sweet.
Step 4: Combine the Dry Ingredients
Time: 2 minutes
In a separate bowl, whisk together the flour, baking powder, baking soda, and salt.
This small step helps distribute the raising agents evenly throughout the flour.
Add the dry ingredients to the butter mixture in two batches.
Mix on low speed until the flour disappears. Avoid overmixing because too much mixing can make the finished bars dense.
The dough should look thick, soft, and slightly sticky.
Step 5: Fold in the Chocolate Chips
Time: 1 minute
Add the semi-sweet chocolate chips to the dough.
Use a spatula to fold them in gently.
If you enjoy a little crunch, add chopped walnuts or pecans at this stage.
I like saving a small handful of chocolate chips for the top. They melt slightly during baking and make the finished bars look even more tempting.
Step 6: Spread the Dough in the Pan
Time: 3 minutes
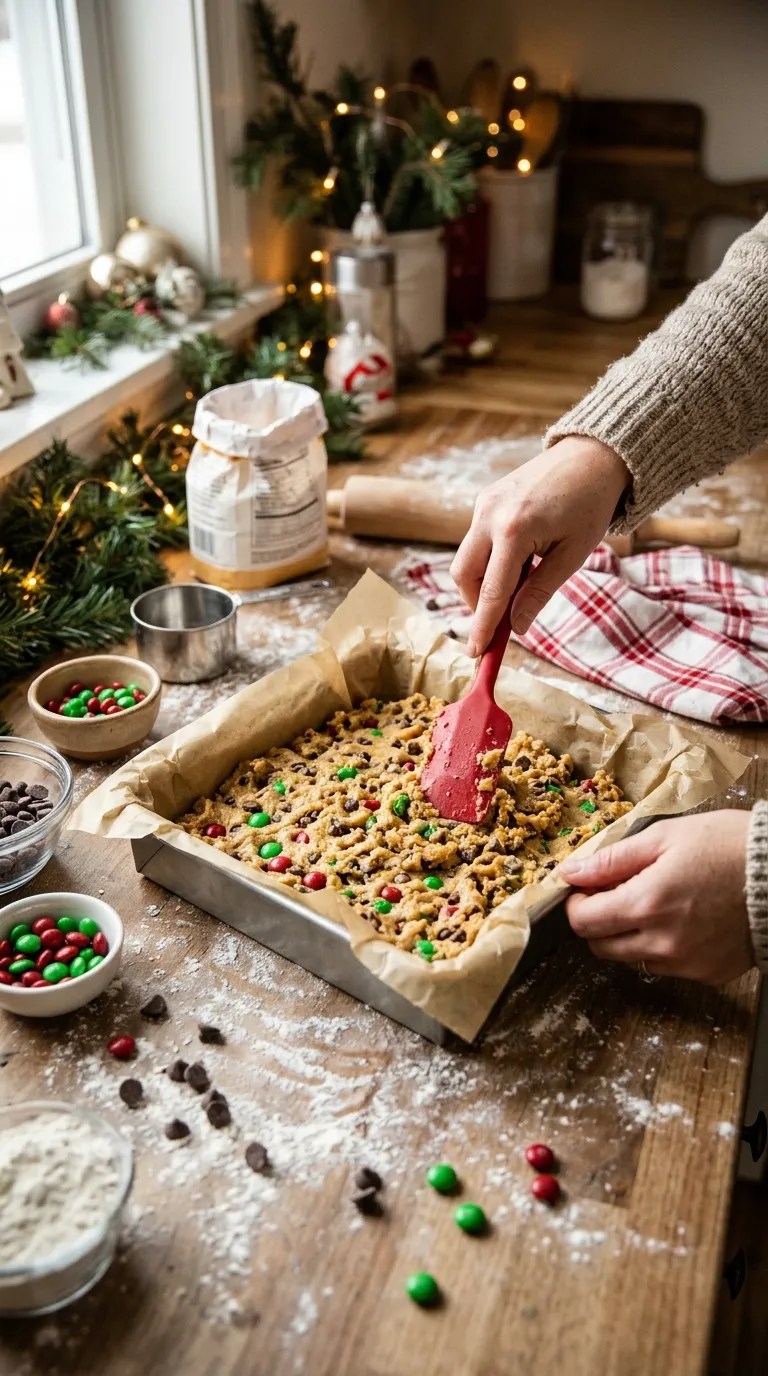
Transfer the cookie dough into your prepared baking pan.
Use a spatula to spread it evenly into the corners.
The dough will feel thick, so take your time. If it sticks to your spatula, lightly grease the spatula or dampen it with a little water.
Scatter a few red and green chocolate candies over the surface.
Press them gently into the dough so they stay in place during baking.
Step 7: Bake Until Golden
Time: 22–27 minutes
Place the pan in your preheated oven.
Bake for approximately 22–27 minutes.
Keep an eye on the edges. They should turn lightly golden brown, while the center should look set but remain slightly soft.
Don’t wait for the entire surface to become dark brown. The bars will continue to firm up as they cool.
If your oven tends to run hot, start checking around the 20-minute mark.
Remove the pan from the oven and place it on a heat-safe surface.
Step 8: Prepare the White Chocolate Drizzle
Time: 2–3 minutes
While the bars cool, prepare your white chocolate topping.
Place the white chocolate chips in a microwave-safe bowl.
Heat them in 15-second intervals, stirring after each interval until the chocolate melts smoothly.
Be patient here. White chocolate can burn quickly, so avoid heating it continuously for too long.
If it seems too thick, stir in about ½ teaspoon of neutral vegetable oil.
Step 9: Decorate Your Christmas Dessert
Time: 5 minutes
Once the bars have cooled, drizzle the melted white chocolate over the surface using a spoon.
Sprinkle the remaining red and green candies over the chocolate.
Add your favorite Christmas sprinkles for extra color.
You can make the decoration as simple or as elaborate as you like. I personally love an uneven white chocolate drizzle because it gives the dessert a relaxed, homemade appearance.
Allow the chocolate topping to set before cutting.
Step 10: Cut and Serve
Time: 5 minutes
Use the parchment paper edges to lift the dessert out of the pan.
Place it on a cutting board.
With a sharp knife, cut the dessert into 16 equal squares.
For cleaner edges, wipe the knife with a warm, damp cloth between cuts.
Arrange the bars on a festive serving plate, and you’re ready to enjoy your homemade Christmas dessert!
Pro Tips & Tricks
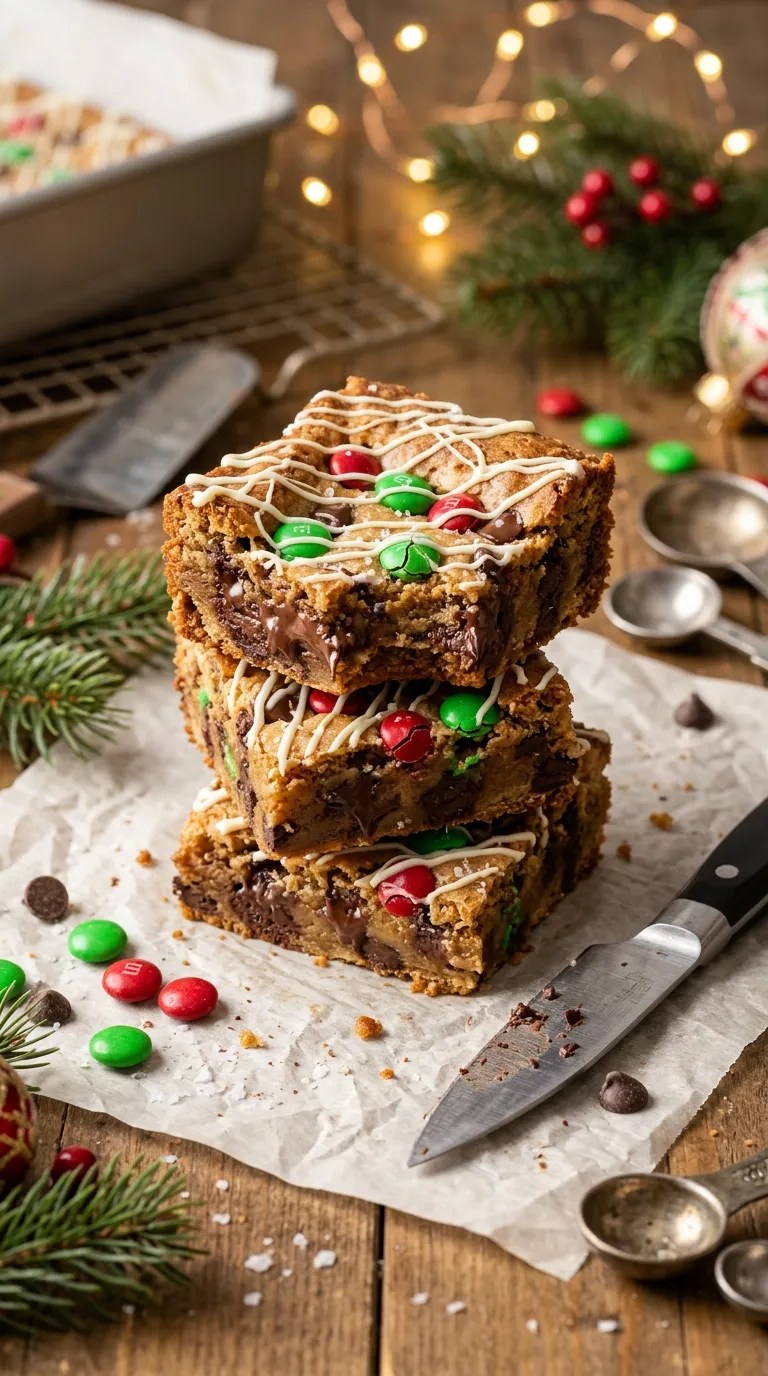
A few small details can make a big difference when baking these treats. Here are the tips I have found most helpful.
1. Use Room-Temperature Butter
Softened butter blends much more easily with sugar than cold butter.
Take it out of the refrigerator about 30–45 minutes before baking, depending on your kitchen temperature.
Avoid melting it in the microwave. Melted butter changes the dough’s consistency and can make the bars greasy.
2. Don’t Overbake the Center
This is probably the most important tip.
The edges should look golden, but the middle can remain slightly soft when you remove the pan from the oven.
If you bake until the entire surface looks completely firm, the bars may turn dry after cooling.
Remember that the residual heat continues cooking the dessert for a little while after you take it out of the oven.
3. Let Everything Cool Before Decorating
I know it’s tempting to add the white chocolate immediately.
However, warm cookie bars can cause the chocolate drizzle to melt and disappear into the surface.
Wait until the bars reach room temperature. You’ll get much prettier decorations and cleaner slices.
4. Choose Colorful Toppings Carefully
Not all chocolate candies behave the same way in the oven.
Some candy coatings can crack or lose their bright appearance when exposed to high heat.
For the prettiest finish, save most of your decorative candies for after baking.
Press a few into the warm surface if you want them to stick, then add the rest after the bars cool.
5. Store Them Properly
Place the cooled dessert bars in an airtight container.
Keep them at room temperature for up to 3 days in a cool, dry kitchen.
If your kitchen feels particularly warm, store them in the refrigerator for up to 5 days.
Separate layers with parchment paper to prevent the decorations from sticking together.
Make-ahead tip: Bake the cookie base one day before Christmas. Once it cools, store it in an airtight container. Add the white chocolate drizzle and festive decorations closer to serving time.
Variations & Substitutions
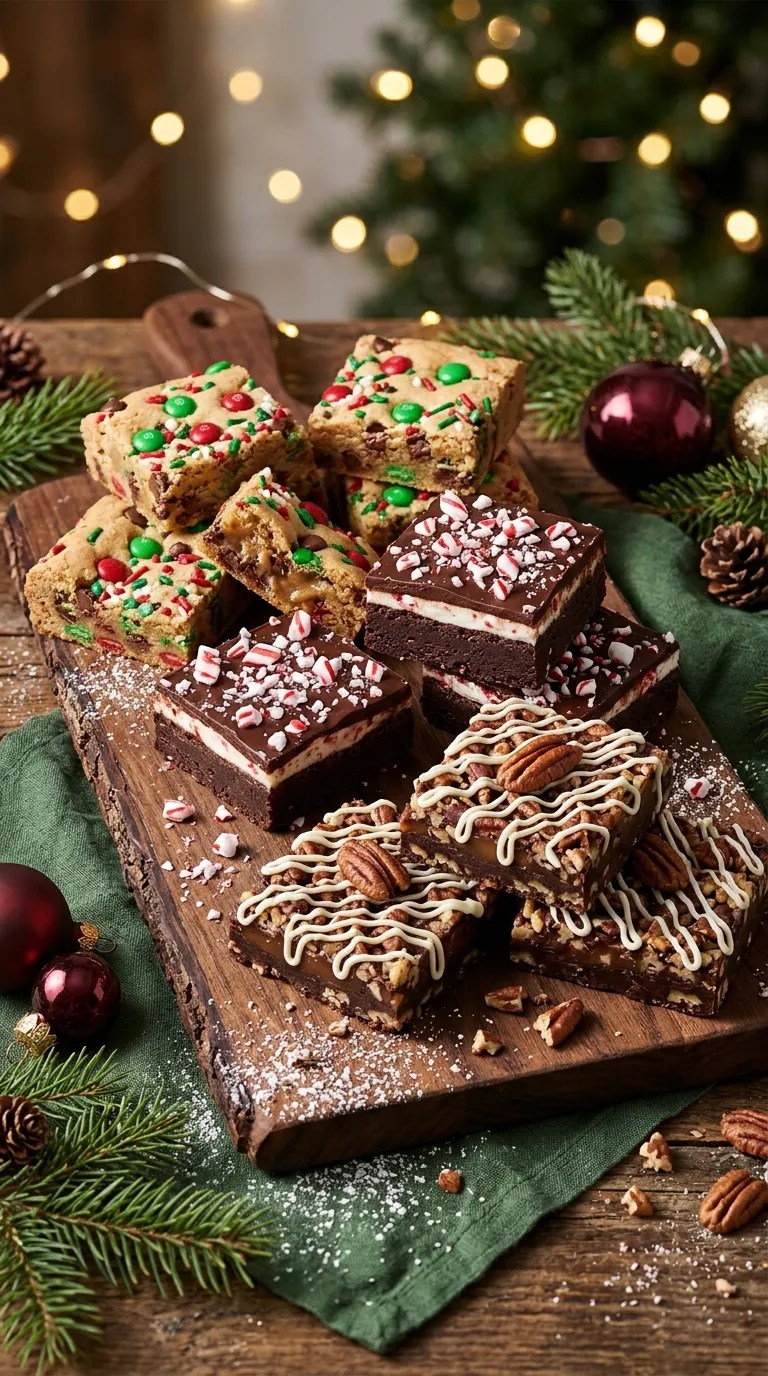
One of the best things about this Christmas dessert recipe is how easily you can customize it.
You don’t have to follow the same topping combination every year. Try one of these variations to create a slightly different holiday treat.
Chocolate Peppermint Christmas Bars
If you enjoy the classic combination of chocolate and peppermint, this version is worth trying.
Replace the red and green chocolate candies with crushed peppermint candies. Add ¼ teaspoon peppermint extract to the wet ingredients if you want a stronger peppermint flavor.
Finish with melted white chocolate and a light sprinkle of crushed candy canes.
Be careful with the peppermint extract because its flavor can become overpowering quickly.
Nutty Christmas Dessert Bars
For extra crunch, fold ¼ cup chopped pecans or walnuts into the dough.
You can lightly toast the nuts in a dry skillet before adding them. Let them cool completely first.
The toasted nuts add a pleasant roasted flavor that works beautifully with brown sugar and chocolate.
Gluten-Free Christmas Dessert Bars
You can make a gluten-free version by replacing the all-purpose flour with a good-quality gluten-free baking flour blend that contains a suitable binder, such as xanthan gum.
Use a blend designed for a direct 1:1 baking substitution.
The dough may have a slightly different texture, so follow the flour package recommendations and check the bars near the end of the baking time.
Dairy-Free Christmas Dessert Bars
For a dairy-free variation, replace the butter with a plant-based baking butter and use dairy-free chocolate chips.
Check the ingredient labels carefully, particularly for the white chocolate and decorative candies.
The texture may vary slightly depending on the brand of plant-based butter you choose.
Serving Suggestions

These Christmas Dessert Bars look lovely on their own, but a few simple serving ideas can make your holiday dessert table feel extra special.
Serve with hot chocolate: A warm mug of hot chocolate pairs wonderfully with the buttery cookie base and chocolate topping. Add marshmallows for a cozy winter treat.
Add them to a Christmas dessert platter: Arrange the bars alongside gingerbread cookies, sugar cookies, brownies, and peppermint bark. The different shapes and colors make the platter look inviting.
Pair with coffee or tea: Serve a small square with coffee, black tea, or a cinnamon-spiced latte after dinner.
Make individual dessert gifts: Place two or three bars in a small food-safe gift box. Add parchment paper and a festive ribbon for a simple homemade holiday gift.
Serve at Christmas parties: Cut the bars into smaller bite-sized squares so guests can sample several different desserts.
For an especially pretty presentation, arrange them on a white serving plate with a few fresh rosemary sprigs nearby. The green leaves create a lovely Christmas-inspired appearance.
Just remember to keep decorative greenery separate from the edible portions unless it is food-safe and suitable for serving.
Related Recipes:
- Christmas Appetizer Recipes – Easy Holiday Bites
- Christmas Bundt Cake Recipe
- Christmas Popcorn Recipe – Easy Holiday Treat
- Christmas Jam Recipe Homemade – Easy Festive Spread
FAQ’s
Can I make Christmas Dessert Bars ahead of time?
Absolutely!
You can bake the bars one day before your celebration. Let them cool completely, then store them in an airtight container.
For the freshest appearance, add the white chocolate drizzle and decorative candies closer to serving time.
This makes holiday preparation much easier, especially when you’re preparing several dishes.
How long do Christmas Dessert Bars last?
At room temperature, these bars stay fresh for approximately 3 days when stored in an airtight container in a cool, dry place.
You can refrigerate them for up to 5 days.
Always allow refrigerated bars to come closer to room temperature before serving if you prefer a softer texture.
Can I freeze these Christmas dessert bars?
Yes!
Let the bars cool completely before freezing.
For the best results, cut them into individual squares and place parchment paper between the layers in a freezer-safe container.
Freeze for up to 2 months for best quality.
Thaw them in the refrigerator or at room temperature while still covered. Add fresh decorations after thawing if needed.
What can I use instead of red and green chocolate candies?
There are plenty of alternatives.
Try mini chocolate chips, crushed peppermint candies, chopped pistachios, festive sprinkles, or colorful sugar decorations.
You can also use dried cranberries for a little fruity sweetness.
Choose toppings that you enjoy eating rather than worrying about making the bars look exactly like a bakery display.
Why did my Christmas dessert bars turn out dry?
Overbaking is usually the main reason.
Even a few extra minutes in the oven can make a difference, particularly if you use a dark-colored baking pan.
Measure the flour accurately, too. Adding too much flour can make the dough dry and crumbly.
For future batches, check the center a little earlier and remove the pan when the edges look golden and the middle appears set but slightly soft.
Can I reheat Christmas Dessert Bars?
You can, although these bars taste lovely at room temperature.
If you prefer them slightly warm, place an individual bar on a microwave-safe plate and heat it for approximately 5–8 seconds.
Avoid overheating because the chocolate topping may become too soft.
Can I make this recipe without a stand mixer?
Definitely!
A regular hand mixer works perfectly, and you can even mix the dough by hand using a sturdy wooden spoon and a large mixing bowl.
Just make sure the butter has softened enough to cream easily with the sugar.
Can I use a different baking pan?
An 8-inch square metal pan works best for the quantities in this recipe.
If you use a 9-inch square pan, the bars will turn out slightly thinner and may bake faster.
For a larger rectangular pan, increase the ingredient quantities proportionally to maintain the same thickness.
Final Thought
Christmas baking doesn’t have to involve complicated recipes or hours of decorating.
Sometimes, the most memorable holiday treats come from simple ingredients, a little creativity, and the happiness of sharing something homemade.
These Christmas Dessert Bars are one of those recipes I love because they bring together everything I enjoy about holiday baking: buttery cookie dough, plenty of chocolate, colorful decorations, and a festive appearance that makes everyone want to try a piece.
I also love that you can prepare them ahead of time, customize the toppings, and make each batch a little different.
If you’re planning your Christmas menu this year, give these easy and festive dessert bars a place on your list.
Put on your favorite holiday music, gather your ingredients, and enjoy a little baking time in the kitchen.
And when you make them, I’d love to hear how they turned out! Did you stick with the classic red and green candies, or did you try peppermint, nuts, or another topping?
Happy Christmas baking, and may your holiday season be filled with sweet moments and delicious homemade treats!
Leave a Reply
You must be logged in to post a comment.