

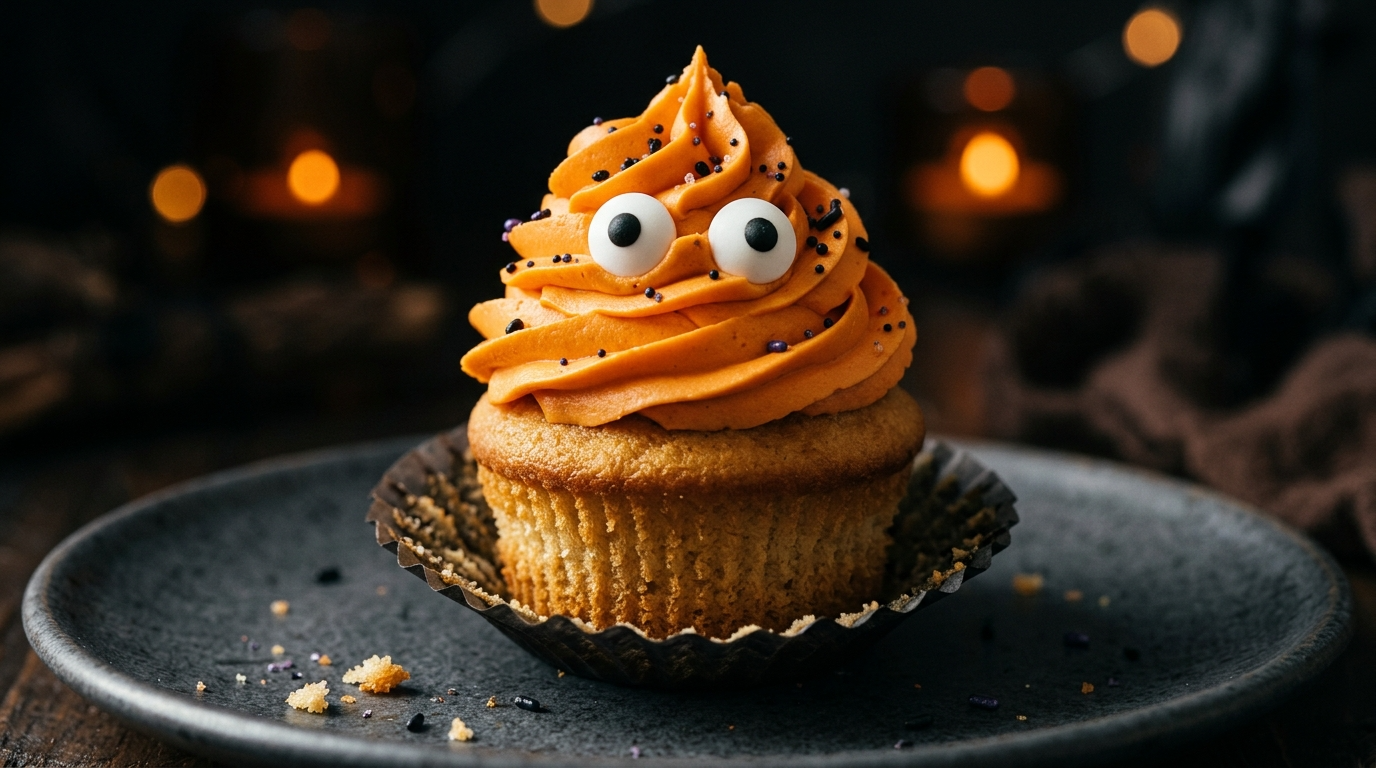
There is something about Halloween baking that makes my kitchen look like a tiny bakery got attacked by a monster. Orange sprinkles end up everywhere, melted chocolate somehow reaches the counter, and I always find one candy eyeball stuck to something that absolutely did not need a candy eyeball.
But honestly, I love it.
Every October, I like making a mix of cute and creepy treats instead of spending hours trying to make one perfect dessert. Some treats look adorable, some look downright strange, and a few land somewhere in between. That is exactly what makes Halloween baking so much fun.
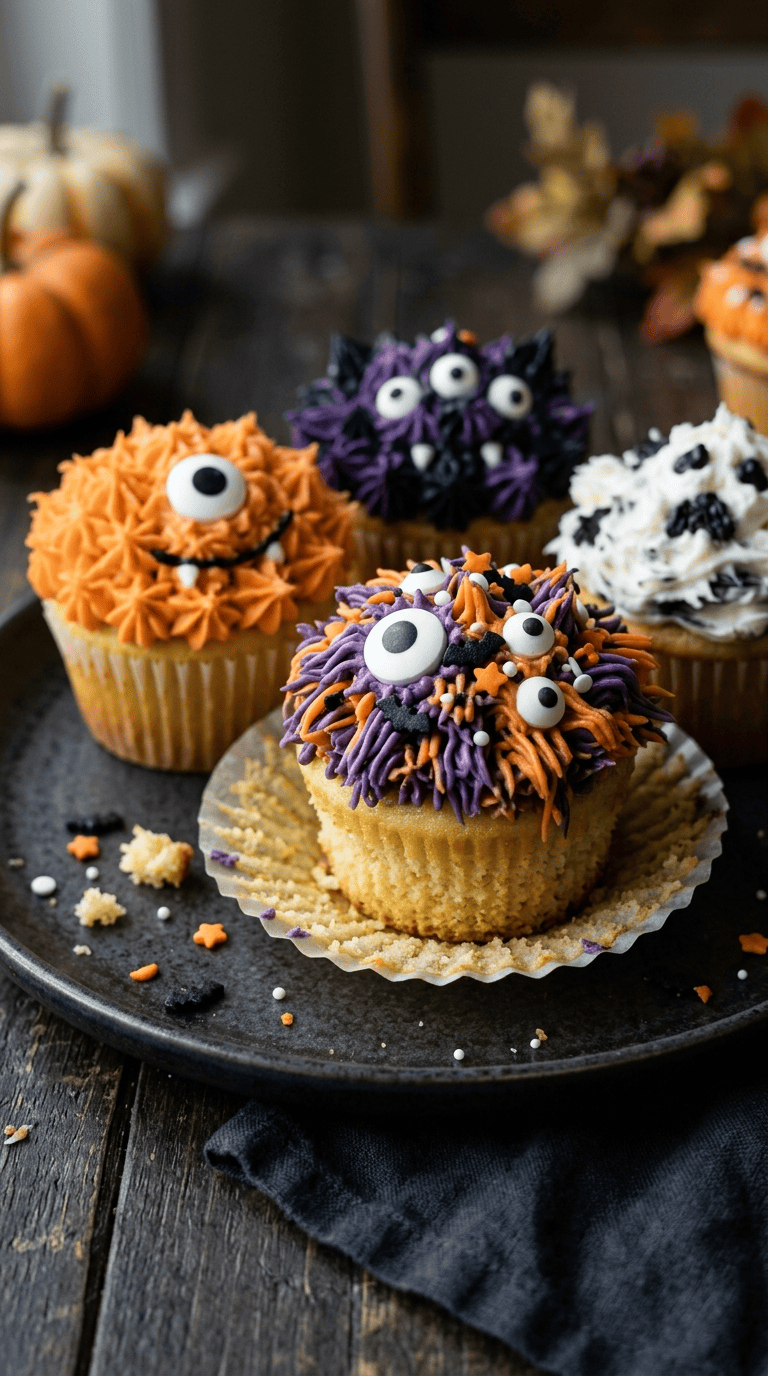
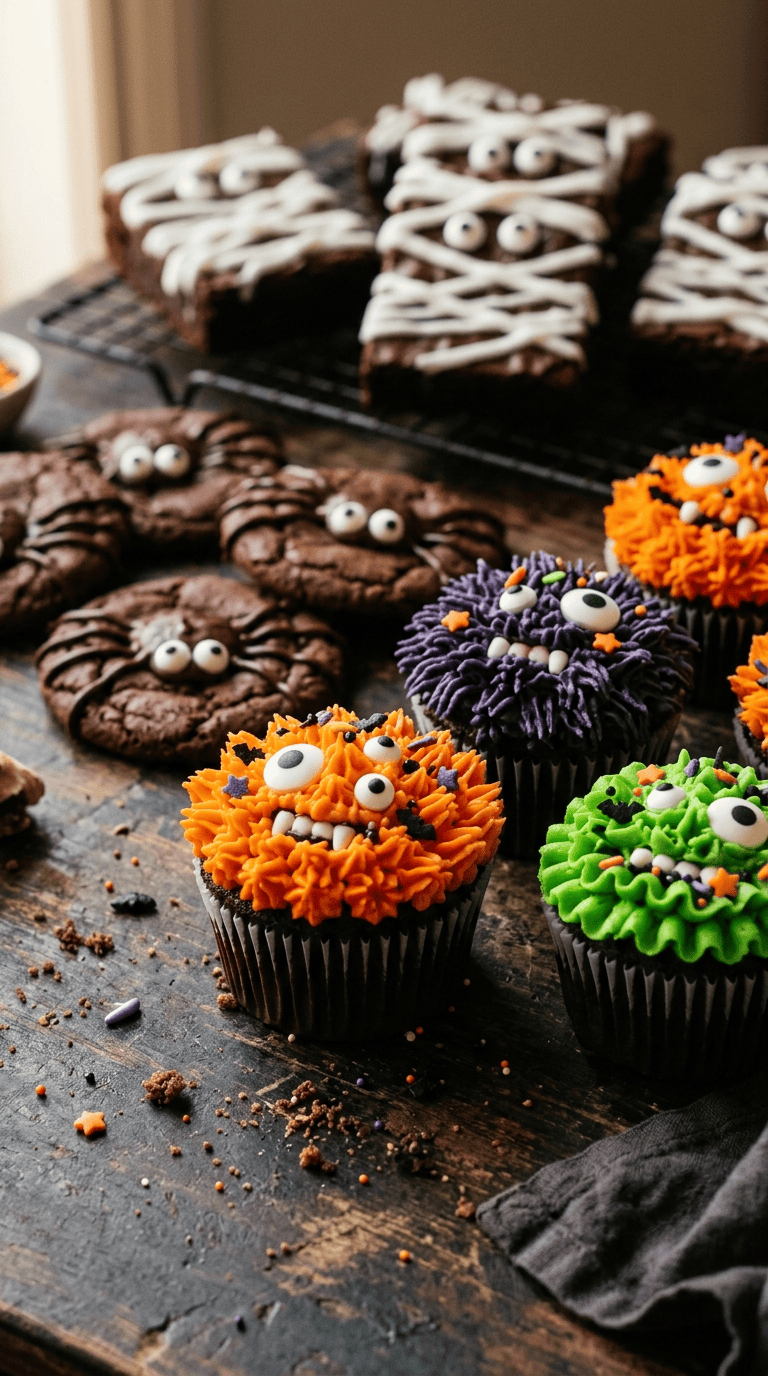
Over the years, I have learned that you do not need fancy decorating skills to make impressive Halloween treats. A simple cupcake can become a monster with two candy eyes. Brownies can look like little graveyards. Cookies can turn into spooky spiders with melted chocolate and a handful of candies.
These cute and creepy Halloween baking ideas are the kind I actually enjoy making at home. They work for Halloween parties, school treats, family movie nights, bake sales, or simply an afternoon when you want your kitchen to smell ridiculously good.
Why You’ll Love These Halloween Baking Ideas
- Beginner-friendly: Most decorations hide little imperfections, so you do not need professional piping skills.
- Fun for kids: Kids can help add sprinkles, candy eyes, chocolate pieces, and frosting.
- Easy to customize: Change the colors, candies, and decorations to match your Halloween theme.
- Party-ready: You can make several different treats from a few basic baking ingredients.
- Budget-friendly: Simple cupcakes, brownies, and cookies become spooky with inexpensive decorations.
- Perfect for make-ahead baking: Several of these treats stay fresh for days when stored properly.
Ingredients for Cute and Creepy Halloween Baking

You do not need to buy a completely different shopping list for every Halloween dessert. I keep a basic baking basket and use the same ingredients in different ways.
For the Halloween Cupcakes
- 1 ½ cups all-purpose flour
- 1 ½ teaspoons baking powder
- ¼ teaspoon salt
- ½ cup unsalted butter, softened
- ¾ cup granulated sugar
- 2 large eggs
- 2 teaspoons vanilla extract
- ½ cup whole milk
- 1 cup buttercream frosting
- Orange and black gel food coloring
- Candy eyeballs
- Halloween sprinkles
Use your favorite boxed vanilla cake mix if you are short on time. I have done this plenty of times, especially when I want to spend more time decorating.
For Spooky Brownies
- ½ cup unsalted butter, melted
- 1 cup granulated sugar
- 2 large eggs
- 1 teaspoon vanilla extract
- ½ cup unsweetened cocoa powder
- ¾ cup all-purpose flour
- ¼ teaspoon salt
- ½ cup chocolate chips
- White icing for decorating
- Orange and black sprinkles
For Halloween Sugar Cookies
- 1 cup unsalted butter, softened
- ¾ cup granulated sugar
- 1 large egg
- 2 teaspoons vanilla extract
- 2 ½ cups all-purpose flour
- ½ teaspoon baking powder
- ¼ teaspoon salt
- Royal icing or prepared cookie icing
- Black, orange, purple, and white decorating gel
- Halloween sprinkles
Easy Decorating Extras
- Candy eyeballs
- Mini chocolate chips
- Pretzel twists
- Chocolate sandwich cookies
- Orange and black sprinkles
- Mini marshmallows
- White chocolate
- Dark chocolate
- Colored sanding sugar
- Edible decorating pens
My biggest tip here is to buy decorations before you start baking. Nothing kills the Halloween mood faster than realizing you have made perfect monster cupcakes but have absolutely no candy eyes.
Step-by-Step Halloween Baking Ideas
1. Make Easy Monster Cupcakes
Preheat your oven to 350°F (175°C) and line a 12-cup muffin pan with Halloween cupcake liners.
Whisk the flour, baking powder, and salt together in a bowl. In another bowl, beat the softened butter and sugar for about 2–3 minutes, until the mixture looks pale and fluffy.
Beat in the eggs one at a time, then mix in the vanilla.
Add the dry ingredients in two additions, alternating with the milk. Mix just until the batter looks smooth. Do not keep beating it once everything comes together.
Divide the batter between the cupcake liners, filling each about two-thirds full.
Bake for 18–22 minutes. Insert a toothpick into the center of one cupcake. If it comes out clean or with a few moist crumbs, they are ready.
Let the cupcakes cool completely before decorating.
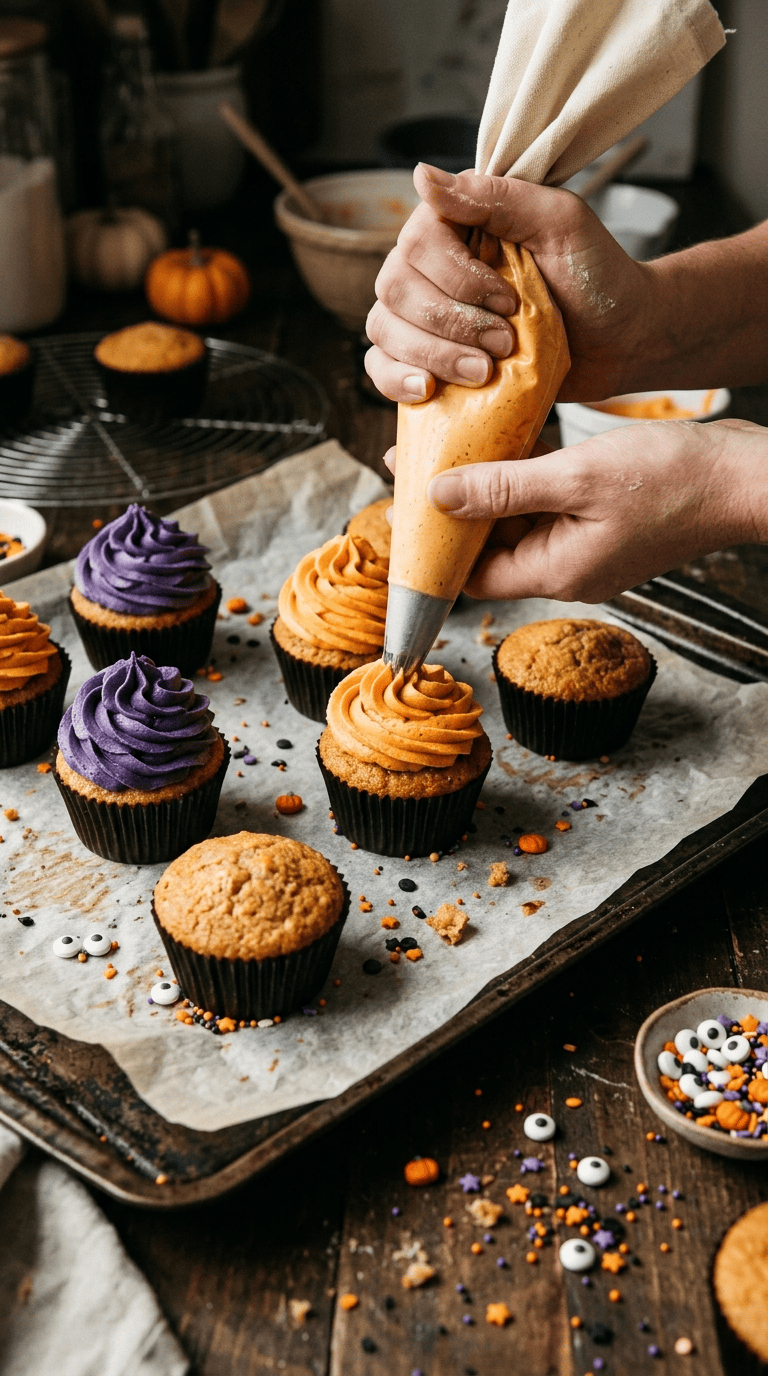
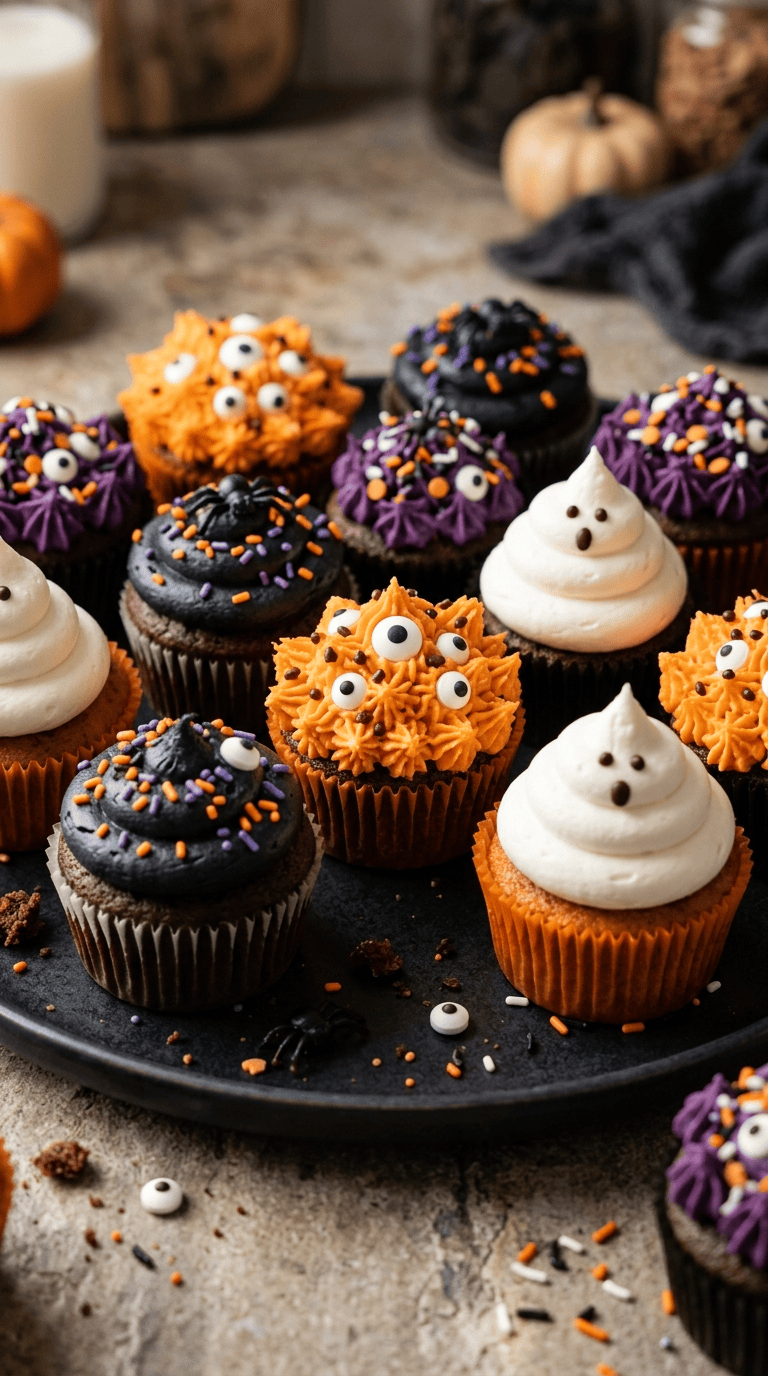
For monster cupcakes, tint buttercream orange, green, purple, or black. Spread or pipe the frosting onto each cupcake, then add two candy eyes.
For an extra goofy monster, add several eyes of different sizes. I once made a batch with three eyes on each cupcake, and somehow those became everyone’s favorite.
2. Turn Brownies Into a Creepy Graveyard
Prepare your brownie batter and spread it into a greased or parchment-lined 8-inch square baking pan.
Bake at 350°F (175°C) for approximately 25–30 minutes.
The center should look set but still slightly soft. Avoid overbaking because dry brownies are much harder to decorate and nobody wants a spooky brownie that tastes like a brick.
Let the brownies cool completely.
Cut them into squares or rectangles. Use white icing to draw tiny skeletons, spiderwebs, bones, or crooked gravestones.
For a simple graveyard effect, place rectangular cookies upright into the brownies like tombstones. Add crushed chocolate sandwich cookies around the base to create edible “dirt.”
A few candy pumpkins scattered around the brownies make the whole tray look surprisingly festive.
3. Create Spooky Sugar Cookies
Cream the butter and sugar together until fluffy, about 2–3 minutes.
Beat in the egg and vanilla.
In another bowl, whisk the flour, baking powder, and salt. Slowly add the dry mixture to the butter mixture.
Mix until a soft dough forms.
Wrap the dough and chill it for at least 30 minutes. I used to skip this step when I was impatient, and my cookies spread so much that my ghosts looked like pancakes.
Roll the chilled dough to about ¼-inch thickness on a lightly floured surface.
Cut out pumpkins, ghosts, bats, cats, or skulls.
Bake at 350°F (175°C) for 8–11 minutes, depending on the size of the cookies. The edges should look lightly golden but not dark.
Cool completely before decorating.
Use orange icing for pumpkins, white icing for ghosts, and black icing for bats. You can keep the designs simple. A few dots and lines often look better than trying to create a complicated masterpiece.
4. Make Chocolate Spider Cookies
Use your favorite chocolate chip cookie dough or prepare a basic batch from scratch.
Bake the cookies according to your recipe, then let them cool for about 10 minutes.
While the cookies remain slightly warm, press a few chocolate chips into the center of each cookie.
Melt a small amount of chocolate and transfer it into a piping bag or a small zip-top bag with the corner snipped off.
Pipe eight thin spider legs around the chocolate center.
Add two tiny candy eyes if you want your spiders to look cuter than creepy.
These are especially fun for kids because the spider design does not need to look perfect. Wobbly legs actually make them look more realistic.
5. Make Mini Halloween Cake Pops
Crumble cooled vanilla or chocolate cake into a bowl.
Add frosting one spoonful at a time and mix until the crumbs hold together when pressed.
Roll the mixture into small balls, about 1 to 1½ inches wide.
Chill them for 20–30 minutes.
Dip each cake ball into melted white, orange, or dark chocolate. Let the excess coating drip off.
Decorate immediately with sprinkles, candy eyes, or small chocolate details.
Place them upright on a parchment-lined tray and let the coating set completely.
If your cake balls feel too soft, add more cake crumbs. If they crumble apart, add a little more frosting. I learned this balance the messy way after creating what looked like chocolate-covered marbles instead of cake pops.
6. Make Cute Mummy Brownies
Bake a pan of brownies and allow it to cool.
Cut the brownies into rectangles.
Drizzle or pipe white icing back and forth across each brownie, leaving tiny gaps so the dark brownie still shows through.
Add two candy eyes between the icing strips.
That is it.
The uneven icing actually makes the mummies look better, so this is one of my favorite Halloween desserts when I want something fast.
Pro Tips & Tricks for Better Halloween Baking
Cool everything before decorating. Warm cupcakes or brownies can melt frosting and make decorations slide around. Give baked goods enough time to cool completely.
Use gel food coloring. Gel coloring gives you stronger Halloween colors without adding too much liquid to your frosting.
Do not overmix cake batter. Once the flour disappears, stop mixing. Overmixing can make cupcakes dense instead of soft.
Keep decorations nearby. Once you dip cookies or cake pops in melted chocolate, work quickly while the coating is still wet.
Make the basic desserts ahead. Bake cupcakes, brownies, and cookies one day early. Store them properly and decorate them the next day.
Use parchment paper. It makes cleanup much easier, especially when you are working with melted chocolate and colorful icing.
Variations & Substitutions
You can easily adjust these Halloween baking ideas around what you already have in your pantry.
For a gluten-free version, use a reliable 1-to-1 gluten-free baking flour in recipes that call for all-purpose flour. Check that your other decorating ingredients also suit your needs.
For a dairy-free option, use dairy-free butter and a suitable plant-based milk. Dairy-free frosting also works beautifully for decorating cupcakes and cookies.
Want a chocolate-heavy Halloween tray? Replace some vanilla cupcakes with chocolate cupcakes and decorate them with orange frosting and chocolate spiderwebs.
You can also switch the colors completely. Purple, lime green, white, and black create a fun spooky palette without relying on the usual orange-and-black combination.
For a more kid-friendly tray, make the decorations cute rather than scary. Big candy eyes, smiling ghosts, colorful sprinkles, and silly monsters usually disappear from the dessert table surprisingly fast.
Serving Suggestions

These treats work best when you serve several different shapes and flavors together.
For a Halloween party, arrange cupcakes on one side of a large tray and place brownies and decorated cookies around them. Add a few wrapped candies between the baked goods to fill empty spaces.
For a Halloween movie night, serve mini brownies and spider cookies alongside hot chocolate, apple cider, or cold milk.
If you are making treats for children, let them decorate their own cookies. Set out bowls of sprinkles, icing, candy eyes, and chocolate pieces and let everyone create their own little monsters.
For a school or office event, individually wrap cookies or brownies once they have completely cooled and the decorations have set.
I also like making a smaller batch for a family Halloween night. You do not need a giant dessert table to make the evening feel special.
Related Recipes :
- Halloween Cupcakes That Are Easy to Decorate
- Halloween Cookies with Spooky Designs
- Halloween Cake Ideas for a Spooky Celebration
FAQ’s
How far ahead can I make Halloween baked treats?
Most cookies and brownies can be baked 1–3 days ahead when stored in an airtight container. Cupcakes are best baked a day ahead and decorated closer to serving time.
Can I freeze Halloween cookies?
Yes. Plain, undecorated sugar cookies freeze especially well. Place them in an airtight freezer-safe container with parchment between layers and freeze for up to about 2–3 months for best quality.
How should I store decorated cupcakes?
Store frosted cupcakes in a cool place in an airtight container. If your frosting requires refrigeration, refrigerate them and allow them to sit at room temperature for a short time before serving.
Why did my sugar cookies spread?
The butter may have been too warm, or the dough may have needed more chilling time. Chilling the cut cookies before baking can also help them hold their shapes.
Can I use boxed cake mix for Halloween cupcakes?
Absolutely. Boxed cake mix saves time and works perfectly well for decorated Halloween cupcakes. The fun comes from the frosting and decorations.
What can I use instead of candy eyes?
Use tiny dots of melted chocolate, small pieces of chocolate chips, white icing with a black gel dot, or small candy pieces. You can create plenty of spooky faces without buying specialty decorations.
Final Thoughts
Halloween baking does not have to look perfect to be fun.
Actually, I think the slightly crooked ghosts, uneven spider legs, and goofy monster faces are part of the charm. They make the treats feel homemade instead of like something that came straight from a bakery display case.
Start with one easy idea if you are new to decorating. Make the monster cupcakes or mummy brownies first. Once you get comfortable, bring out the sprinkles, icing, candy eyes, and chocolate and let your imagination take over.
And if your kitchen ends up covered in orange sprinkles by the end, congratulations. You probably did Halloween baking exactly right.
Leave a Reply
You must be logged in to post a comment.