

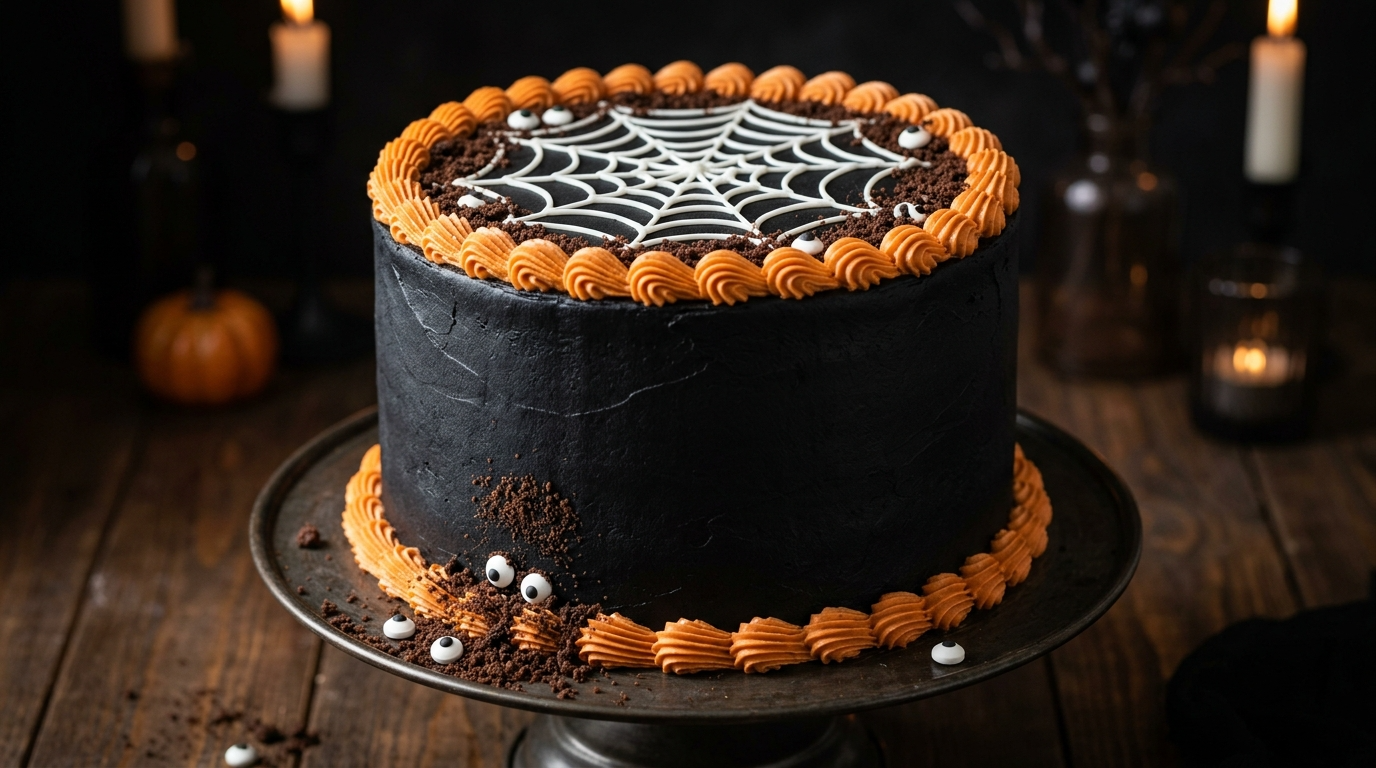
Every October, I get that familiar itch to make something a little more dramatic than my usual weekend cake. Halloween gives me the perfect excuse. Suddenly, a perfectly normal chocolate cake can wear a black frosting cloak, a simple vanilla cake can turn into a spooky graveyard, and a batch of cupcakes can look like tiny monsters with nothing more than frosting and candy eyes.
I’ve made quite a few Halloween cakes over the years, and I’ve learned one important lesson: you do not need professional cake-decorating skills to make a Halloween cake look fantastic. A few clever decorations can do most of the work.
One year, I attempted an overly complicated spiderweb design and spent far too long trying to make every line perfect. It looked nice, but honestly, the slightly messy cakes at the table disappeared first. That taught me to stop chasing perfection and have more fun with Halloween baking.
This collection of Halloween cake ideas focuses on cakes you can actually make at home. Some look creepy, some look cute, and a few manage to do both at the same time. Whether you’re planning a family Halloween night, a classroom party, or a spooky dinner with friends, you’ll find plenty of inspiration here.
Why You’ll Love These Halloween Cake Ideas
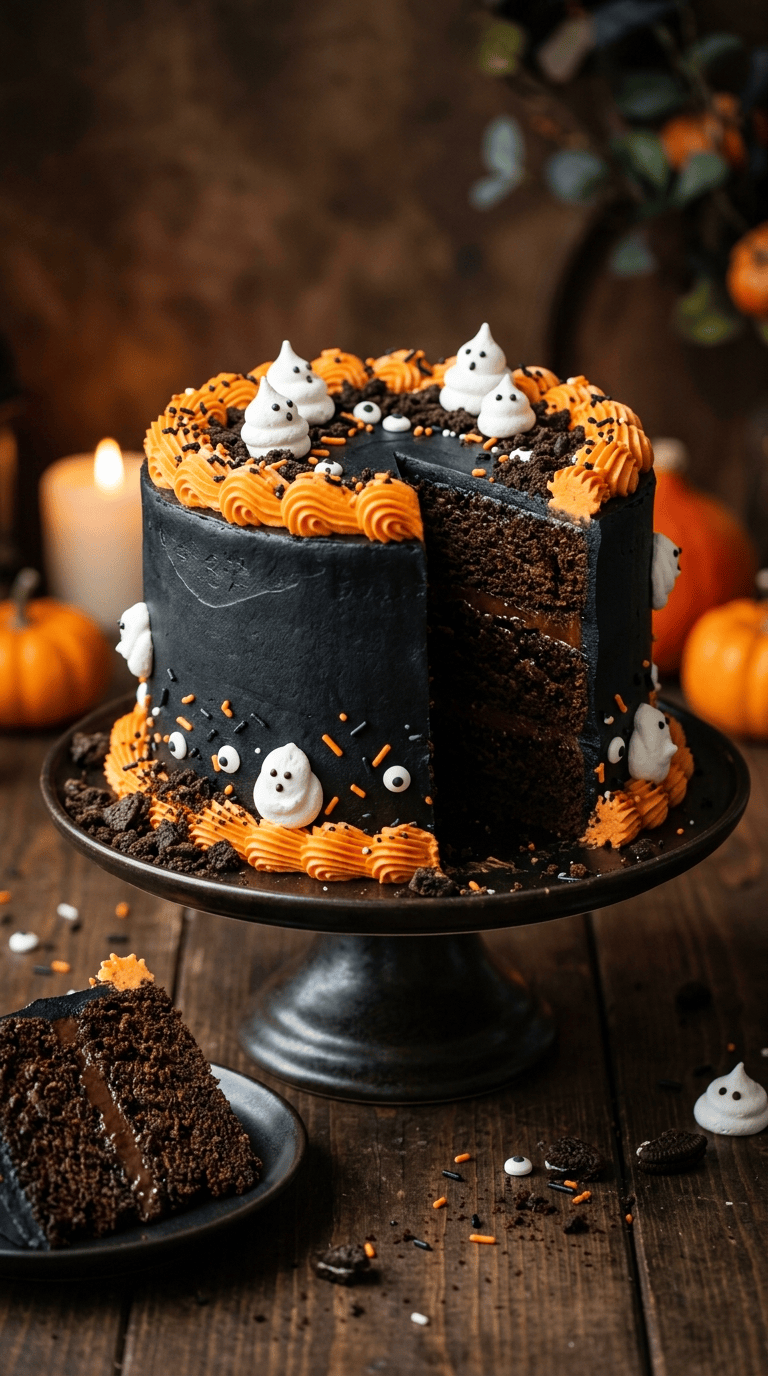
- They look impressive without requiring expert skills. Simple frosting tricks and decorations can transform an ordinary cake.
- Use your favorite cake flavor. Chocolate, vanilla, red velvet, spice cake, and funfetti all work beautifully.
- They suit different Halloween moods. Go creepy with spiders and graves or cute with ghosts, pumpkins, and candy eyes.
- Most decorations are easy to find. Cookies, candy, sprinkles, food coloring, and frosting can create a surprisingly spooky finish.
- They’re great for parties. A decorated Halloween cake instantly becomes the centerpiece of the dessert table.
- You can prepare parts ahead. Bake the cake layers early, then decorate closer to the celebration.
Ingredients for a Simple Halloween Cake
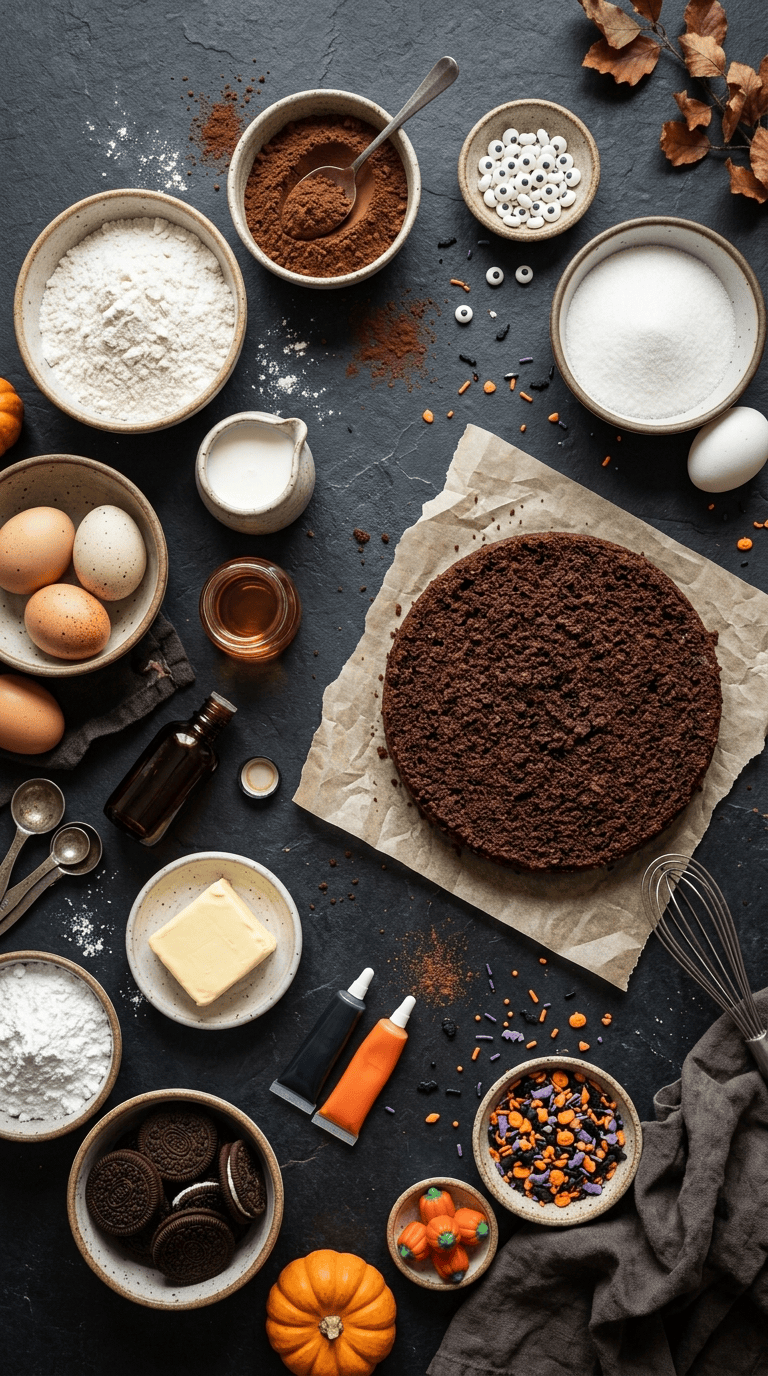
You can use almost any favorite cake recipe as the base. For a dependable chocolate Halloween cake, I like using a moist chocolate layer cake because the dark color naturally fits the theme.
For the Chocolate Cake
- 2 cups all-purpose flour
- 2 cups granulated sugar
- ¾ cup unsweetened cocoa powder
- 2 teaspoons baking powder
- 1½ teaspoons baking soda
- 1 teaspoon salt
- 2 large eggs
- 1 cup buttermilk
- ½ cup vegetable oil
- 2 teaspoons vanilla extract
- 1 cup hot coffee or hot water
If you don’t have buttermilk, mix 1 cup milk with 1 tablespoon lemon juice or white vinegar. Let it sit for about 5 minutes before using.
For the Creamy Frosting
- 1 cup unsalted butter, softened
- 4 cups powdered sugar
- 2 teaspoons vanilla extract
- 2–4 tablespoons heavy cream or milk
- ¼ teaspoon salt
- Black gel food coloring
- Orange gel food coloring
Gel coloring works better than liquid coloring when you want deep Halloween shades without making the frosting too loose.
Easy Halloween Decorations
- Candy eyeballs
- Chocolate sandwich cookies
- Halloween sprinkles
- Black and orange sprinkles
- Mini chocolate chips
- Gummy worms
- Chocolate cookies for crumbs
- Candy pumpkins
- Black licorice pieces
- Melted chocolate
- White decorating icing
- Orange and black candies
You certainly don’t need every decoration on this list. Pick two or three and let them do the decorating work.
Step-by-Step Instructions
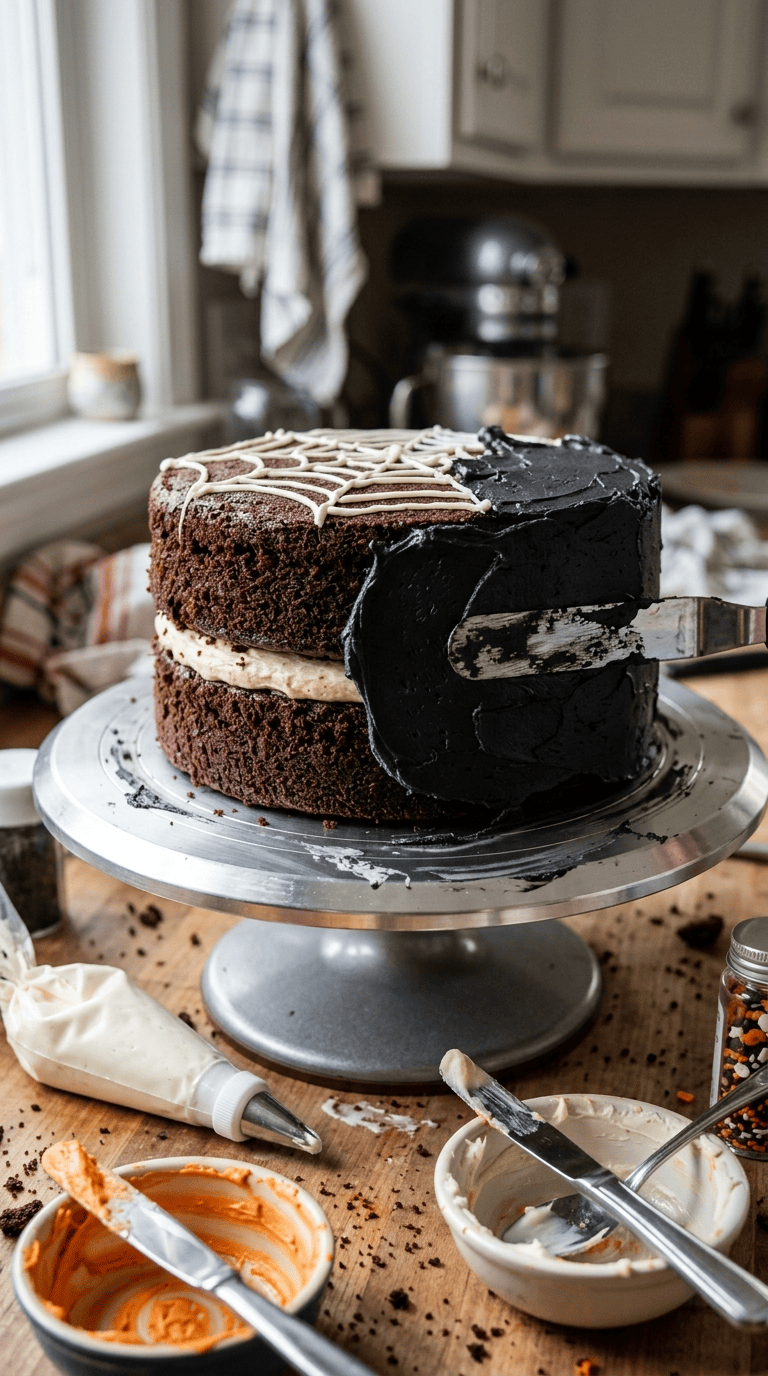
1. Prepare the Cake Pans — 10 Minutes
Heat your oven to 350°F (175°C).
Grease two 9-inch round cake pans and line the bottoms with parchment paper. I never skip the parchment anymore. I learned that lesson after one cake decided to stay firmly attached to the bottom of the pan.
Dust the sides lightly with flour or cocoa powder.
2. Mix the Dry Ingredients — 5 Minutes
Add the flour, sugar, cocoa powder, baking powder, baking soda, and salt to a large mixing bowl.
Whisk everything together until the cocoa looks evenly distributed.
This small step prevents pockets of baking soda or cocoa from hiding in the finished cake.
3. Add the Wet Ingredients — 5 Minutes
Add the eggs, buttermilk, vegetable oil, and vanilla.
Mix with a hand mixer or stand mixer on medium speed for about 2 minutes.
The batter will look smooth and fairly thin. Don’t panic. That loose batter helps create a moist chocolate cake.
4. Add the Hot Coffee — 2 Minutes
Slowly pour in the hot coffee while mixing on low speed.
The batter will become even thinner. That’s exactly what you want.
If you don’t drink coffee, you can use hot water instead. Coffee simply deepens the chocolate flavor without making the cake taste like coffee.
5. Bake the Cakes — 28–33 Minutes
Divide the batter evenly between the prepared pans.
Bake for about 28 to 33 minutes, or until a toothpick inserted into the center comes out with a few moist crumbs.
Avoid overbaking. A Halloween cake can have the fanciest decorations in the world, but nobody wants a dry slice underneath them.
Let the cakes cool in their pans for about 10 minutes, then turn them onto a cooling rack.
Cool completely before frosting.
6. Make the Frosting — 10 Minutes
Beat the softened butter until creamy and pale.
Gradually add the powdered sugar, mixing on low speed at first so your kitchen doesn’t look like it experienced a powdered-sugar snowstorm.
Add vanilla, salt, and enough cream or milk to reach a smooth spreading consistency.
Divide the frosting into bowls and tint it black, orange, or leave some white for ghost decorations.
For the deepest black frosting, add the black gel coloring gradually and let the frosting rest for 20–30 minutes. The color often becomes darker as it sits.
7. Build the Cake — 10 Minutes
Place one cake layer on a cake stand or serving plate.
Spread a layer of frosting over the top.
Place the second cake layer on top and gently press it into position.
Cover the entire cake with a thin crumb coat. This first layer traps loose crumbs and gives you a cleaner final finish.
Chill the cake for about 20 minutes.
Then add the final layer of frosting.
8. Turn It Into a Halloween Cake — 15–25 Minutes
Now comes the fun part.
You can create several different looks from the same cake.
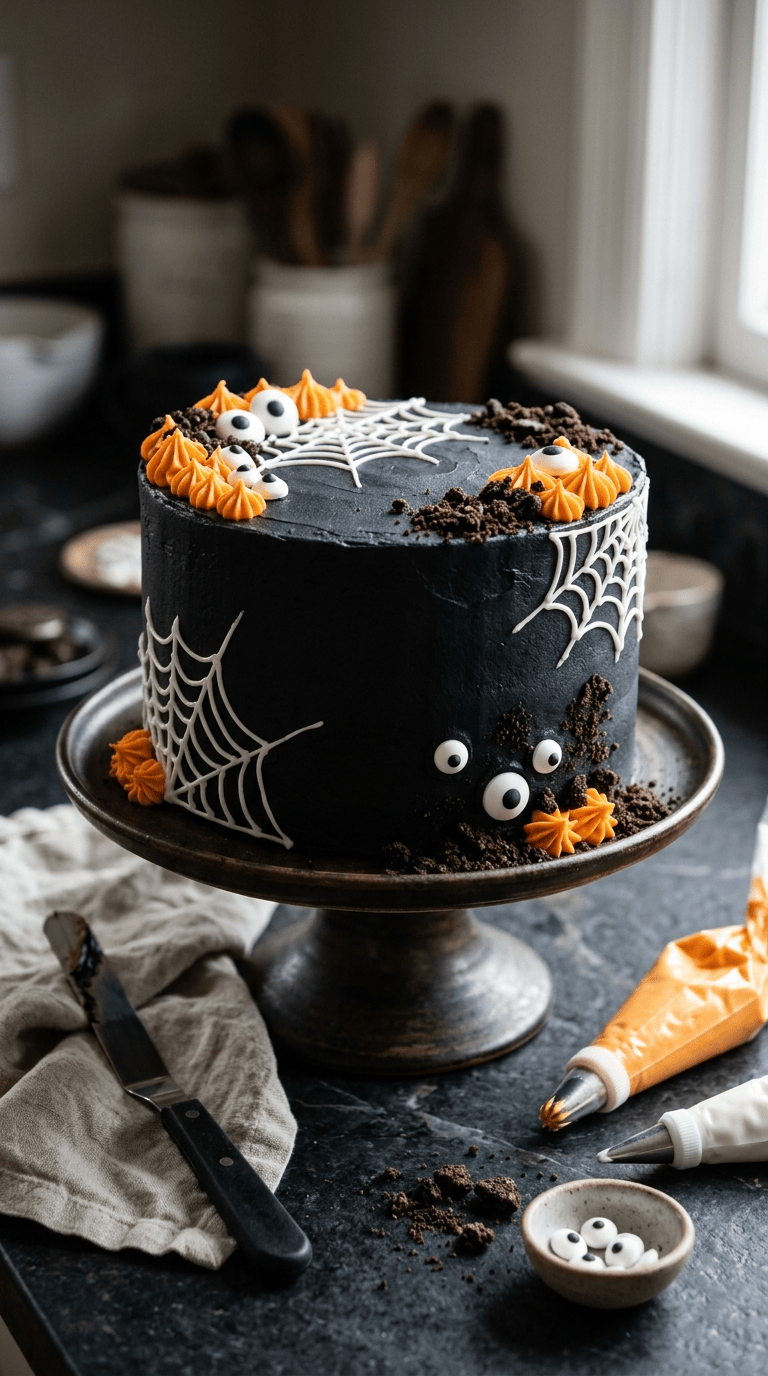
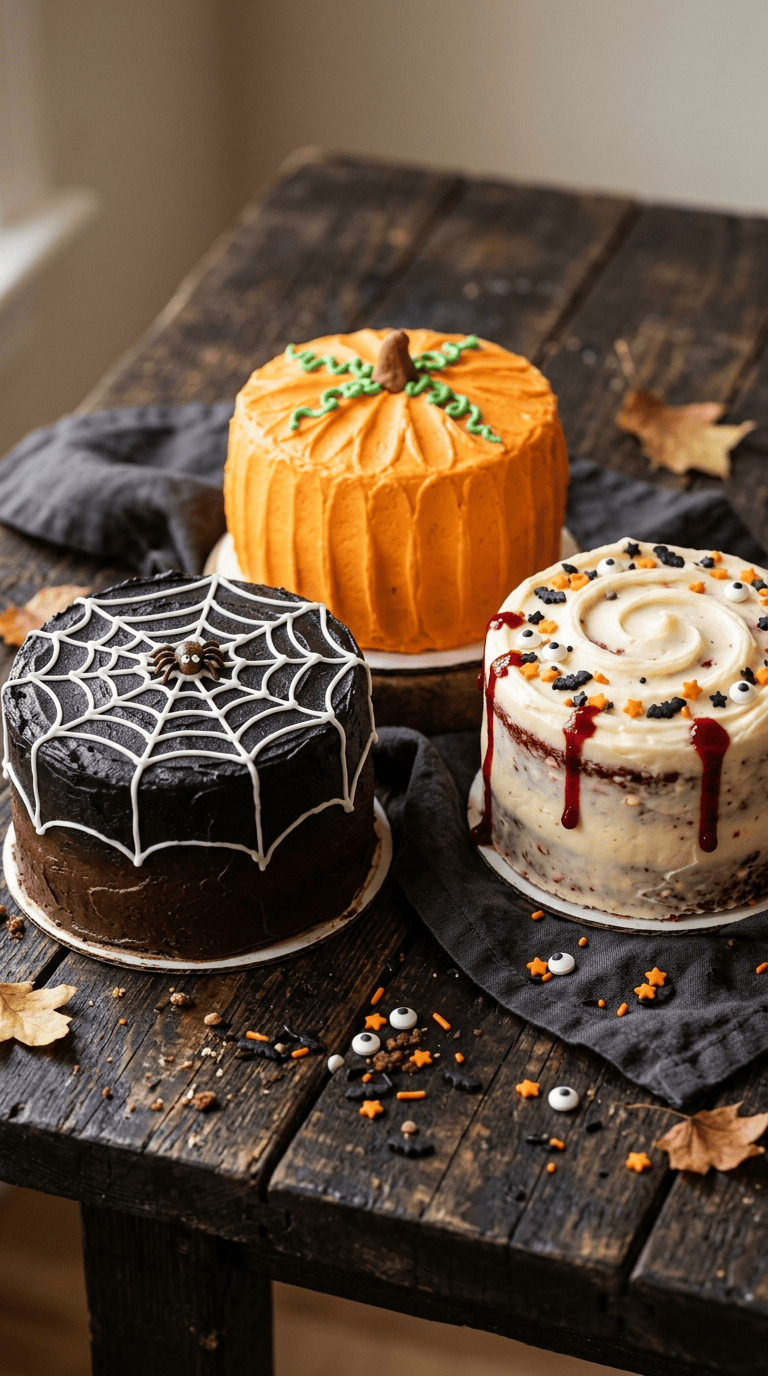
For a spiderweb cake, cover the cake with black frosting. Pipe several thin circles of white frosting across the top, then drag a toothpick from the center toward the edge at regular intervals.
For a graveyard cake, cover the top with crushed chocolate cookies. Add rectangular cookies as gravestones and pipe little RIP letters on them.
For a ghost cake, spread white frosting over the cake and pipe small ghost shapes around the top. Add candy eyes.
For a monster cake, cover the cake in bright green frosting and add candy eyes in different sizes.
For a pumpkin cake, use orange frosting and pipe curved vertical lines across the cake. Add a small green frosting stem.
You can even combine techniques. I particularly like a black-and-orange cake with white ghost decorations because it looks festive without requiring complicated piping.
Pro Tips & Tricks for Better Halloween Cakes
Keep the Decoration Simple
You can easily go overboard with Halloween decorations. I’ve done it. The cake starts with a few sprinkles, then suddenly there are cookies, worms, candy, frosting shapes, eyes, and enough decorations to stock a candy shop.
Choose one main design and two supporting decorations.
Use Gel Food Coloring
Deep Halloween colors can take a surprising amount of coloring.
Gel food coloring gives you stronger color without adding too much liquid to your frosting.
For black frosting, start with a dark chocolate or cocoa-based frosting when possible. You’ll need less black coloring to reach a rich shade.
Chill Between Frosting Steps
If your cake layers slide around while decorating, put the cake in the refrigerator for 15–20 minutes.
A chilled crumb coat makes the final decorating stage much easier.
Don’t Frost a Warm Cake
This sounds obvious, but it’s one of those mistakes that happens when you’re excited to decorate.
Warm cake melts frosting. Let the layers cool completely before you start.
Make the Cake Ahead
You can bake the cake layers one or two days before Halloween.
Wrap each completely cooled layer tightly in plastic wrap and keep it at room temperature for a day or refrigerate it for longer storage.
You can also prepare the frosting a day ahead and refrigerate it in an airtight container. Let it soften slightly and beat it again before decorating.
Variations & Substitutions
Easy Vanilla Halloween Cake
Not everyone wants chocolate, and vanilla gives you a beautiful blank canvas.
Use a classic vanilla cake and decorate it with orange buttercream, black frosting, white ghosts, and colorful sprinkles.
The lighter cake also makes colorful Halloween decorations stand out.
Red Velvet Halloween Cake
Red velvet works especially well for a spooky celebration.
The deep red cake creates a dramatic contrast against white or black frosting. Add chocolate cookie crumbs and white frosting spiderwebs for a creepy finish.
Funfetti Halloween Cake
For kids, I love funfetti cake.
Add Halloween-colored sprinkles to the batter before baking, then cover the cake with vanilla frosting and candy eyes. The result looks playful rather than scary.
Gluten-Free Option
Use a reliable gluten-free all-purpose flour blend designed for baking.
Choose a blend that already contains a binder such as xanthan gum unless the package instructions tell you to add it separately.
Dairy-Free Option
Use your preferred dairy-free butter and plant-based milk.
For the cake, replace buttermilk with an unsweetened plant-based milk mixed with a little lemon juice or vinegar.
Always check the labels of candies and decorations if you need to avoid specific ingredients.
Serving Suggestions

Halloween cake deserves a little drama when you serve it.
Place the cake on a dark cake stand or a simple white platter so the decorations stand out.
For a Halloween dessert table, surround the cake with bowls of candy, cookies, popcorn, or small chocolate treats. You don’t need to create an elaborate display. A few orange and black napkins can pull everything together.
For drinks, serve the cake with coffee, hot chocolate, apple cider, or cold milk.
If you’re serving children, cut smaller slices. Halloween parties usually come with plenty of other sweets, and a smaller piece lets everyone sample the cake without feeling overwhelmed.
For an adult gathering, serve thin slices with strong coffee or espresso. The combination of rich chocolate cake and bitter coffee is one of my favorite pairings.
Related Recipes :
- Easy Halloween Treats You Can Make at Home
- Halloween Brownie Ideas That Look Scary and Delicious
- No-Bake Halloween Desserts for Busy Hosts
FAQ’s
Can I Make a Halloween Cake the Day Before?
Absolutely. In fact, I often prefer making it the day before.
Bake and cool the cake completely, then decorate it and store it covered in the refrigerator if the frosting or decorations require chilling.
Take it out about 30–60 minutes before serving so the cake can soften slightly.
How Do I Store a Decorated Halloween Cake?
Store the cake covered in the refrigerator if it contains perishable frosting or fillings.
A cake carrier works well because it protects the decorations from getting bumped around.
Let refrigerated cake sit at room temperature for a short time before serving for a softer texture.
Can I Freeze Halloween Cake?
Yes. Freeze undecorated cake layers for the best results.
Wrap each cooled layer tightly in plastic wrap, then place it inside a freezer-safe bag or container. Freeze for up to about 2–3 months for the best quality.
Thaw the layers in the refrigerator before decorating.
Why Did My Black Frosting Turn Gray?
Black frosting often starts gray and becomes darker as it rests.
Give it 20–30 minutes after adding the gel coloring. If it still looks too light, add more coloring gradually.
Starting with chocolate frosting also helps you achieve a deeper shade.
How Can I Keep Candy Decorations From Falling Off?
Add decorations while the frosting is still slightly soft.
For heavier pieces, use a small dab of frosting or melted chocolate as edible glue.
Avoid placing very heavy decorations on the edges of the cake where they can slide downward.
Can I Make the Cake Without a Stand Mixer?
Yes.
A hand mixer works perfectly well for the cake and frosting. You can even mix the cake batter by hand with a sturdy whisk, although a mixer makes the frosting much easier to prepare.
Final Thoughts
The best Halloween cakes don’t have to look like they came from a professional bakery.
Sometimes the cake with slightly crooked ghosts, uneven spiderwebs, and way too many candy eyes gets the biggest smiles. That’s part of the charm.
Pick a cake flavor your family already loves, choose one spooky theme, and have fun with the decorations. If your spiderweb isn’t perfectly symmetrical, nobody at the Halloween table is going to complain. They’ll probably be too busy reaching for another slice.
And if you end up with frosting on your hands, candy on the kitchen counter, and a few decorations that mysteriously disappear before the cake reaches the table, I’d say you’re doing Halloween baking exactly right.
Leave a Reply
You must be logged in to post a comment.