

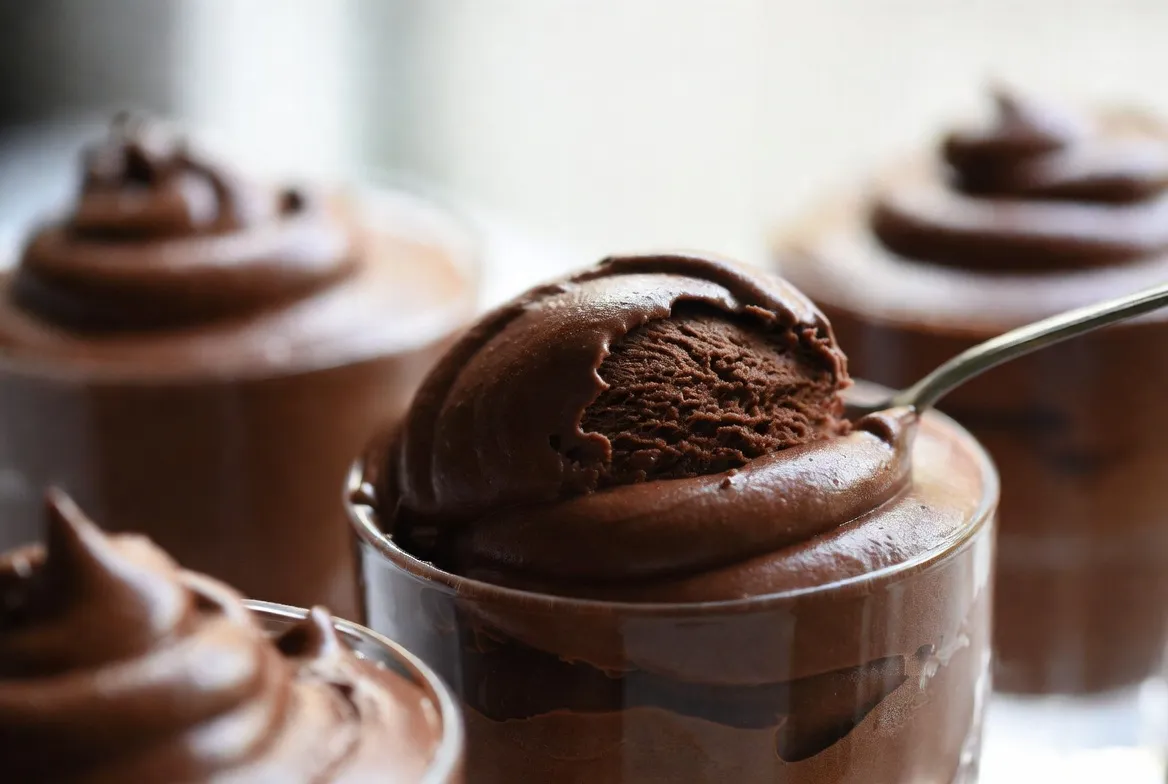
I still remember the first time I made this. It was one of those weeknights when the kids were finally in bed, the kitchen was a mess from dinner, and all I wanted was something chocolatey that didn’t involve turning on the oven or dirtying every bowl I own. I opened the fridge, saw a half-used bar of dark chocolate and a carton of cream, and thought, “How hard can it be?” Twenty minutes later I was standing at the counter with a spoon, eyes closed, making little happy noises that would’ve embarrassed me if anyone had walked in.
That first spoonful stopped me cold. It was silky, intensely chocolatey, and somehow lighter than air at the same time. It melted the second it hit my tongue. I’ve made this easy 3-ingredient chocolate mousse more times than I can count since then — for last-minute guests, for date nights at home, and more than once just for me after a long day. Every single time it delivers that same “wait, this is only three ingredients?” moment.
Why You’ll Love This Recipe

- It’s genuinely three ingredients. No weird specialty items, no gelatin, no egg whites to whip separately.
- From start to fridge is under 20 minutes of actual work.
- It tastes like something you’d order at a fancy restaurant but costs almost nothing.
- You can make it ahead, and it actually gets better after a few hours.
- It’s naturally gluten-free and ridiculously easy to scale up or down.
Ingredients List

Here’s everything you need for four generous servings (or six smaller ones if you’re being polite):
- 200 g (about 7 oz) good-quality dark chocolate (70% cocoa works perfectly — I use whatever bar is on sale that week)
- 400 ml (1⅔ cups) cold heavy whipping cream
- 2–3 tablespoons powdered sugar (optional but recommended if your chocolate is very bitter)
That’s it. Really.
A quick note on the chocolate: the better the bar, the better the mousse. I’ve used cheap baking chocolate in a pinch, and it’s still good, but when I splurge on a decent 70% bar the flavor deepens, and the texture gets even silkier. If you only have milk chocolate, reduce the sugar or skip it entirely.
You can swap the powdered sugar for a tablespoon of honey or maple syrup if that’s what you have, but powdered sugar dissolves more cleanly.
Step-by-Step Instructions

- Break the chocolate into small pieces and put them in a heatproof bowl. Set the bowl over a small pot of barely simmering water (the bowl shouldn’t touch the water). Stir every now and then until the chocolate is completely melted and smooth. This takes about 5–7 minutes. Pull the bowl off the heat and let the chocolate cool for 5 minutes so it’s still warm but not hot.
- While the chocolate cools, pour the cold heavy cream into a large mixing bowl. Add the powdered sugar if you’re using it. Whip with a hand mixer (or a stand mixer with the whisk attachment) on medium-high until soft peaks form. You’re looking for the cream to hold its shape when you lift the beaters but still look a little soft and billowy — about 2–3 minutes. Don’t go all the way to stiff peaks or the mousse will feel heavy.
- Scoop about a third of the whipped cream into the melted chocolate and fold it in gently with a rubber spatula. This lightens the chocolate so it mixes more easily. Once that first third is mostly combined, add the rest of the cream and fold until no white streaks remain. The mixture will look glossy and airy. Stop as soon as everything is combined — overmixing knocks out the air.
- Spoon the mousse into four small glasses, ramekins, or even teacups. Smooth the tops with the back of a spoon if you want them pretty, or leave them rustic. Cover loosely with plastic wrap and refrigerate for at least 2 hours (overnight is even better).
When you dig in, the spoon should slide through like it’s cutting soft butter. That’s how you know you nailed it.
Pro Tips & Tricks
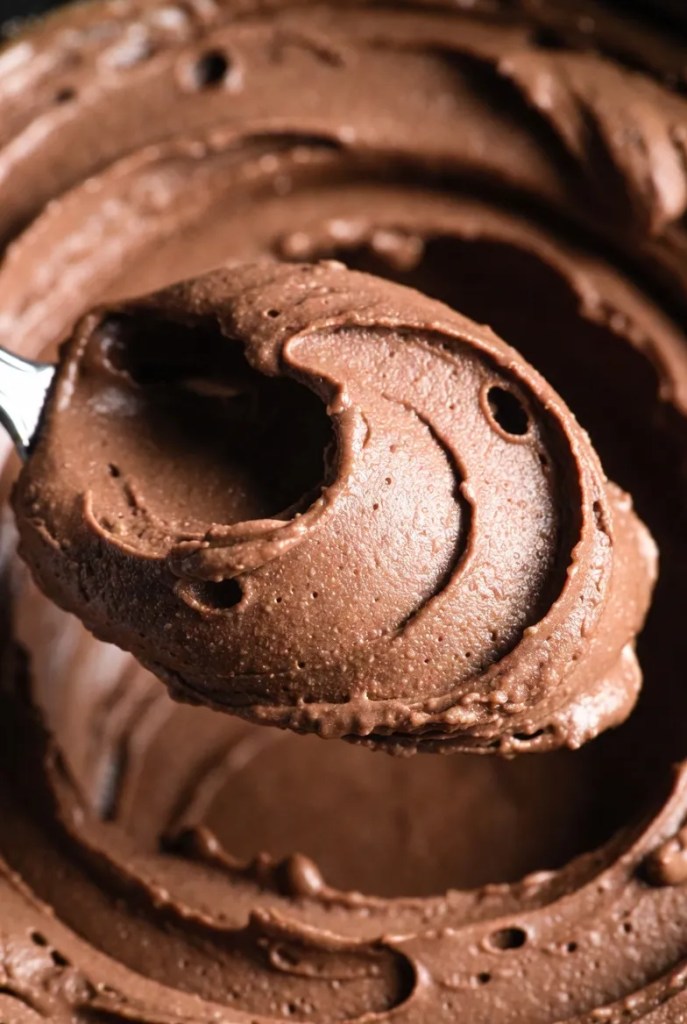
The biggest mistake I see people make is whipping the cream too stiff. Soft peaks are your friend. If the cream is already stiff before you fold it into the chocolate, the mousse ends up dense instead of cloud-like.
If your kitchen is warm, chill the mixing bowl and beaters in the freezer for 10 minutes before whipping the cream. It makes a noticeable difference in how quickly the cream comes together and how stable it stays.
This mousse keeps beautifully in the fridge for up to 3 days. I usually make it the night before when I know I’ll have company. Just cover the glasses tightly so they don’t pick up fridge smells.
Want to make it ahead for a dinner party? You can whip the cream and melt the chocolate up to a day in advance, store them separately in the fridge, then fold them together a couple of hours before serving. The texture is still perfect.
One accidental discovery: if you leave a little chocolate residue in the bowl after melting and then scrape the last bits of mousse into it, you get these gorgeous dark swirls on the bottom of each serving. Guests always think I planned it.
Variations & Substitutions

For a mocha version, stir a teaspoon of instant espresso powder into the melted chocolate before folding. It deepens the chocolate flavor without tasting like coffee.
If you want it dairy-free, use full-fat coconut cream (the solid part from a can of coconut milk that has been refrigerated overnight) instead of heavy cream. Whip it the same way. The texture is slightly less airy but still delicious, and the coconut flavor pairs surprisingly well with dark chocolate.
For a lighter version, replace half the cream with Greek yogurt. Fold the yogurt into the melted chocolate first, then fold in the whipped cream. It’s tangier and a bit denser, but still melts nicely.
I’ve also added a pinch of flaky sea salt on top right before serving. That little salty crunch against the sweet chocolate is addictive.
Serving Suggestions

This mousse is perfect on its own in a pretty glass, but I love adding a few fresh raspberries or a single strawberry on top for color. A dusting of cocoa powder or a few chocolate shavings makes it look restaurant-ready with almost no effort.
It pairs beautifully with a simple shortbread cookie or a handful of toasted hazelnuts on the side. For a dinner party, I often serve it after something rich like steak or pasta — the lightness of the mousse is a welcome contrast.
It’s also wonderful as a midnight snack straight from the fridge when no one is watching. Just saying.
FAQ’s
Can I freeze this chocolate mousse?
Yes, but the texture changes a little. Freeze it in airtight containers for up to a month. Thaw overnight in the fridge. It will be slightly denser but still very good.
Why is my mousse grainy?
Usually the chocolate seized because it got a little water in it while melting, or it was still too hot when you added the cream. Make sure the chocolate is smooth and only warm before folding.
Can I use milk chocolate instead of dark?
Absolutely. Just skip the powdered sugar or use only one tablespoon. Milk chocolate is already sweeter.
How far ahead can I make it?
Up to three days in the fridge. The flavor actually improves after the first day.
Do I need an electric mixer?
A hand whisk works if you’re patient, but it will take longer, and your arm will complain. An electric mixer makes it effortless.
What if I don’t have powdered sugar?
You can leave it out entirely if your chocolate is sweet enough, or use a teaspoon of regular granulated sugar dissolved in a tiny splash of warm cream before whipping.
Final Thoughts
This easy 3-ingredient chocolate mousse has become my secret weapon. It’s the recipe I reach for when I want something that feels special without any of the fuss. Every time I make it I’m reminded that the best desserts don’t need a long list of ingredients or complicated techniques — just good chocolate, cold cream, and a little care.
I hope you try it soon. And when you do, dig in with a big spoon and let me know how it turned out. There’s nothing better than hearing that someone else is standing in their kitchen making the same happy noises I did that first night.
Leave a Reply
You must be logged in to post a comment.