

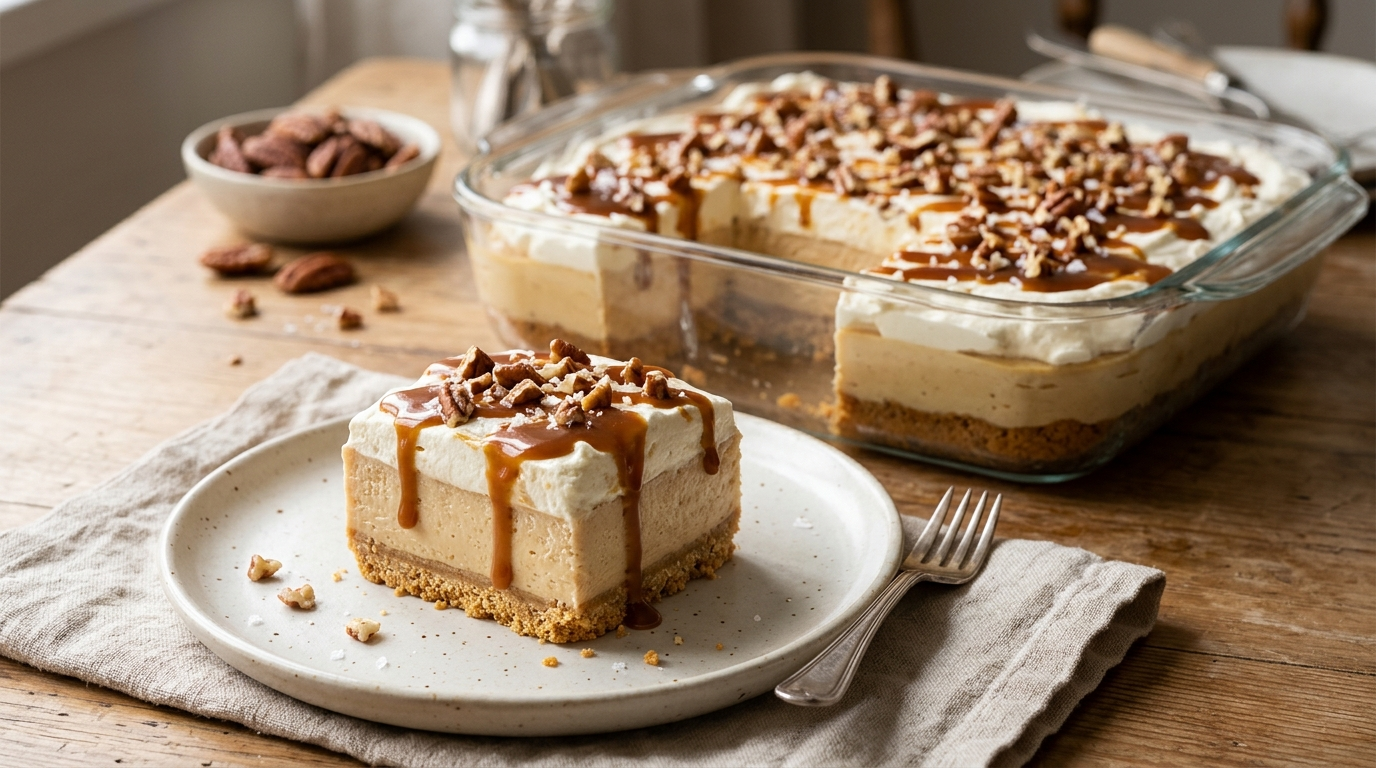
There are days when I want a proper homemade dessert, but I definitely don’t want to spend half the evening in the kitchen. That’s exactly how this easy caramel dessert became a favorite in my house.
I first made a version of it on a rainy afternoon when I had a jar of caramel sauce sitting in the fridge and a few basic ingredients begging to be used. I layered everything together, chilled it, and honestly didn’t expect much. Then I took the first spoonful.
That creamy caramel layer, soft biscuit base, and little pinch of salt completely won me over.
What I especially love about this dessert is that it tastes like I put in far more effort than I actually did. You don’t need complicated pastry skills, and you can prepare most of it ahead of time. I’ve made it for family dinners, casual get-togethers, and those evenings when everyone suddenly wants “just a little something sweet.”
And yes, I’ve learned a few things along the way. The biggest one? Don’t rush the chilling time. I tried that once, and the layers simply didn’t have the texture I wanted. A little patience makes a surprisingly big difference.
Why You’ll Love This Easy Caramel Dessert

- It comes together easily: No complicated baking techniques or fancy equipment required.
- It tastes wonderfully indulgent: Creamy caramel and buttery biscuits make a seriously satisfying combination.
- You can make it ahead: Prepare it several hours before serving and let the refrigerator do the work.
- It feeds a crowd: A single dish gives you plenty of portions for family dinners or small gatherings.
- You can customize it: Add chocolate, nuts, banana, or a pinch of sea salt depending on your mood.
Ingredients
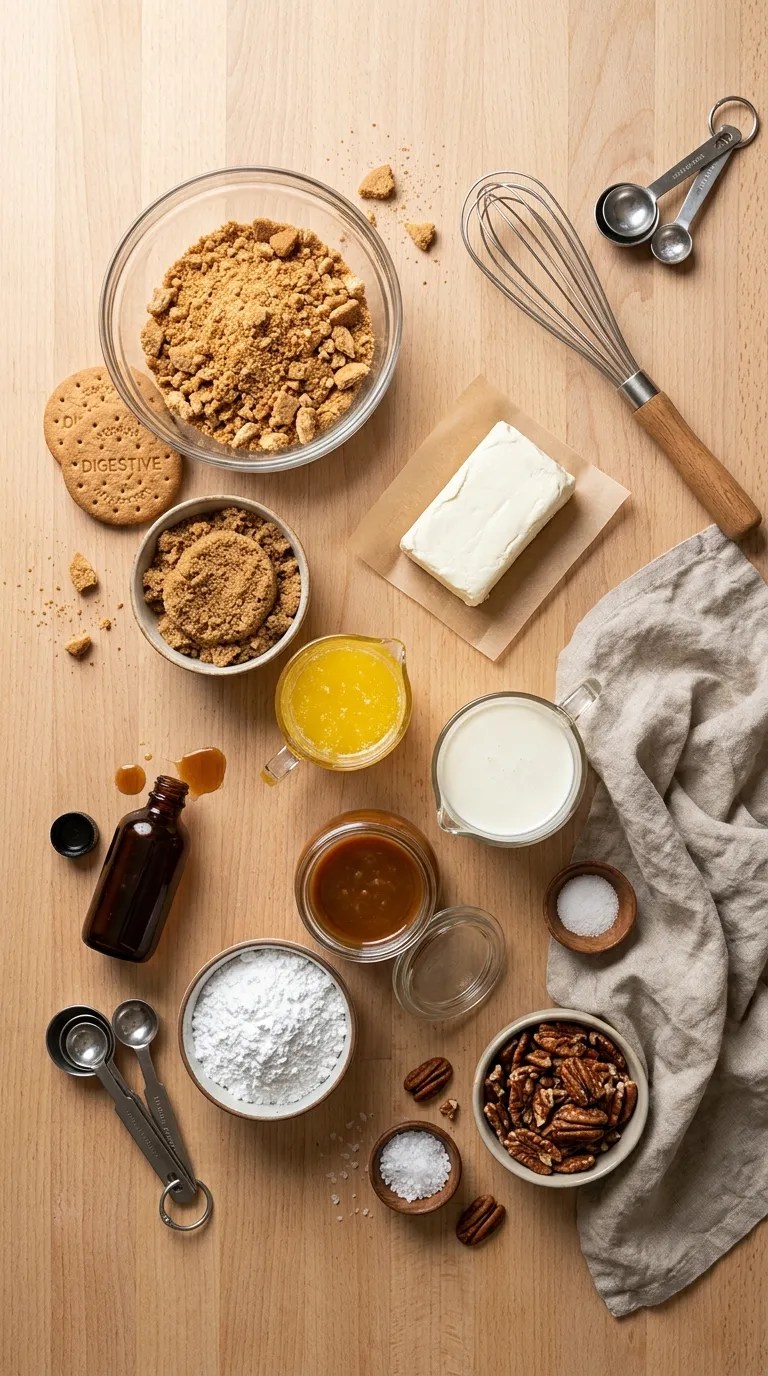
I usually make this dessert in an 8-inch square dish, although a similar-sized glass or ceramic baking dish works perfectly.
For the Biscuit Base
- 2 cups (about 200 g) digestive biscuits or graham crackers, finely crushed
- 6 tablespoons (85 g) unsalted butter, melted
- 1 tablespoon brown sugar
- 1 small pinch of salt
If you use graham crackers instead of digestive biscuits, you may want to add another tablespoon or two of crumbs if the mixture feels too soft.
For the Creamy Caramel Layer
- 1 cup (240 ml) heavy whipping cream, cold
- 8 ounces (225 g) cream cheese, softened
- ½ cup (120 g) caramel sauce, plus extra for drizzling
- ¼ cup (30 g) powdered sugar
- 1 teaspoon vanilla extract
- ¼ teaspoon fine salt
You can use homemade or store-bought caramel sauce. I often use a good-quality prepared sauce when I’m short on time.
For the Topping
- ½ cup (120 ml) heavy whipping cream, cold
- 1 tablespoon powdered sugar
- ½ teaspoon vanilla extract
- 2–3 tablespoons caramel sauce
- Flaky sea salt, optional
- Chopped pecans or walnuts, optional
- A few chocolate curls or grated chocolate, optional
Step-by-Step Instructions
1. Prepare the Biscuit Crumbs — 5 Minutes
Start by crushing the biscuits until they look like fine sand.
You can use a food processor, but you don’t need one. Put the biscuits into a sturdy zip-top bag and crush them with a rolling pin. Just make sure you break down the larger pieces because big chunks can make the base crumble when you serve it.
Mix the crumbs with the melted butter, brown sugar, and salt.
The mixture should look like damp sand. When you squeeze a handful, it should hold together rather than fall apart immediately.
2. Press the Base Into the Dish — 3 Minutes
Tip the crumb mixture into your baking dish.
Use the bottom of a glass, measuring cup, or the back of a spoon to press it firmly into an even layer. Pay extra attention to the corners because loose crumbs there can make serving messy later.
Place the dish in the refrigerator while you prepare the caramel filling.
Give it at least 15–20 minutes to firm up.
3. Make the Caramel Cream Filling — 10 Minutes
Beat the softened cream cheese with the powdered sugar, vanilla, and salt until smooth.
You can use a hand mixer or stand mixer fitted with the paddle attachment. Scrape down the sides of the bowl once or twice so you don’t leave little pockets of cream cheese behind.
Add the caramel sauce and beat again until everything looks evenly blended.
In a separate bowl, whip the cold heavy cream until it forms soft peaks. You want the cream to hold its shape but still look smooth and creamy.
Gently fold the whipped cream into the caramel mixture in two or three additions.
This is one place where I learned to slow down. If you stir aggressively, you knock too much air out of the whipped cream. Fold gently with a spatula until you no longer see streaks.
4. Add the Caramel Filling — 5 Minutes
Take the chilled biscuit base from the refrigerator.
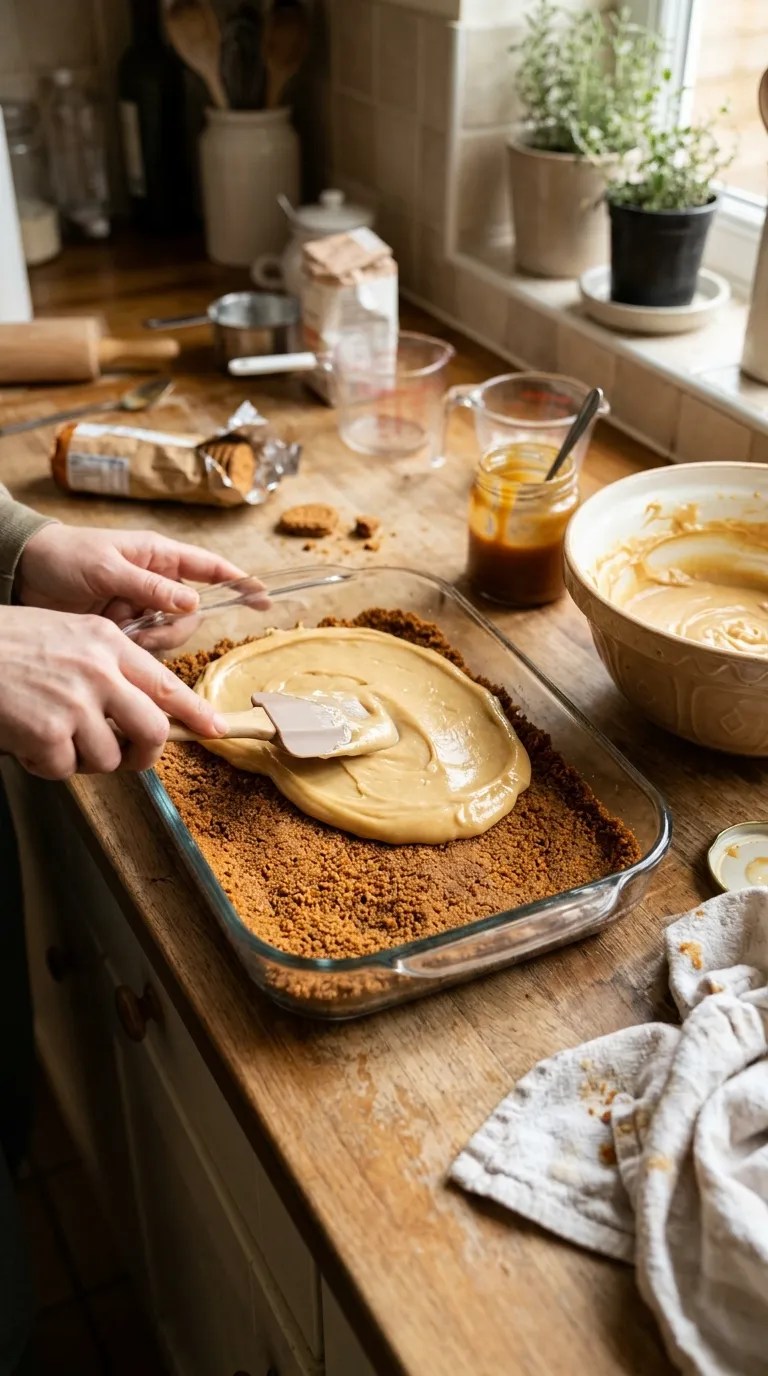
Spoon the caramel filling over the top and spread it into an even layer.
Don’t worry if it looks slightly rustic. Once you add the topping, nobody will notice a few uneven edges.
Cover the dish and refrigerate it for at least 4 hours.
For the best texture, I prefer to leave it overnight.
5. Whip the Topping — 5 Minutes
When you’re ready to finish the dessert, whip the cold heavy cream with the powdered sugar and vanilla until you get soft-to-medium peaks.
Avoid overwhipping. Once the cream starts looking grainy instead of smooth, you’ve gone a little too far.
Spread or pipe the whipped cream over the chilled caramel layer.
6. Add the Finishing Touches — 2 Minutes
Warm a few tablespoons of caramel sauce very gently if it feels too thick to drizzle.
Drizzle it over the whipped cream, then add a light sprinkle of flaky sea salt.
If you like a little crunch, scatter chopped pecans or walnuts over the top.
I also love adding a little grated chocolate when I have some around. The chocolate and caramel combination works ridiculously well.
7. Slice and Serve
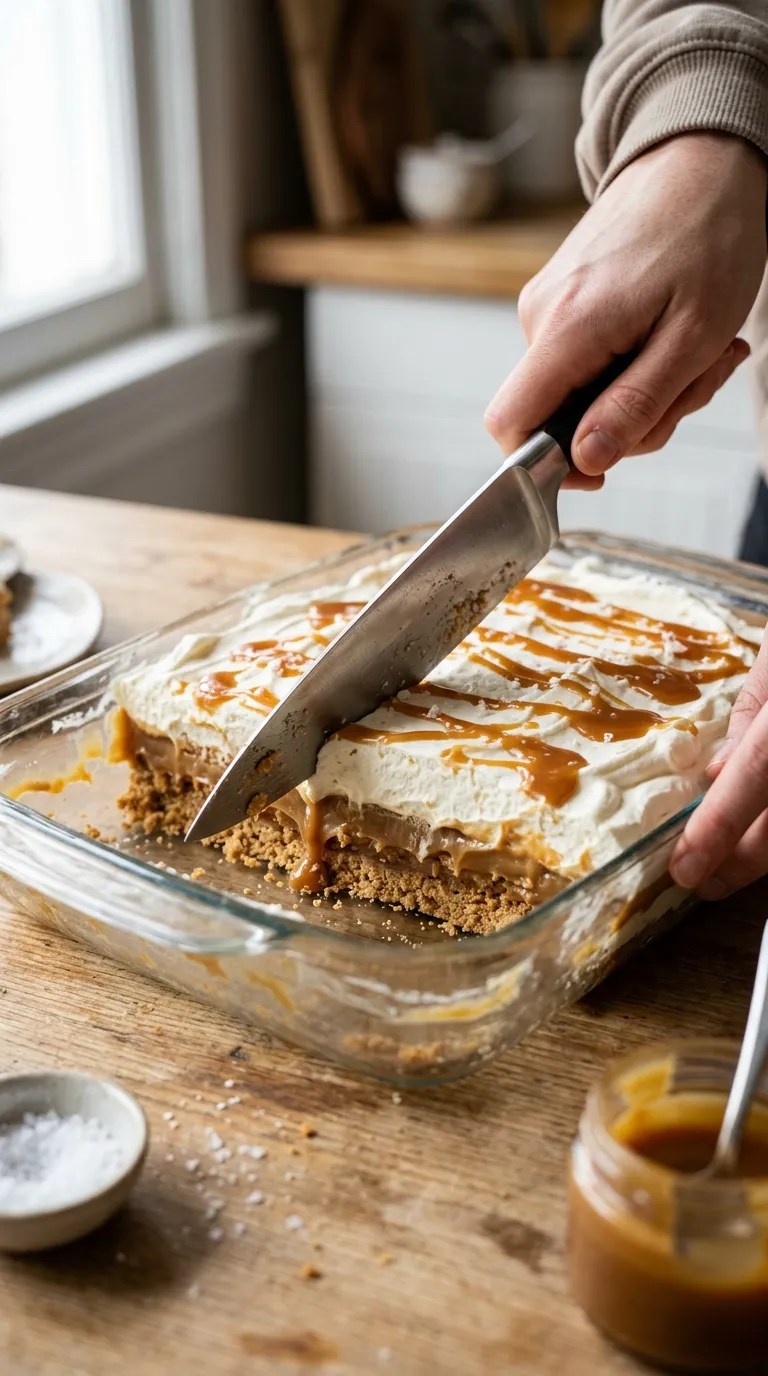
For neat slices, refrigerate the finished dessert for another 20–30 minutes before cutting.
Run a sharp knife under hot water, wipe it dry, and then slice. Clean the knife between cuts if you want especially tidy layers.
If you’re serving it casually at home, though, don’t worry about perfect squares. Grab a spoon and enjoy it straight from the dish.
Pro Tips & Tricks
Use Softened Cream Cheese
Cold cream cheese can leave small lumps in the filling.
Let it soften at room temperature for around 30–45 minutes before mixing. If you forget, cut it into small cubes so it softens more quickly.
Don’t Skip the Chill
This dessert needs time in the refrigerator so the base can firm up and the creamy layer can set.
Four hours works, but overnight gives you the easiest slices and the most settled texture.
Taste Your Caramel
Caramel sauces vary quite a bit. Some taste very sweet, while others have a deeper, slightly salty flavor.
Taste the filling before adding any extra salt. You can always add more, but you can’t easily take it back out.
Keep the Whipped Cream Cold
Cold cream whips faster and holds its texture better.
If your kitchen feels warm, chill the mixing bowl and beaters for 10–15 minutes before whipping.
Don’t Overdo the Toppings
It’s tempting to pour caramel over the entire dessert, but a generous drizzle is usually enough.
Too much sauce can make the topping slide around and can overwhelm the creamy caramel flavor underneath.
Make It the Night Before
This is one of my favorite desserts for entertaining because I can prepare it the evening before.
Keep it covered in the refrigerator, then add the whipped cream and final decorations shortly before serving.
Variations & Substitutions
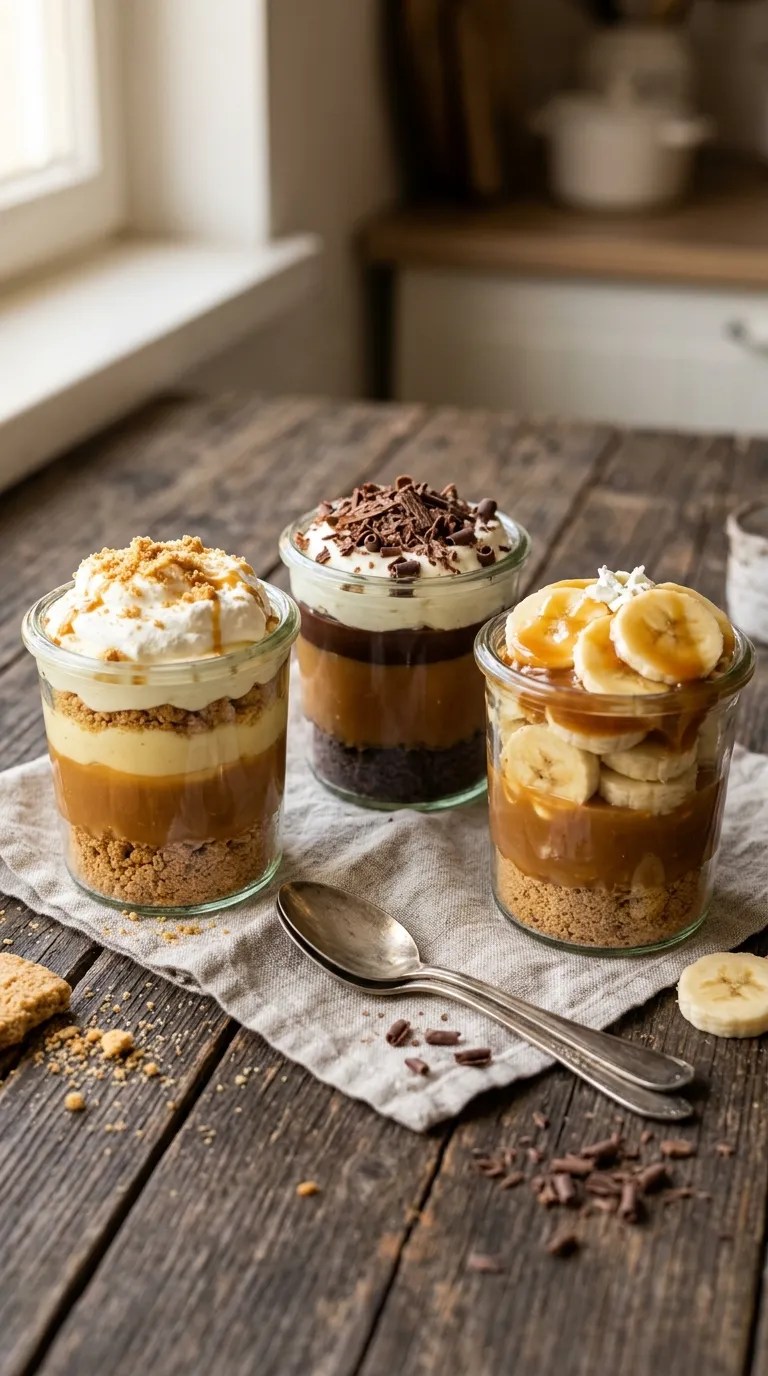
Add a Chocolate Layer
If you’re a caramel-and-chocolate person, add a thin layer of melted chocolate over the biscuit base before adding the caramel filling.
Let the chocolate set completely before spreading the caramel layer on top.
Dark, milk, or semi-sweet chocolate all work. I personally prefer semi-sweet because it balances the sweetness of the caramel nicely.
Make It Nutty
Fold a small handful of finely chopped toasted pecans into the biscuit base.
You can also sprinkle toasted pecans over the finished dessert. Toasting brings out their flavor and gives the soft dessert a lovely crunchy contrast.
If you need a nut-free dessert, simply leave them out.
Try a Banana-Caramel Version
Slice one or two firm bananas and arrange a thin layer over the biscuit base before adding the caramel cream.
The banana adds a soft fruitiness that pairs beautifully with caramel.
For the best texture, make this version on the day you plan to serve it rather than several days ahead.
Gluten-Free Option
Use certified gluten-free biscuits or cookies in place of regular digestive biscuits or graham crackers.
Check the packaging of your other ingredients if you need to avoid gluten carefully, since ingredient formulations can vary between brands.
Serving Suggestions

This easy caramel dessert fits surprisingly well into different occasions.
For a family dinner, I like serving small chilled squares after the main meal with a cup of coffee or tea.
For a weekend gathering, cut the dessert into smaller portions and add a little extra caramel drizzle just before serving.
You can also serve each piece with a few berries on the side. The slight tartness gives you a nice contrast against the sweet caramel.
For a cozy dessert night, try serving it with a scoop of vanilla ice cream. The combination of cold ice cream, creamy caramel, and the buttery biscuit base makes every bite feel extra special.
If you’re serving children, you can skip the flaky salt and nuts and keep the topping simple.
Related Recipes:
- Quick and Easy Dessert Recipes for Busy Days
- Slow Cooker Dessert Recipes for Easy Baking
- Easy Halloween Dessert Recipes for Beginners
- Classic Dirt Dessert Recipe with Chocolate Cookie
FAQ’s
Can I make this caramel dessert ahead of time?
Absolutely. In fact, I recommend it.
Prepare the biscuit base and caramel filling up to a day ahead and keep the covered dessert refrigerated. Add the whipped cream and decorative toppings a few hours before serving or just before you bring it to the table.
How long does caramel dessert last in the refrigerator?
Keep it covered and refrigerated, and enjoy it within about 3 days for the best texture and flavor.
The biscuit base will gradually soften as it sits, so I prefer it during the first couple of days.
Can I use store-bought caramel sauce?
Yes, and I often do.
A good prepared caramel sauce saves time and works perfectly here. Choose one with a flavor you enjoy because caramel makes up a large part of the dessert.
If your sauce tastes particularly sweet, use a little less in the filling and add a small pinch of salt to balance it.
Why is my biscuit base falling apart?
The most common reason is not enough butter or not enough pressure when you compact the crumbs.
The mixture should resemble damp sand and hold together when squeezed. Press it firmly into the dish, especially around the edges.
Chilling also matters. Give the base enough time to firm before adding the filling.
Can I freeze this dessert?
You can freeze the assembled caramel filling and biscuit base, but the whipped cream topping may not have the same smooth texture after thawing.
For better results, freeze the dessert without the final whipped cream topping. Cover it well and thaw it slowly in the refrigerator.
Add fresh whipped cream and caramel drizzle after it has thawed completely.
Can I make this without cream cheese?
Yes. You can make a simpler caramel cream by folding caramel sauce into whipped cream, although the finished dessert will have a softer filling.
For this version, chill the dessert thoroughly and handle it gently when serving.
Final Thought
I keep coming back to this easy caramel dessert because it gives me exactly what I want from a homemade sweet: plenty of caramel flavor without a complicated recipe.
The first time I made it, I worried that the layers might be too simple. They weren’t. The buttery biscuit base, creamy caramel center, fluffy topping, and tiny hit of salt work together beautifully.
And there’s something wonderfully forgiving about this dessert. If your drizzle isn’t perfectly neat or your whipped cream looks a little rustic, it still tastes fantastic.
So if you have a caramel craving and a few hours to let the refrigerator work its magic, give this one a try. Make it your own, add your favorite topping, and definitely sneak a spoonful before serving.
That last part might be my most reliable recipe tip of all.
Leave a Reply
You must be logged in to post a comment.