

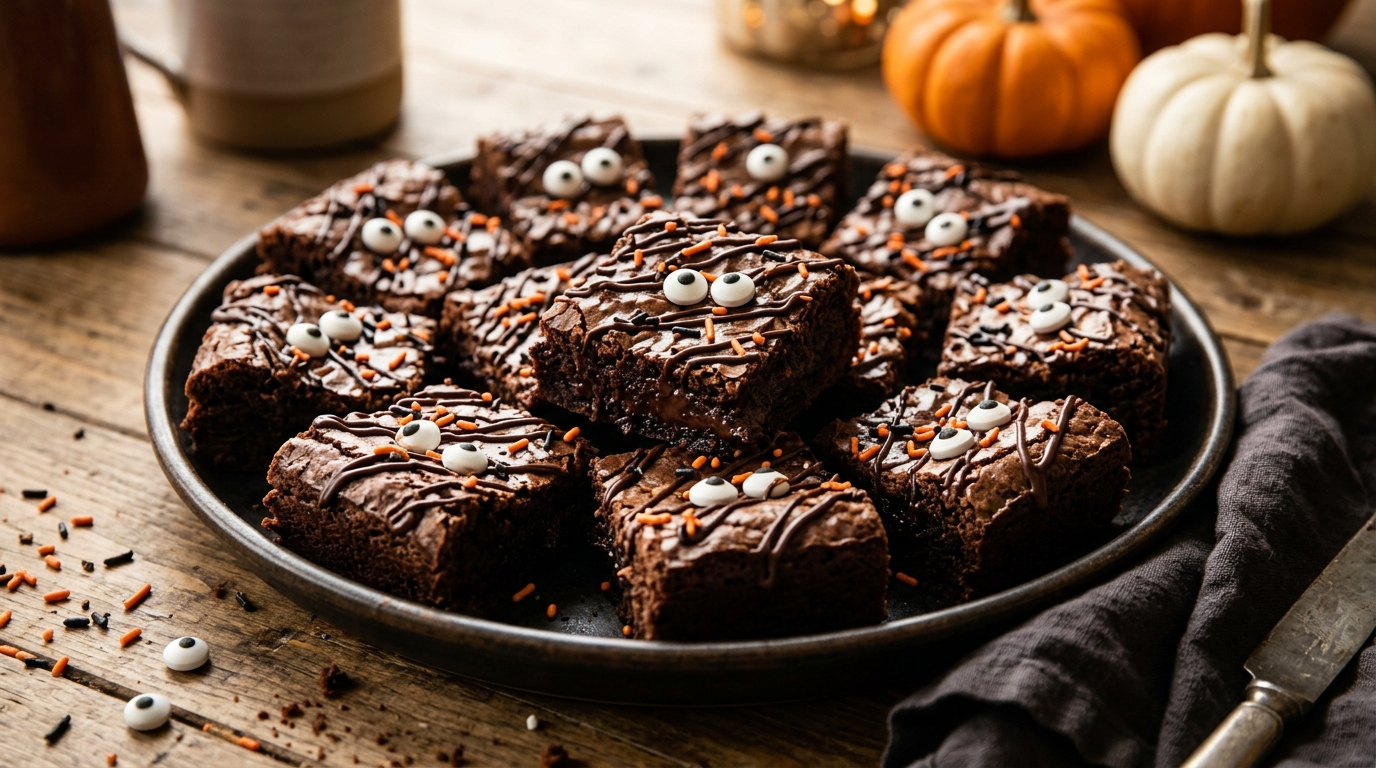
Halloween baking has always felt like one of those things that should be fun, not stressful. I learned that lesson after one particularly ambitious Halloween when I tried to make complicated decorated cookies, homemade caramel, and a fancy cake all in the same afternoon. Let’s just say the kitchen looked like a tiny candy shop had exploded.
Since then, I’ve become a huge fan of easy Halloween desserts. They let you play with chocolate, sprinkles, candy, cookies, and spooky decorations without needing professional decorating skills. You can make something adorable even if your piping bag skills stop at drawing a slightly wobbly line.
These easy Halloween dessert recipes for beginners are perfect for anyone who wants festive treats without spending the entire day in the kitchen. I’ve made plenty of simple Halloween sweets over the years, and I’ve found that the easiest recipes often disappear from the dessert table first.
The secret is simple: start with familiar ingredients, keep the decorating relaxed, and let Halloween do most of the visual work for you.
Why You’ll Love These Easy Halloween Desserts

- Beginner-friendly: You don’t need fancy baking experience or complicated techniques.
- Fun to decorate: Candy eyes, sprinkles, chocolate drizzle, and Halloween candies can transform simple desserts.
- Budget-conscious: Most recipes use everyday baking ingredients you may already have.
- Great for parties: Make several small treats instead of one complicated dessert.
- Easy to customize: Change the colors, toppings, shapes, or candy to match your Halloween theme.
I especially love recipes that let kids help. They might not create perfectly decorated treats, but they usually create the most memorable ones.
Ingredients for Easy Halloween Desserts

You can build an impressive Halloween dessert table with a surprisingly small collection of ingredients. I keep a few basics around during October so I can throw together a festive treat whenever the mood strikes.
Basic Baking Ingredients
- 2 cups all-purpose flour
- 1 cup granulated sugar
- 1/2 cup unsalted butter, softened
- 2 large eggs
- 1 teaspoon vanilla extract
- 1 teaspoon baking powder
- 1/2 teaspoon baking soda
- 1/4 teaspoon salt
- 1/2 cup milk
- 1/3 cup unsweetened cocoa powder
Easy Decorating Ingredients
- 1 cup semi-sweet chocolate chips
- 1 cup white chocolate chips
- 1 cup powdered sugar
- 1 cup Halloween sprinkles
- 1/2 cup candy eyes
- 1/2 cup mini chocolate candies
- 1/2 cup orange, purple, or black candy melts
- 1 package chocolate sandwich cookies
- 1 package mini marshmallows
Helpful Substitutions
Don’t worry if you don’t have every decorating ingredient. Regular chocolate chips can replace candy melts, and chopped chocolate bars work perfectly well for melting.
You can also use colored sugar instead of sprinkles or make simple chocolate shapes with melted chocolate.
For dairy-free desserts, use plant-based butter and a dairy-free milk alternative where the recipe allows. Always check packaged ingredients if you need to avoid a particular allergen.
Step-by-Step: Make Easy Halloween Desserts

The beauty of beginner Halloween desserts comes from keeping the basic method simple. You can turn cookies, brownies, cupcakes, marshmallows, and chocolate into festive treats with just a few easy steps.
1. Choose One Simple Base
Start with something familiar.
Brownies, sugar cookies, cupcakes, rice cereal treats, chocolate-covered cookies, and no-bake truffles all make excellent Halloween dessert bases.
If you’re completely new to baking, I recommend starting with a no-bake option. You can focus on decorating instead of worrying about whether your cake rose properly.
2. Prepare Your Baking Area
Before you start, gather your bowls, measuring cups, baking sheet, parchment paper, spatula, and decorating supplies.
I learned this the hard way. Nothing makes melted chocolate feel more stressful than realizing you forgot the parchment paper after everything is already prepared.
Line your baking trays with parchment paper or silicone baking mats. This makes cleanup much easier.
3. Mix the Basic Batter
For simple baked treats, cream the softened butter and sugar together for about 2–3 minutes until the mixture looks lighter and fluffy.
Add the eggs one at a time, then mix in the vanilla.
In another bowl, whisk together the flour, baking powder, baking soda, salt, and cocoa powder if you’re making chocolate treats.
Add the dry mixture gradually to the wet ingredients, alternating with milk. Mix just until everything comes together.
Don’t keep beating the batter after the flour disappears. Overmixing can make baked treats dense.
4. Bake Until Just Done
Preheat your oven to 350°F (175°C) unless your specific recipe calls for another temperature.
Bake cupcakes, cookies, brownies, or other treats according to their size and recipe.
Use visual cues rather than relying only on the clock.
Cookies should look set around the edges. Cupcakes should spring back lightly when touched. Brownies should look set on top while remaining slightly soft in the center.
That little bit of softness matters because desserts continue cooking from residual heat after you remove them from the oven.
5. Let Everything Cool
This step feels painfully slow when you’re excited to decorate, but don’t skip it.
Let baked desserts cool completely before adding frosting or chocolate.
Warm cupcakes can melt frosting. Warm cookies can cause chocolate decorations to slide right off.
For cookies and brownies, I usually wait at least 30 minutes before decorating.
6. Add Chocolate or Frosting
Melt chocolate or candy melts in short intervals.
Microwave for about 20–30 seconds at a time, stirring thoroughly after each interval. Stop when the chocolate looks mostly melted and let the remaining heat finish the job.
If you prefer a smoother finish, use a double boiler over gently simmering water.
For cupcakes, spread frosting with a small offset spatula. You don’t need perfect swirls because Halloween decorations cover plenty of imperfections.
7. Turn Them Into Halloween Treats
Now comes my favorite part.
Add candy eyes to brownies. Pipe little spider webs onto cupcakes. Dip cookies into melted chocolate. Sprinkle orange and black sugar over frosting.
You can make tiny ghosts from marshmallows, use chocolate lines to create spiderwebs, or add candy eyes to almost anything.
One of my favorite beginner tricks involves using two candy eyes on an ordinary chocolate-covered cookie. Suddenly, it looks like a little monster.
No advanced decorating class required.
8. Give the Decorations Time to Set
Place decorated treats on parchment paper and let them sit at room temperature until the chocolate hardens.
If you’re in a hurry, refrigerate them for about 10–15 minutes.
Avoid stacking freshly decorated desserts because the toppings can smear.
Pro Tips & Tricks
Keep the Decorations Simple
You don’t need to recreate a professional bakery display.
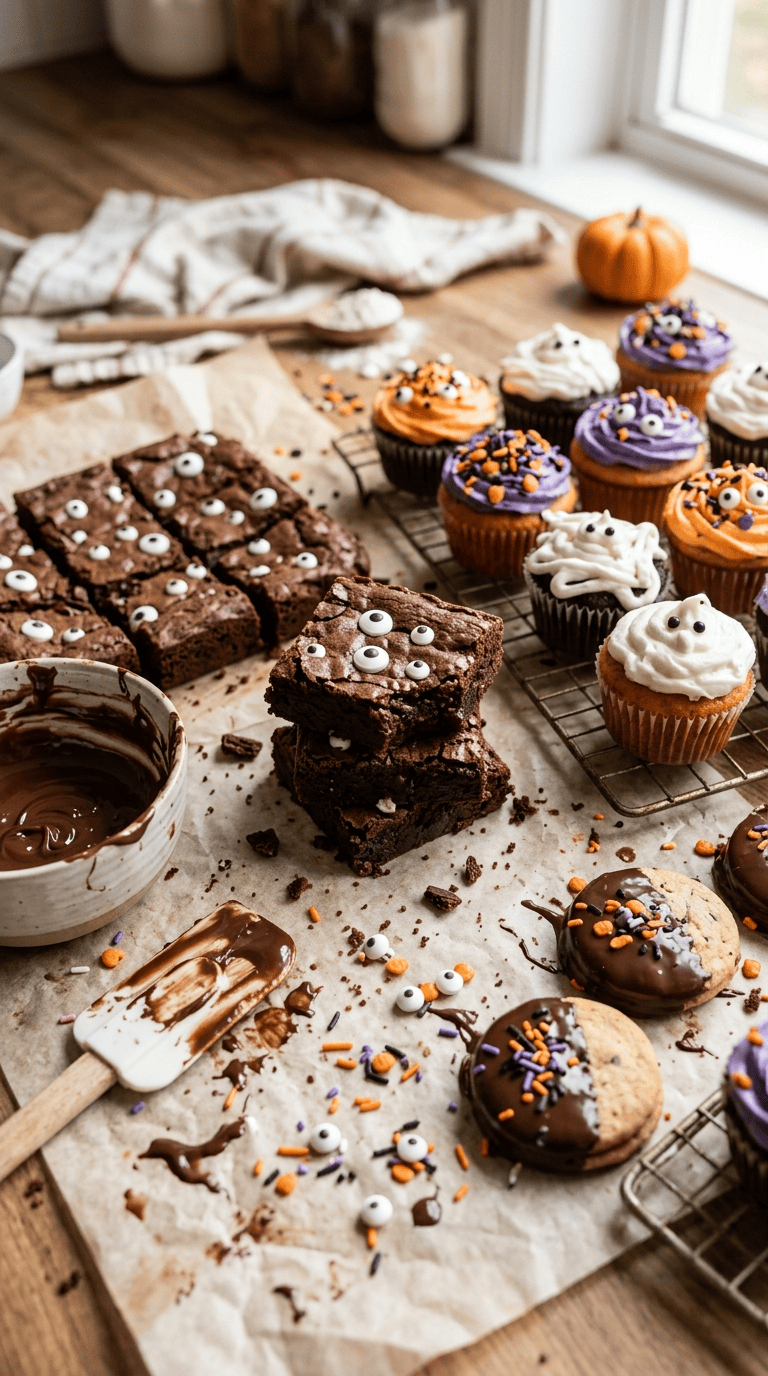
A chocolate cupcake with two candy eyes can look surprisingly cute. A brownie with orange sprinkles instantly feels festive.
Simple usually works better than complicated.
Melt Chocolate Slowly
Chocolate can burn easily, especially white chocolate.
Use short microwave intervals and stir after every interval. If the chocolate looks thick, resist the urge to blast it for another minute.
Gentle heat gives you much better control.
Cool Baked Goods Completely
This is probably the most common beginner mistake.
If you frost a warm cupcake, the frosting can slide down the sides. Let the cupcakes cool first, even if you’re tempted to rush.
I’ve definitely stood in front of a cooling rack thinking, “Surely ten minutes is enough.” It usually isn’t.
Make Decorations Ahead
You can prepare chocolate spiderwebs, chocolate shapes, and some cookie decorations a day or two ahead.
Store them in an airtight container in a cool, dry place.
This little trick makes Halloween party preparation much calmer.
Store Treats Properly
Keep cookies and brownies in airtight containers at room temperature unless their toppings or fillings require refrigeration.
Frosted desserts with cream cheese or other perishable toppings should stay refrigerated.
Place parchment paper between layers if you need to stack decorated treats.
Variations & Substitutions
Chocolate Monster Brownies
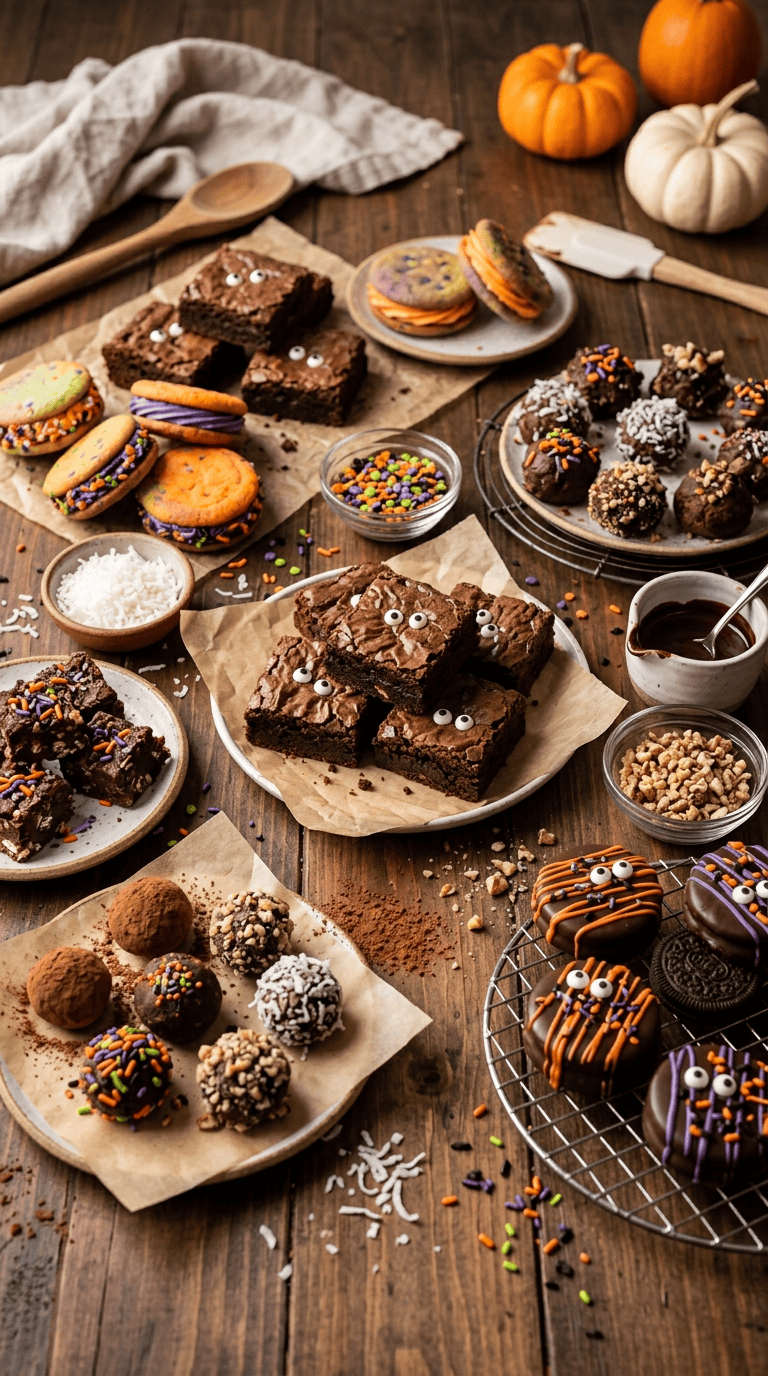
Bake your favorite brownie recipe and let it cool completely. Spread a thin layer of frosting over the top, then add candy eyes and colorful sprinkles.
For extra drama, drizzle melted white chocolate across the brownies before adding the eyes.
Halloween Cookie Sandwiches
Use two small cookies and sandwich them with buttercream, chocolate frosting, or marshmallow creme.
Roll the edges in Halloween sprinkles for an easy party-ready finish.
You can use homemade cookies or good-quality store-bought cookies when time gets tight.
No-Bake Halloween Treats
If you don’t want to turn on the oven, make chocolate-dipped cookies, cereal treats, chocolate clusters, or Oreo-style truffles.
These are especially helpful for beginners because you only need to melt, assemble, decorate, and chill.
Gluten-Free Option
For gluten-free treats, choose a trusted gluten-free flour blend for baked recipes or use naturally gluten-free options such as chocolate clusters and certain marshmallow-based treats.
Always check packaged candies and decorations because some products may contain gluten or have cross-contact warnings.
Serving Suggestions

Halloween desserts look their best when you serve several different textures and shapes together.
Try placing cupcakes on one platter, brownies on another, and smaller chocolate treats in little bowls. Use orange and black napkins or a simple Halloween tablecloth to bring everything together.
For a children’s party, make individual dessert bags or small treat boxes. Kids can grab one or two treats without digging through a giant platter.
For an adult Halloween gathering, pair rich chocolate desserts with coffee, espresso, hot chocolate, or a simple vanilla drink.
If you’re hosting a Halloween movie night, keep bite-sized desserts nearby so everyone can grab one without missing the scary part.
And if you’re bringing dessert to a party, choose treats that travel well. Brownies, cookies, truffles, and chocolate-covered treats usually handle transportation better than delicate frosted cakes.
Related Recipes :Easy Halloween Desserts
- Halloween Truffles That Make Adorable Party Treats
- Cute and Creepy Halloween Baking Ideas for a Spooky Celebration
- Halloween Cupcakes That Are Easy to Decorate
FAQ’s
Can beginners really make Halloween desserts without decorating experience?
Absolutely. Start with simple decorations such as candy eyes, sprinkles, melted chocolate, and colored sugar. You can create a festive look without complicated piping techniques.
How far ahead can I make Halloween desserts?
Most cookies, brownies, and simple chocolate treats can be made 1–3 days ahead when stored properly. Keep them in airtight containers and follow any refrigeration requirements for perishable frostings or fillings.
Can I freeze Halloween desserts?
Many unfrosted cookies and brownies freeze well. Wrap them tightly and place them in a freezer-safe container. Thaw them at room temperature before decorating.
I prefer decorating after thawing because frozen decorations can become messy as the dessert warms.
Why did my melted chocolate become thick?
Chocolate can seize when it comes into contact with water or overheats. Use completely dry bowls and utensils, and melt the chocolate slowly.
White chocolate and candy melts need especially gentle handling.
Can I use store-bought cookies or cake mix?
Of course. There’s no Halloween baking rule that says everything must start from scratch.
A boxed cake mix or packaged cookies can become a fun homemade-looking dessert once you add frosting, chocolate, sprinkles, and Halloween decorations.
How should I store decorated Halloween desserts?
Store them according to their ingredients. Cookies and many brownies can stay in an airtight container at room temperature. Desserts containing cream cheese frosting, whipped cream, custard, or other perishable fillings should go into the refrigerator.
Final Thoughts
Halloween baking doesn’t need to involve complicated cakes, perfect piping, or a kitchen full of specialty equipment.
Sometimes the best treats start with a box of cookies, a handful of candy eyes, and a little melted chocolate. That’s what I love about easy Halloween dessert recipes for beginners. They leave plenty of room for creativity, mistakes, and a little mess.
If your spiderweb comes out crooked, call it spooky. If your monster has one eye slightly higher than the other, give him a personality.
The goal is to make something fun that people actually want to eat.
So grab your favorite baking supplies, put on some Halloween music, and start decorating. And if you make one of these treats, I’d love to hear what spooky creation ended up coming out of your kitchen.
Leave a Reply
You must be logged in to post a comment.