

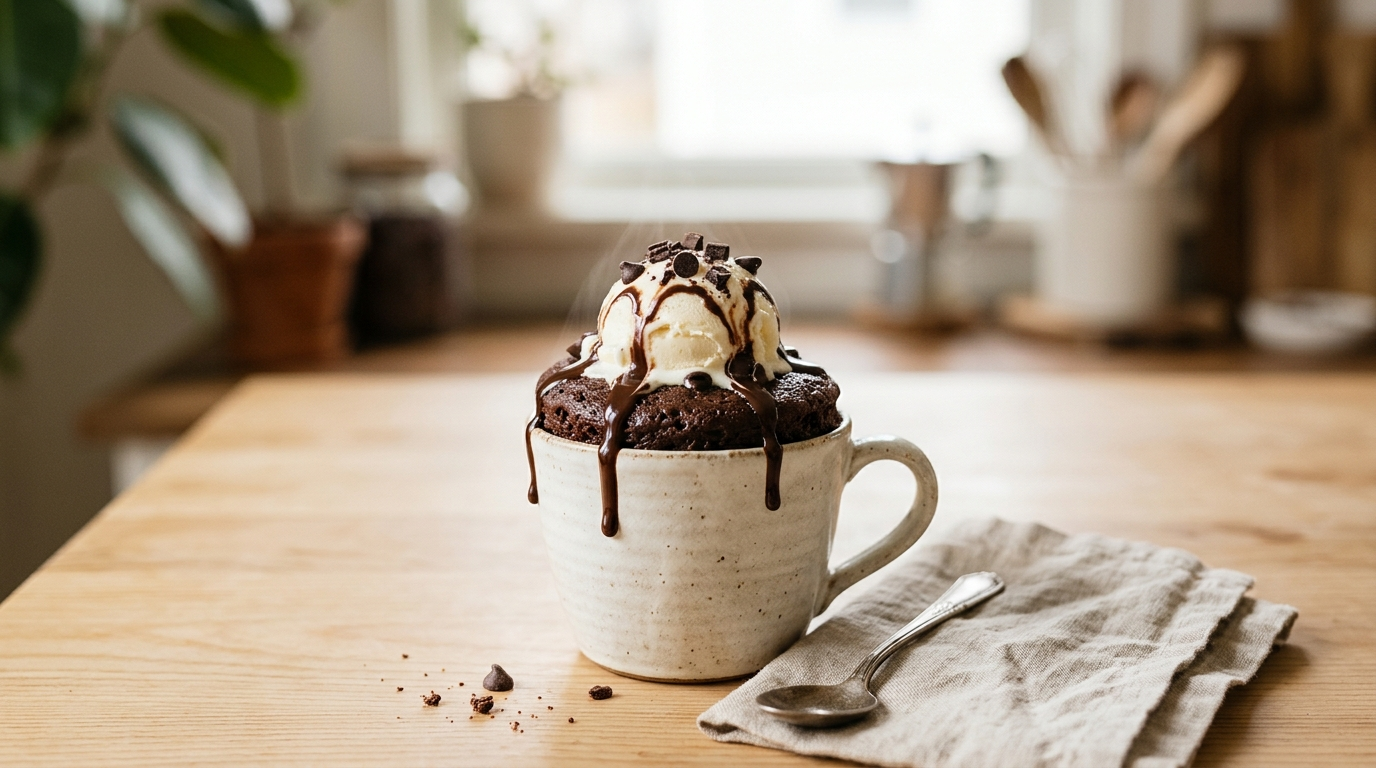
Some days, everything seems to happen at once. You finish your work, tidy the kitchen, answer a few messages, and suddenly realize that you want something sweet. Not tomorrow, not after an hour of baking, but right now.
That is exactly when a quick and easy dessert recipe comes to the rescue.
One of my favorite ideas for those moments is a warm chocolate mug cake. It brings together simple pantry ingredients, takes just a few minutes to prepare, and cooks in the microwave without filling the sink with mixing bowls. You get a soft, chocolatey cake in your favorite mug, ready to enjoy while it is still warm.
The best part? You do not need a mixer, special baking equipment, or much experience in the kitchen. A fork, a spoon, a microwave-safe mug, and a handful of everyday ingredients will do the job.
I also love how easy it is to change the flavor. Sometimes I add a few chocolate chips for a gooey center. Other times, I top the cake with a spoonful of vanilla ice cream and let it melt into the warm chocolate.
There is one small discovery that makes a big difference: taking the cake out of the microwave before it looks completely dry. The cake continues to set as it rests, and those extra seconds of patience can help you avoid a tough, rubbery texture.
If you need a homemade dessert for a busy afternoon, a quiet evening, or an unexpected sweet craving, this quick chocolate mug cake deserves a place in your recipe collection.
Why You’ll Love This Quick and Easy Dessert Recipe

- Ready in about 5–7 minutes: Mix the ingredients, microwave the cake, and let it rest briefly. The exact time depends on your microwave.
- Uses everyday ingredients: You probably have flour, sugar, cocoa powder, milk, and oil in your kitchen already.
- No oven required: Your microwave handles the cooking, which makes this recipe especially convenient on warm days or when you do not want to heat the kitchen.
- Easy to customize: Add chocolate chips, a little cinnamon, chopped nuts, or your favorite topping.
- Perfect for one or two people: Make one generous mug cake to share or enjoy it as an individual dessert.
This recipe also works well when you want something homemade without committing to a full cake. You can satisfy a chocolate craving without preparing a large batch that sits on the counter for several days.
Ingredients for a 15-Minute Chocolate Mug Cake
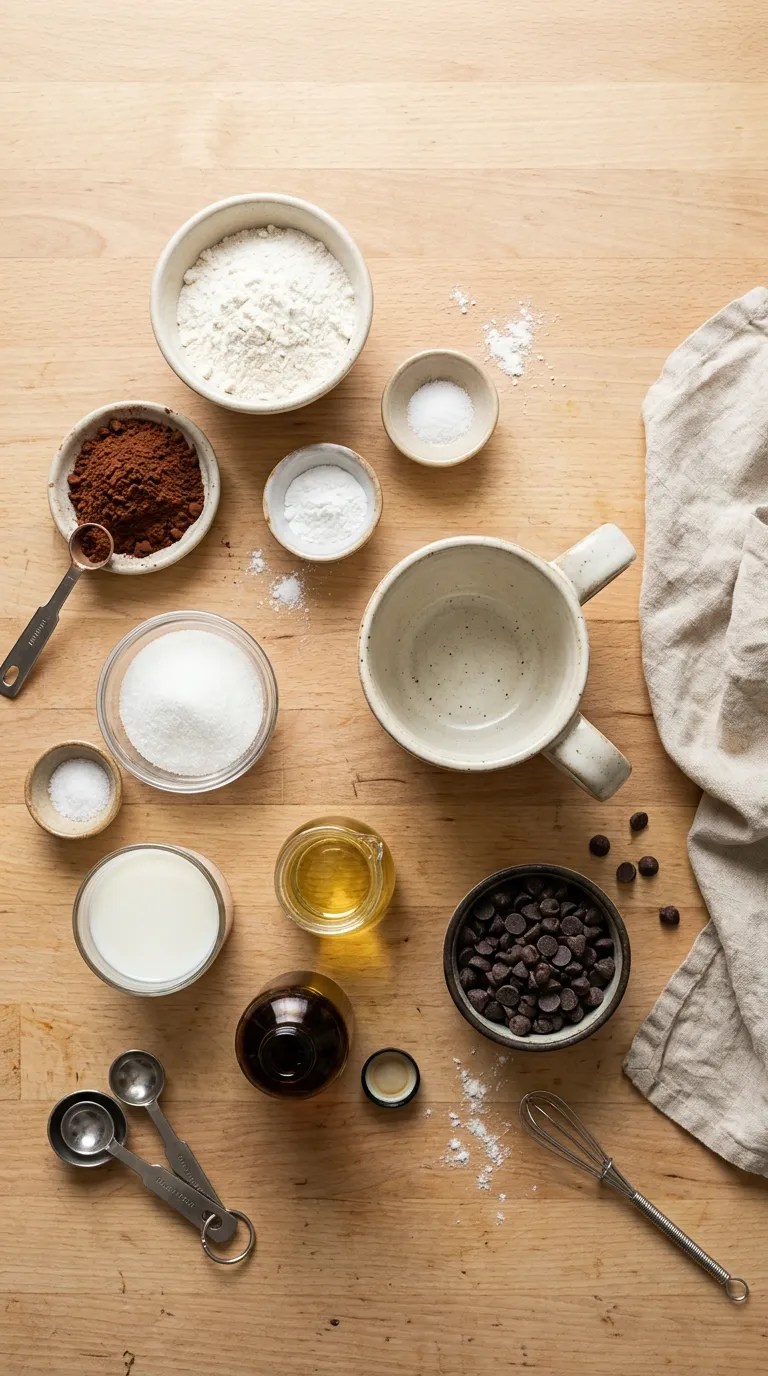
This recipe makes one generous mug cake, or two small portions if you share it. Choose a microwave-safe mug that holds at least 12 ounces (about 350 ml), preferably with a little extra room at the top.
Dry ingredients
- 4 tablespoons all-purpose flour
- 2 tablespoons unsweetened cocoa powder
- 2 tablespoons granulated sugar
- ¼ teaspoon baking powder
- A small pinch of salt
Wet ingredients
- 3 tablespoons milk
- 1 tablespoon neutral vegetable oil
- ¼ teaspoon vanilla extract
Optional extras
- 1 tablespoon chocolate chips
- 1 teaspoon peanut butter
- 1 tablespoon chopped walnuts or almonds
- A small scoop of vanilla ice cream for serving
- A little powdered sugar for dusting
Ingredient notes and easy substitutions
All-purpose flour: Regular plain flour works perfectly. If you prefer a gluten-free version, use a cup-for-cup gluten-free baking flour blend that includes a suitable binder.
Cocoa powder: Unsweetened cocoa gives the cake its chocolate flavor without adding too much sweetness. Natural cocoa powder works well for this recipe.
Milk: Whole milk creates a pleasant, tender texture, but low-fat milk works too. You can also use unsweetened oat, soy, or almond milk.
Oil: Neutral vegetable oil keeps the cake moist and makes preparation simple. Canola oil or sunflower oil works well. Avoid strongly flavored oils that might overpower the chocolate.
Sugar: Granulated white sugar is an easy choice. You can use light brown sugar for a slightly deeper, caramel-like flavor, although the texture may change a little.
Baking powder: This ingredient helps the cake rise. Check that yours is fresh, especially if it has been sitting in the cupboard for a long time.
Chocolate chips: These are optional, but they add little pockets of melted chocolate. If you want a softer center, place a few in the middle of the batter rather than scattering all of them across the top.
Step-by-Step Instructions
for the Perfect Chocolate Mug Cake
You do not need baking experience to make this dessert. Follow the steps below, paying particular attention to the batter’s consistency and the microwave cooking time.
Step 1: Choose and prepare your mug (30 seconds)
Select a microwave-safe mug with a capacity of at least 12 ounces. A wider mug gives the batter more room to rise and helps it cook more evenly.
Make sure the mug has no metallic decoration. Never put a metal-trimmed cup in the microwave.
You can lightly grease the inside with a few drops of oil if you plan to turn the cake onto a plate. If you intend to eat it straight from the mug, you can skip this step.
Step 2: Mix the dry ingredients (1 minute)
Add the flour, cocoa powder, sugar, baking powder, and salt directly to the mug.
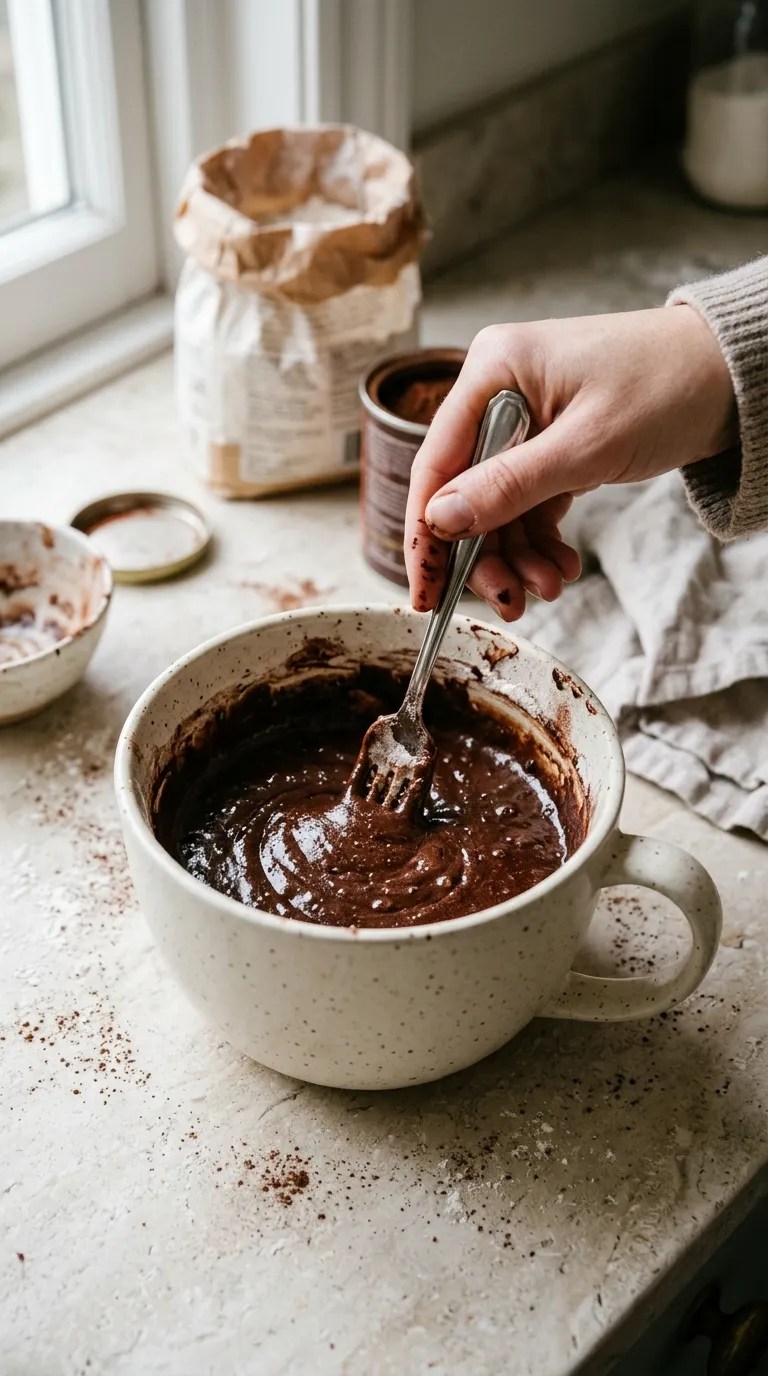
Stir everything with a fork until the cocoa looks evenly distributed. Break up any small lumps of flour or cocoa powder before adding the liquid ingredients.
This step may seem minor, but it helps prevent pockets of bitter cocoa or baking powder in the finished cake.
If your cocoa powder has formed stubborn lumps, press them against the side of the mug with the back of your spoon.
Step 3: Add the wet ingredients (1 minute)
Pour in the milk, vegetable oil, and vanilla extract.
Stir gently but thoroughly, scraping the bottom and sides of the mug as you go. Keep mixing until no dry flour remains.
The batter should look thick but pourable, similar to a thick pancake batter. It should not feel like bread dough, and you should not see dry patches at the bottom.
If the batter seems unusually stiff, add another teaspoon of milk. Avoid adding too much liquid at once because excess moisture can make the cake dense.
Step 4: Add your favorite extras (30 seconds)
If you enjoy a richer chocolate flavor, stir in the chocolate chips.
For a simple molten-style center, place a few chocolate chips or a small teaspoon of peanut butter in the middle of the batter. Cover them with a little batter so they do not sit completely exposed on top.
You can also add a pinch of cinnamon for warmth or a few chopped nuts for crunch.
Do not fill the mug to the top. Leave enough space for the cake to rise during cooking.
Step 5: Microwave the cake (60–100 seconds)
Place the mug in the center of your microwave.
Cook on high power for about 60 seconds to start. Check the cake, then continue in 10-second intervals until the top looks set and the center no longer appears wet.
Many microwaves will need roughly 70–100 seconds, but wattage, mug shape, and batter depth all affect the cooking time. A lower-powered microwave may need longer.
Look for these visual clues:
- The cake has risen above its original batter level.
- The surface looks mostly set rather than shiny and liquid.
- The center feels soft but not visibly raw.
- The edges look cooked without becoming hard or dry.
Do not worry if the top looks a little uneven. Mug cakes rarely develop the perfectly flat surface of a conventional oven-baked cake.
If the cake still looks wet, give it another 10 seconds. Short intervals work better than guessing and adding another full minute.
Step 6: Let the cake rest (1–2 minutes)
Carefully remove the mug from the microwave. The mug may feel hot, so use a dry oven mitt or suitable heatproof holder.
Leave the cake to rest for one or two minutes. This short pause lets the center finish setting and makes the texture more pleasant.
The first time I tried a mug cake, I ate it almost immediately and found the center much softer than I expected. Giving it a brief rest made a noticeable difference.
Remember that the cake and mug can retain heat even after you switch off the microwave. Let the dessert cool enough to eat comfortably.
Step 7: Add toppings and serve (30 seconds)
Finish the cake with a dusting of powdered sugar, a few extra chocolate chips, or a small scoop of vanilla ice cream.
For a simple everyday treat, a drizzle of chocolate sauce works beautifully. If you prefer a little contrast, add sliced strawberries or banana.
Serve the cake while it is warm. Its texture tastes best shortly after cooking, when the crumb remains tender and any chocolate chips still feel soft.
Total preparation and cooking time: About 5–7 minutes, plus a short cooling period.
Pro Tips and Tricks for a Better Mug Cake
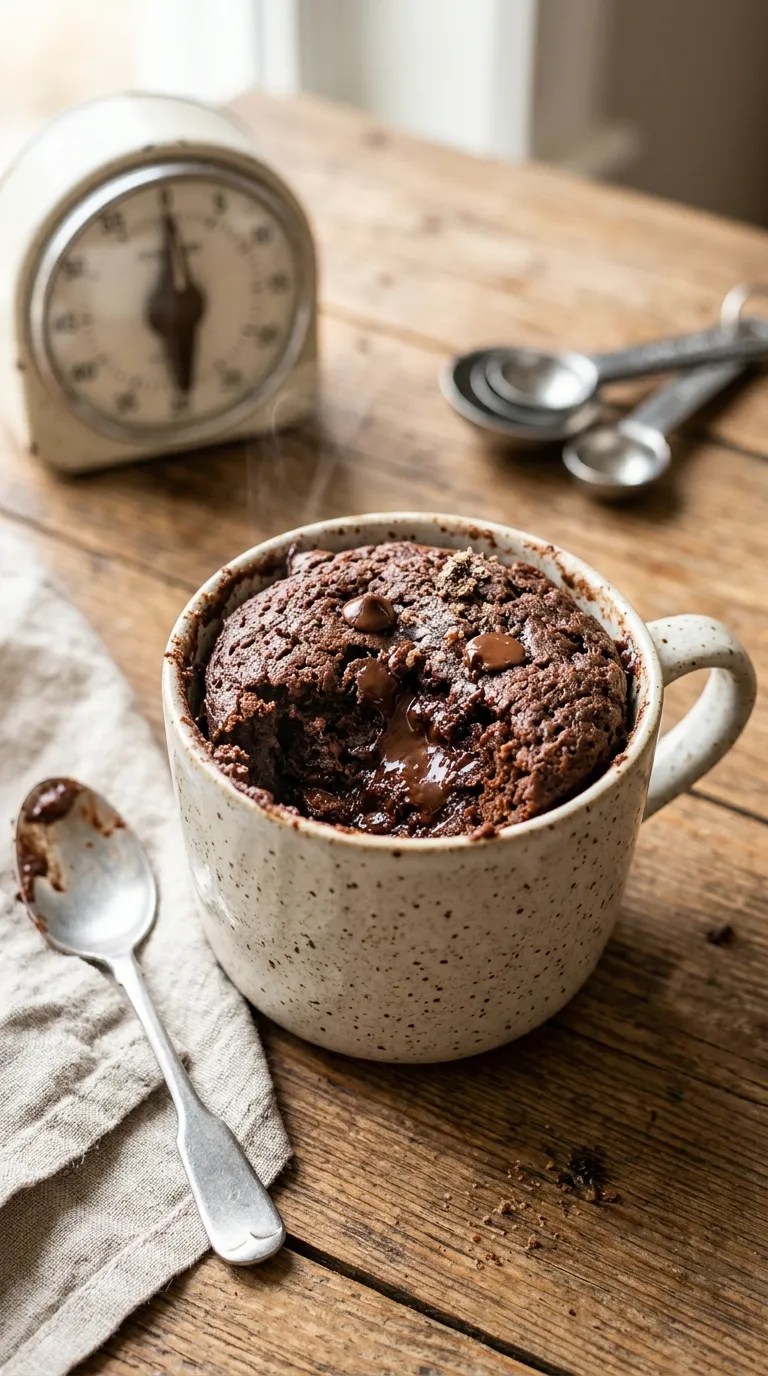
A mug cake looks simple, but a few small choices can make the difference between a soft chocolate dessert and a dry, chewy one.
1. Start with less microwave time
The most common mistake is overcooking. Microwave power varies considerably, and an extra 20 seconds can change a tender cake into a rubbery one.
Start with 60 seconds, inspect the center, and add short bursts of cooking time as needed. Once you learn how your microwave behaves, you will find it easier to repeat the results.
2. Measure the flour carefully
Flour packs tightly into a measuring spoon. If you scoop directly from a bag and press the flour down, you may add more than the recipe needs.
Instead, spoon flour loosely into your tablespoon measure and level it with the back of a knife. This small habit helps keep the cake soft.
3. Mix thoroughly, but do not keep stirring forever
Make sure the bottom of the mug contains no dry ingredients. At the same time, stop mixing once the batter looks smooth and evenly combined.
You do not need to develop the gluten as you would when kneading bread. Gentle mixing gives you a better chance of achieving a tender cake.
4. Use a suitably large mug
A small mug can cause the batter to rise over the rim, creating a sticky mess inside the microwave.
Choose a mug that leaves plenty of room for expansion. If you only have smaller cups, divide the batter between two microwave-safe mugs and cook them separately, checking the timing carefully.
5. Add toppings at the right time
Chocolate chips mixed into the batter create melted pockets, while a few chips sprinkled over the cake after cooking add a decorative finish.
Ice cream tastes best when you add it just before serving. It melts quickly against the warm cake and creates a simple sauce without any extra work.
6. Keep leftovers covered
This dessert tastes best fresh, but you can cover and refrigerate leftovers once they have cooled. The cake will firm up as it chills, so do not expect the same texture the next day.
For the best results, make only the amount you expect to eat.
Variations and Substitutions
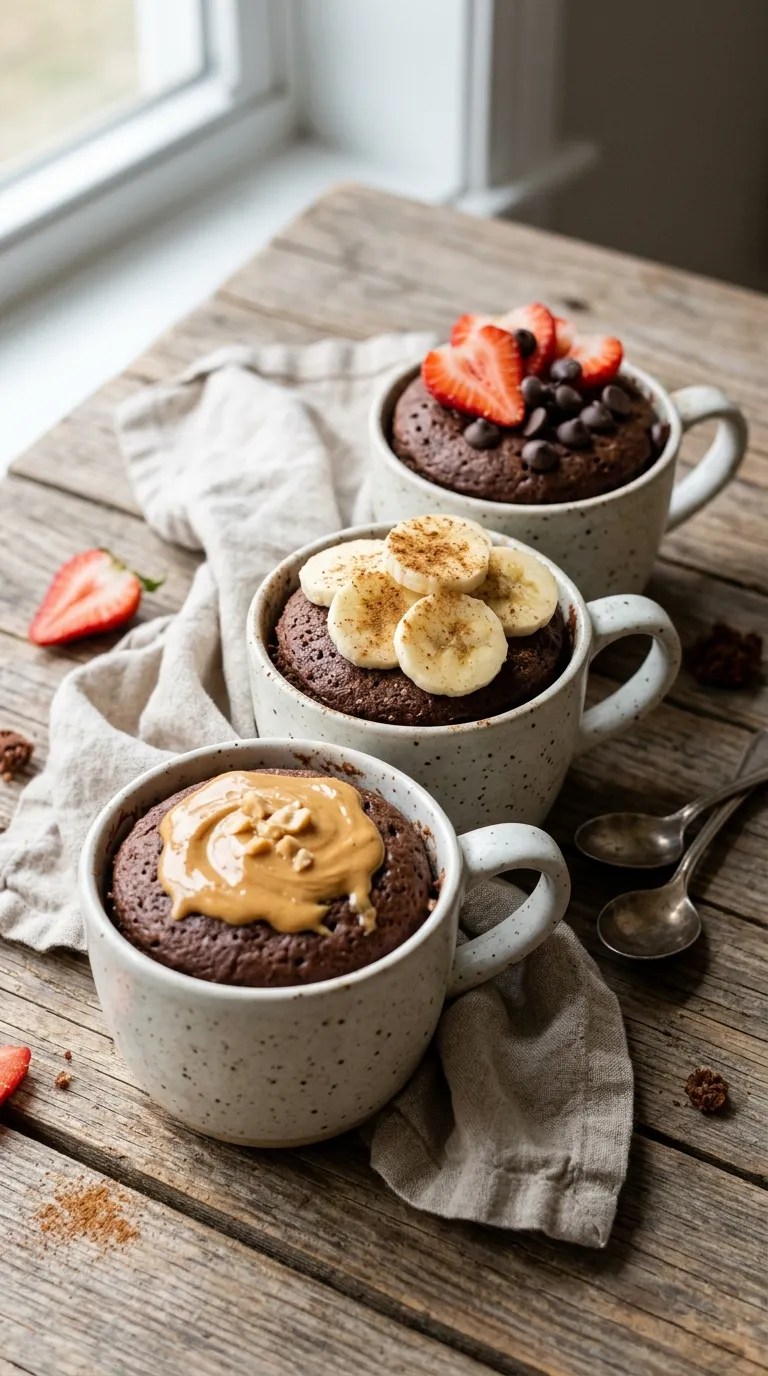
One reason I keep this quick and easy dessert recipe handy is that it welcomes small changes. You can adapt it to your pantry without turning a five-minute treat into a complicated baking project.
1. Vegan chocolate mug cake
Replace the dairy milk with unsweetened oat, soy, or almond milk. Use dairy-free chocolate chips if you want to include them.
The oil already replaces the butter you might find in a traditional cake recipe, so you do not need to make any additional fat substitution.
The finished cake may have a slightly different flavor depending on your milk choice, but it should still deliver a satisfying chocolate dessert.
2. Gluten-free chocolate mug cake
Replace the all-purpose flour with a gluten-free, cup-for-cup baking blend designed for cakes and other baked goods.
Different flour blends absorb liquid differently, so check the batter before cooking. If it seems unusually thick, add milk one teaspoon at a time until it reaches the consistency of thick pancake batter.
Avoid using coconut flour as a direct replacement. It absorbs much more liquid than ordinary flour and requires a different recipe.
3. Peanut butter chocolate mug cake
For a richer variation, add one teaspoon of peanut butter to the center of the batter before microwaving.
The peanut butter softens as the cake cooks and creates a creamy middle. You can also stir it into the batter for a more even peanut flavor.
If you have a peanut allergy in your household, skip this variation and use a suitable alternative that meets your needs.
4. Chocolate and banana mug cake
Mash two tablespoons of ripe banana and stir it into the wet ingredients.
Banana adds sweetness and moisture, so the cake may turn out denser than the original version. Begin with the standard milk amount and add more only if the batter needs it.
Because banana changes the moisture balance, check the center carefully and allow a little extra cooking time if necessary.
5. Cinnamon chocolate mug cake
Add a small pinch of ground cinnamon to the dry ingredients. Cinnamon adds warmth without overwhelming the chocolate flavor.
For an extra cozy finish, sprinkle a little cinnamon over the cake after cooking and serve it with a spoonful of plain yogurt or vanilla ice cream.
Serving Suggestions

A warm chocolate mug cake is delicious on its own, but a few simple additions can make it feel more special.
For a quick afternoon treat
Serve the cake with a cup of tea, coffee, or a glass of cold milk. This pairing works particularly well when you want a small dessert after lunch or a sweet snack during a study break.
For a simple family dessert
Set out small bowls of chocolate chips, chopped nuts, sliced strawberries, and whipped cream. Everyone can customize a portion without requiring you to prepare several different desserts.
If you make the recipe for children, let the cake cool to a comfortable eating temperature before serving.
For a last-minute guest
Place the cake on a small plate, add a scoop of vanilla ice cream, and finish with a drizzle of chocolate sauce.
A few fresh berries on the side add color and a refreshing contrast. You can make the dessert look thoughtful without spending much time decorating it.
For a cozy evening at home
Try a spoonful of peanut butter, a few banana slices, or a little caramel sauce. Keep the additions simple so the chocolate flavor stays at the center.
For a small celebration
Serve two mug cakes in matching cups with different toppings. One person might prefer chocolate chips, while another might enjoy strawberries and cream.
This approach makes an ordinary weekday dessert feel a little more festive without requiring a full-size cake.
Related Recipes:
- Slow Cooker Dessert Recipes for Easy Baking
- Easy Halloween Dessert Recipes for Beginners
- Dirt and Worms Desserts for Halloween Parties
- Fancy Desserts That Look Impressive but Are Easy to Make
FAQ’s
Can I make this quick and easy dessert recipe without an oven?
Yes. This recipe uses a microwave rather than a conventional oven. You only need a microwave-safe mug and the ingredients listed above.
If you do not own a microwave, you will need a different recipe designed for conventional oven baking. Do not put an ordinary mug in an oven unless its manufacturer specifically states that it is oven-safe.
How do I store leftover chocolate mug cake?
Let the cake cool, cover the mug or transfer the leftovers to an airtight container, and refrigerate it promptly. For the best texture, enjoy the leftovers within one day.
Microwave mug cakes tend to dry out more quickly than larger cakes, so fresh servings usually taste better.
Do not leave the cake sitting at room temperature for an extended period, especially if you add dairy-based toppings.
Can I reheat a mug cake?
Yes. Remove any cold toppings that you do not want to heat, then microwave the cake in short intervals of about 10 seconds.
Check the texture after each interval. Stop as soon as the cake feels warm enough to eat, because prolonged reheating can make it tough.
Use a microwave-safe container if you transfer the cake from its original mug.
Can I prepare the batter ahead of time?
You can measure the dry ingredients in advance and keep them in a small covered container. When you want dessert, add the milk, oil, and vanilla, then cook the batter.
I prefer this approach to mixing the complete batter hours ahead. Once the liquid meets the baking powder, the leavening process begins, so a long wait may affect how well the cake rises.
Can I freeze chocolate mug cake?
You can freeze the cooked cake, although the texture may become drier or denser after thawing. Let it cool completely, wrap it well, and store it in a freezer-safe container.
For better quality, use it within about one month. Thaw it in the refrigerator and warm it gently before serving. Make sure the center heats evenly, and avoid repeated heating and cooling.
Because this recipe takes only a few minutes to prepare, I generally recommend making it fresh rather than freezing individual portions.
Why did my mug cake turn out rubbery?
Overcooking usually causes a rubbery mug cake. Too much flour or insufficient liquid can also create a dense texture.
Next time, measure the flour carefully, mix until no dry patches remain, and begin checking the cake after 60 seconds. Add cooking time in small increments instead of running the microwave for too long at once.
Why did my mug cake overflow?
Your mug may be too small, or you may have added too much batter. The cake rises as the baking powder releases gas, so it needs space to expand.
Use a mug that holds at least 12 ounces and avoid filling it more than halfway to two-thirds full with the uncooked batter. If your mug is small, divide the mixture between two cups.
Can I make this recipe without cocoa powder?
You can make a vanilla mug cake, but cocoa powder contributes both flavor and dry ingredients to the recipe. Simply removing it will change the batter’s proportions.
For a vanilla version, use a recipe developed specifically for vanilla mug cake rather than leaving out the cocoa and making no other changes.
Can I make two servings at once?
Yes. You can double the ingredient quantities and divide the batter between two suitable mugs.
Microwave each mug separately for more predictable results. If you cook both at once, the microwave may heat them unevenly, depending on its size and power.
What can I use instead of chocolate chips?
Chopped chocolate, a small spoonful of peanut butter, or a few chopped nuts can all work well. You can also leave out the extras entirely because the cocoa powder provides plenty of chocolate flavor.
If you use a sweet filling or topping, remember that the cake already contains sugar. Adjust the extras to suit your taste.
Final Thought
Some of the nicest kitchen moments come from the simplest recipes. You do not always need a special occasion, a long list of ingredients, or an afternoon of baking to enjoy something homemade.
This quick and easy chocolate mug cake gives you a warm, comforting dessert with very little preparation and almost no cleanup. Keep the ingredients in your pantry, learn the timing that works for your microwave, and you will have an easy option whenever a chocolate craving strikes.
My favorite way to serve it is with a few chocolate chips in the center and a small scoop of vanilla ice cream on top. The contrast between the warm cake and the cool ice cream makes the whole thing feel more special than the effort suggests.
Start with the basic recipe, then experiment with the variations that appeal to you. You might discover that cinnamon becomes your favorite addition or that peanut butter gives you exactly the flavor you want.
If you try this chocolate mug cake, share how it turned out and tell me which toppings you used. I would love to hear about the little changes that made the recipe your own.
Happy cooking, and enjoy every spoonful!
Leave a Reply
You must be logged in to post a comment.