

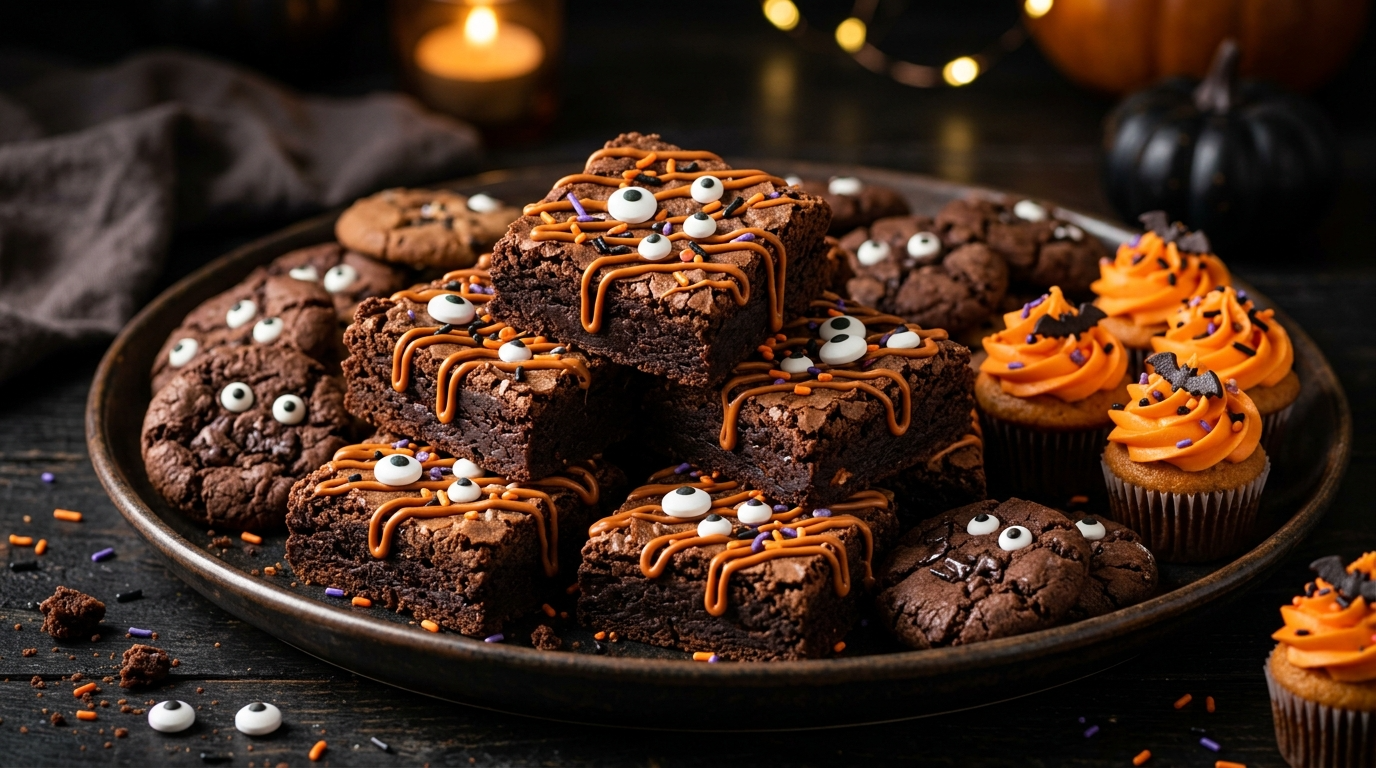
The first time I put together a Halloween dessert table, I made the mistake of trying to make everything look too perfect. I spent hours piping tiny details onto cupcakes, decorating cookies, and trying to make every dessert Pinterest-worthy. By the time guests arrived, I was covered in powdered sugar and questioning every life decision that had led me there.
These days, I keep Halloween desserts much simpler. I choose treats that look festive without requiring a pastry-school degree, and I mix homemade favorites with a few clever shortcuts. That approach always gives me a dessert table that looks fun, colorful, and inviting without keeping me trapped in the kitchen all evening.
These easy Halloween dessert ideas are perfect for parties because you can prepare many of them ahead, customize them with Halloween colors, and let the decorations do most of the work. You don’t need complicated techniques. A little melted chocolate, some sprinkles, candy eyes, and creative thinking can turn ordinary treats into something wonderfully spooky.
Why You’ll Love These Halloween Dessert Ideas

- Easy enough for beginners: Most of these treats use simple ingredients and straightforward steps.
- Perfect for parties: Small portions make them easy for guests to grab and enjoy.
- Budget-friendly: You can turn inexpensive cookies, brownies, marshmallows, and chocolate into festive desserts.
- Great for kids: Candy eyes, sprinkles, chocolate drizzle, and colorful frosting make decorating part of the fun.
- Easy to prepare ahead: Several treats taste just as good after spending a night in the refrigerator or at room temperature.
I especially love recipes that let me make the basic dessert a day ahead and save the decorating for Halloween morning. It makes party day feel much less frantic.
Ingredients for an Easy Halloween Dessert Spread
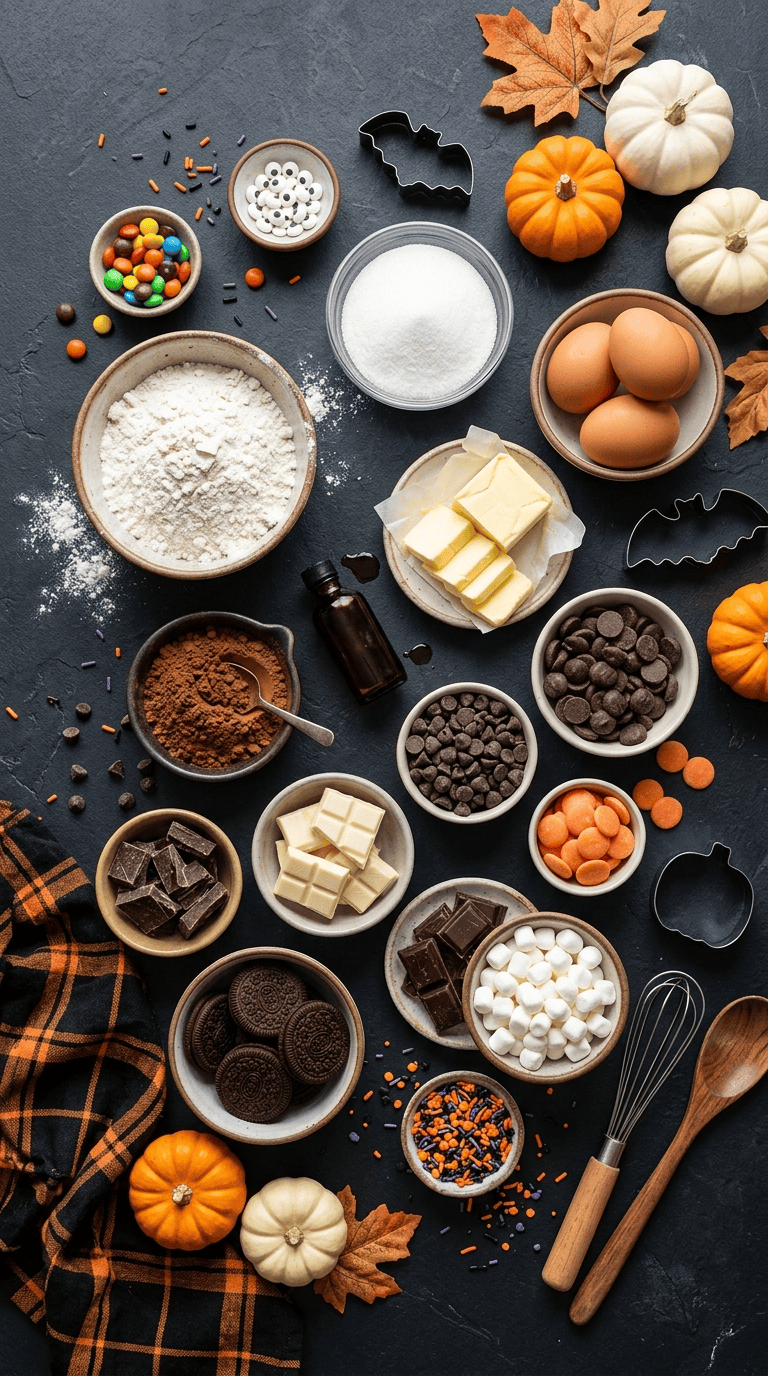
You don’t need to buy every Halloween ingredient you see at the grocery store. I usually build my dessert table around a few basic ingredients and then add seasonal decorations.
Basic Baking Ingredients
- 2 cups all-purpose flour
- 1 cup granulated sugar
- 1/2 cup packed brown sugar
- 1/2 cup unsalted butter, softened
- 2 large eggs
- 1 teaspoon vanilla extract
- 1 teaspoon baking powder
- 1/2 teaspoon baking soda
- 1/4 teaspoon salt
- 1 cup semi-sweet chocolate chips
- 1 cup white chocolate chips
- 1/2 cup unsweetened cocoa powder
Easy Decorating Ingredients
- 1 cup orange candy melts
- 1 cup dark chocolate candy melts
- 1 cup white candy melts
- 1 cup Halloween sprinkles
- 1/2 cup candy eyes
- 1/2 cup mini chocolate candies
- 1/2 cup crushed chocolate sandwich cookies
- 1/2 cup mini marshmallows
- Orange and black gel food coloring
- 2 cups prepared vanilla frosting
- 2 cups prepared chocolate frosting
You can absolutely swap homemade frosting for a good-quality store-bought version when you’re short on time. I do it myself when I’m making several desserts for one party.
For gluten-free guests, use a certified gluten-free flour blend and gluten-free cookies or candies where appropriate. Always check individual ingredient labels because formulas can vary between brands.
Step-by-Step: How I Build an Easy Halloween Dessert Table
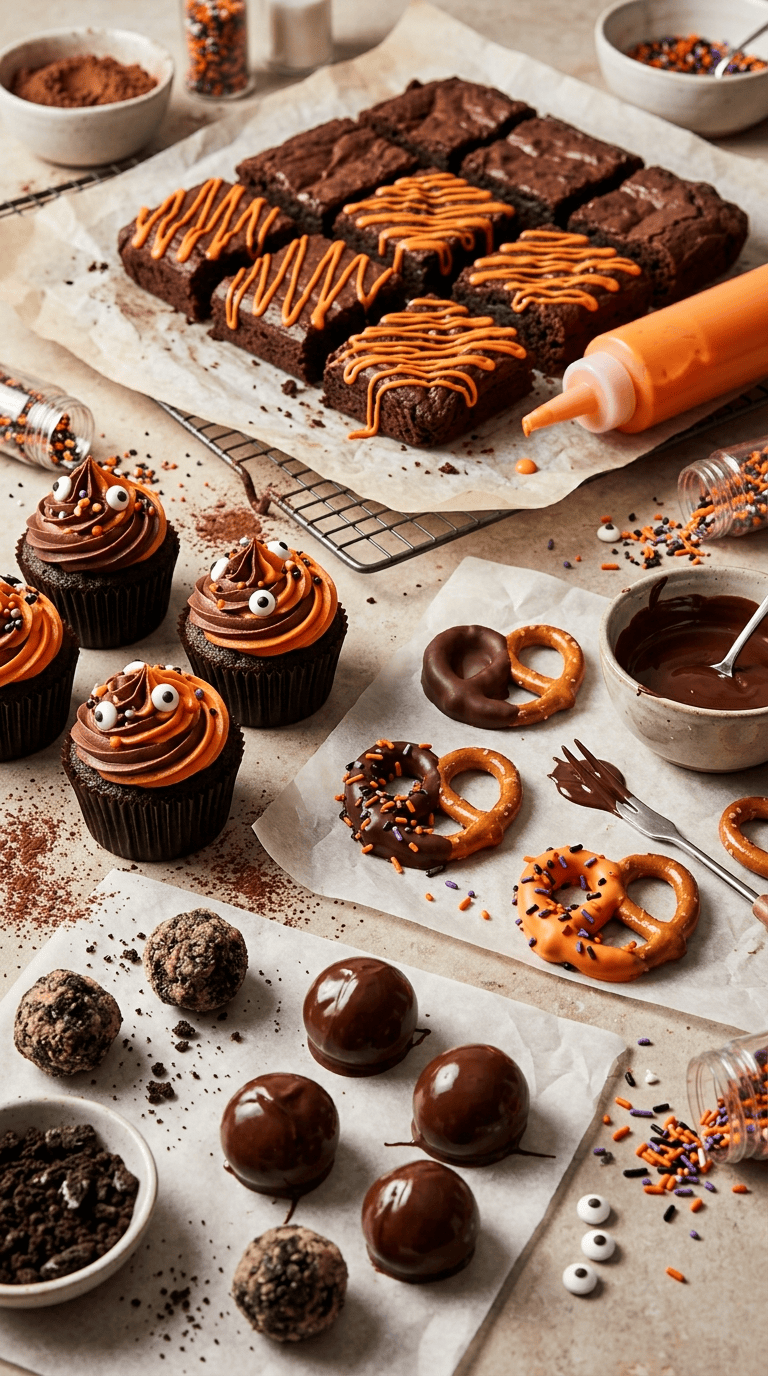
Instead of making one complicated dessert, I like to create several simple treats with different textures and shapes. Here’s the method that works best for me.
1. Start With One Easy Baked Dessert
Begin with brownies, blondies, cookies, cupcakes, or a simple sheet cake.
For brownies, preheat your oven to 350°F (175°C) and line an 8-by-8-inch baking pan with parchment paper.
Mix your brownie batter until the dry ingredients disappear, then spread it evenly into the pan. Bake for about 25–30 minutes, depending on your recipe.
I check the center with a toothpick. A few moist crumbs mean the brownies are ready. A completely clean toothpick can mean you’ve gone a little too far.
Let the brownies cool completely before decorating.
2. Turn Brownies Into Halloween Treats
Once the brownies cool, cut them into small squares or triangles.
Melt about 1/2 cup of orange candy melts according to the package directions. Drizzle the melted coating over the brownies using a spoon or piping bag.
Add Halloween sprinkles while the coating remains soft.
For an even easier spooky look, press one or two candy eyes onto each brownie. Suddenly, a regular brownie looks like it belongs at a Halloween party.
3. Make Simple Halloween Cookies
For cookies, cream 1/2 cup softened butter, 1/2 cup granulated sugar, and 1/4 cup brown sugar until smooth.
Beat in one egg and 1 teaspoon vanilla extract.
In a separate bowl, whisk together 1 1/2 cups flour, 1/2 teaspoon baking soda, and 1/4 teaspoon salt.
Add the dry ingredients to the butter mixture and stir just until combined. Fold in 3/4 cup chocolate chips.
Scoop tablespoon-sized portions onto a parchment-lined baking sheet.
Bake at 350°F (175°C) for 9–11 minutes.
The edges should look set while the centers still look slightly soft. Let the cookies sit on the baking sheet for about five minutes before transferring them to a cooling rack.
4. Decorate Cupcakes With Spooky Frosting
Cupcakes make one of the easiest Halloween desserts because frosting does most of the decorating for you.
Bake 12 vanilla or chocolate cupcakes and let them cool completely.
Divide 2 cups vanilla frosting between two bowls. Tint one portion orange and leave the other white.
Pipe the frosting onto the cupcakes using a star tip.
Add candy eyes, Halloween sprinkles, or small chocolate pieces.
For a spooky spiderweb design, spread chocolate frosting over a cupcake and pipe three thin circles of white frosting on top. Drag a toothpick from the center toward the edge several times to create a web pattern.
This trick took me less than a minute once I got the hang of it.
5. Make Chocolate-Dipped Pretzels
Chocolate-covered pretzels give your dessert table a salty-sweet option, and they require almost no baking.
Melt 1 cup semi-sweet chocolate chips or dark candy melts gently in the microwave in 20-second intervals.
Stir between each interval until smooth.
Dip one end of each pretzel into the melted chocolate.
Place the pretzels on parchment paper and immediately add orange, purple, or black sprinkles.
Let them set for about 20–30 minutes at room temperature, or place them in the refrigerator for about 10 minutes.
6. Create No-Bake Halloween Oreo Truffles
Crush 24 chocolate sandwich cookies in a food processor until they become fine crumbs.
Mix the crumbs with 8 ounces softened cream cheese until the mixture holds together.
Roll the mixture into about 20 small balls.
Chill them for 20 minutes.
Dip each ball into melted white or dark chocolate.
Decorate with candy eyes or colored sprinkles while the chocolate remains wet.
Refrigerate the finished truffles for at least 30 minutes before serving.
These are one of my favorite make-ahead options because they actually taste better after they have had time to chill.
7. Add a Simple Halloween Snack Mix
For something completely fuss-free, combine 3 cups popcorn, 2 cups pretzels, 1 cup chocolate candies, and 1 cup Halloween candy-coated chocolates in a large bowl.
Melt 1/2 cup white chocolate and drizzle it over the mixture.
Add Halloween sprinkles before the chocolate sets.
Spread everything onto parchment paper and let it cool for about 20 minutes.
Break apart any large clusters and transfer the mixture into small serving bowls or individual treat bags.
8. Finish With Chocolate-Covered Strawberries
Wash and thoroughly dry 12 strawberries.
Melt 1 cup white or dark chocolate.
Dip each strawberry into the chocolate, leaving a little red fruit visible near the top.
Place them on parchment paper.
Use a small piping bag filled with melted chocolate to create simple spiderweb lines.
Let the chocolate set for around 20 minutes.
The important part here is drying the strawberries really well. Water and melted chocolate are not friends. I learned that lesson the messy way.
Pro Tips & Tricks
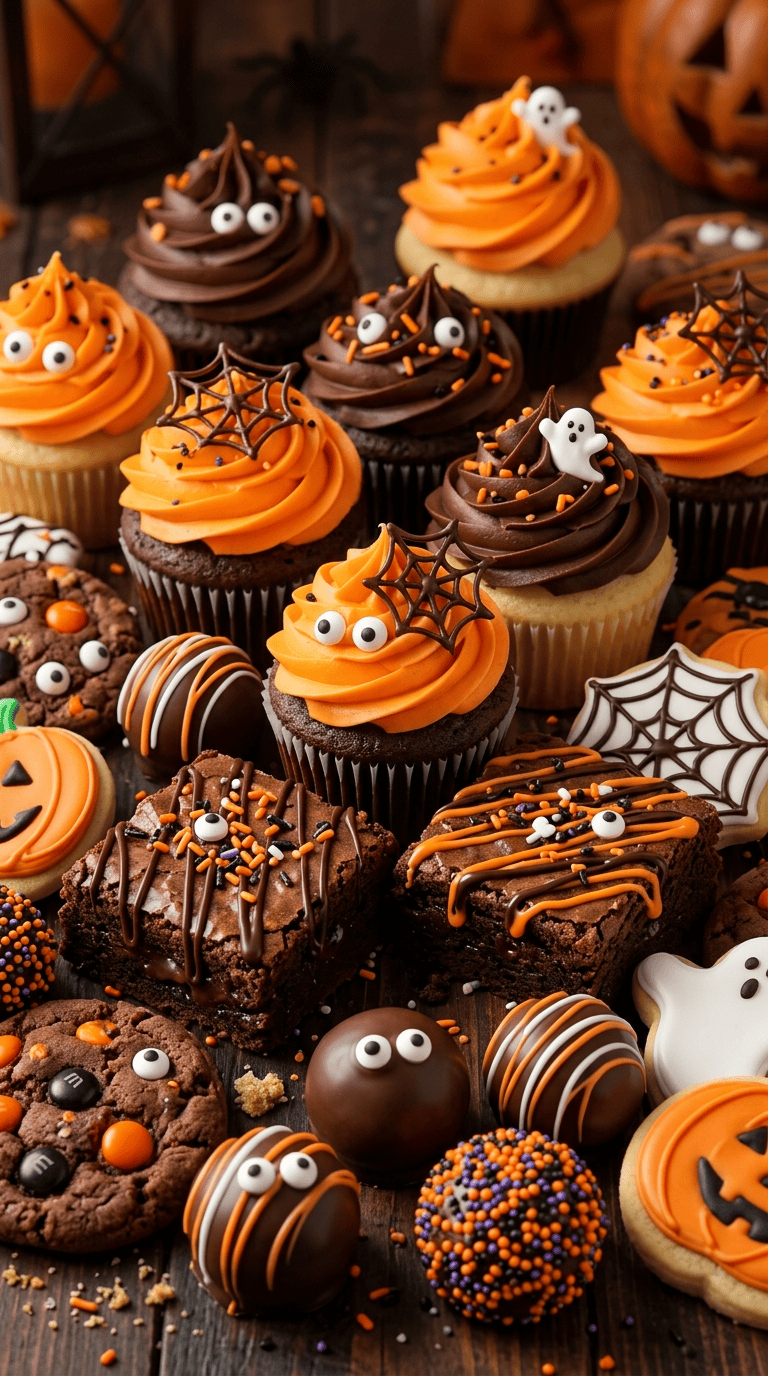
Don’t Decorate Warm Desserts
This is probably my biggest Halloween baking tip.
Warm brownies and cupcakes will melt frosting and decorations. Give baked goods enough time to cool completely before you start decorating.
Use Candy Eyes for Instant Halloween Style
Candy eyes are one of the easiest decorating shortcuts around.
Add them to brownies, cookies, cupcakes, marshmallows, strawberries, pretzels, or chocolate bark. They make almost anything look like a little Halloween character.
Keep Portions Small
Party guests usually want to sample several desserts instead of eating one enormous slice of cake.
Cut brownies into small squares, make mini cupcakes, and keep cookies reasonably sized. Your dessert table will look fuller, and guests can try more treats.
Make Desserts in Stages
Bake cookies and brownies one or two days ahead.
Make truffles and chocolate-covered treats the day before.
Save delicate frosting decorations and final garnishes for the day of the party.
This little bit of planning makes a huge difference.
Store Everything Properly
Keep frosted cupcakes and cream-cheese-based desserts refrigerated when necessary.
Store cookies, brownies, pretzels, and dry snack mixes in airtight containers.
Keep chocolate-covered treats away from heat and direct sunlight.
If your kitchen gets warm, refrigerate chocolate decorations briefly, but allow chilled treats to sit for a few minutes before serving.
Variations & Substitutions
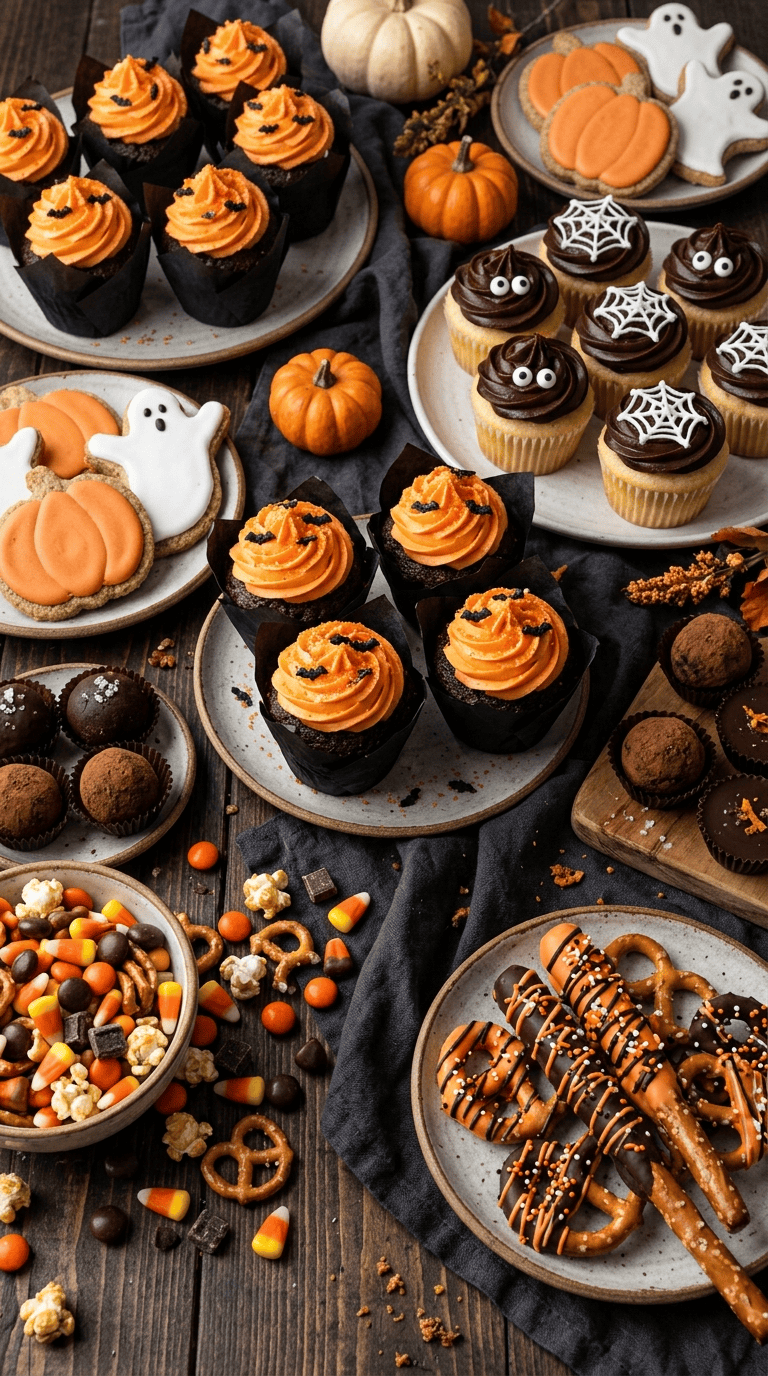
The best part about Halloween desserts is that you can change the appearance without completely changing the recipe.
Make Them Chocolate-Heavy
Replace vanilla cupcakes with chocolate cupcakes and use orange frosting.
Chocolate and orange make a classic Halloween combination, and the contrast looks fantastic on a dessert table.
Create a Kid-Friendly Decorating Station
Set out bowls of sprinkles, candy eyes, mini chocolate candies, melted chocolate, and cooled cookies or cupcakes.
Let children decorate their own treats.
Expect a little chaos.
Expect even more sprinkles.
But honestly, that’s half the fun.
Make a Dairy-Free Version
Use dairy-free butter, dairy-free chocolate, and a suitable dairy-free frosting.
For cookies and brownies, choose ingredients carefully and check labels for milk ingredients.
Try a Gluten-Free Dessert Table
Use a reliable gluten-free flour blend for baked treats and choose certified gluten-free cookies, pretzels, and candies.
Keep gluten-free treats separate during preparation and serving if you need to avoid cross-contact.
Serving Suggestions for a Halloween Party
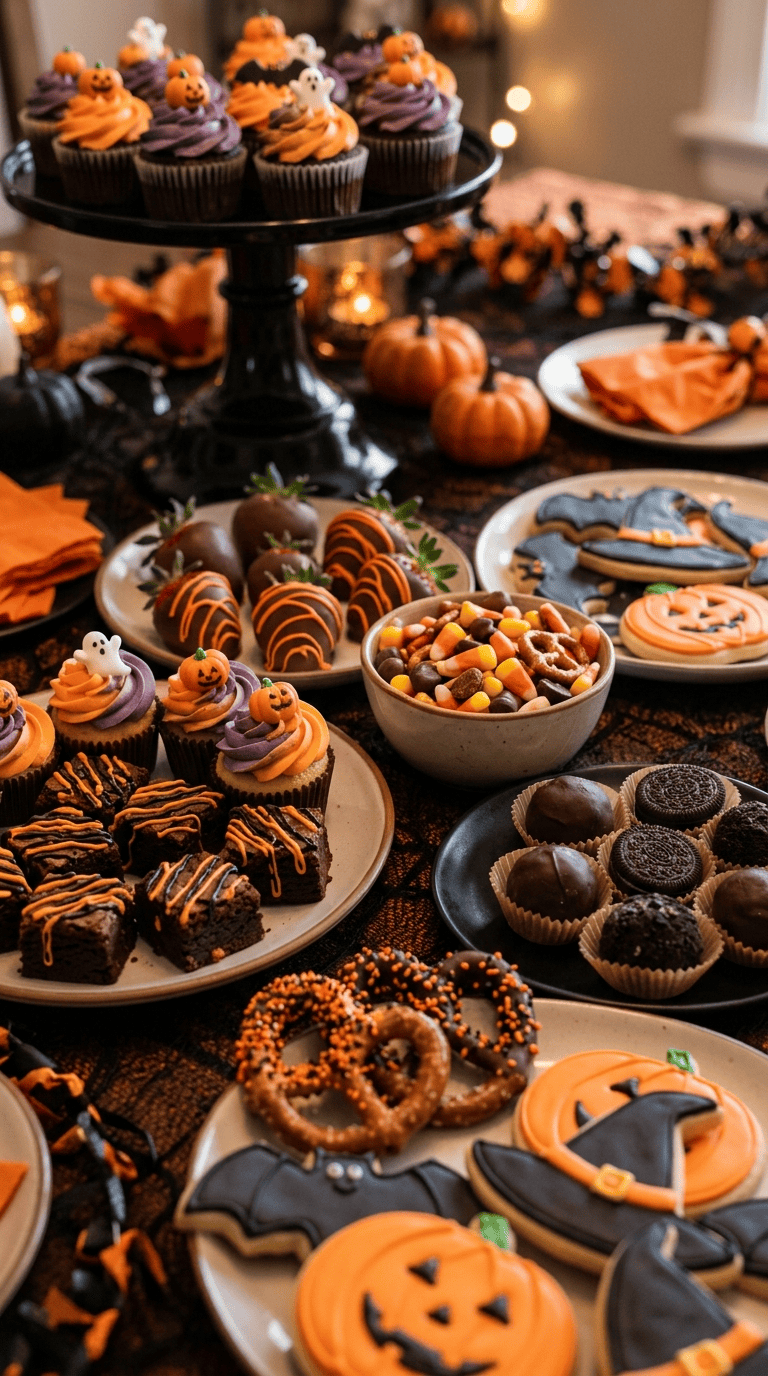
I like to arrange Halloween desserts at different heights rather than laying everything flat on one table.
Place brownies and cookies on cake stands or raised trays. Put truffles and chocolate-covered pretzels into small bowls. Use individual cupcake liners for bite-sized treats.
For a larger Halloween party, create a mixture of rich and lighter options.
For example, pair chocolate brownies with fruit, chocolate-covered strawberries, crispy pretzels, and a simple snack mix.
You can also prepare individual dessert cups. Layer crushed chocolate cookies with chocolate pudding and whipped topping, then add candy eyes on top for a quick spooky dessert.
For drinks, serve these desserts alongside hot chocolate, apple cider, coffee, or a simple sparkling fruit punch.
If you’re hosting a children’s party, individual treat bags work beautifully. Fill each bag with a cookie, a chocolate-dipped pretzel, and a little Halloween snack mix.
Related Recipes :
- Scary Halloween Desserts That Are Perfect for Parties
- Easy Halloween Baking Recipes Everyone Will Love
- Halloween Food Recipe for the Ultimate Halloween Party
FAQ’s
Can I Make Halloween Desserts the Day Before?
Yes. Cookies, brownies, truffles, pretzels, and snack mixes work especially well when prepared ahead.
Store each dessert according to its ingredients. Keep cream cheese frosting, cream cheese truffles, and other perishable desserts refrigerated.
How Far Ahead Can I Make Halloween Cupcakes?
You can bake cupcakes about one to two days ahead and store them in an airtight container.
For the freshest appearance, frost and decorate them on the day of your party or the evening before.
Can I Freeze Halloween Cookies?
Yes. Most unfrosted cookies freeze very well.
Let them cool completely, place them in an airtight freezer-safe container, and separate layers with parchment paper.
Thaw them at room temperature before decorating.
Why Did My Chocolate Become Thick When I Melted It?
Chocolate can become thick when it overheats or comes into contact with water.
Melt it gently and stir frequently. Use completely dry bowls and utensils.
If you’re using candy melts, follow the package instructions because different products behave differently.
How Do I Stop Cupcake Frosting From Melting?
Make sure the cupcakes have cooled completely before frosting them.
If your kitchen feels warm, chill the cupcakes briefly after decorating. Keep the finished cupcakes away from direct sunlight and hot appliances.
Can I Make Halloween Desserts Without Special Decorating Tools?
Absolutely.
You can use a spoon, sandwich bag with a tiny corner snipped off, toothpicks, and ordinary kitchen knives.
Halloween desserts don’t need perfect piping. A little melted chocolate and a handful of sprinkles can do most of the heavy lifting.
Final Thoughts
Halloween desserts don’t have to become an all-day baking project.
Some of my favorite party treats started with something incredibly ordinary: a batch of brownies, a few cookies, a bowl of popcorn, or a handful of pretzels. Once I added chocolate, sprinkles, frosting, and a few candy eyes, they suddenly looked like they belonged on a Halloween dessert table.
That’s what I love about these easy Halloween dessert ideas. They give you plenty of room to have fun without demanding perfection.
So put on your favorite Halloween playlist, grab the sprinkles, and let the kitchen get a little messy. And if one cupcake ends up looking slightly wonky, just call it extra spooky.
Leave a Reply
You must be logged in to post a comment.