

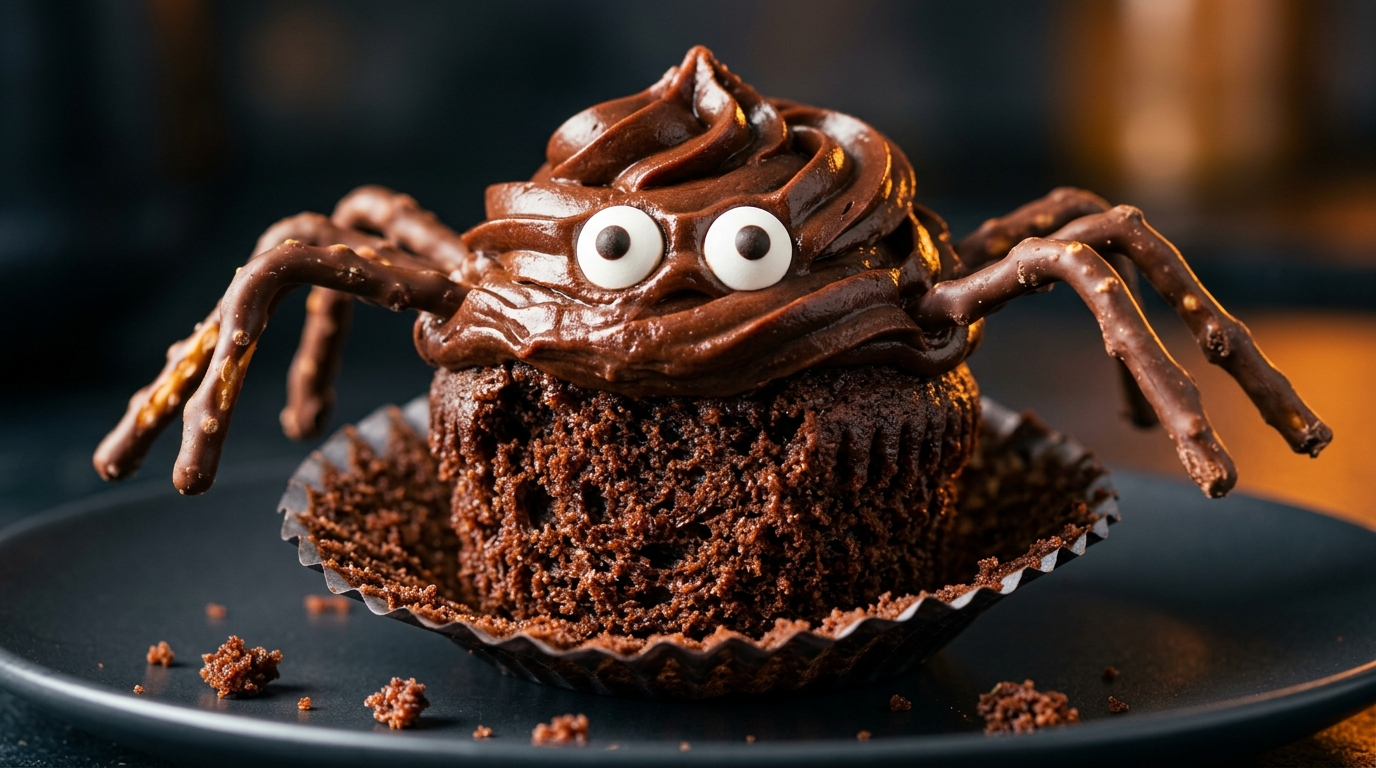
I still remember the first Halloween party where I decided to make the dessert table a little more dramatic. I had cupcakes, cookies, brownies, and a bowl of candy sitting there looking perfectly normal. Cute? Yes. Memorable? Not really.
So I pulled out some chocolate, cream cheese frosting, crushed cookies, candy eyes, and a few creepy decorations. Suddenly, those ordinary desserts looked like they belonged in a haunted house.
That little experiment turned into one of my favorite Halloween traditions.
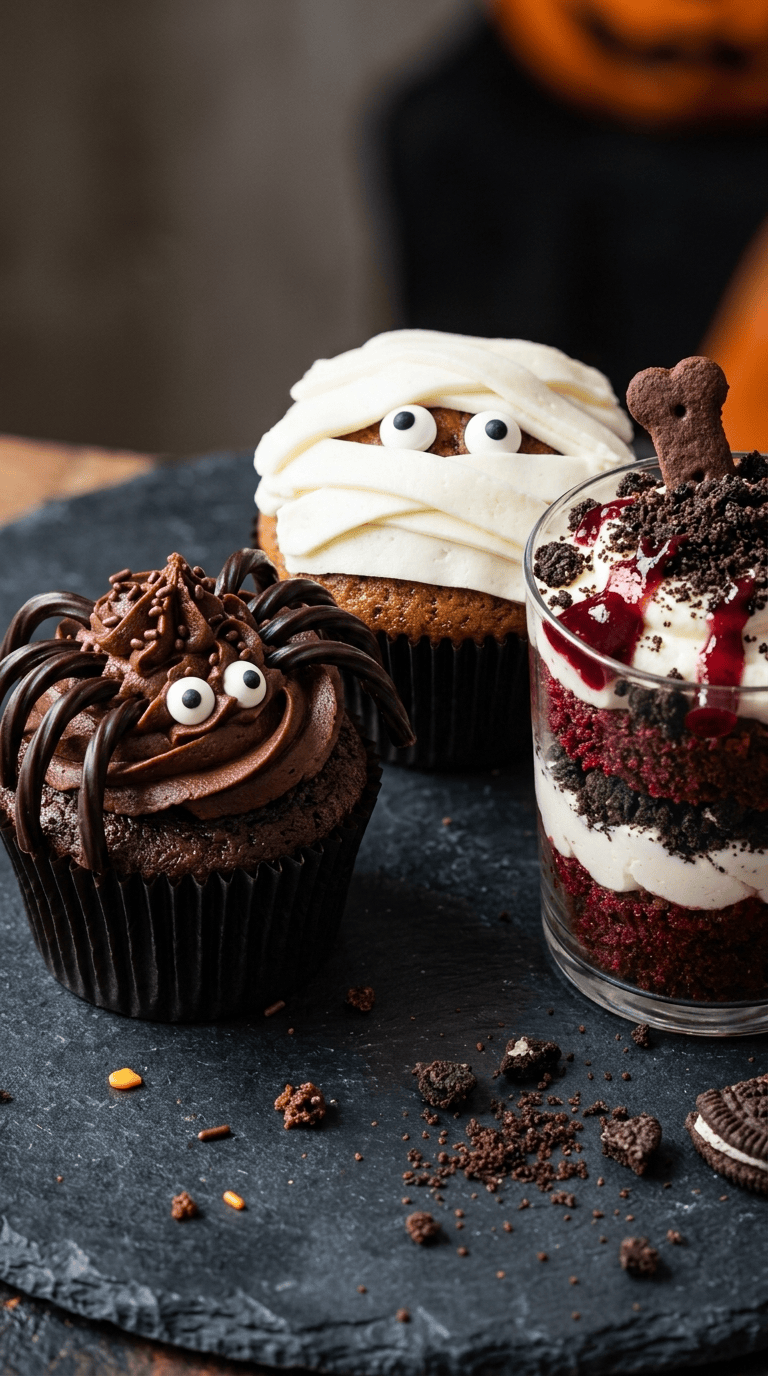
These scary Halloween desserts are the kind of treats that make people stop at the dessert table before they even grab a plate. Think chocolate spider cupcakes, graveyard brownies, bloody-looking red velvet treats, monster cookies, mummy cakes, and creepy pudding cups.
The best part? You don’t need professional cake-decorating skills. I’ve made plenty of Halloween desserts that looked questionable halfway through decorating but turned out surprisingly cute—or creepy—once everything came together.
For a Halloween party, I like to mix a few easy desserts with one showstopper. That way, I’m not spending the entire day in the kitchen while everyone else is having fun.
Why You’ll Love These Scary Halloween Desserts

- They look impressive without complicated techniques. Candy eyes and melted chocolate can do a lot of the decorating work.
- You can make many of them ahead. That’s a huge win when you’re preparing food for a party.
- They work for kids and adults. Just change the decorations to make them sweeter, spookier, or more elegant.
- Most ingredients are easy to find. You don’t need a specialty baking store for most of these ideas.
- They turn an ordinary dessert table into a Halloween centerpiece. A few creepy details make a big difference.
Ingredients You’ll Need
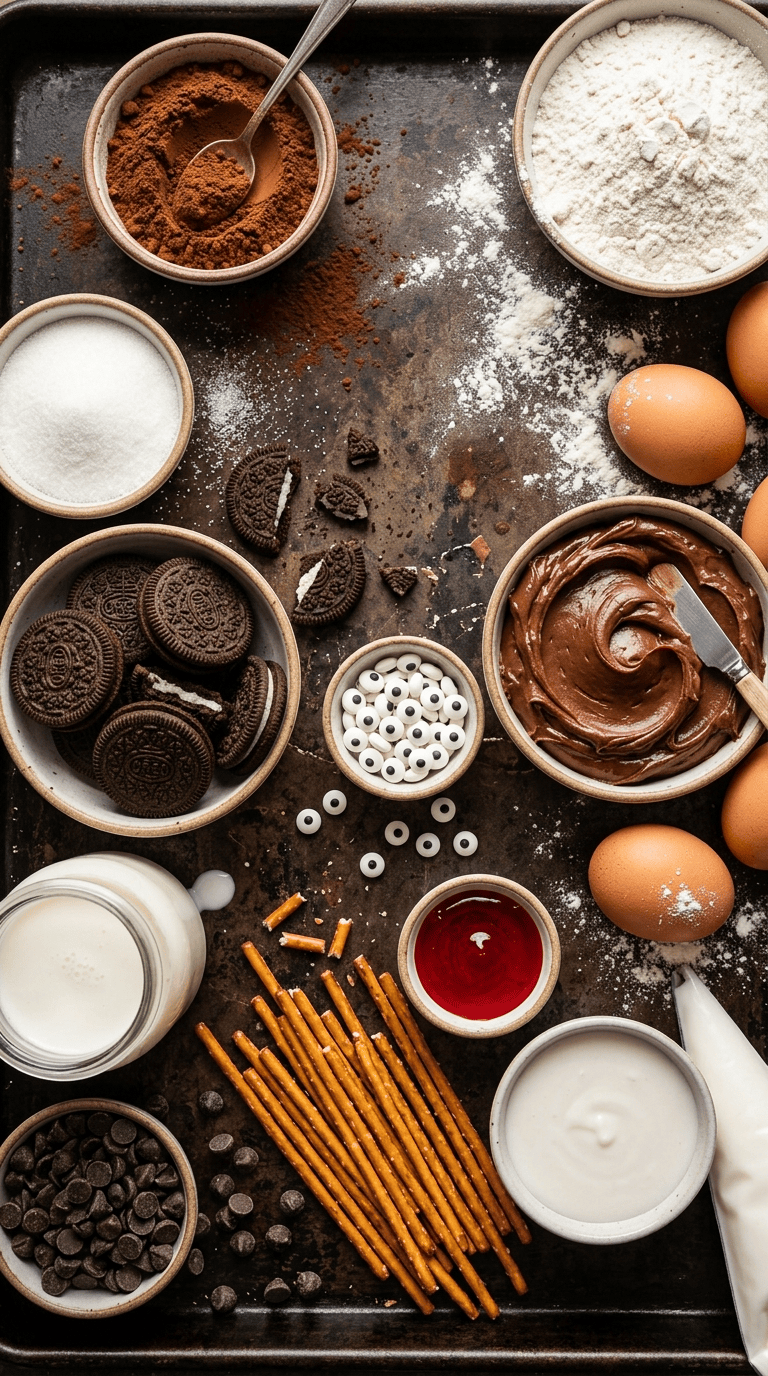
Since this article covers several scary Halloween dessert ideas, you can mix and match the ingredients depending on how many treats you want to prepare.
For Chocolate Spider Cupcakes
- 1 ½ cups all-purpose flour
- ¾ cup granulated sugar
- ½ cup unsweetened cocoa powder
- 1 teaspoon baking powder
- ½ teaspoon baking soda
- ¼ teaspoon salt
- 2 large eggs
- ½ cup vegetable oil
- 1 teaspoon vanilla extract
- ¾ cup buttermilk
- ½ cup hot coffee or hot water
For decorating:
- 2 cups chocolate frosting
- 24 candy eyes
- 48 thin chocolate pretzel sticks
- ½ cup melted chocolate
You can use chocolate buttercream instead of store-bought frosting if you prefer.
For Easy Graveyard Brownies
- 1 box brownie mix
- Ingredients listed on the brownie mix package
- 1 cup chocolate frosting
- 8–10 chocolate sandwich cookies
- 8–10 rectangular chocolate cookies
- ½ cup crushed chocolate cookies
- Candy bones or candy pumpkins, optional
If you already have a favorite homemade brownie recipe, use it. I often make these with brownies I baked the day before.
For Creepy Red Velvet Dessert Cups
- 2 cups red velvet cake, baked and crumbled
- 2 cups cream cheese frosting
- 1 cup chocolate cookie crumbs
- 1 cup whipped cream
- Red decorating gel
- Candy eyes, optional
Helpful Decorating Ingredients
Keep a small Halloween decorating box in your pantry. Mine usually contains:
- Candy eyes
- Chocolate chips
- Chocolate sprinkles
- Black and orange sanding sugar
- Pretzel sticks
- Chocolate sandwich cookies
- Red decorating gel
- Black decorating gel
- White icing
- Mini marshmallows
- Halloween sprinkles
These little ingredients can rescue a dessert when the decoration doesn’t go according to plan.
Step-by-Step Instructions
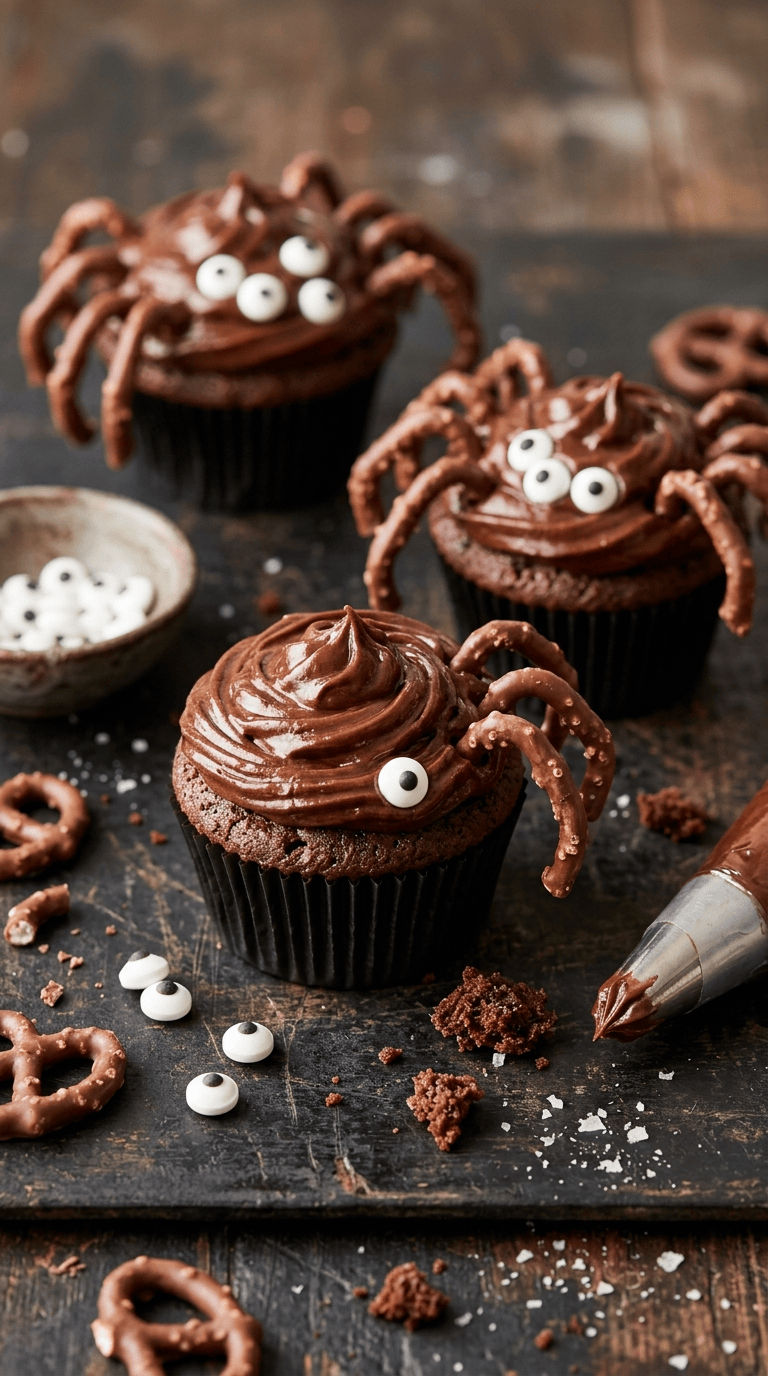
You don’t need to make every dessert at once. Pick two or three favorites and build your party dessert table around them.
1. Bake the Chocolate Cupcakes
Preheat your oven to 350°F (175°C) and line a 12-cup muffin pan with paper liners.
Whisk the flour, sugar, cocoa powder, baking powder, baking soda, and salt in a large bowl.
In another bowl, whisk the eggs, oil, vanilla, and buttermilk until smooth.
Pour the wet mixture into the dry ingredients and stir just until combined. Don’t keep mixing once the flour disappears.
Add the hot coffee or water and stir gently. The batter will look thinner than regular cupcake batter. That’s completely normal.
Divide the batter between the liners, filling each about two-thirds full.
Bake for 18–22 minutes, or until a toothpick inserted into the center comes out with a few moist crumbs.
Let the cupcakes cool completely before decorating.
I learned this lesson the annoying way: frosting a warm cupcake creates a chocolatey puddle instead of a pretty swirl.
2. Turn the Cupcakes Into Spiders
Spread or pipe chocolate frosting over each cooled cupcake.
Place two candy eyes near the front.
Break the chocolate pretzel sticks into smaller pieces and arrange them around the cupcake like spider legs.
For an extra-detailed look, drizzle a little melted chocolate over the pretzel pieces to make them look darker and more connected.
You don’t need perfect symmetry. In fact, slightly crooked spider legs can make them look even creepier.
3. Make the Graveyard Brownies
Prepare the brownie mix according to the package directions and bake it in a lined pan.
Let the brownies cool completely.
Spread a thin layer of chocolate frosting across the top.
Crush the chocolate sandwich cookies in a food processor or place them inside a zip-top bag and crush them with a rolling pin.
Sprinkle the crumbs over the frosting. This becomes your edible “dirt.”
Now decorate the top with rectangular chocolate cookies.
Write tiny words such as “RIP” on the cookies with white icing to turn them into tombstones.
Add candy bones or pumpkins around the tombstones.
For a darker Halloween look, drizzle a little red decorating gel over some of the tombstones.
4. Assemble the Red Velvet Dessert Cups
Crumble cooled red velvet cake into small serving glasses.
Add a spoonful of cream cheese frosting.
Add another layer of cake.
Repeat until the glasses are almost full.
Finish each cup with whipped cream and crushed chocolate cookies.
Now comes the creepy part.
Drizzle a little red decorating gel down the inside of the glass so it looks like spooky red streaks.
Don’t overdo it. A few thin streaks usually look more realistic than a giant blob of red gel.
Chill the cups for at least 1 hour before serving.
5. Make Simple Mummy Treats
Mummy decorations work on almost anything.
You can use cupcakes, brownies, cookies, or even small pieces of cake.
Cover the dessert with white frosting.
Pipe thin lines of white icing across the top, leaving a little space between each line.
Add two candy eyes.
That’s it.
I especially like this decoration when I’m tired and don’t have the patience for complicated piping. The messier the lines look, the more mummy-like they become.
6. Create Monster Cookies
Start with homemade or store-bought chocolate chip cookies.
Spread a thin layer of colored frosting over the top.
Add candy eyes in different sizes.
Pipe a crooked black mouth using black decorating gel.
For teeth, cut tiny pieces of white candy or use small white sprinkles.
Don’t make every monster identical. Different eyes, mouths, and expressions make the dessert tray much more fun.
7. Add a Creepy Finishing Touch
Once all the desserts are decorated, arrange them together on a large tray.
Scatter crushed chocolate cookies around the base.
Add plastic Halloween decorations around the outside of the serving tray, keeping anything non-edible away from the actual food.
You can also add small paper labels such as “Witch’s Brownies,” “Monster Bites,” or “Graveyard Treats.”
The desserts themselves should remain the star.
Pro Tips & Tricks
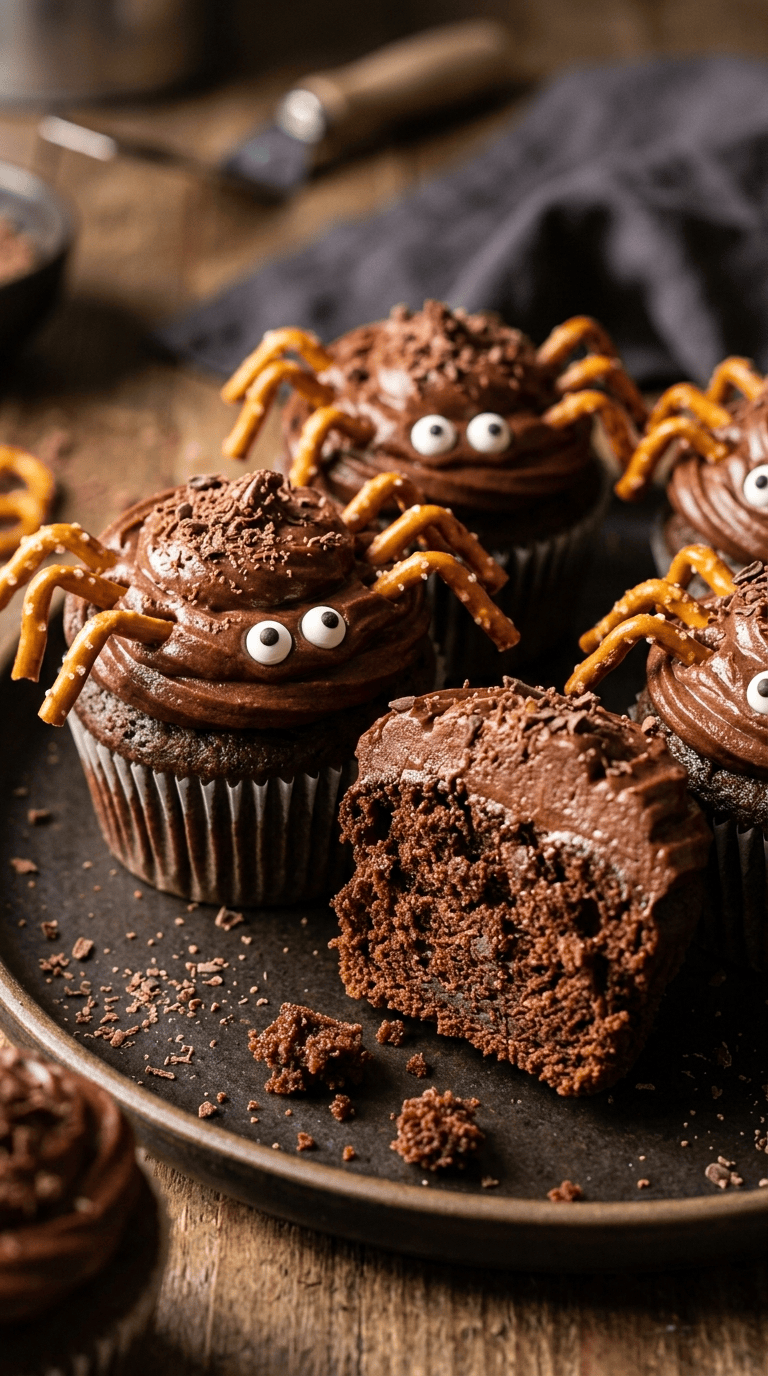
Let Everything Cool Completely
This sounds obvious, but it makes a huge difference.
Warm cupcakes, brownies, or cake will soften frosting and make decorations slide around. Give baked goods plenty of time to cool before decorating.
Don’t Chase Perfect Decorations
Halloween desserts actually benefit from a little imperfection.
A crooked spider, uneven mummy lines, or monster eyes pointing in different directions can make the treats look more playful.
Prepare the Cake and Brownies Ahead
You can bake cupcakes, brownies, and cakes 1–2 days ahead.
Store them in airtight containers at room temperature if they don’t contain perishable fillings or frosting. Decorate closer to serving time for the freshest appearance.
Crush Cookies Without Making a Mess
Put sandwich cookies into a sturdy zip-top bag and press out most of the air before sealing it.
Use a rolling pin to crush them.
You’ll get fine crumbs without covering your food processor in chocolate dust.
Chill Decorated Desserts When Needed
Cream cheese frosting and whipped cream desserts should stay refrigerated.
If your party runs for several hours, put out smaller batches and keep the rest chilled until you’re ready to refill the dessert table.
Variations & Substitutions
Make Them Gluten-Free
Use a trusted gluten-free flour blend for homemade cakes and cupcakes.
For cookies, brownies, and sandwich-cookie crumbs, choose certified gluten-free alternatives and check every packaged ingredient.
Make Them Egg-Free
Use a suitable egg replacement in your favorite cupcake or brownie recipe.
For a simple party dessert, you can also use an egg-free cake mix if it fits your needs.
Make Them More Grown-Up
For an adults-only Halloween party, use darker chocolate, espresso-flavored frosting, salted caramel, or coffee in your desserts.
You can also create a more elegant black-and-red dessert table instead of using bright candy colors everywhere.
Make Them Kid-Friendly
Let kids decorate their own monster cookies.
Set out small bowls of candy eyes, sprinkles, frosting, and cookie crumbs. Give each child a plain cookie and let them create a monster.
Expect a little chaos.
Also expect everyone to have a fantastic time.
Serving Suggestions

A scary Halloween dessert table doesn’t need twenty different desserts.
For a small gathering, I like serving:
- Chocolate spider cupcakes
- Graveyard brownies
- Mummy cookies
- Red velvet dessert cups
That gives you different textures and flavors without creating a ridiculous amount of work.
For a larger Halloween party, place the desserts on different-height cake stands and trays. This creates a fuller display and makes each treat easier to see.
Serve brownies and cupcakes at room temperature for the best texture.
Keep whipped cream and cream cheese desserts chilled until shortly before serving.
You can also add a large bowl of popcorn, pretzels, or simple Halloween candy to fill empty spaces on the table without baking another dessert.
And don’t forget napkins. Chocolate frosting has a mysterious ability to end up on absolutely everything.
Related Recipes :
- Easy Halloween Baking Recipes Everyone Will Love
- Halloween Food Recipe for the Ultimate Halloween Party
- Halloween Dessert Recipe for a Spooky Sweet Table
FAQ’s
Can I make scary Halloween desserts the day before?
Yes. Brownies, cookies, cupcakes, and unfrosted cakes work especially well when you prepare them a day ahead.
Store them properly and decorate them on the day of the party when possible.
How should I store decorated Halloween cupcakes?
Store cupcakes in an airtight container. If you use cream cheese frosting or another perishable topping, refrigerate them.
Let refrigerated cupcakes sit at room temperature for a short time before serving so the cake softens.
Can I freeze Halloween desserts?
You can freeze many unfrosted cakes, cupcakes, brownies, and cookies.
Wrap them tightly and place them in a freezer-safe container. Thaw them completely before decorating.
Avoid freezing delicate whipped cream decorations because they may lose their texture.
What can I use instead of candy eyes?
You can pipe small dots of white and black icing onto the desserts.
Mini marshmallows with tiny chocolate dots also work well for larger monster eyes.
Why does my frosting slide off the cupcakes?
The cupcakes may still be warm, or the frosting may be too soft.
Let the cupcakes cool completely and chill the frosting briefly if it feels loose. Avoid adding a thick layer of frosting to a warm cupcake.
Can I prepare the Halloween dessert table in advance?
Yes, but assemble it in stages.
Bake the desserts ahead, prepare decorations separately, and keep perishable treats refrigerated.
Arrange everything on the serving table shortly before guests arrive.
Final Thoughts
I think the best Halloween desserts are the ones that make people smile before they even take a bite.
They don’t have to look like they came from a professional bakery. A simple cupcake can become a spider with a few pretzel sticks. A pan of brownies can become a tiny graveyard with crushed cookies and chocolate tombstones.
That’s what makes Halloween baking so much fun.
If you’re planning a party this year, pick a few desserts that match your comfort level and let yourself get creative with the decorations. And if one spider ends up with five legs while another somehow has nine, just call it Halloween magic.
Make a tray, invite your favorite people, and don’t forget to save yourself one of the best-looking treats before the party starts. Trust me on that one.
Leave a Reply
You must be logged in to post a comment.