

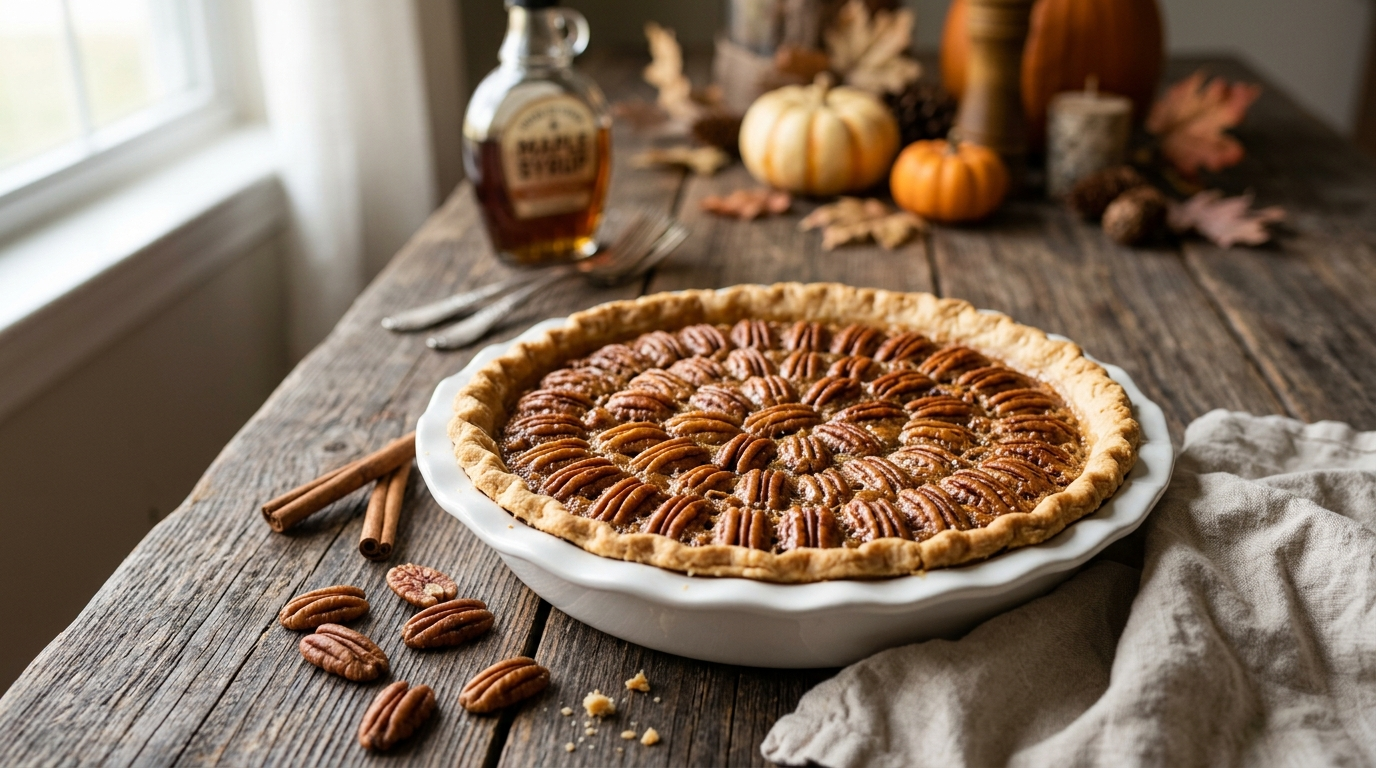
The first time I made pecan pie for Thanksgiving, I treated it like a dessert that required serious pastry skills. I chilled the dough twice, worried over every little crack, and kept opening the oven door because I was convinced something had gone wrong.
It turns out I was making it much harder than it needed to be.
After a few Thanksgiving dinners and more than a few pies, I settled on this easy maple pecan pie. The maple syrup gives the filling a deep, cozy sweetness, while the toasted pecans add just enough crunch to keep every bite interesting.
I also love that this pie doesn’t need a complicated filling. You whisk everything together in one bowl, pour it into the crust, arrange the pecans, and let the oven do the work.
There’s one little trick I discovered by accident: lightly toasting the pecans before they go into the pie makes a surprisingly big difference. They smell incredible, taste nuttier, and give the finished pie a richer flavor.
This is the Thanksgiving pie I reach for when I want something homemade and impressive without spending half the holiday in the kitchen.
Why You’ll Love This Recipe

- Easy enough for a busy Thanksgiving: The filling comes together in about 10 minutes.
- No corn syrup required: Pure maple syrup provides the sweetness and a lovely maple flavor.
- One-bowl filling: Less washing up is always welcome on Thanksgiving.
- Make-ahead friendly: The pie keeps well, so you can bake it before the big day.
- A real crowd-pleaser: It’s sweet, nutty, buttery, and especially good with something cold and creamy on top.
Ingredients
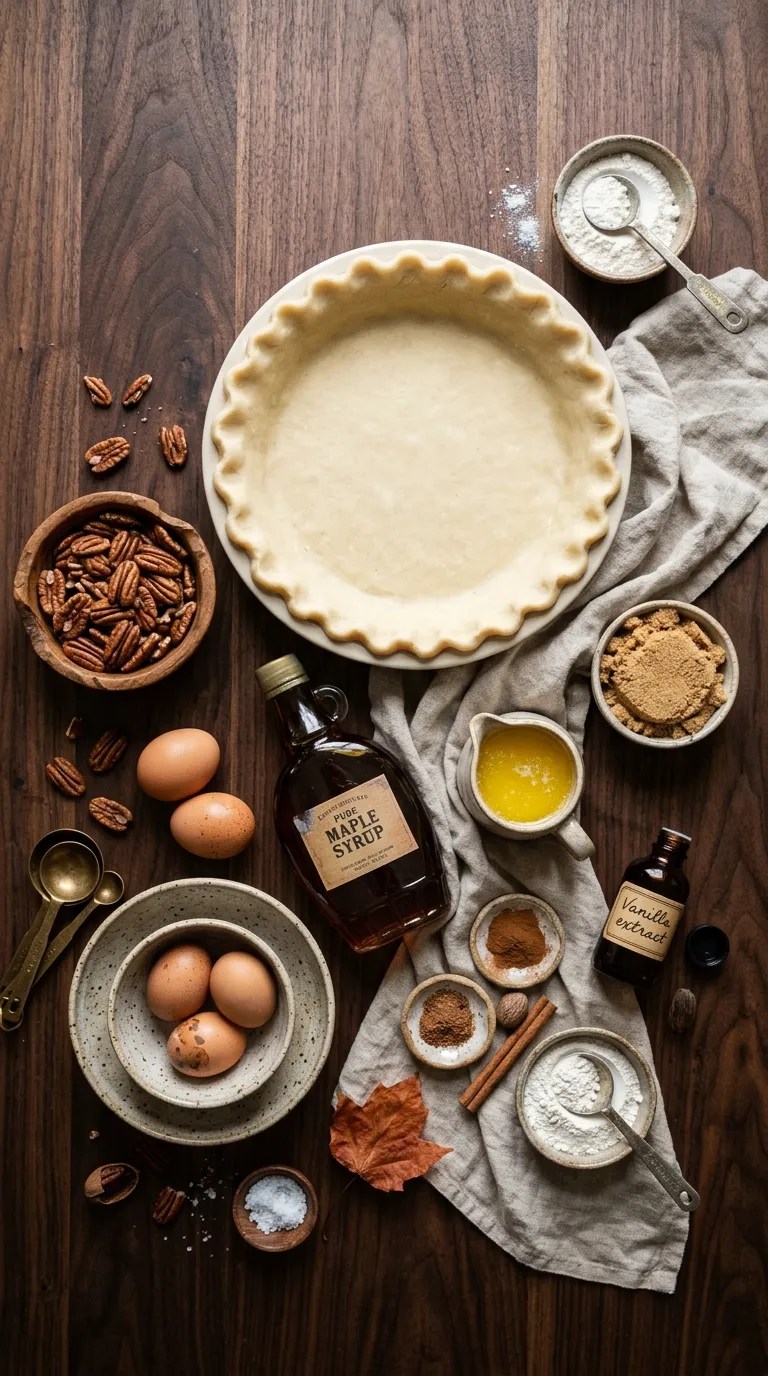
For the crust
You can use a homemade crust or a refrigerated 9-inch pie crust when you want to save time. There is absolutely no shame in taking the shortcut during Thanksgiving.
For one 9-inch pie, you’ll need:
- 1 9-inch unbaked pie crust
- 1 tablespoon unsalted butter, softened, for greasing the pie plate if needed
If you prefer homemade crust, use your favorite single-crust pastry recipe. I usually reach for a food processor when I make mine because it keeps the process quick.
For the maple pecan filling
- 1 1/2 cups pecan halves
- 3 large eggs
- 1/2 cup pure maple syrup
- 1/2 cup packed light brown sugar
- 1/4 cup unsalted butter, melted and slightly cooled
- 1 teaspoon pure vanilla extract
- 1/2 teaspoon ground cinnamon
- 1/4 teaspoon fine salt
- 1/4 teaspoon ground nutmeg, optional
- 1 tablespoon all-purpose flour
Use pure maple syrup, not pancake syrup, if you can. The maple flavor comes through much more clearly.
You can use dark brown sugar instead of light brown sugar if that’s what you have. Dark brown sugar will give the filling a slightly deeper molasses flavor.
For the pecans, halves give you a classic look, but chopped pecans work perfectly well too. I like to keep some halves for the top and roughly chop the rest for easier slicing.
Step-by-Step Instructions
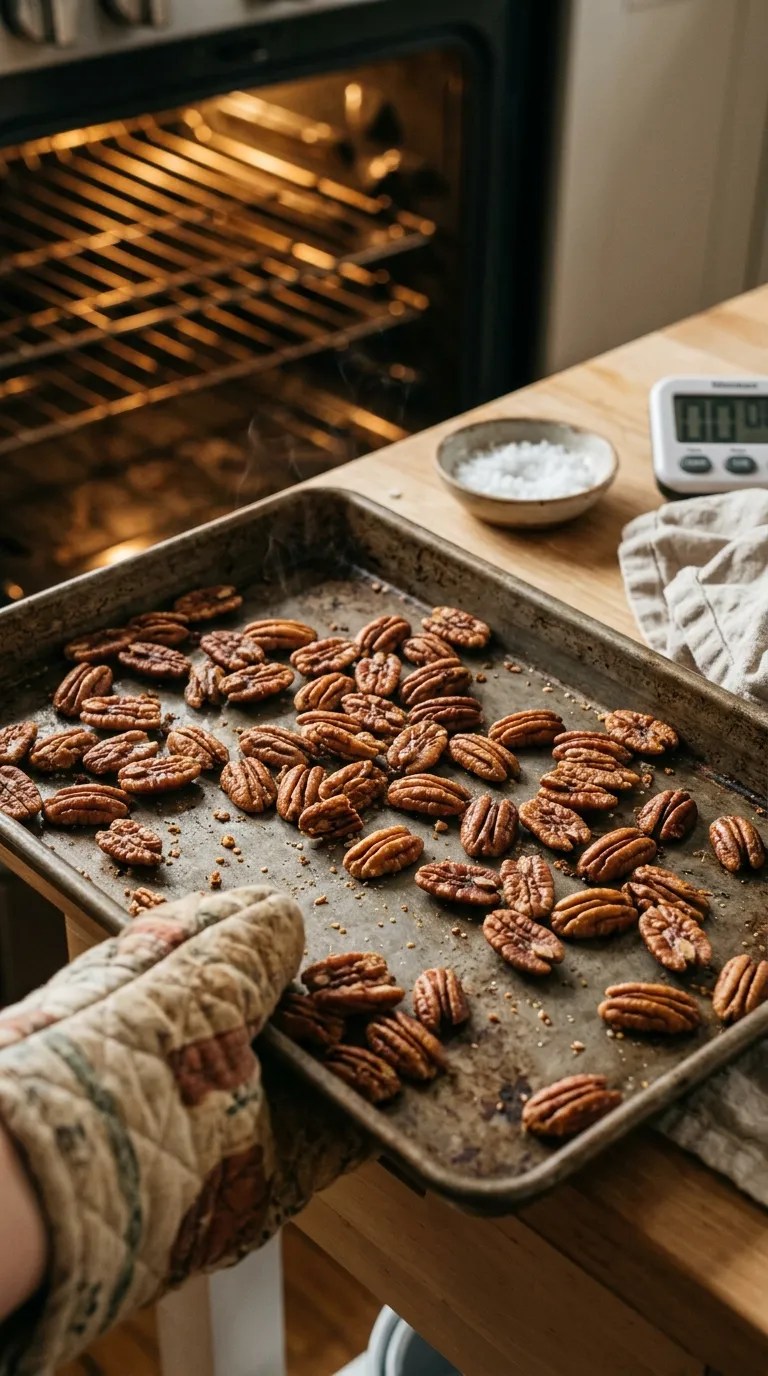
1. Toast the pecans — 5 to 7 minutes
Start by heating your oven to 350°F (175°C).
Spread the pecans on a dry baking sheet in a single layer. Toast them for about 5 to 7 minutes, giving the pan a shake halfway through.
Keep an eye on them. Pecans can go from beautifully toasted to burnt surprisingly quickly.
When they’re ready, they should smell nutty and fragrant. Let them cool for a few minutes.
If you’re short on time, you can skip this step, but I really recommend keeping it. It’s one of those tiny extras that makes the finished pie taste like you put in more effort than you actually did.
2. Prepare the pie crust — 5 minutes
Place your unbaked 9-inch pie crust into a pie plate.
If you’re using homemade dough, gently press it into the corners without stretching it. Trim any excess dough and crimp the edges however you like.
I don’t worry about making the edge perfect. Thanksgiving pies are supposed to look homemade.
Set the crust aside while you make the filling.
3. Make the filling — 5 minutes
Melt the butter and let it cool slightly.
In a large mixing bowl, whisk together the eggs, maple syrup, brown sugar, melted butter, vanilla, cinnamon, salt, nutmeg, and flour.
Whisk until the mixture looks smooth and evenly combined.
Don’t whip it aggressively. You don’t need lots of air in the filling. A gentle whisk does the job.
4. Add the pecans — 2 minutes
Roughly chop about half of the toasted pecans.
Stir the chopped pecans into the maple mixture.
Keep the remaining pecan halves for the top. This gives the pie a pretty finish and makes it immediately recognizable as a pecan pie.
5. Fill the crust — 2 minutes
Pour the filling into the prepared crust.
Arrange the remaining pecan halves over the surface. You can create a neat pattern if you’re feeling ambitious, or scatter them naturally for a more rustic look.
Don’t fill the crust all the way to the very top. Leave a little room because the filling will puff slightly as it bakes.
6. Bake the pie — 45 to 55 minutes
Place the pie on a baking sheet. This makes it much easier to move in and out of the oven and protects you from accidental spills.
Bake at 350°F (175°C) for about 45 to 55 minutes.
Start checking around the 45-minute mark.
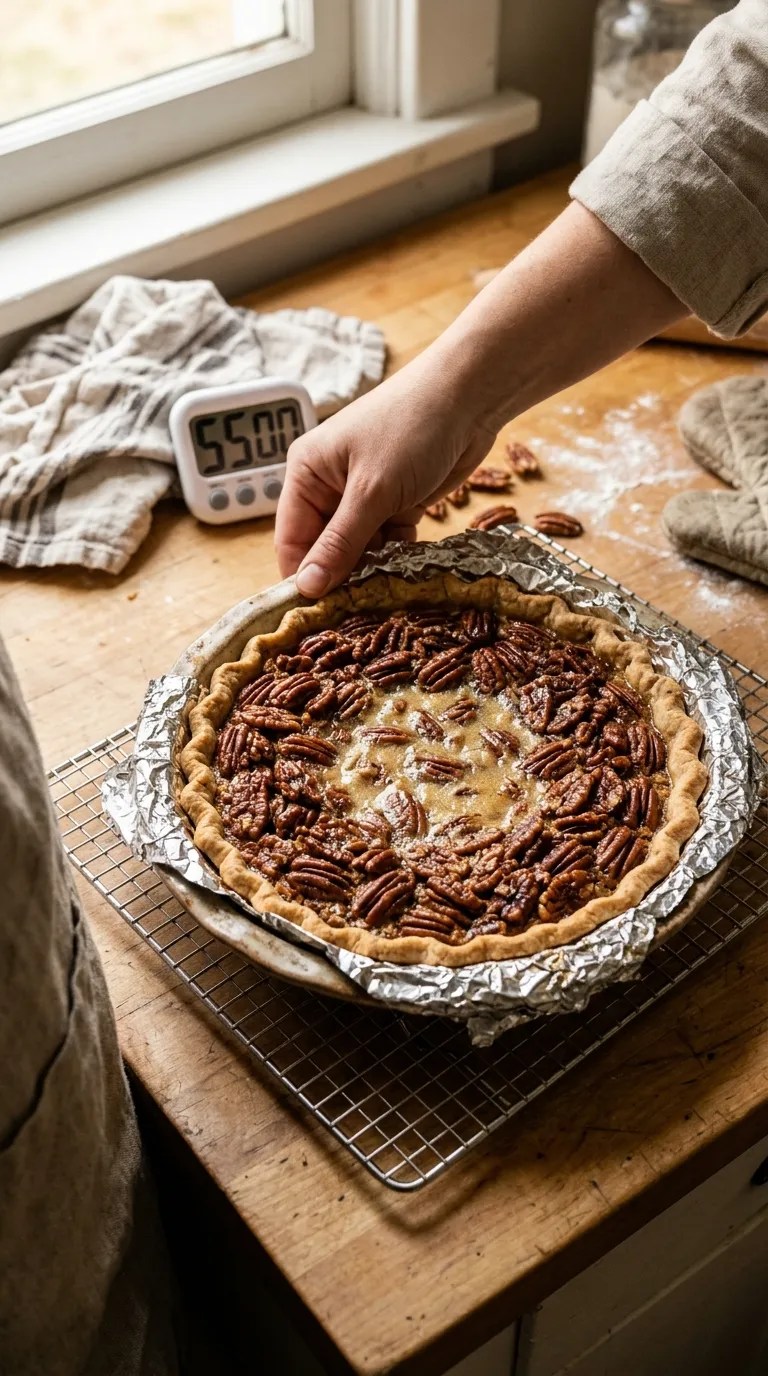
The edges should look set, while the center should still have a gentle wobble when you carefully move the pie. Think of a soft jiggle rather than a liquid slosh.
If the crust starts browning too quickly, loosely cover the edges with aluminum foil or use a pie shield.
Don’t worry if the center looks slightly underdone when you first remove it. The filling continues to set as the pie cools.
7. Cool completely — at least 2 hours
This is the part where patience pays off.
Place the pie on a cooling rack and let it cool completely before slicing. Give it at least 2 hours at room temperature.
I know how tempting it is to cut into a warm pie, especially when the kitchen smells like toasted pecans and maple. But if you slice it too soon, the filling may not have enough time to firm up.
For the cleanest slices, I often bake the pie in the afternoon and let it cool for several hours before serving.
Pro Tips & Tricks
Toast the pecans, but don’t walk away
Toasting gives the nuts a deeper flavor, but pecans contain plenty of natural oil and can burn quickly.
Stay nearby during those few minutes. Once you smell that warm, nutty aroma, they’re ready.
Don’t overbake the filling
This is probably the most important tip.
A pecan pie should have a soft, set filling rather than a dry, firm one. When you gently nudge the pie, the center should move slightly.
The filling will continue setting as it cools.
Protect the crust if necessary
If your crust starts turning dark before the filling finishes baking, cover the outer edge with foil.
I prefer to check the pie rather than automatically covering it from the beginning because every oven behaves a little differently.
Let the pie cool before cutting
Give it at least two hours.
If you need to serve it the next day, that’s even easier. The pie can cool completely, then go into the refrigerator until you’re ready to serve it.
Make it ahead
Thanksgiving gets hectic quickly, so I love recipes that I can finish early.
Bake this pie one day ahead, let it cool completely, cover it, and refrigerate it. Take it out about 30 to 60 minutes before serving so it isn’t ice-cold.
You can also warm individual slices gently if you prefer a slightly warm dessert.
Keep leftovers covered
Store leftover pie covered in the refrigerator.
For the best texture, enjoy it within about 3 to 4 days.
Variations & Substitutions
Add a little orange zest
For a brighter flavor, add 1 teaspoon finely grated orange zest to the filling.
The orange doesn’t overpower the maple and pecans. Instead, it adds a subtle citrus note that works beautifully on a Thanksgiving dessert table.
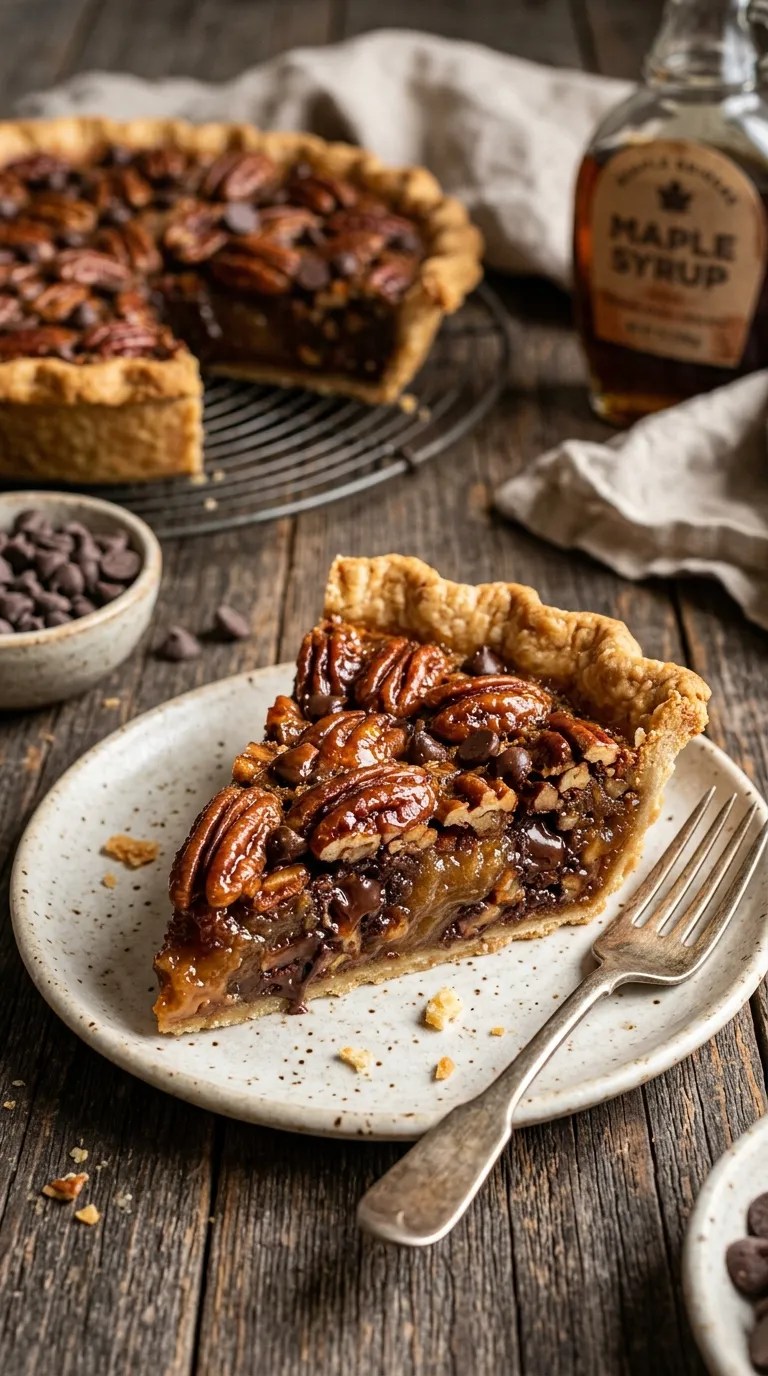
Make a chocolate maple pecan pie
If chocolate and pecans are your idea of a perfect combination, add 1/2 cup semi-sweet chocolate chips to the crust before pouring in the filling.
The chocolate melts into little pockets throughout the pie.
I like semi-sweet chocolate here because the maple and brown sugar already bring plenty of sweetness.
Use walnuts
No pecans in the pantry? You can substitute walnuts in an equal amount.
The flavor will change, but the pie will still have that lovely combination of buttery filling and crunchy nuts.
For the best texture, toast the walnuts just as you would the pecans.
Make it gluten-free
For a gluten-free version, use a certified gluten-free pie crust and replace the tablespoon of all-purpose flour with a gluten-free flour blend that works as a 1:1 substitute.
Check your ingredient labels if you need to avoid gluten completely, especially for packaged crusts and baking ingredients.
Serving Suggestions

A slice of maple pecan pie doesn’t need much help.
My favorite way to serve it is slightly cool or at room temperature with a spoonful of softly whipped cream. The cream balances the sweetness and makes the maple flavor stand out.
Vanilla ice cream also works wonderfully. Put a small scoop beside a slice while the pie is still slightly warm, and let it soften over the crust.
For Thanksgiving dinner, I like to serve the pie after the coffee comes out. The combination of warm coffee, toasted pecans, and maple makes the whole kitchen feel cozy.
If you’re serving several desserts, cut smaller slices. This pie is rich enough that guests often want just a little piece after a big holiday meal.
It’s also a great choice for a casual fall dinner, Friendsgiving, a November potluck, or any weekend when you want the house to smell like you’ve been baking all afternoon.
Related Recipes:
- Pumpkin Crisp Bars
- No-Bake Pumpkin Cheesecake Ball
- How to Make Pecan Pie Cheesecake From Scratch
- Southern Pecan Pie Cheesecake for Thanksgiving
FAQ’s
Can I make this maple pecan pie ahead of time?
Absolutely. Bake it the day before Thanksgiving, let it cool completely, cover it, and refrigerate it.
That actually makes Thanksgiving morning much easier because dessert is already finished.
Why is my pecan pie runny in the middle?
The most common reason is underbaking, but slicing the pie while it’s still hot can also make the filling appear loose.
Bake until the edges look set and the center has a gentle jiggle rather than a liquid movement. Then let the pie cool completely before slicing.
Remember that the filling continues to firm as it cools.
Can I use pancake syrup instead of pure maple syrup?
You can, but I recommend pure maple syrup for this recipe.
Pancake syrup usually has a different flavor and texture, while pure maple syrup gives the pie a more natural maple taste that pairs especially well with toasted pecans.
Can I freeze maple pecan pie?
Yes. Let the baked pie cool completely, then wrap it well and freeze it.
For the best texture, thaw it in the refrigerator before serving. You can bring it closer to room temperature afterward.
If you’re planning to freeze it, avoid leaving it uncovered because the crust can pick up freezer odors and lose some of its texture.
Can I use chopped pecans instead of pecan halves?
Definitely.
Chopped pecans make the pie easier to cut and give you a little nutty crunch in nearly every bite. You can also use a mixture of chopped pecans in the filling and pecan halves on top for the best of both.
What should I do if my crust browns too quickly?
Cover the edges loosely with aluminum foil or use a pie shield.
Don’t cover the entire pie unless necessary. You want the filling to continue baking while the crust gets some protection from the heat.
Final Thought
There are fancy Thanksgiving desserts that require elaborate decorations and several hours of preparation, and then there are desserts like this one.
This easy maple pecan pie gives you that classic holiday feeling without turning dessert into a project. The maple adds a warm sweetness, the toasted pecans bring plenty of texture, and the simple filling lets the ingredients do most of the work.
I’ve learned to make this pie when I want something dependable. I don’t need to fuss over it, and I don’t need a perfectly decorated crust. Once it comes out of the oven and the whole kitchen smells like maple and toasted pecans, I know dessert is going to disappear.
If you make it for Thanksgiving, let the pie cool fully before you slice it, put the coffee on, and save yourself a corner piece. In my experience, those corner pieces don’t last long.
Happy baking — and I hope this maple pecan pie earns a regular spot on your Thanksgiving table.
Leave a Reply
You must be logged in to post a comment.