


Every Thanksgiving, I seem to face the same dessert dilemma: do I make brownies or pecan pie?
One year, I decided I was tired of choosing. I baked a batch of fudgy brownies, spooned a buttery pecan topping over them, and hoped for the best. I remember staring through the oven door thinking, Please let this work.
It worked better than I expected.
The brownies stayed rich and chocolatey underneath, while the pecan topping baked into a glossy, caramel-like layer with plenty of toasted crunch. I cut the first piece while it was still slightly warm, which I don’t necessarily recommend because the center hadn’t completely settled—but that first bite convinced me to make them again.
Since then, these easy pecan pie brownies have become one of my favorite Thanksgiving desserts. They give you the cozy flavors of pecan pie without asking you to fuss with a pie crust, and the brownie base makes them especially hard to resist.
If your Thanksgiving table already has pumpkin pie, apple pie, and a few other classics, these brownies fit right in without competing for attention.
Why You’ll Love This Recipe

- No pie crust required. You get the flavors of pecan pie without rolling, chilling, or crimping dough.
- Two desserts in one. The fudgy chocolate brownie base balances the sweet, buttery pecan topping beautifully.
- Easy to make ahead. They actually become easier to slice after they cool completely.
- Great for a crowd. Cut them into small squares and you can serve plenty of guests.
- Perfect for Thanksgiving. The toasted pecans, brown sugar, and warm vanilla flavors feel right at home on a holiday dessert table.
Ingredients
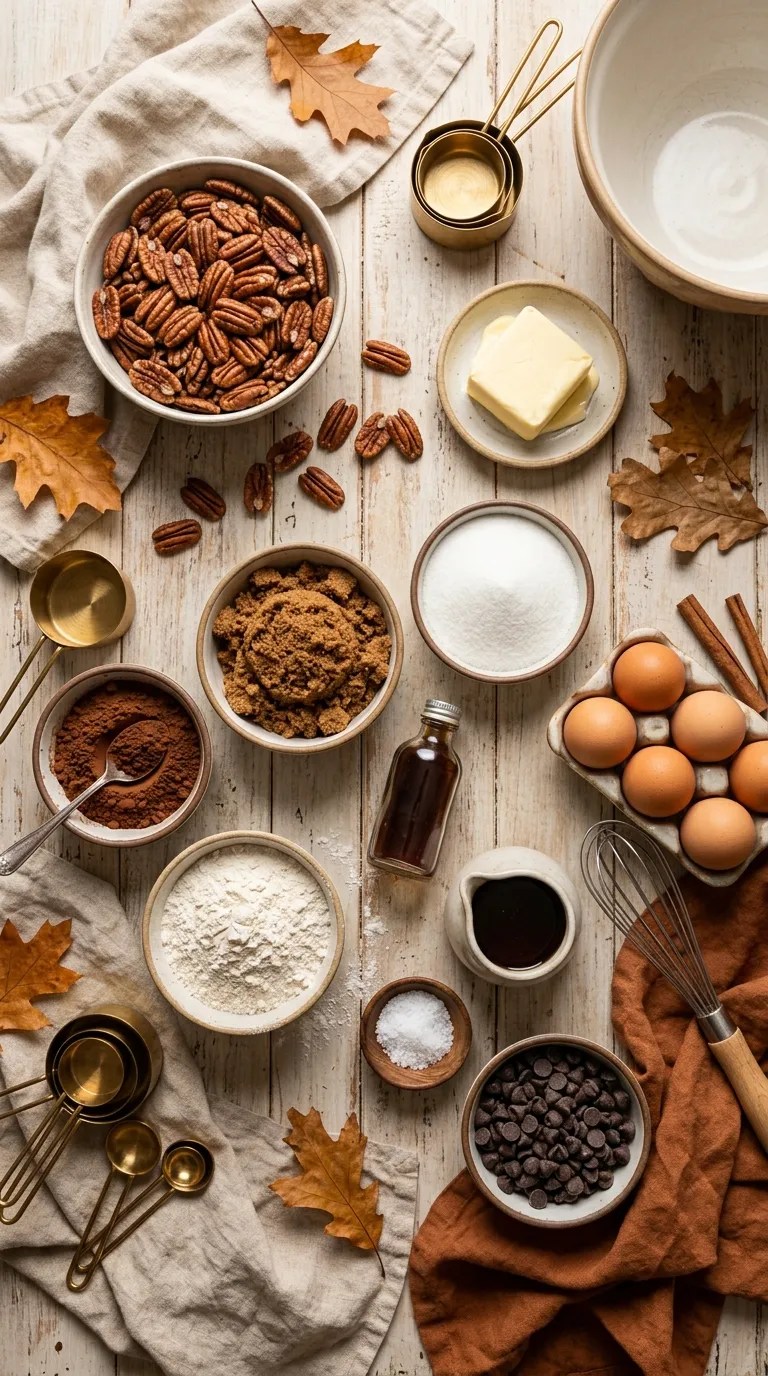
I use a standard 9-by-13-inch metal baking pan for this recipe. A metal pan helps the brownies bake evenly and gives the edges a pleasantly chewy texture.
For the Brownie Base
- 1 cup (226 g) unsalted butter, melted
- 1 ¾ cups (350 g) granulated sugar
- ¾ cup (75 g) unsweetened cocoa powder
- 4 large eggs, room temperature
- 2 teaspoons vanilla extract
- 1 cup (125 g) all-purpose flour
- ½ teaspoon salt
- ½ cup (85 g) semisweet chocolate chips
You can use salted butter if that’s what you have. If you do, reduce the added salt slightly.
For a deeper chocolate flavor, use Dutch-process cocoa powder. Regular unsweetened cocoa works perfectly well too.
For the Pecan Pie Topping
- ½ cup (113 g) unsalted butter
- ¾ cup (150 g) packed light brown sugar
- ½ cup (160 g) pure maple syrup
- ¼ cup (50 g) granulated sugar
- 2 large eggs
- 1 teaspoon vanilla extract
- ¼ teaspoon salt
- 2 cups (220 g) pecan halves or roughly chopped pecans
I usually chop about half of the pecans and leave the rest in larger pieces. That gives every bite some pecan crunch while keeping the topping attractive.
If you don’t have maple syrup, you can substitute light corn syrup. The flavor will change slightly, but the topping will still work.
Step-by-Step Instructions
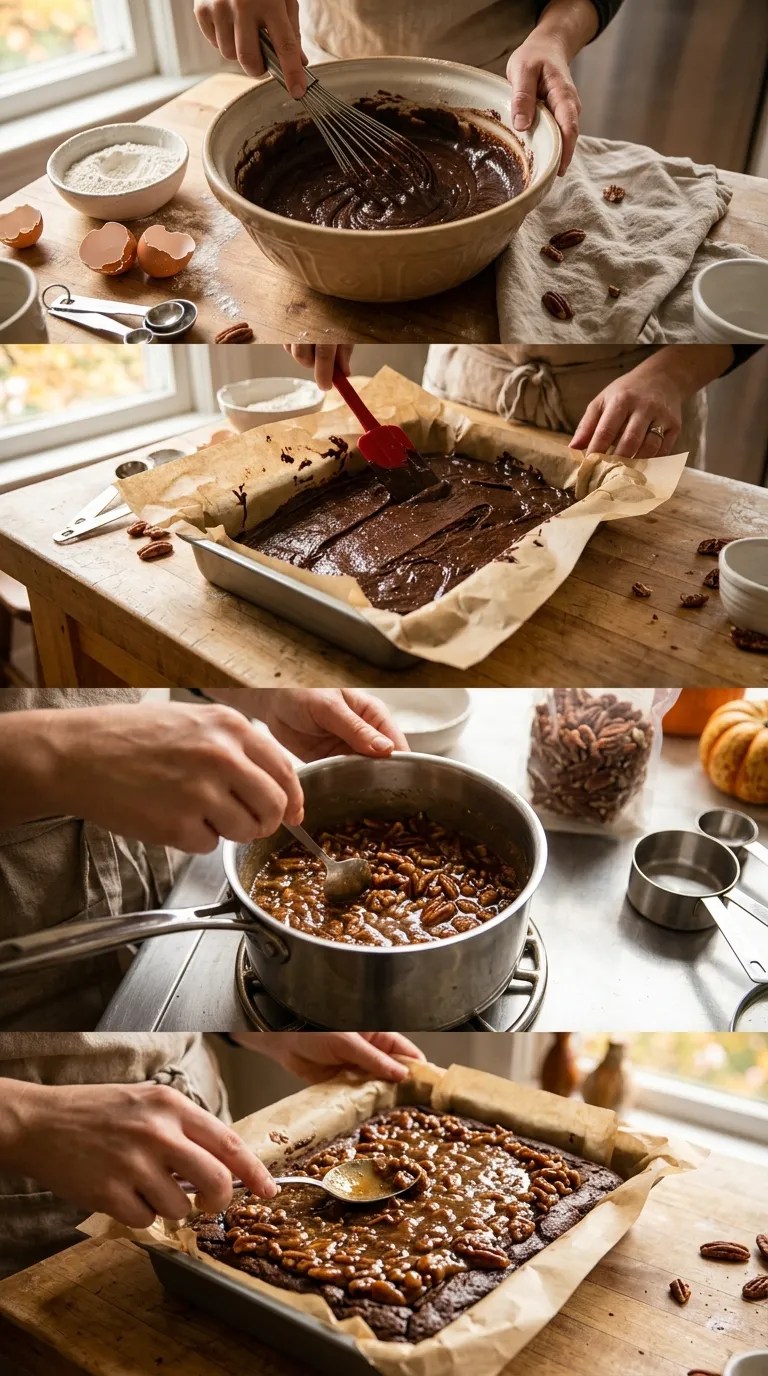
1. Prepare the Pan — 5 Minutes
Heat your oven to 350°F (175°C).
Line a 9-by-13-inch baking pan with parchment paper, leaving some paper hanging over the sides. Lightly grease the parchment and the exposed sides of the pan.
The parchment sling makes a big difference later. Once the brownies cool, you can lift the entire slab from the pan instead of trying to dig individual pieces out with a spatula.
2. Mix the Brownie Batter — 10 Minutes
Pour the melted butter into a large mixing bowl.
Whisk in the granulated sugar and cocoa powder until the mixture looks smooth and glossy. Don’t worry if it looks a little thick at this stage.
Add the eggs one at a time, whisking well after each addition. Stir in the vanilla.
Add the flour and salt. Fold them in with a rubber spatula just until you no longer see dry streaks of flour.
Don’t overmix the batter. Once the flour disappears, stop.
Fold in the chocolate chips.
The finished batter should look thick and shiny rather than runny.
3. Bake the Brownie Layer — About 18 Minutes
Spread the brownie batter evenly into your prepared pan.
Bake for about 18 minutes.
You’re not trying to bake the brownies completely at this point. The surface should look set, but the center should still have a little softness when you gently move the pan.
This partial bake gives the pecan topping something sturdy to sit on without turning the brownie layer dry.
While the brownies bake, make the topping.
4. Make the Pecan Topping — 8 Minutes
Melt the butter in a medium saucepan over medium-low heat.
Add the brown sugar, maple syrup, granulated sugar, and salt. Stir until the brown sugar dissolves and the mixture looks smooth.
Remove the saucepan from the heat.
Let the mixture cool for about 5 minutes. This small step matters because you don’t want to add very hot syrup to the eggs.
In a separate bowl, whisk the two eggs and vanilla together.
Slowly whisk a little of the warm butter mixture into the eggs. Continue adding the butter mixture gradually while whisking.
Once you’ve warmed the eggs gently, pour the egg mixture back into the saucepan and stir until combined.
Fold in the pecans.
The topping should look thick, glossy, and packed with pecans.
5. Add the Topping — 2 Minutes
Carefully remove the partially baked brownies from the oven.
Pour the pecan mixture evenly over the brownie layer.
Use a spatula to gently spread the pecans toward the corners if necessary.
Try not to press the topping deeply into the brownie batter. You want to keep the layers distinct while they finish baking.
6. Finish Baking — 25 to 30 Minutes
Return the pan to the oven.
Bake for another 25–30 minutes, or until the pecan topping looks puffed and set around the edges while the center still has a slight jiggle.
Don’t wait for the center to become completely firm in the oven. The topping continues to set as it cools.
If the pecans begin browning too quickly, loosely cover the pan with aluminum foil for the final part of baking.
7. Cool Completely — At Least 2 Hours
This is the hardest step because your kitchen will smell incredible.
Let the brownies cool in the pan for about 30 minutes, then transfer them to a cooling rack using the parchment paper.
For the cleanest slices, let them cool completely—about 2 hours at room temperature—or refrigerate them for about an hour.
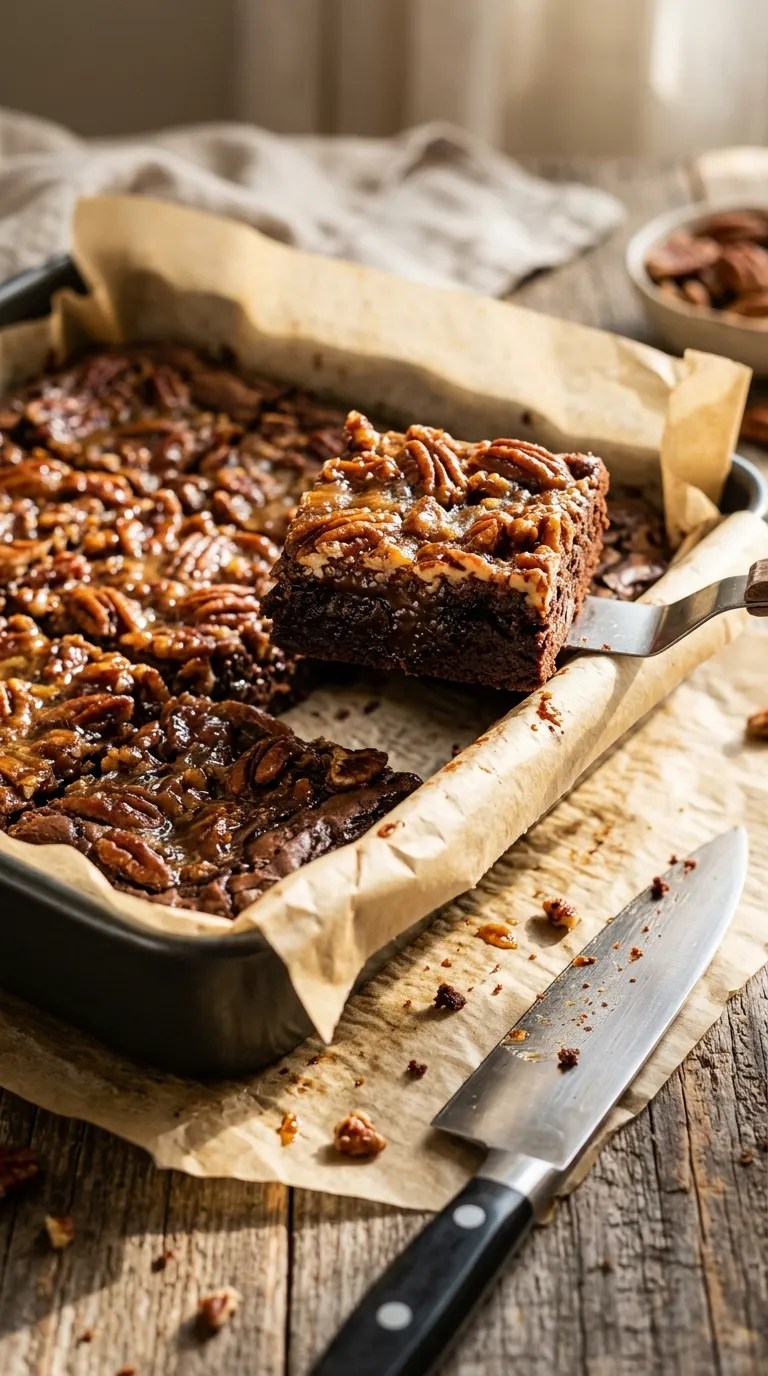
Run a sharp knife under hot water, dry it, and slice the brownies. Wipe the knife between cuts for neat squares.
If you prefer a softer, gooier brownie, serve them slightly warm. Just expect messier slices.
Pro Tips & Tricks
Don’t Overbake the Brownies
The biggest mistake I made the first time was waiting for the brownie layer to look completely done before adding the pecan topping.
That left me with brownies that tasted good but lacked the fudgy texture I wanted.
Remember that the brownies get another 25–30 minutes in the oven after you add the topping. The first bake simply gives the brownie layer a head start.
Let the Topping Cool Before Adding the Eggs
Warm butter and sugar are fine. A piping-hot mixture and raw eggs are not a great combination.
Give the butter mixture a few minutes to cool, then slowly whisk it into the eggs.
This little bit of patience keeps the topping smooth.
Don’t Slice Them Too Soon
I know. You want one immediately.
I do too.
But pecan pie brownies become much easier to cut once they cool. The topping firms up, and the brownie underneath holds together better.
If you’re taking these to Thanksgiving dinner, make them earlier in the day and let them cool completely before transporting them.
Use Toasted Pecans for Extra Flavor
You don’t have to toast the pecans first, but you can.
Spread them on a baking sheet and toast them at 350°F for about 6–8 minutes, watching closely. Let them cool before adding them to the topping.
You’ll notice a deeper, nuttier aroma.
Store Them Properly
Keep cooled brownies in an airtight container at room temperature for up to 3 days.
For longer storage, refrigerate them for up to 5 days. Let refrigerated brownies sit at room temperature for a little while before serving so the texture softens.
Variations & Substitutions
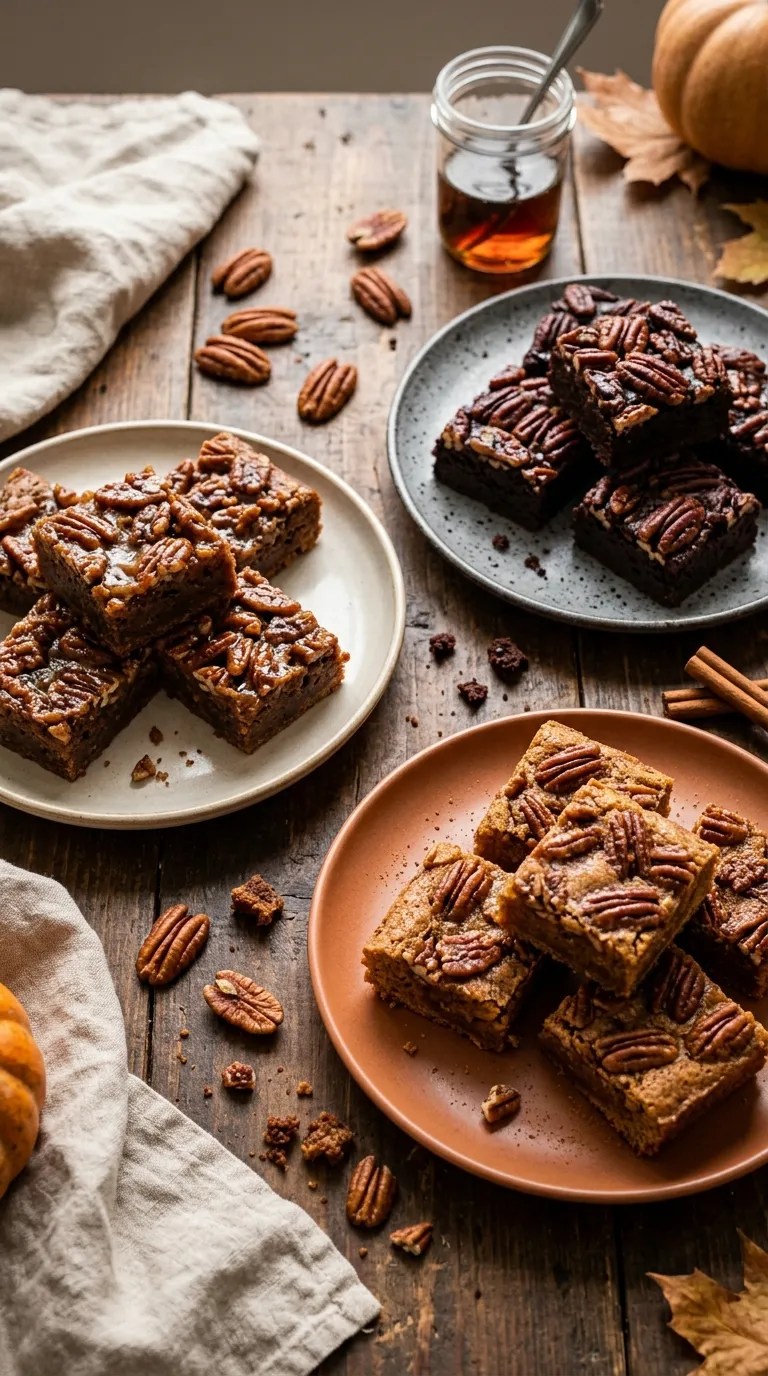
Add a Little Cinnamon
For a warmer holiday flavor, add ½ teaspoon ground cinnamon to the pecan topping.
You can also add a tiny pinch of nutmeg if you enjoy those classic Thanksgiving spices.
I wouldn’t add too much, though. The chocolate and pecans should remain the stars.
Make Them Gluten-Free
Use a good-quality 1-to-1 gluten-free all-purpose flour blend in place of regular flour.
Check the labels on your cocoa powder and chocolate chips as well if you need to avoid gluten completely, since manufacturing practices can vary between brands.
Try Dark Chocolate
Swap the semisweet chocolate chips for dark chocolate chips.
The darker chocolate creates a nice contrast with the sweet brown sugar and maple pecan topping. It’s especially good if you prefer desserts that aren’t overwhelmingly sweet.
Serving Suggestions

These brownies don’t need much help.
A square on its own makes a satisfying Thanksgiving dessert, especially with a cup of coffee after dinner.
For something more festive, serve each brownie with a small scoop of vanilla ice cream. The contrast between the cold ice cream and slightly warm brownie is fantastic.
A spoonful of lightly sweetened whipped cream also works well.
If you’re putting together a Thanksgiving dessert platter, cut the brownies into smaller squares and arrange them alongside pumpkin pie, apple pie, or simple sugar cookies.
They’re also excellent for a holiday potluck because you can make them ahead, transport them in the pan, and cut them once you arrive.
Related Recipes:
- No-Bake Pumpkin Cheesecake Ball
- How to Make Caramel Apple Streusel Cheesecake
- How to Make Pecan Pie Cheesecake From Scratch
- Southern Pecan Pie Cheesecake for Thanksgiving
- Easy Pumpkin Cupcake Recipe for Fall Baking
FAQ’s
Can I make pecan pie brownies ahead of Thanksgiving?
Absolutely. That’s one reason I like them for the holidays.
Bake them the day before, let them cool completely, and store them in an airtight container. You can serve them at room temperature or warm individual pieces briefly before serving.
Why did my pecan topping stay too soft?
The most common reason is underbaking or cutting the brownies before they cool.
The topping should look set around the edges with only a slight jiggle in the center when you remove it from the oven. It will continue firming as it cools.
If the topping still looks very loose after cooling, the brownies likely needed a little more oven time.
Can I use chopped pecans instead of pecan halves?
Yes.
Chopped pecans work perfectly and make the brownies easy to cut. I like using a mixture of chopped pecans and larger pieces because it gives the topping different textures.
Avoid chopping them into very fine crumbs, though. You want recognizable pieces of pecan throughout the topping.
Can I freeze pecan pie brownies?
Yes. Let them cool completely, then wrap individual squares tightly in plastic wrap and place them in a freezer-safe container.
Freeze them for up to 2 months for the best quality.
Thaw them overnight in the refrigerator or for several hours at room temperature. Let them come close to room temperature before serving.
Can I make these without maple syrup?
Yes. Replace the maple syrup with the same amount of light corn syrup.
Maple syrup adds a subtle flavor that I really enjoy, but the recipe still works without it.
How do I get clean brownie slices?
Cool the brownies completely before cutting.
Then use a sharp knife, warm the blade under hot water, dry it thoroughly, and make one clean cut. Wipe the blade between cuts.
The parchment paper underneath also makes lifting the brownies much easier.
Final Thought
There are plenty of impressive desserts you can make for Thanksgiving, but sometimes the best one is the dessert that doesn’t make you work too hard.
That’s what keeps bringing me back to these easy pecan pie brownies.
You get a rich chocolate brownie on the bottom, a buttery brown-sugar pecan topping on top, and that wonderful combination of chewy, fudgy, crunchy, and gooey textures in every bite.
I especially love making them when I know I’ll have a crowded dessert table. People can take a small square, go back for another one later, and nobody has to commit to a giant slice of pie.
Make them the day before if you can. Let them cool completely. Then cut yourself the corner piece—because, in my kitchen, the corner pieces always disappear first.
And if you make these for your Thanksgiving table, don’t be surprised if someone asks you to make them again next year.
Leave a Reply
You must be logged in to post a comment.