

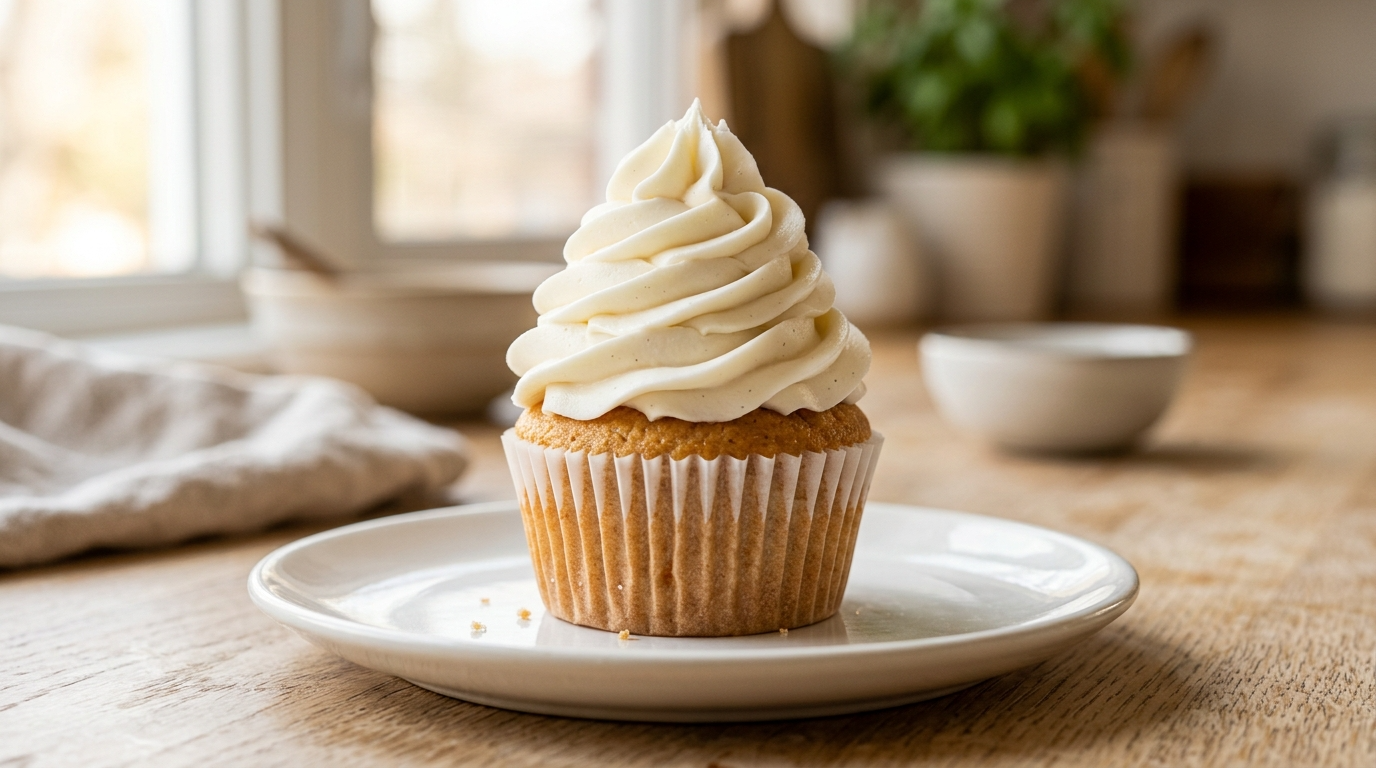
I have a soft spot for a good white frosting. It reminds me of those homemade cakes that look simple but somehow disappear from the dessert table before you even get a second slice.
I started making this white frosting recipe without cream cheese when I wanted something lighter and sweeter than my usual cream cheese frosting. The first time, I made it a little too thin because I got impatient with the milk. Big mistake. It slid right off the cupcakes like it had somewhere important to be.
After a few tries, I learned the trick: add the liquid very slowly and give the frosting plenty of time to whip. Now I make this frosting whenever I need a quick topping for cupcakes, cookies, sheet cakes, or even a batch of cinnamon rolls.
It uses simple ingredients that I usually have in the pantry, and you don’t need fancy decorating skills to make it look pretty. Grab your mixer, soften the butter, and let’s make a bowl of fluffy white frosting.
Why You’ll Love This Recipe

- No cream cheese needed: You can make a creamy frosting without reaching for a package of cream cheese.
- Quick and easy: The whole process takes about 10 minutes once your butter softens.
- Smooth and fluffy: A good whipping session gives this frosting a light, creamy texture.
- Easy to customize: Change the flavor with vanilla, almond extract, lemon, or another extract you love.
- Perfect for everyday baking: Use it on birthday cakes, cupcakes, cookies, brownies, and simple sheet cakes.
Ingredients You’ll Need
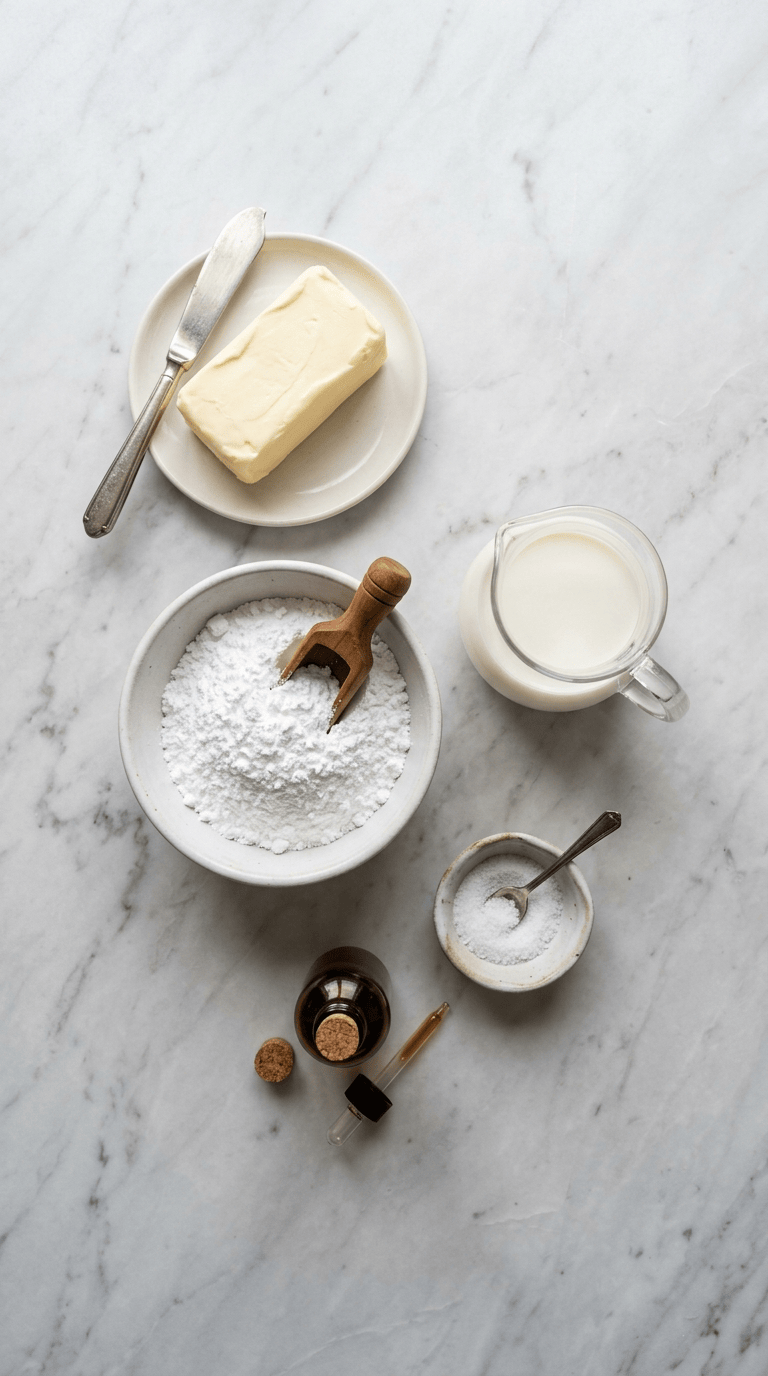
The ingredient list stays short, which makes this one of those recipes worth keeping in your back pocket.
For the White Frosting
- 1 cup unsalted butter, softened to room temperature
- 4 cups powdered sugar, sifted if lumpy
- 2 teaspoons pure vanilla extract
- 3–4 tablespoons whole milk or heavy cream
- 1/4 teaspoon salt
- 1–2 teaspoons additional milk, only if needed for consistency
I usually use unsalted butter because it lets me control the salt myself. If you only have salted butter, simply leave out the added salt or use just a tiny pinch.
For an especially rich frosting, use heavy cream instead of milk. Whole milk works perfectly well and keeps the frosting a little lighter.
You can also use plant-based milk if needed. Unsweetened almond or oat milk works well, although the final texture may vary slightly.
A Note About the Powdered Sugar
Don’t skip the powdered sugar for regular granulated sugar. Powdered sugar dissolves much more easily and gives the frosting that smooth texture we want.
If your powdered sugar has lots of hard lumps, sift it before adding it to the butter. It takes only a minute and can save you from chasing little sugar lumps around your bowl later.
Step-by-Step Instructions
1. Soften the Butter — About 30–60 Minutes
Take the butter out of the refrigerator and let it soften naturally at room temperature.
You want the butter soft enough that your finger can make a gentle dent in it, but you don’t want melted butter.
This little detail makes a surprisingly big difference. Cold butter won’t whip properly, while melted butter can leave you with a greasy, loose frosting.
If you forgot to soften it ahead of time, cut the butter into small cubes and leave it on the counter for about 15–20 minutes.
2. Beat the Butter — 3–5 Minutes
Place the softened butter in a large mixing bowl.
Using a hand mixer or stand mixer fitted with the paddle attachment, beat the butter on medium speed for about 3–5 minutes.
Stop once or twice and scrape down the sides of the bowl.
The butter should look noticeably lighter and creamy. Don’t rush this step. I used to think it didn’t matter much, but properly whipped butter gives the finished frosting a much better texture.
3. Add the Powdered Sugar Slowly
Turn the mixer to low speed.
Add the powdered sugar about 1/2 cup at a time. Let each addition blend into the butter before adding more.
If you start the mixer too fast, you’ll create a powdered-sugar cloud across your kitchen. Yes, I have done this. More than once.
Keep the mixer on low until most of the sugar disappears into the butter.
4. Add Vanilla and Salt
Add the vanilla extract and salt.
Mix for about 30 seconds.
The vanilla gives the frosting its classic flavor, while a small amount of salt keeps the sweetness from tasting flat.
If you want a very white frosting, choose a clear vanilla flavoring instead of regular vanilla extract. Regular vanilla can give the frosting a very slight ivory tint.
5. Add the Milk Gradually
Now comes the part where you need a little patience.
Add 1 tablespoon of milk or cream and mix on low speed.
Add another tablespoon if the frosting still feels too thick.
Continue adding small amounts until you reach the texture you want.
Don’t pour all the milk in at once. That’s how you end up with frosting that looks more like sweetened butter sauce.
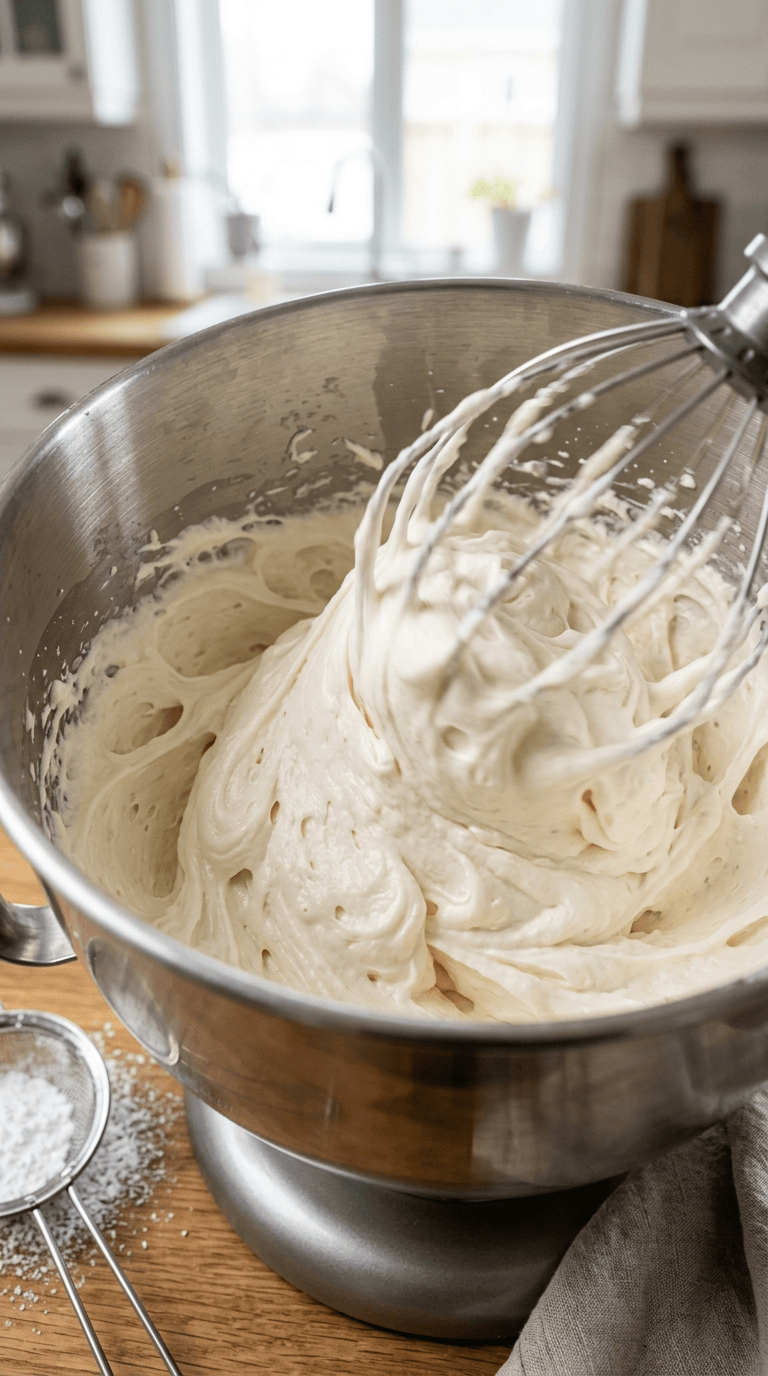
6. Whip Until Fluffy — 2–4 Minutes
Once the frosting reaches a workable consistency, increase the mixer to medium-high speed.
Whip for another 2–4 minutes.
The frosting should become lighter, smoother, and fluffy. It should hold soft peaks and spread easily over a cake.
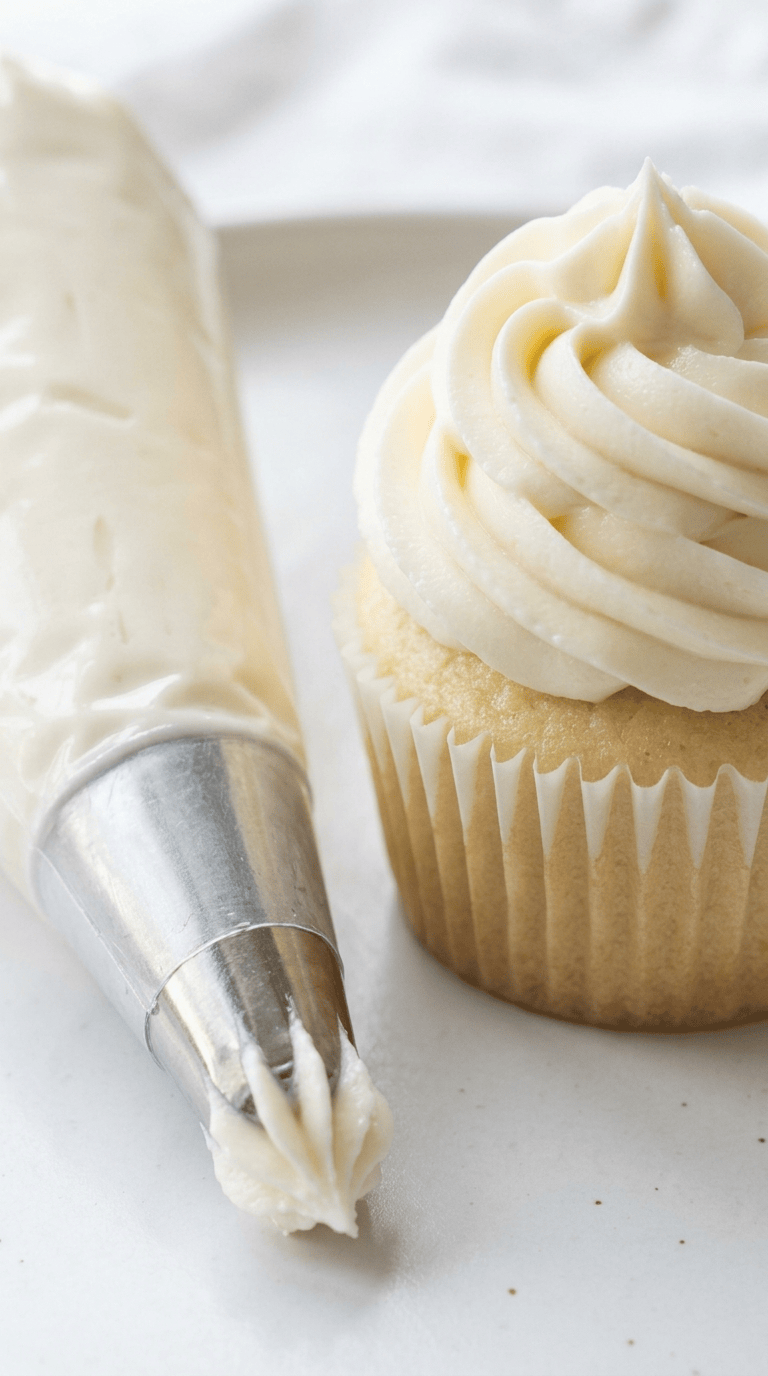
For piping cupcakes, keep it slightly thicker. For spreading over a sheet cake, you can make it a little softer.
7. Taste and Adjust
Give the frosting a taste before decorating.
If it tastes too sweet, add a tiny pinch of salt.
If it’s too thick, add milk about 1 teaspoon at a time.
If it’s too thin, add powdered sugar a few tablespoons at a time.
This is one of those recipes where texture matters just as much as exact measurements, so don’t be afraid to make small adjustments.
Pro Tips & Tricks
Use Room-Temperature Butter
Soft butter creates a smoother base and helps the frosting whip properly.
Avoid microwaving it until melted. If you need to speed things up, cut the butter into small pieces instead.
Add Liquid Slowly
This is probably the most important trick I learned while making this frosting.
You can always add more milk, but you can’t easily take it back out. Start with less and increase the amount gradually.
Don’t Skip the Whipping
If your frosting tastes good but feels heavy, keep whipping it for another couple of minutes.
The extra mixing adds air and creates a lighter texture.
Scrape the Bowl
Powdered sugar likes to hide around the sides and bottom of the bowl.
Stop the mixer occasionally and scrape everything together with a silicone spatula. This gives you a much more even frosting.
Keep It Covered
If you’re not using the frosting immediately, cover the bowl tightly.
The exposed surface can develop a slightly dry skin if you leave it uncovered for too long.
Variations & Substitutions
Vanilla-Almond White Frosting
For a bakery-style flavor, replace 1/2 teaspoon of the vanilla with almond extract.
Almond extract has a strong flavor, so don’t go overboard. A little gives the frosting a lovely sweet aroma.
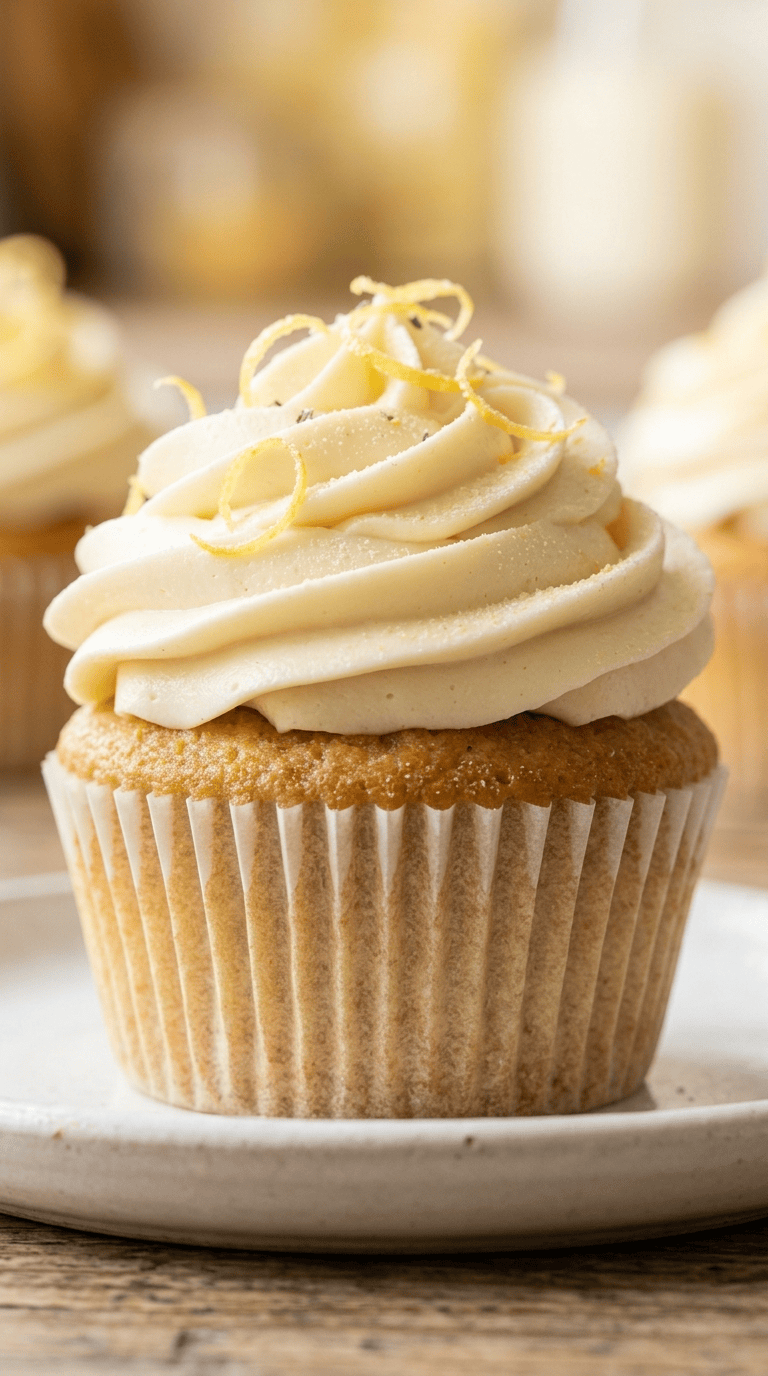
Lemon White Frosting
Add 1 teaspoon of fresh lemon zest along with the vanilla.
For a stronger lemon flavor, replace about 1 teaspoon of the milk with fresh lemon juice. Add it slowly because too much liquid can loosen the frosting.
This version tastes especially nice on vanilla cupcakes, lemon cake, and sugar cookies.
Dairy-Free White Frosting
Use a dairy-free butter alternative and your favorite unsweetened plant-based milk.
Check that the powdered sugar you use fits your dietary needs as well, since some brands process sugar differently.
The consistency may vary slightly depending on the dairy-free butter, so adjust the powdered sugar or milk as needed.
Extra-Vanilla Frosting
If you love classic vanilla flavor, add an extra 1/2 teaspoon of vanilla extract.
I like this version on simple yellow cake because the vanilla flavor gets plenty of room to shine.
Serving Suggestions
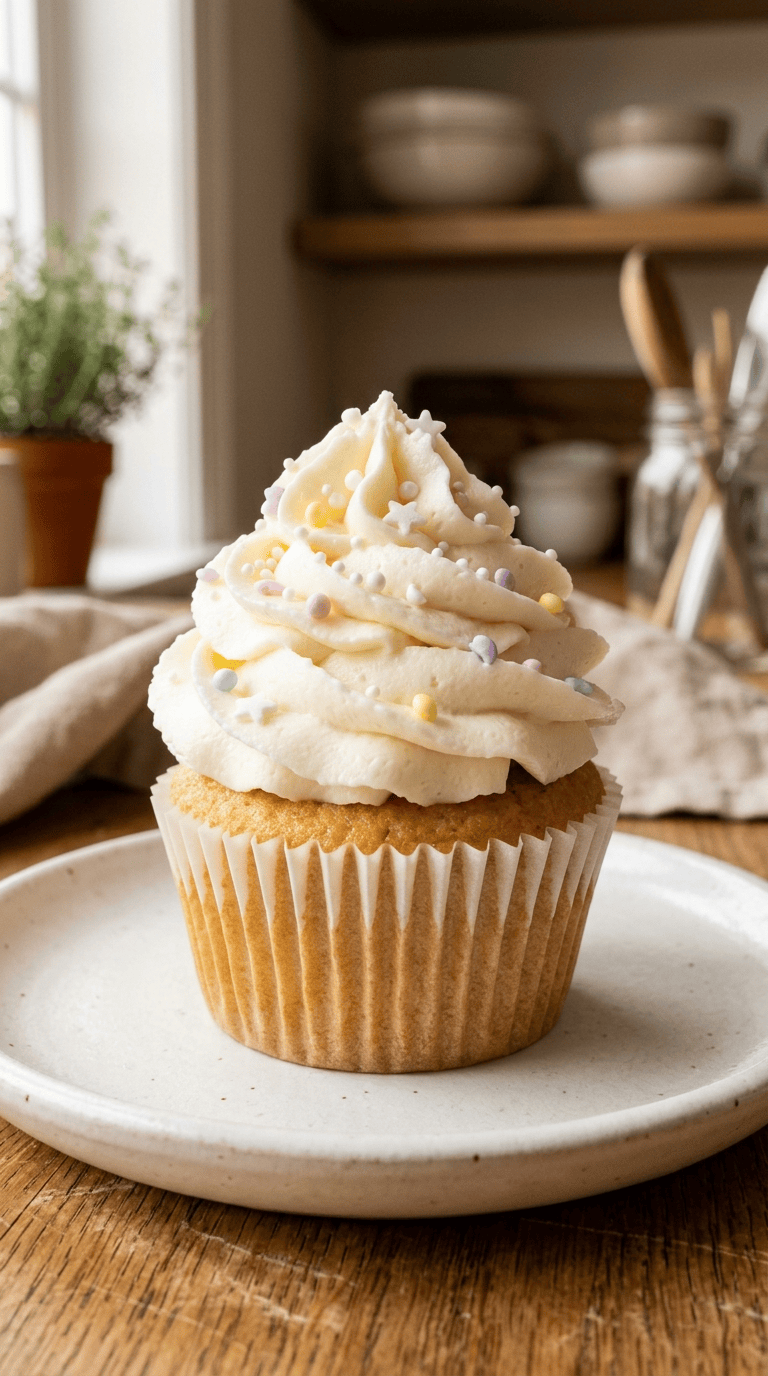
This white frosting works with just about any basic baked treat.
Spread it over a cooled chocolate cake for a simple black-and-white dessert. Pipe it onto vanilla cupcakes and finish each one with colorful sprinkles.
You can also use it between cake layers. For a layer cake, keep the frosting slightly thicker so it doesn’t squeeze out from the sides when you stack the layers.
For cookies, spread a thin layer over cooled sugar cookies and let the frosting set before stacking them.
I also love this frosting on cinnamon rolls. It melts slightly over the warm rolls and creates those little sweet drips that make it very hard to stop at one.
For birthdays, add sprinkles immediately after frosting the cake. For holidays, you can tint small portions with food coloring and create simple decorations.
Remember to let the cake or cupcakes cool completely before frosting. Warm cake will soften the butter and make your beautiful frosting slide around.
FAQ’s
Can I make white frosting without cream cheese?
Yes. This recipe uses butter, powdered sugar, vanilla, milk or cream, and a little salt. You don’t need cream cheese to make a smooth and fluffy frosting.
How long does homemade white frosting last?
You can keep the frosting in an airtight container in the refrigerator for about 5–7 days.
Before using refrigerated frosting, let it sit at room temperature until softened, then beat it briefly with a mixer to bring back some of its fluffy texture.
Can I make this frosting ahead of time?
Absolutely. Making it a day ahead can save you plenty of time when you’re preparing a cake for an event.
Store it covered in the refrigerator. Let it soften before using and mix it again until smooth.
Can I freeze white frosting?
Yes. Place the frosting in a freezer-safe airtight container and freeze it for up to about 2–3 months for best quality.
Thaw it in the refrigerator overnight, then bring it toward room temperature and whip it again before spreading.
Why is my frosting too runny?
You probably added too much liquid or used butter that was overly soft.
Add powdered sugar a few tablespoons at a time and mix well after each addition. If your kitchen is particularly warm, chilling the frosting for 10–15 minutes can also help firm it up.
Why does my white frosting look yellow?
Butter naturally has a yellow color, so a homemade butter-based frosting may look ivory rather than bright white.
For a lighter appearance, use very pale butter and clear vanilla flavoring. You can also add a tiny amount of violet or purple food coloring, but use an extremely small amount because too much can noticeably change the color.
How to Store Frosted Cakes and Cupcakes
If you’ve already frosted your cake or cupcakes, storage depends on the baked good underneath and the temperature in your kitchen.
For a short period, you can usually keep a frosted cake covered at room temperature if the cake itself doesn’t contain ingredients that require refrigeration.
If your kitchen gets warm, refrigerate the frosted cake instead. The frosting will firm up in the refrigerator, so let the cake sit out for a little while before serving.
For cupcakes, place them in a covered container with enough height that the lid doesn’t touch the frosting.
Don’t stack frosted cupcakes directly on top of each other. Unless you’re trying to invent a new abstract cake design, that usually ends badly.
Can You Pipe This Frosting?
Yes, and that’s one reason I make it so often.
For piping, keep the frosting slightly thicker than you would for spreading. After whipping, test a small amount through your piping tip.
If the frosting holds its shape and doesn’t collapse, you’re ready to decorate.
A large star tip makes easy swirls on cupcakes, while a round tip works nicely for simple borders and lettering.
If the frosting feels too soft, add a little powdered sugar. If it feels too stiff to pipe smoothly, add a tiny amount of milk.
My Favorite Way to Use This Frosting
My favorite combination is still a simple vanilla cupcake topped with a generous swirl of this white frosting.
I don’t pile on too many decorations. A few sprinkles or a tiny pinch of colored sugar are usually enough.
There’s something nice about a classic white frosting. It doesn’t need to compete with the cake underneath it.
And because the recipe doesn’t require cream cheese, I can whip up a batch whenever I need it without making a special trip to the grocery store.
That’s exactly the kind of recipe I appreciate most: simple, dependable, and flexible enough to rescue a last-minute baking project.
Final Thoughts
After making this frosting so many times, I’ve learned that the little things matter. Soft butter, gradual liquid, and a few extra minutes of whipping can turn a basic bowl of ingredients into something wonderfully creamy and fluffy.
Don’t worry if your first batch isn’t perfect. If it’s too thick, loosen it. If it’s too thin, add powdered sugar. Baking gives you plenty of chances to adjust as you go.
So grab that mixer, bake your favorite cake or cupcakes, and give this white frosting a try. And if you add your own little twist—lemon, almond, extra vanilla, or something completely different—I hope you make it your own.
Happy baking!
Leave a Reply
You must be logged in to post a comment.