

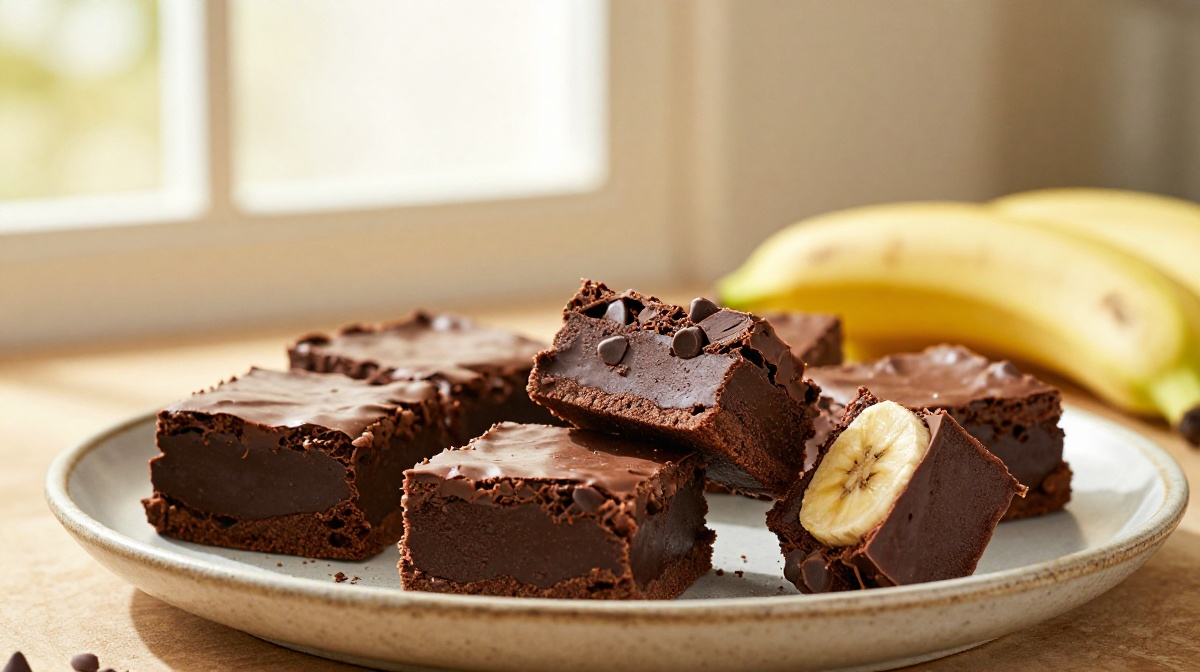
The first time I made this gluten-free dairy-free dessert, I wasn’t trying to create some impressive “special diet” recipe. I just wanted one dessert that everyone at the table could eat without asking a dozen questions about what went into it.
I had friends coming over, and I remember standing in my kitchen reading labels while a tray of something sweet sat half-finished on the counter. I had already learned that gluten-free and dairy-free baking can get complicated fast. One ingredient solves one problem and creates another, and suddenly a simple dessert turns into a science project.
So I went back to basics.
I combined ripe bananas, creamy peanut butter, cocoa powder, and a few pantry staples. The mixture came together in one bowl, and the finished dessert had that lovely soft, fudgy texture I wanted without flour or butter.
I’ve made different versions of it many times since then. Sometimes I add chocolate chips. Sometimes I use almond butter. Once I accidentally left the baking powder out, and although the texture changed, my family still ate the entire batch.
That little mistake taught me something useful: this recipe doesn’t need to look perfect to taste fantastic.
The result is a naturally gluten-free and dairy-free chocolate banana dessert with crisp little edges, a soft center, and enough chocolate flavor to satisfy a serious sweet tooth. It’s the kind of treat I can put on the table for a mixed crowd and simply say, “Help yourself.”
Why You’ll Love This Recipe

- One bowl: Less washing up makes me much happier.
- Simple ingredients: Most of them probably already live in your pantry.
- No wheat flour or dairy: The recipe skips both without making dessert feel like a compromise.
- Easy to customize: Change the nut butter, add chocolate chips, or sprinkle on chopped nuts.
- Great for sharing: It works just as well for an ordinary afternoon as it does for a family gathering.
I also love that you don’t need a stand mixer. A sturdy mixing bowl, fork, spatula, and baking pan do the job beautifully.
Ingredients
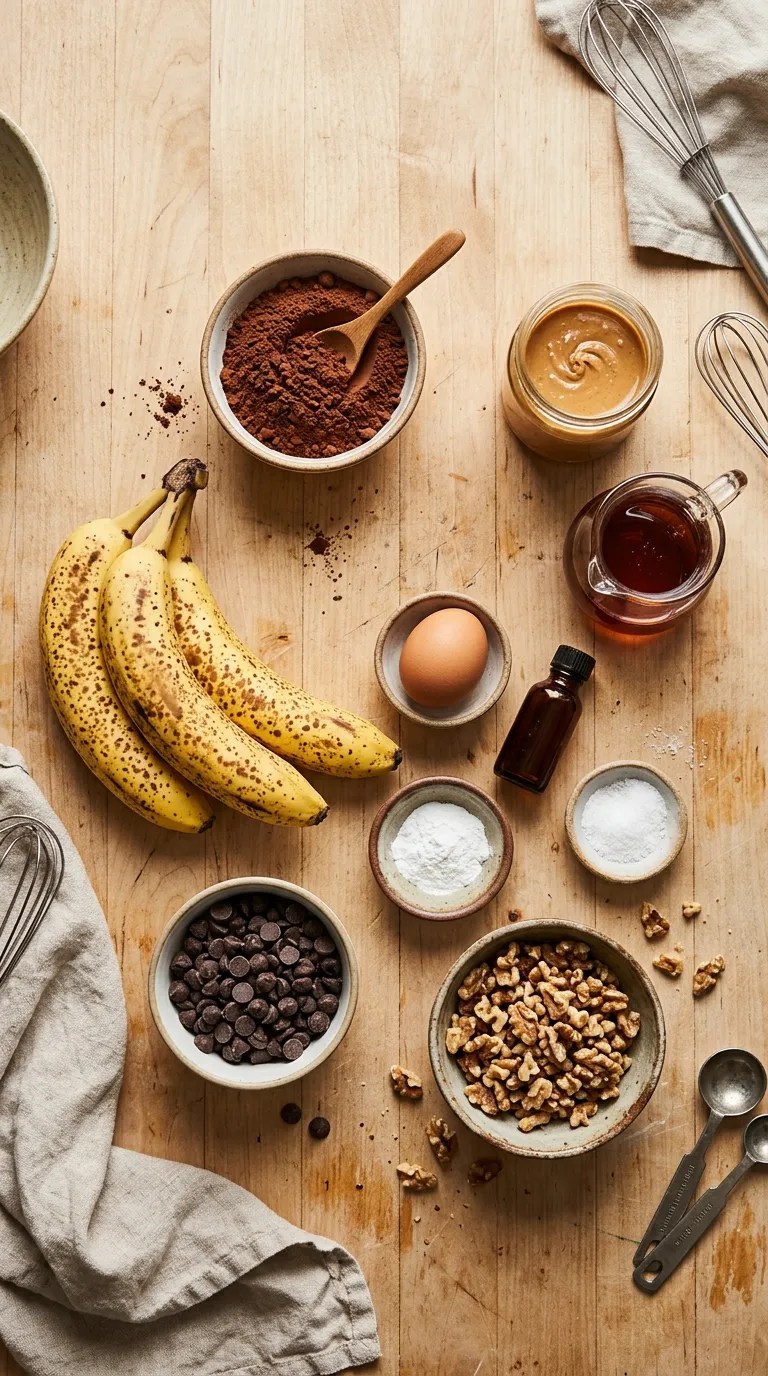
This recipe makes about 12 small dessert squares.
For the dessert
- 2 large ripe bananas, about 1 cup mashed
- 1/2 cup smooth peanut butter
- 1/3 cup unsweetened cocoa powder
- 1/3 cup pure maple syrup
- 1 large egg
- 1 teaspoon vanilla extract
- 1/2 teaspoon baking powder
- 1/4 teaspoon fine salt
- 1/3 cup dairy-free chocolate chips, optional
- 2 tablespoons chopped walnuts or pecans, optional
For the pan
- 1 teaspoon neutral cooking oil, such as avocado or light olive oil
- 1 tablespoon cocoa powder, for lightly dusting the pan if desired
Use peanut butter that contains no added dairy ingredients. If you need a peanut-free version, smooth almond butter or sunflower seed butter works well.
For the chocolate chips, check the package if you need to avoid dairy completely. Some chocolate products contain milk ingredients even when they look like dark chocolate.
If you need the recipe to be strictly gluten-free because of celiac disease or another medical reason, check the labels on packaged ingredients and avoid cross-contact with wheat-containing foods and equipment.
Step-by-Step Instructions
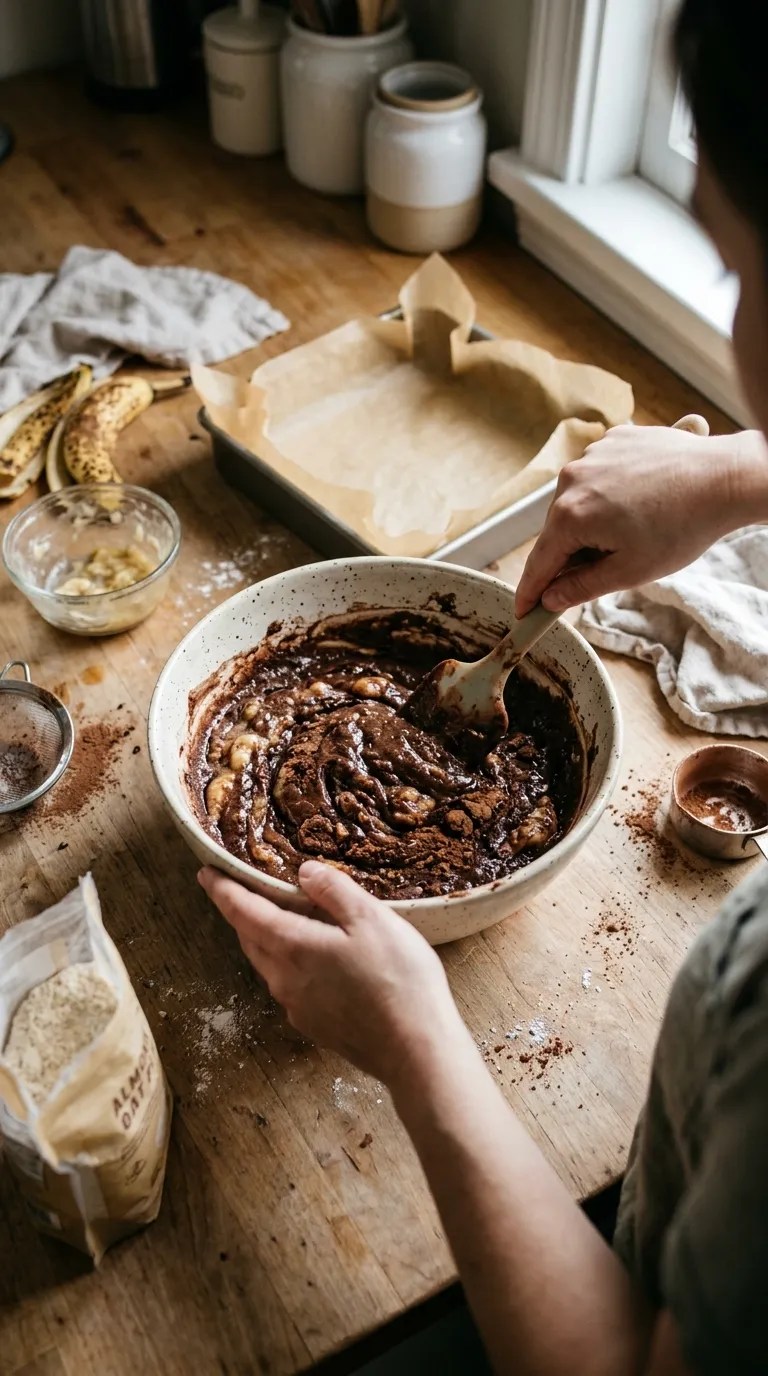
1. Heat the oven and prepare the pan — 5 minutes
Preheat your oven to 350°F (175°C).
Lightly grease an 8-inch square baking pan with the oil. If you like, dust it very lightly with cocoa powder.
I usually line the bottom with parchment paper as well. Leave a little overhang on two sides. That makes lifting the cooled dessert from the pan ridiculously easy.
2. Mash the bananas — 2 minutes
Peel the bananas and place them in a large mixing bowl.
Mash them thoroughly with a fork until you have a mostly smooth puree. A few tiny lumps won’t hurt anything.
This recipe tastes best when the bananas have plenty of brown spots. They bring natural sweetness and a stronger banana flavor.
3. Add the wet ingredients — 2 minutes
Add the peanut butter, maple syrup, egg, and vanilla to the mashed bananas.
Stir with a spatula or wooden spoon until everything looks smooth and evenly combined.
If your peanut butter has separated in the jar, stir it well before measuring. Very runny peanut butter can make the batter looser than expected.
4. Mix in the dry ingredients — 2 minutes
Add the cocoa powder, baking powder, and salt.
Fold everything together until you no longer see dry streaks of cocoa powder.
The batter should look thick and glossy. It won’t resemble a traditional cake batter, and that’s completely fine.
If you’re adding chocolate chips or chopped nuts, fold them in now.
5. Spread the batter into the pan — 2 minutes
Scrape the batter into your prepared pan.
Use the spatula to push it gently into the corners and smooth the top.
Don’t worry if the mixture looks a little low in the pan. These are meant to be fudgy dessert squares rather than tall cake pieces.
For an especially pretty finish, scatter a few extra chocolate chips over the top before baking.
6. Bake until the center looks set — 18–23 minutes
Place the pan in the preheated oven.
Bake for about 18 to 23 minutes.
Start checking around the 18-minute mark. The edges should look set, while the middle should still have a slight softness when you gently move the pan.
A toothpick inserted near the center should come out with a few moist crumbs. You don’t want it completely dry.
This is one of those moments when it pays to resist the temptation to bake “just five more minutes.” Overbaking can turn a soft chocolate dessert into something much firmer.
7. Cool before slicing — at least 30 minutes
Remove the pan from the oven and place it on a cooling rack.
Let the dessert cool for at least 30 minutes before cutting.
I know that feels unfair when your kitchen smells like chocolate, but the center needs time to settle.
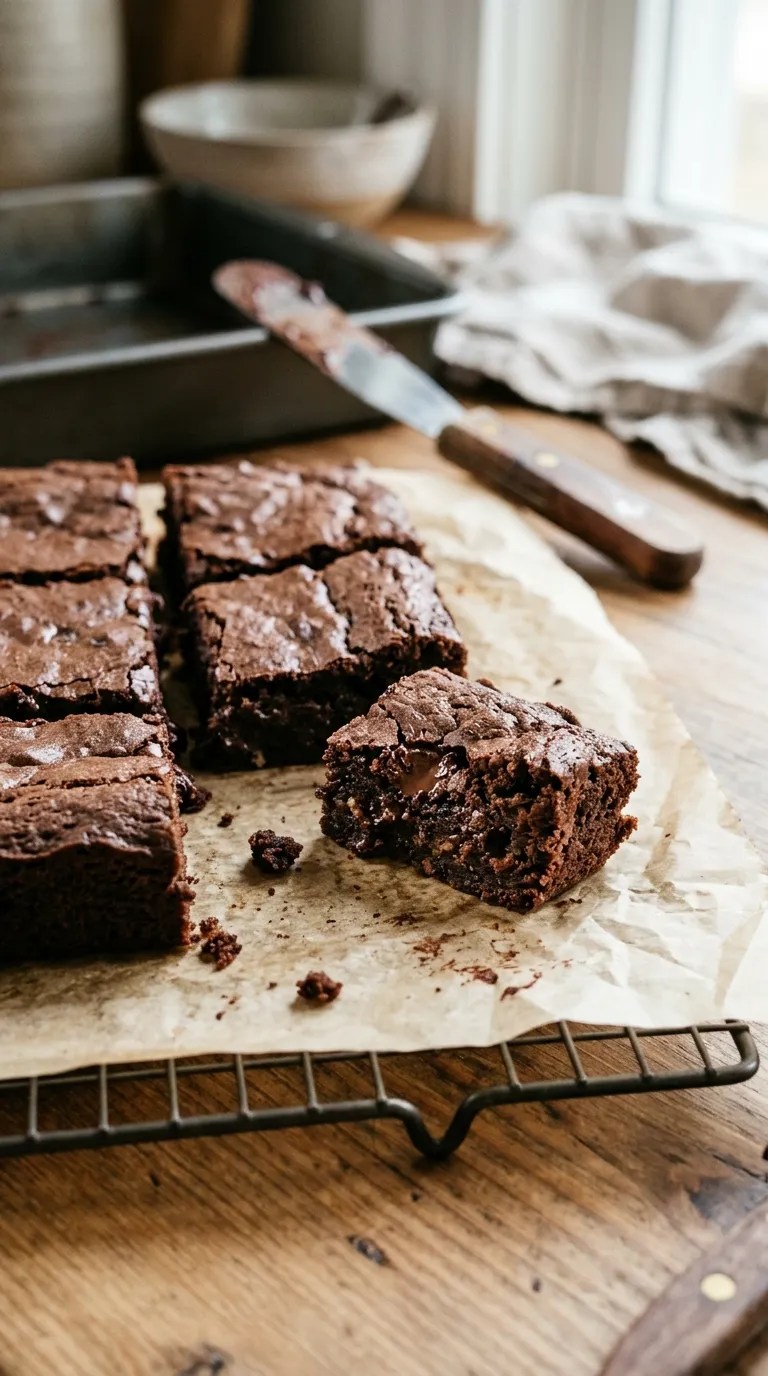
For the cleanest squares, let it cool completely. Then lift it out using the parchment paper and cut it into 12 pieces with a sharp knife.
Pro Tips & Tricks
Use very ripe bananas
This makes a bigger difference than you might expect.
Green-tipped or barely ripe bananas won’t provide the same sweetness or strong banana flavor. Look for bananas with plenty of brown spots.
If your bananas are extremely large, measure the mashed fruit rather than relying only on the number of bananas. Too much banana can make the batter wetter.
Don’t overbake it
The center continues to firm up as the dessert cools.
When the middle looks just set and a toothpick shows moist crumbs, take the pan out. Waiting until the toothpick comes out completely clean can leave you with dry squares.
Let it cool before judging the texture
Fresh from the oven, the center feels very soft.
After cooling, the dessert becomes easier to slice and develops that chewy, fudgy texture. If you cut it immediately, you may think something went wrong when it simply needs more time.
Check your chocolate chips
“Dairy-free” can mean different things depending on the product.
If you’re serving someone who must avoid dairy, read the ingredient and allergen information on your chocolate chips rather than assuming every dark chocolate chip is dairy-free.
Store leftovers properly
Once completely cool, place the squares in an airtight container.
They keep well at room temperature for about 2 days or in the refrigerator for around 5 days. Refrigeration makes them a little firmer, so I like to let them sit at room temperature for 10–15 minutes before serving.
Variations & Substitutions
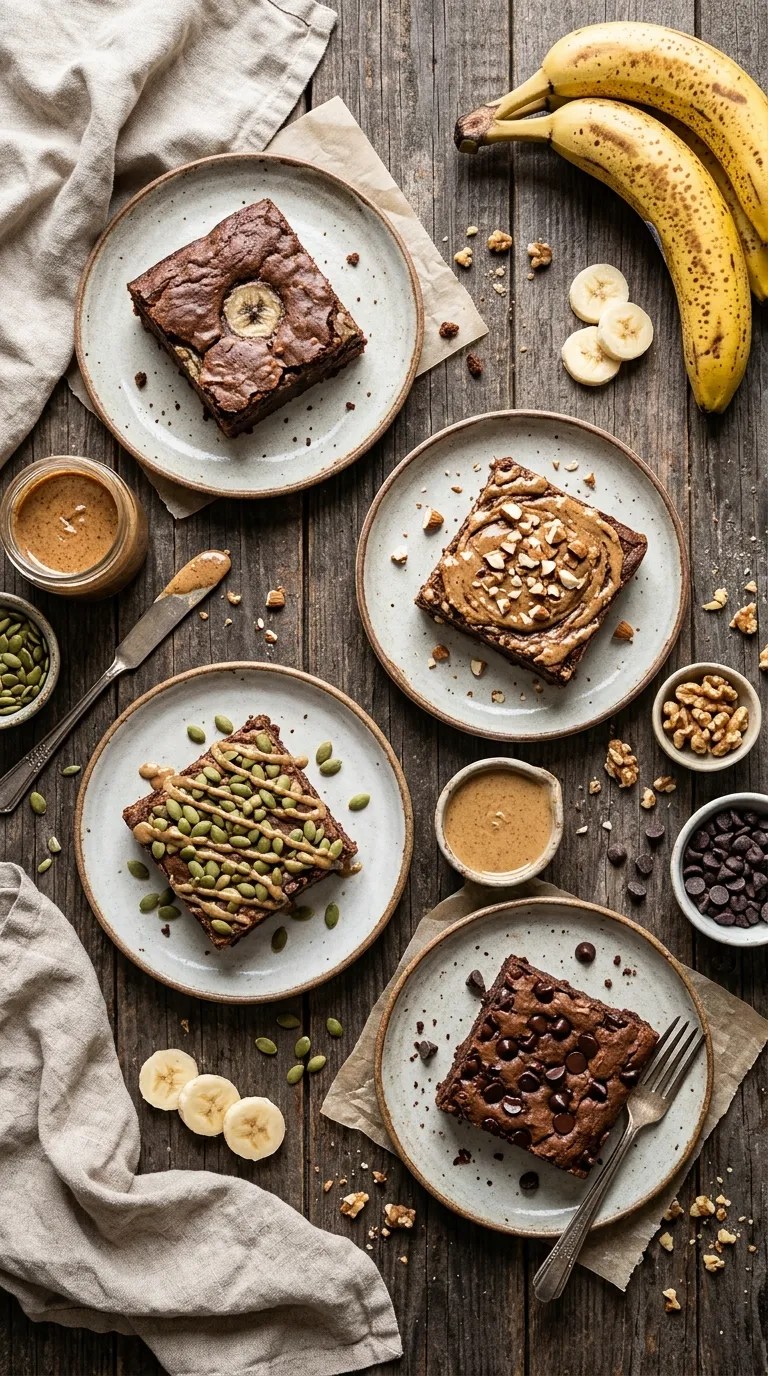
There’s plenty of room to make this recipe your own.
Try almond or sunflower seed butter
Replace the peanut butter with 1/2 cup smooth almond butter for a slightly different flavor.
For a peanut-free option, sunflower seed butter works nicely. The flavor changes a little, but the texture remains pleasantly soft.
Make it extra chocolatey
Stir an additional 2 tablespoons of dairy-free chocolate chips into the batter.
You can also add a tablespoon of finely chopped dark chocolate. I like using a mixture of chocolate pieces rather than making every bite identical.
Add a little crunch
Fold in 1/3 cup chopped walnuts or pecans.
For a nut-free version, try 2 tablespoons of pumpkin seeds instead. They add a gentle crunch without taking over the chocolate flavor.
Make a vegan version
If you want to make the dessert vegan as well as gluten-free and dairy-free, replace the egg with a suitable plant-based egg substitute.
Because egg substitutes vary in moisture and binding power, the texture can change slightly. I recommend testing the specific substitute before serving it for an important occasion.
Serving Suggestions

These chocolate banana squares taste good straight from the container, but you can dress them up easily.
For a simple dessert plate, add a few fresh berries and a dusting of cocoa powder. The tartness of raspberries or strawberries works especially well with the rich chocolate flavor.
For something more indulgent, serve a warm square with a spoonful of dairy-free vanilla ice cream.
You can also drizzle the top with a little melted dairy-free chocolate after the dessert has cooled. Let the drizzle set before cutting if you want neat chocolate lines.
For a casual family dinner, I like cutting the squares fairly small. They’re rich enough that nobody needs a huge piece.
They also make a nice addition to a bake sale, school-safe gathering, or potluck when you know you need an option that avoids both gluten and dairy. Just make sure you clearly label the ingredients and account for any other allergies among your guests.
Related Recipes:
- Easy Caramel Dessert for Caramel Lovers
- Classic Dirt Dessert Recipe with Chocolate Cookie
- Easy Puff Pastry Dessert with Simple Ingredients
- Sweet Potato Dessert Perfect for Fall
FAQ’s
Can I make this gluten-free dairy-free dessert ahead of time?
Absolutely.
Bake it the day before you plan to serve it, allow it to cool completely, and store it in an airtight container.
In fact, I often prefer making it a few hours ahead because the texture becomes easier to slice as it rests.
Can I freeze the dessert?
Yes.
Cool the squares completely, then wrap individual portions or separate layers with parchment paper before placing them in a freezer-safe container.
Freeze for up to about 2 months for the best quality.
Thaw the pieces in the refrigerator overnight or at room temperature for a shorter period. The texture may become slightly softer after freezing, but the chocolate flavor holds up well.
Why did my dessert turn out too wet?
The most common culprit is excess moisture from the bananas.
Bananas vary significantly in size, so measuring the mashed banana helps keep the recipe consistent. Very large or exceptionally juicy bananas can add more moisture than the recipe needs.
You may also have pulled the pan from the oven too early. Let the dessert cool completely before deciding that the texture needs changing.
Can I leave out the chocolate chips?
Yes.
The dessert still has plenty of chocolate flavor from the cocoa powder. The chocolate chips simply add little pockets of melted chocolate throughout the squares.
If you skip them, consider adding chopped nuts or seeds for a little texture.
Can I use honey instead of maple syrup?
You can, although the flavor will change slightly.
Use the same amount, 1/3 cup honey, and expect a more noticeable honey flavor. Maple syrup gives the dessert a softer, more caramel-like sweetness that I personally prefer here.
How do I keep the squares from sticking to the pan?
Parchment paper makes this easiest.
Grease the pan first, then line it with parchment and leave a little paper extending over two opposite sides. Once the dessert cools, grab the paper and lift the entire slab from the pan.
That small step has saved me from trying to pry individual squares out of a stubborn baking dish more times than I care to admit.
Final Thought
I keep coming back to this gluten-free dairy-free dessert because it doesn’t feel like a recipe designed around what it leaves out.
It tastes like a chocolate dessert first.
The banana gives it moisture and sweetness, the cocoa brings that deep chocolate flavor, and peanut butter adds a little richness without needing butter or cream. Best of all, you can make the whole thing without pulling out a mixer or filling your sink with dishes.
If you make it, give the center time to cool before slicing and don’t be afraid to customize it. Add chocolate chips, toss in some nuts, or keep it simple.
And if your first batch comes out a little different from mine, don’t panic. Home baking has a funny way of teaching us through the occasional imperfect batch.
Sometimes those are the ones that disappear first.
Do you like this personality?
Leave a Reply
You must be logged in to post a comment.