

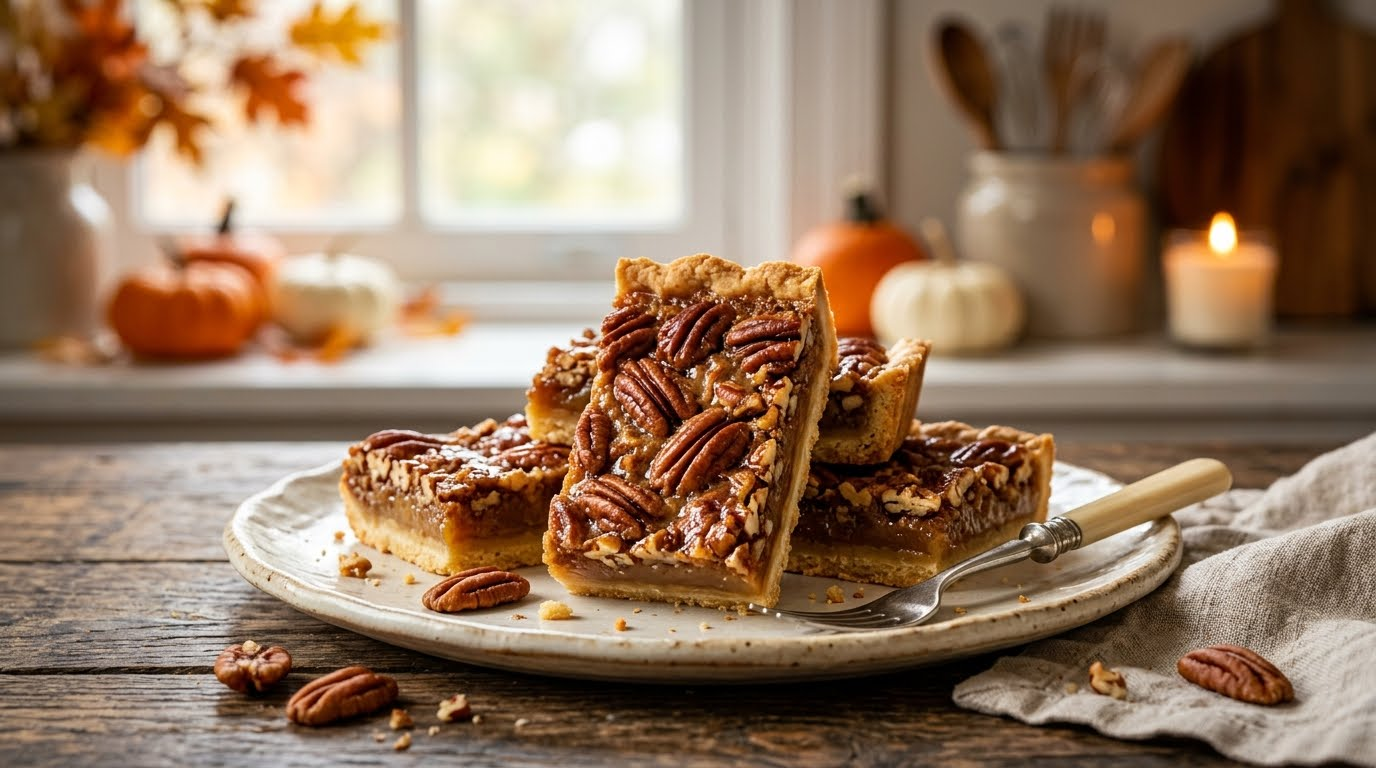
Every Thanksgiving, there comes a point when my kitchen looks like a small bakery exploded. There are mixing bowls everywhere, the oven seems to run nonstop, and somehow I still have one more dish to make.That is exactly how these homemade pecan pie bars became one of my favorite Thanksgiving desserts.
I love pecan pie, but I don’t always want to fuss with rolling pie dough, crimping edges, and wondering whether the center has set properly. These bars give me all the cozy flavors I want—brown sugar, buttery crust, toasted pecans, and a rich caramel-like filling—in a much more manageable format.
The first time I made them, I pulled the pan from the oven a little too early because the center still had a slight jiggle. I nearly put it back in, then decided to trust the recipe and let it cool. That turned out to be the right call. Once completely chilled, the filling had the soft, chewy texture I wanted without becoming runny.
Now I make them in a regular 9-by-13-inch baking pan, cut them into small squares, and let everyone grab one whenever they walk through the kitchen. They disappear much faster than I expect every single time.
If you have a Thanksgiving table to fill and want a dessert that feels homemade without demanding pie-baking skills, these pecan pie bars are worth making.
Why You’ll Love These Homemade Pecan Pie Bars

- Much easier than a traditional pie. The shortbread-style crust comes together without rolling or shaping dough.
- Perfect for a crowd. One pan gives you plenty of small dessert bars for Thanksgiving.
- Easy to make ahead. In fact, they slice more neatly after they have had time to cool completely.
- Rich without being fussy. Toasted pecans, butter, brown sugar, and vanilla do most of the work.
- Great for dessert trays. You can cut them into small squares alongside cookies, brownies, and other holiday treats.
Ingredients
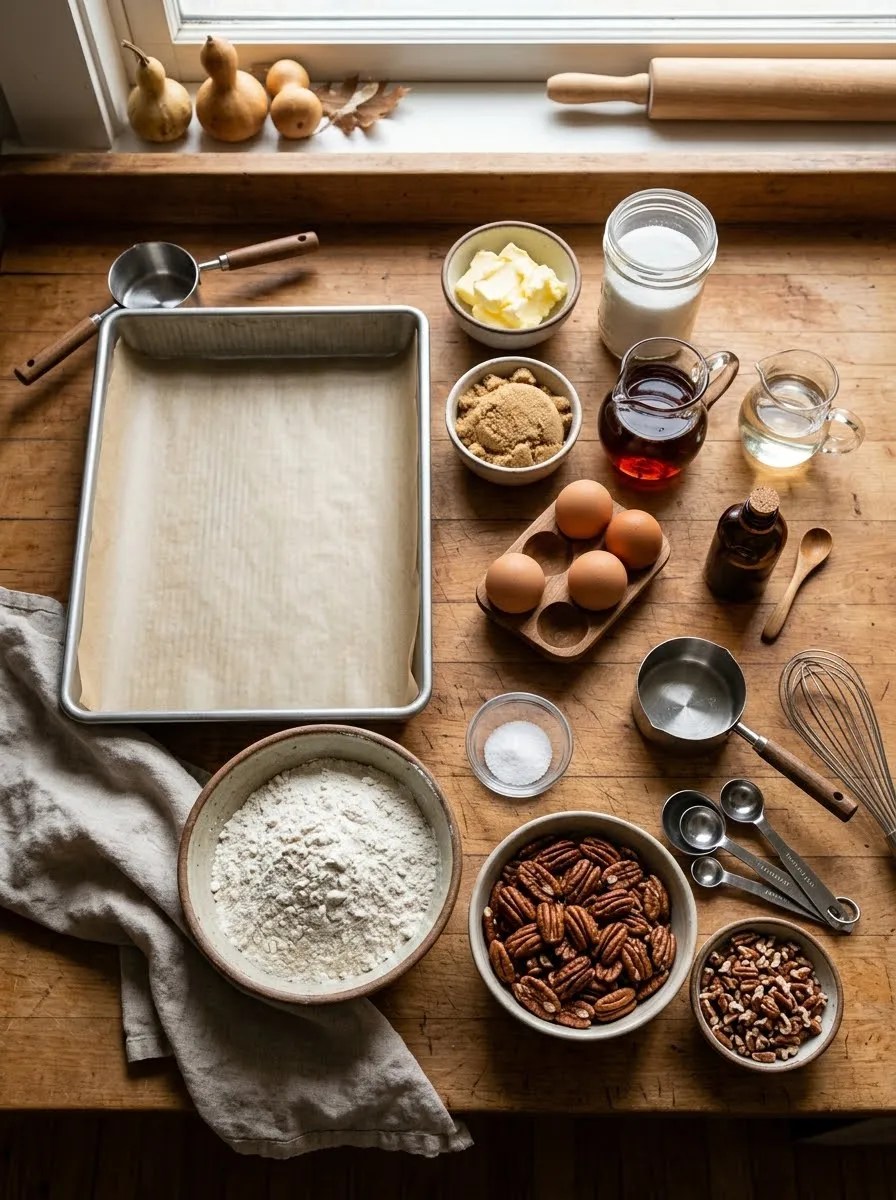
This recipe makes about 24 pecan pie bars, depending on how large you cut them.
For the buttery crust
- 1 cup (226 g) unsalted butter, softened
- 1/2 cup (100 g) granulated sugar
- 1 teaspoon vanilla extract
- 2 cups (250 g) all-purpose flour
- 1/4 teaspoon fine salt
For the pecan filling
- 1/2 cup (113 g) unsalted butter
- 1 cup (220 g) packed light brown sugar
- 1/2 cup (170 g) pure maple syrup
- 1/4 cup (80 g) light corn syrup
- 1/4 teaspoon fine salt
- 3 large eggs
- 2 teaspoons vanilla extract
- 2 1/2 cups (about 280 g) pecan halves or roughly chopped pecans
A few ingredient notes
Butter: Unsalted butter gives you better control over the salt. If you only have salted butter, reduce the added salt slightly.
Maple syrup: Pure maple syrup adds a lovely depth to the filling. Avoid pancake syrup if you can; it can make the flavor noticeably sweeter and heavier.
Corn syrup: A small amount helps the filling stay smooth and gives it that classic pecan-pie texture. If you don’t have it, you can replace it with an equal amount of maple syrup, although the filling may have a slightly different texture.
Pecans: I usually use pecan halves and give them a rough chop. That way, some pieces stay large enough to give every bite a satisfying crunch.
Flour: All-purpose flour works best here. If you need a gluten-free version, use a reliable 1-to-1 gluten-free baking flour designed to replace all-purpose flour.
Step-by-Step Instructions
1. Prepare the pan — 5 minutes
Heat your oven to 350°F (175°C).
Line a 9-by-13-inch baking pan with parchment paper, leaving a little overhang on two sides. This small step makes lifting the cooled bars from the pan much easier.
Lightly grease the parchment and any exposed sides of the pan.
I learned the hard way that skipping the parchment makes these bars unnecessarily annoying to remove. The filling gets wonderfully sticky, so give yourself the advantage.
2. Make the crust — 8 to 10 minutes
Add the softened butter and granulated sugar to a large mixing bowl.
Beat them together with a hand mixer or stand mixer until the mixture looks creamy and slightly lighter, about 2 to 3 minutes.
Mix in the vanilla.
Add the flour and salt gradually. Mix just until the dough comes together. Don’t keep beating it once you no longer see dry flour.
The finished dough should feel soft and crumbly but should hold together when you press it between your fingers.
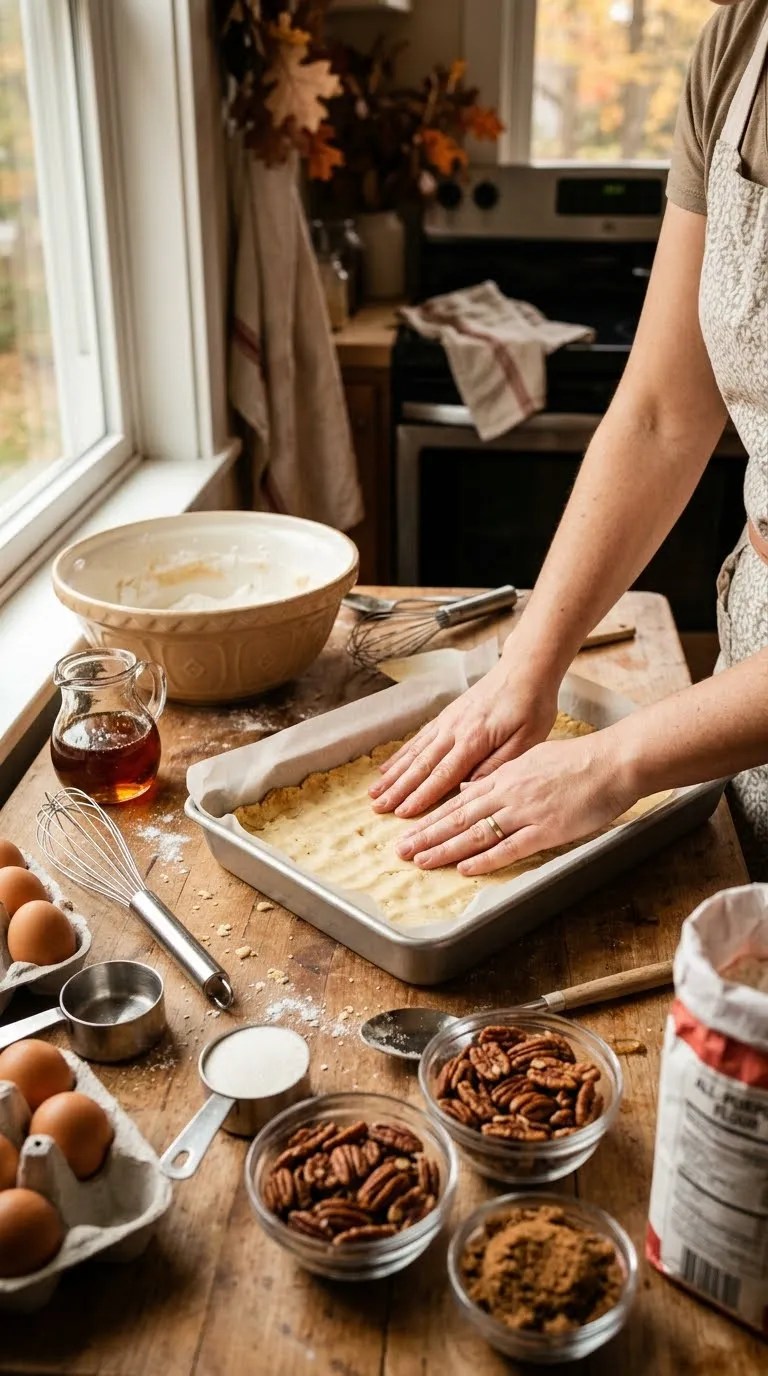
3. Press and bake the crust — 15 to 18 minutes
Transfer the dough to your prepared pan.
Use your fingertips, the bottom of a measuring cup, or the back of a flat glass to press the dough evenly across the bottom.
Try to create an even layer. A thicker corner can stay soft while the rest of the crust becomes nicely golden.
Bake for 15 to 18 minutes, until the edges look lightly golden and the center looks set.
Don’t wait for the entire crust to become deeply brown. It will bake again with the filling.
Set the pan aside while you prepare the topping.
4. Toast the pecans — 5 to 8 minutes
While the crust bakes, spread the pecans on a baking sheet.
Toast them in the oven for about 5 to 8 minutes, watching them carefully.
You want them fragrant and lightly toasted, not dark and bitter.
If your pecans already taste particularly fresh and flavorful, you can skip this step. But I almost always toast them because it brings out their nutty flavor and gives the finished bars a little more character.
Let them cool briefly, then roughly chop them if you’re using halves.
5. Make the filling — about 8 minutes
Melt the butter in a medium saucepan over medium-low heat.
Add the brown sugar, maple syrup, corn syrup, and salt.
Stir until the sugar dissolves and the mixture looks glossy, about 2 to 3 minutes.
You don’t need to bring it to a hard boil. Just warm it enough to combine everything smoothly.
Remove the saucepan from the heat and let the mixture cool for a few minutes.
This part matters. You don’t want to pour a piping-hot butter mixture over your eggs and accidentally cook them.
6. Add the eggs and vanilla — 3 minutes
In a separate bowl, whisk the eggs and vanilla together.
Slowly drizzle some of the warm sugar mixture into the eggs while whisking constantly. Continue gradually adding the mixture until you’ve incorporated it all.
This gentle process helps bring the temperatures together.
The filling should look smooth and glossy.
7. Add the pecans — 1 minute
Stir the toasted pecans into the filling.
At this point, the mixture should smell like Thanksgiving. That buttery brown-sugar aroma always makes it difficult for me to wait for the bars to finish.
8. Pour over the crust — 1 minute
Pour the pecan filling evenly over the warm crust.
Use a spatula to spread the pecans around if they gather in one area.
Don’t worry if the filling looks loose. It will thicken considerably as it bakes and cools.
9. Bake the pecan pie bars — 25 to 32 minutes
Return the pan to the 350°F (175°C) oven.
Bake for approximately 25 to 32 minutes.
Start checking around the 25-minute mark.
The edges should look set, and the center should have a gentle wobble when you carefully move the pan. It shouldn’t look liquid or sloshy.
This is one of those moments when it’s easy to overbake because you want the center to look completely firm. Resist that temptation.
The filling continues to set as the bars cool.
10. Cool completely — at least 2 hours
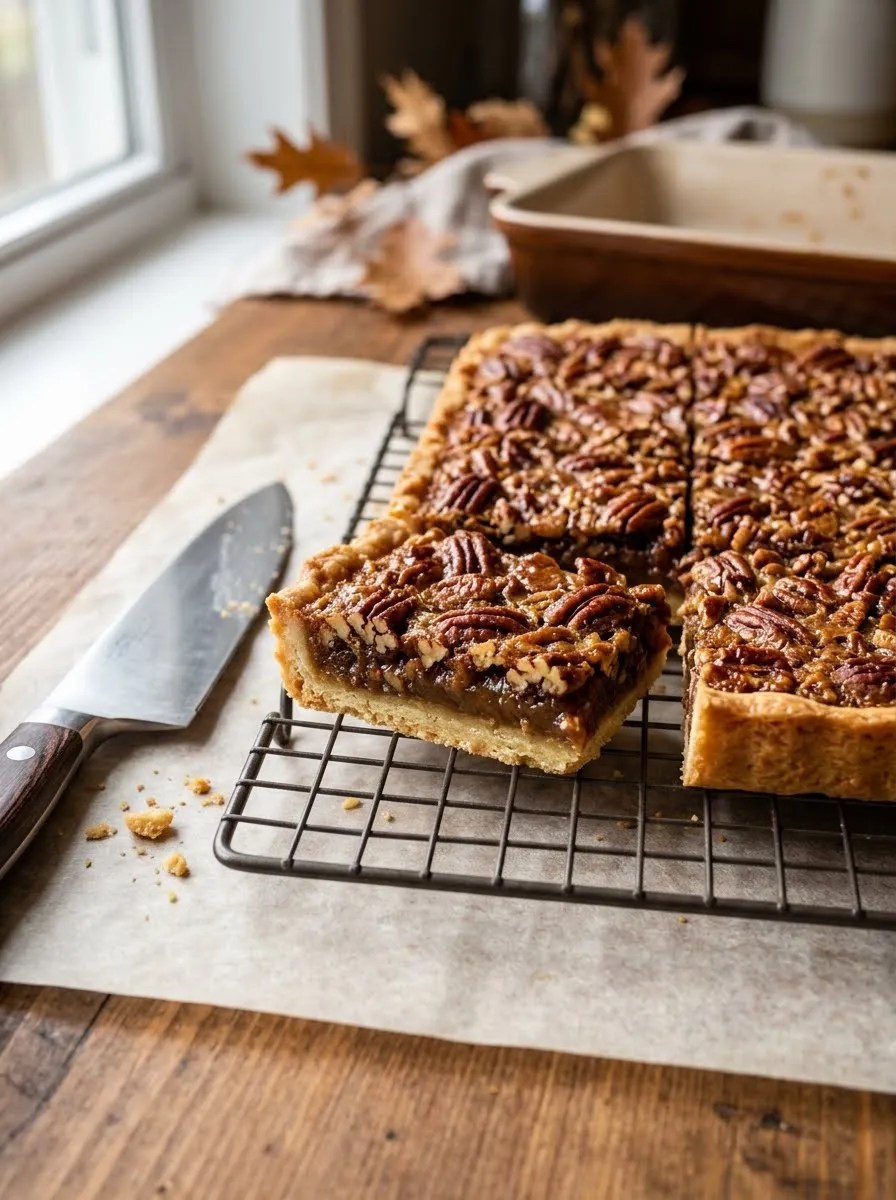
Place the pan on a cooling rack and let the bars cool completely.
For the cleanest slices, I recommend chilling them in the refrigerator for at least 1 hour after they reach room temperature.
Use the parchment overhang to lift the entire slab from the pan.
Run a sharp knife under hot water, dry it, and slice the bars. Wipe the knife between cuts when you want especially neat edges.
You can cut 24 smaller squares for a dessert table or make larger bars if you’re serving them as the main dessert.
Pro Tips & Tricks
Don’t skip the cooling time
Warm pecan pie bars can look softer than you expect. That doesn’t automatically mean they’re underbaked.
The filling firms as it cools, so give it time before deciding that something went wrong.
If you’re serving them for Thanksgiving dinner, making them the day before works beautifully.
Watch the pecans carefully
Pecans can go from beautifully toasted to burnt surprisingly quickly.
Once you smell a strong nutty aroma, check them. You don’t need a dark color to get the flavor benefit.
Don’t overwork the crust
Once you add the flour, mix only until everything comes together.
Overmixing can make the crust less tender. For these bars, I want the base to have a buttery, shortbread-like texture that contrasts with the soft filling.
Keep the filling from overheating
When you add the warm sugar mixture to the eggs, pour slowly and whisk continuously.
If you dump everything in at once while the mixture is extremely hot, you risk scrambling some of the egg.
Cut small pieces
These bars are rich, so smaller portions work especially well at Thanksgiving.
I often cut the pan into 24 squares rather than 12 large bars. People can always take another piece, and the smaller portions look great on a holiday dessert platter.
Make them ahead
You can make the bars one to two days before Thanksgiving.
Once completely cool, cover the pan tightly and refrigerate it. Let the bars sit at room temperature for about 15 to 30 minutes before serving so the filling isn’t quite so firm.
Store leftovers properly
Keep leftover pecan pie bars in an airtight container in the refrigerator.
They should keep well for several days when refrigerated. For the best texture, let individual bars sit at room temperature briefly before eating.
Variations & Substitutions
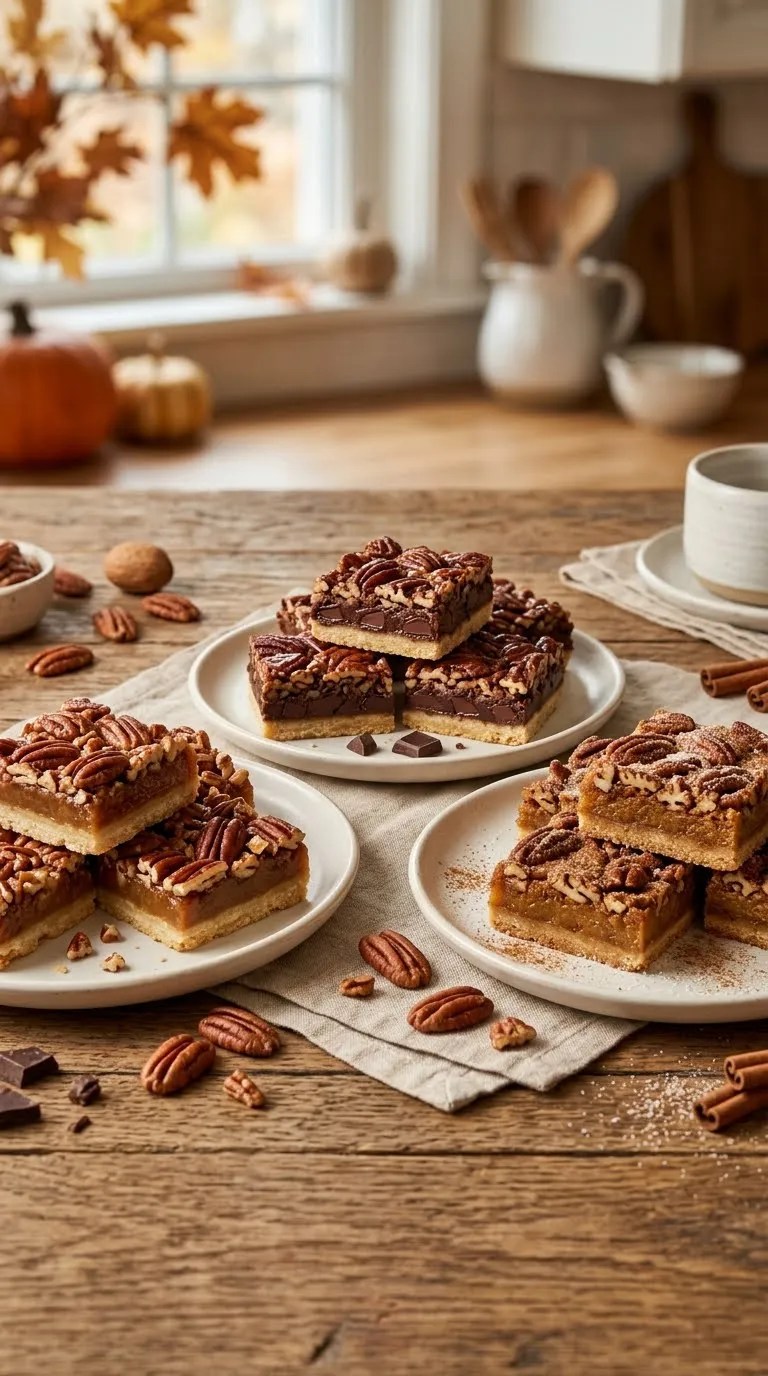
Add a little chocolate
For a chocolate-pecan version, scatter 1/2 cup of semisweet chocolate chips over the baked crust before pouring on the filling.
The chocolate melts into the filling and adds a deeper dessert flavor.
I wouldn’t add much more than that because the bars are already rich.
Use a cinnamon-spiced filling
If you like a little extra warmth in your Thanksgiving desserts, whisk 1/2 teaspoon ground cinnamon into the filling.
You can also add a tiny pinch of nutmeg or ground ginger. Keep the amounts modest so the spices support the pecans rather than taking over.
Make them gluten-free
Replace the all-purpose flour in the crust with a good 1-to-1 gluten-free baking flour.
Choose a blend intended for baking rather than a single flour such as coconut flour or almond flour. Different gluten-free flours absorb liquid differently, so a direct baking blend gives you the most predictable result.
Serving Suggestions

These homemade pecan pie bars belong right at home on a Thanksgiving dessert table.
Serve them at room temperature or slightly chilled with a spoonful of whipped cream. Vanilla ice cream also works beautifully if you’re serving them warm.
For a simple holiday presentation, arrange the bars on a large platter and dust them very lightly with powdered sugar just before serving.
If you’re hosting a bigger gathering, cut the bars into smaller squares and place them alongside pumpkin pie, apple pie, cookies, or brownies.
They’re also excellent with a cup of coffee after dinner. I especially like serving them when everyone has settled down and the kitchen has finally gone quiet.
For an extra-special presentation, add a few toasted pecan pieces around the platter rather than piling extra toppings onto each bar. It keeps the dessert looking homemade and inviting without making it fussy.
Related Recipes:
- Pumpkin Crisp Bars
- No-Bake Pumpkin Cheesecake Ball
- Pumpkin Pie Filling Cookies
- Pumpkin Cookies With Pie Filling
- Old Fashioned Pecan Pie Brownies
FAQ’s
Can I make pecan pie bars the day before Thanksgiving?
Absolutely.
These bars actually benefit from being made ahead because the filling needs time to cool and set. Bake them the day before, cool them completely, cover them, and refrigerate them.
Slice them shortly before serving for the neatest presentation.
Why are my pecan pie bars runny in the middle?
The most common reason is that they haven’t cooled completely yet.
The filling stays quite soft while warm and firms as it cools. If the bars remain loose even after cooling thoroughly, your oven may run cooler than its displayed temperature, or the bars may need a little more baking time.
Next time, look for a set edge and a gentle wobble in the center rather than a visibly liquid filling.
Can I use chopped pecans instead of pecan halves?
Yes.
Chopped pecans make the bars easy to cut and distribute the nuts throughout every bite. I prefer roughly chopped pecans because they give you a mix of smaller pieces and larger crunchy bits.
Avoid chopping them into a fine meal.
Can I freeze pecan pie bars?
Yes. Let the bars cool completely, chill them until firm, then wrap individual pieces tightly or place them in a freezer-safe airtight container.
For the best texture, thaw them in the refrigerator and then let them sit at room temperature for a short time before serving.
If you’re preparing them for a holiday, freezing them ahead can take one more thing off your Thanksgiving to-do list.
Can I use salted butter?
You can.
If salted butter is all you have, simply reduce the added salt in the crust and filling. Since different brands contain different amounts of salt, tasting the finished filling isn’t practical once you’ve added the eggs, so it’s better to start conservatively.
How do I get clean slices?
Cool the bars completely before cutting.
For especially clean edges, chill the whole slab, lift it from the pan using the parchment, and use a sharp knife. Wipe the knife clean between cuts.
If the filling sticks to the blade, warm the knife slightly under hot water, dry it thoroughly, and continue slicing.
Final Thought
I love these homemade pecan pie bars because they give me the part of Thanksgiving baking I actually look forward to: filling the kitchen with the smell of toasted pecans and brown sugar, then watching everyone sneak a little square before dessert is officially served.
They’re not trying to replace a classic pecan pie. They simply make those same comforting flavors easier to bake, slice, share, and serve.
If you make a batch for Thanksgiving, don’t worry if your first few cuts aren’t perfectly square. Mine certainly weren’t. The slightly uneven pieces always seem to disappear first.
Give the bars plenty of time to cool, keep your pecans from over-toasting, and trust that gentle wobble in the center.
Then put the pan on the dessert table and see how long it lasts. My guess? Not very long.
Leave a Reply
You must be logged in to post a comment.