

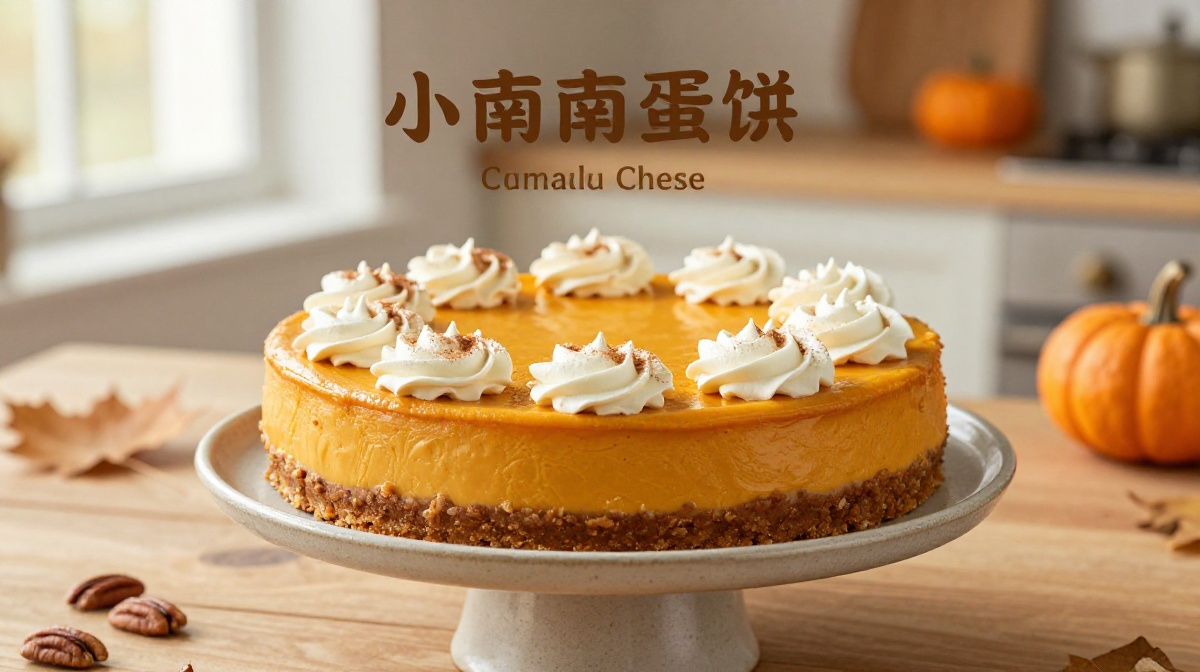
There’s something about pumpkin cheesecake that makes a kitchen smell like fall before you even take the first bite.
I first tried making one without cream cheese on a day when I had pumpkin puree sitting in the pantry and a serious craving for cheesecake. I had everything I thought I needed—except the cream cheese. Rather than make another trip to the store, I started rummaging through the refrigerator.
That little kitchen improvisation turned into one of my favorite versions of pumpkin cheesecake.
Instead of cream cheese, this recipe uses thick Greek yogurt and a little sour cream to create a filling that feels creamy and rich without relying on traditional cream cheese. Pumpkin puree brings plenty of flavor, while cinnamon, ginger, nutmeg, and vanilla give the whole dessert that cozy autumn character I was after.
I’ll be honest: my first attempt wasn’t perfect. I baked it a little too long, and the center cracked. It still tasted wonderful, but I learned an important cheesecake lesson—when the middle still has a gentle wobble, it’s usually time to stop baking.
After making this several more times, I settled on a method that gives me a smooth, flavorful filling and a buttery graham cracker crust. It’s the kind of dessert I like serving when people are coming over because I can make it ahead, chill it overnight, and forget about it until dessert time.
Why You’ll Love This Recipe

- No cream cheese needed: Greek yogurt and sour cream give the filling a creamy texture without cream cheese.
- Big pumpkin flavor: Pumpkin puree and warm spices make every bite taste unmistakably like fall.
- Make-ahead friendly: Cheesecake actually benefits from several hours in the refrigerator.
- Simple ingredients: You can find everything at an ordinary grocery store.
- Great for gatherings: One 9-inch cheesecake gives you plenty of slices for family dinners and holiday tables.
Ingredients
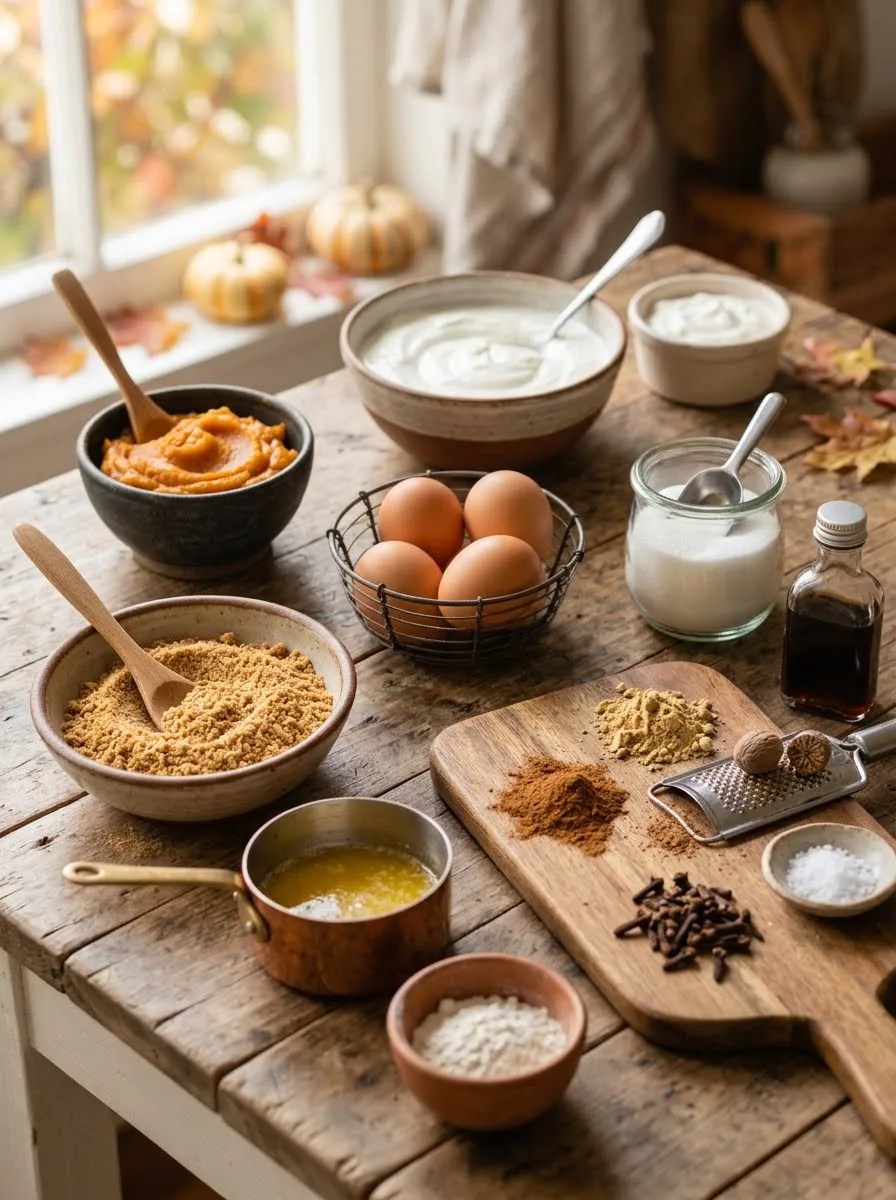
For the Graham Cracker Crust
- 1 ¾ cups finely crushed graham crackers, about 10–12 full sheets
- 5 tablespoons unsalted butter, melted
- 2 tablespoons granulated sugar
- ¼ teaspoon salt
You can use digestive biscuits instead of graham crackers if that’s what you have available. The flavor will change slightly, but the crust will still work beautifully.
For the Pumpkin Cheesecake Filling
- 1 ½ cups pumpkin puree
- 1 ½ cups plain full-fat Greek yogurt
- ½ cup sour cream
- ¾ cup granulated sugar
- 2 large eggs
- 1 large egg yolk
- 2 tablespoons all-purpose flour
- 1 teaspoon vanilla extract
- 1 ½ teaspoons ground cinnamon
- ½ teaspoon ground ginger
- ¼ teaspoon ground nutmeg
- ⅛ teaspoon ground cloves
- ½ teaspoon salt
Use pure pumpkin puree, not pumpkin pie filling. Pumpkin pie filling already contains sugar and spices, so using it here would throw off the recipe.
For the Greek yogurt, I prefer full-fat yogurt because it gives the filling a richer texture. You can use plain low-fat Greek yogurt if necessary, but the finished cheesecake will taste a little lighter.
Optional Topping
- Whipped cream
- A sprinkle of cinnamon
- Chopped pecans
- A drizzle of caramel sauce
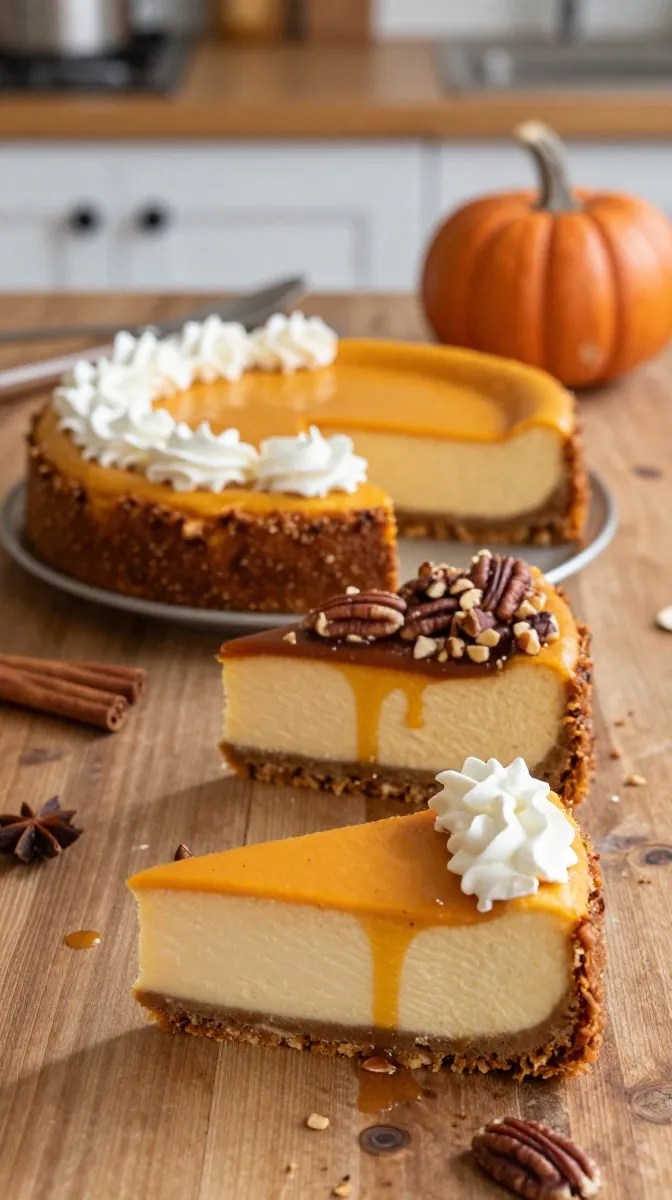
The cheesecake doesn’t need much decoration. I usually keep it simple with a few swirls of whipped cream and a tiny dusting of cinnamon.
Step-by-Step Instructions
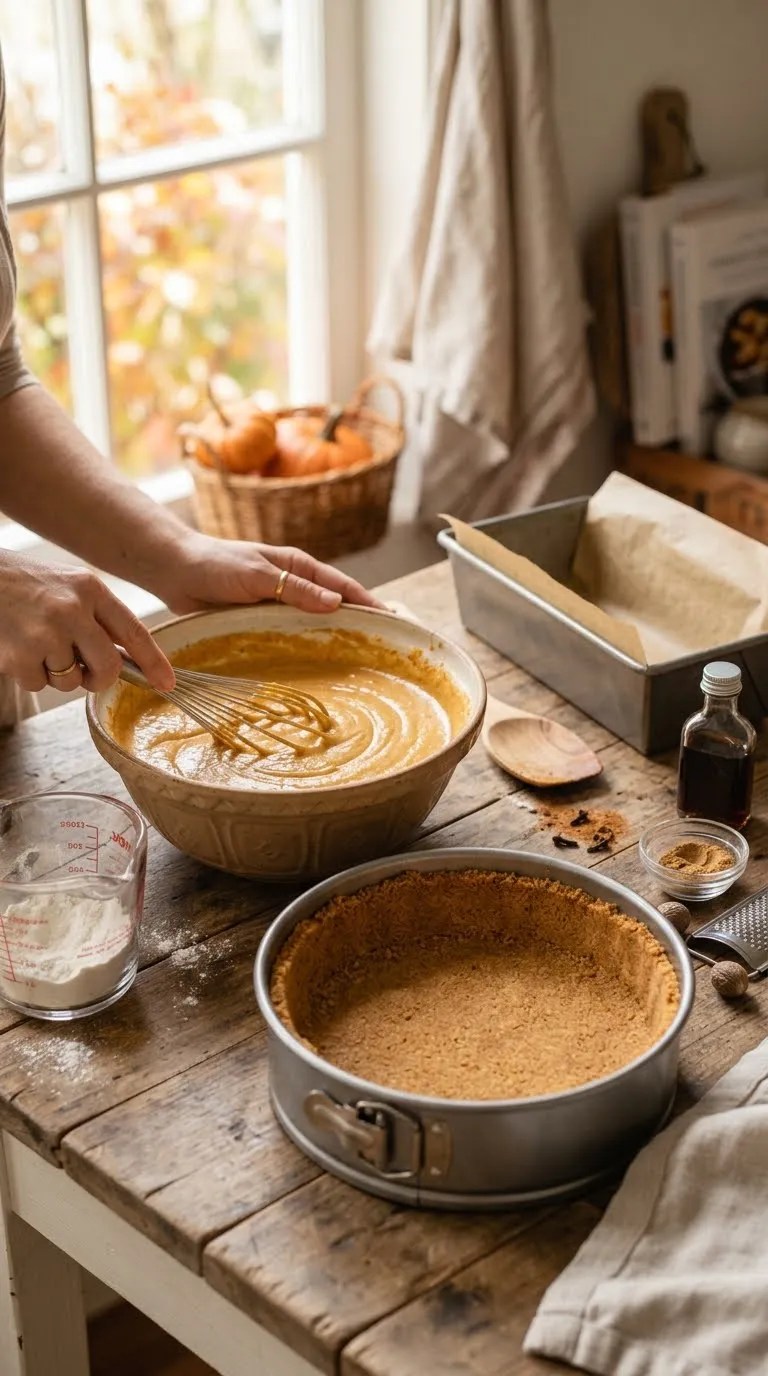
1. Prepare the Pan — 10 Minutes
Start by heating your oven to 350°F (175°C).
Grease the bottom and sides of a 9-inch springform pan lightly with butter or nonstick cooking spray.
I like to place a round piece of parchment paper on the bottom too. It makes transferring the cheesecake much easier later.
If you have a springform pan with a loose or questionable seal, wrap the outside of the pan with a layer of aluminum foil. You don’t want melted butter from the crust leaking all over the bottom of your oven.
2. Make the Graham Cracker Crust — 5 Minutes
Crush the graham crackers until they resemble fine sand.
A food processor makes this quick, but you can also put the crackers in a zip-top bag and crush them with a rolling pin. I’ve used both methods, and honestly, the bag-and-rolling-pin method works perfectly well.
Combine the crumbs, sugar, salt, and melted butter.
Stir until every bit of crumb looks lightly moistened. When you squeeze a little mixture between your fingers, it should hold together.
Press the mixture firmly into the bottom of the prepared pan.
You can use the bottom of a measuring cup to compact it evenly. Pay extra attention to the edges because loose crumbs tend to crumble when you cut the finished cheesecake.
Bake the crust for 8–10 minutes, until it smells buttery and looks slightly darker around the edges.
Let it cool while you prepare the filling.
3. Mix the Pumpkin Filling — About 10 Minutes
Place the pumpkin puree, Greek yogurt, sour cream, sugar, cinnamon, ginger, nutmeg, cloves, salt, and vanilla in a large mixing bowl.
Whisk until the mixture looks smooth and evenly combined.
Add the eggs and egg yolk.
Whisk gently just until everything comes together.
This is one place where I learned to slow down. You don’t need to whip the filling like cake batter. Too much vigorous mixing can add unnecessary air, and those air bubbles can contribute to cracks as the cheesecake bakes.
Finally, sprinkle in the flour and whisk just until you no longer see dry streaks.
The finished filling should look smooth, thick, and glossy.
4. Pour the Filling Over the Crust — 2 Minutes
Once the crust has cooled for a few minutes, pour the pumpkin filling into the pan.
Give the pan a very gentle tap against the counter once or twice to encourage large air bubbles to rise.
Don’t bang it hard. A gentle tap is plenty.
If you see any obvious bubbles on the surface, pop them with the tip of a toothpick.
5. Bake the Cheesecake — 50–60 Minutes
Place the cheesecake in the center of your preheated oven.
Bake for approximately 50–60 minutes.
Here’s the important part: don’t judge cheesecake by the same rules you use for cake.
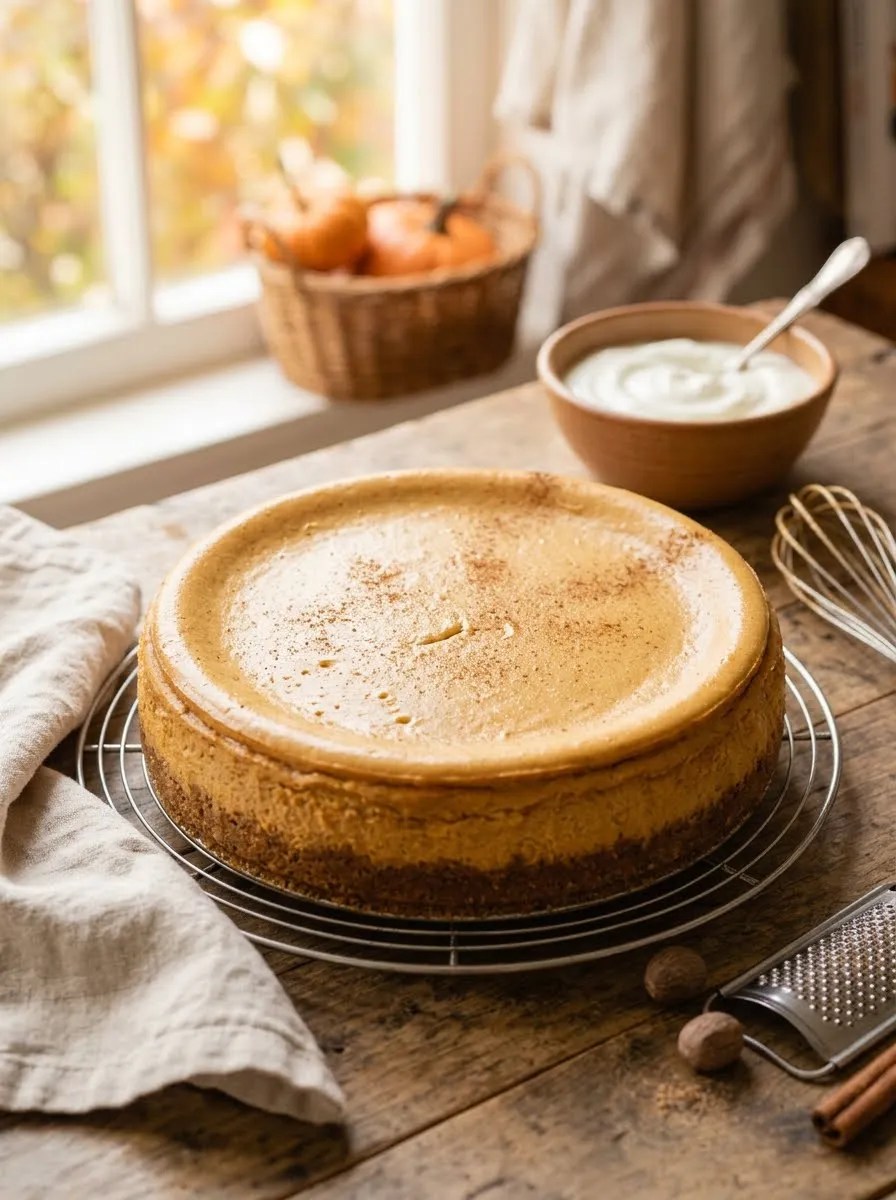
The edges should look set, while the center should still have a slight jiggle when you gently move the pan.
You’re looking for a soft wobble in the middle—not a liquid-looking filling sloshing around.
If the entire cheesecake looks completely firm before you remove it, you may have baked it a little too long.
The cheesecake will continue cooking from residual heat as it cools.
6. Cool It Slowly — About 1 Hour
Turn off the oven and crack the oven door open slightly.
Let the cheesecake sit inside for about 30 minutes.
Then remove it and place it on a cooling rack.
Let it cool at room temperature for another 30 minutes.
This slower cooling process helps reduce the dramatic temperature change that can cause the surface to crack.
And if your cheesecake does crack anyway, don’t panic. It happens to experienced bakers too.
A little whipped cream on top covers almost anything.
7. Chill Thoroughly — At Least 4 Hours
Once the cheesecake has cooled, cover it loosely with plastic wrap or foil and refrigerate it for at least 4 hours.
Overnight works even better.
This is the hardest part of the recipe for me because the kitchen smells amazing and the cheesecake is sitting right there.
But resist the urge to slice it early.
The refrigerator gives the filling time to firm up and develop its texture. A properly chilled cheesecake also slices much more cleanly.
8. Slice and Serve
Run a thin knife around the edge of the cheesecake before releasing the springform pan.
For neat slices, dip a sharp knife into hot water, wipe it dry, and then cut.
Clean and warm the knife between slices.
Serve the cheesecake cold or let individual slices sit at room temperature for about 10–15 minutes before serving.
Add whipped cream, chopped pecans, cinnamon, or caramel sauce if you like.
Pro Tips & Tricks
Don’t Overmix the Eggs
Once you add the eggs, whisk only until the mixture looks combined.
You don’t need to create lots of volume. Cheesecake filling should stay relatively dense and creamy.
Use Thick Greek Yogurt
The yogurt plays a major role in the texture because you aren’t using cream cheese.
If your yogurt looks unusually thin or watery, strain it through a fine-mesh sieve lined with cheesecloth for 30–60 minutes before using it.
That small step can make a noticeable difference.
Don’t Overbake It
This is probably the most important tip.
A cheesecake that looks perfectly firm in the oven may turn out dry after it cools.
Instead, look for set edges and a gently trembling center. The middle should jiggle as one piece rather than ripple like liquid.
Let It Chill Completely
Four hours is the minimum I recommend, but overnight chilling gives the best texture.
It also makes the recipe convenient for entertaining because you can prepare the cheesecake the day before.
Store It Properly
Keep leftover cheesecake covered in the refrigerator.
It should keep well for about 3–4 days when stored properly.
Keep toppings such as whipped cream separate when possible, especially if you plan to store leftovers. Add them just before serving.
Variations & Substitutions
Make It Gluten-Free
Use gluten-free graham-style crackers or another gluten-free cookie for the crust.
The filling itself contains only a small amount of all-purpose flour. Replace that flour with a suitable gluten-free flour blend or certified gluten-free starch-based alternative according to its package substitution guidance.
Also check your individual ingredient labels if you need to avoid gluten carefully.
Add a Pecan Crust
For extra crunch, replace about ½ cup of the graham cracker crumbs with finely ground pecans.
Mix them with the remaining crumbs, butter, sugar, and salt.
The pecans add a lovely toasted flavor that works especially well with pumpkin.
Give It a Maple Twist
Replace ¼ cup of the granulated sugar with pure maple syrup.
Because maple syrup adds liquid, I prefer making only a partial substitution rather than replacing all the sugar.
You can also add a tiny splash of maple extract if you happen to have some in your pantry.
Make It More Spiced
If you love a stronger spice profile, increase the cinnamon slightly or add a pinch more ginger.
I recommend making small adjustments rather than dumping in a lot of extra spice. Pumpkin has a delicate flavor, and too many spices can overpower it.
Serving Suggestions

This pumpkin cheesecake fits right in at a Thanksgiving dinner, autumn birthday, family Sunday lunch, or casual dinner with friends.
I especially like serving it after a meal that doesn’t already have a heavy dessert. The cool, creamy filling pairs nicely with coffee, black tea, or a mug of warm spiced cider.
For a simple presentation, put one slice on a dessert plate and add a small spoonful of whipped cream.
For something a little more special, sprinkle chopped toasted pecans around the plate and drizzle a small amount of caramel sauce over the slice.
You can also serve the cheesecake with fresh apple slices. The crisp fruit gives you a nice contrast against the soft filling.
If you’re serving it at a holiday gathering, make the cheesecake the day before. On the day of the meal, you only need to slice it and add the toppings.
That’s exactly the kind of dessert I want when I’m already juggling several dishes in the kitchen.
Related Recipes:
- Pecan Pie Bars Using Sugar Cookie Dough – Easy & Delicious Recipe
- Pecan Bars With Graham Cracker Crust
- Gooey Pecan Bar – Easy, Buttery & Delicious Recipe
- Easy Pecan Coffee Cake With a Crumb Topping – Moist & Delicious
- Easy Apple Dessert for Thanksgiving Dinner
FAQ’s
Can I make pumpkin cheesecake without cream cheese?
Yes. This version replaces cream cheese with full-fat Greek yogurt and sour cream.
The result has a creamy, tangy filling with a slightly lighter texture than traditional cream-cheese cheesecake.
Why did my cheesecake crack?
The most common reason is overbaking or cooling the cheesecake too quickly.
Try removing it when the edges have set but the center still has a gentle wobble. Then let it cool gradually before refrigerating it.
Small cracks won’t affect the flavor, so don’t throw out a perfectly good cheesecake because of them.
Can I make this cheesecake ahead of time?
Absolutely.
In fact, I prefer making it the day before serving. Once the cheesecake cools, refrigerate it overnight and add the toppings shortly before serving.
The extra chilling time makes slicing easier too.
Can I freeze pumpkin cheesecake?
Yes.
Let the cheesecake cool and chill completely first. Cut it into individual slices or freeze the whole cheesecake before wrapping it tightly.
For the best quality, use the frozen cheesecake within about 1–2 months.
Thaw it slowly in the refrigerator rather than leaving it on the counter for hours.
How should I store leftover pumpkin cheesecake?
Cover the cheesecake and refrigerate it.
For the best texture and flavor, enjoy it within 3–4 days.
If you added whipped cream to the entire cheesecake, the topping may lose some of its texture during storage. Adding whipped cream to individual slices works better.
Why is my cheesecake still soft in the middle?
A cheesecake needs time to set.
If you have already baked it according to the recipe and the center has only a gentle wobble, refrigerate it for several hours before judging the texture.
If the center remains very loose after thorough chilling, your cheesecake may have needed additional baking time.
Final Thought
I love recipes that come from a little kitchen problem.
This pumpkin cheesecake started because I didn’t have cream cheese, but it stayed in my recipe rotation because I genuinely enjoy the finished dessert. The Greek yogurt gives it a pleasant tang, the pumpkin brings that familiar autumn flavor, and the buttery graham cracker crust pulls everything together.
And don’t worry if your first cheesecake doesn’t come out looking bakery-perfect. Mine certainly didn’t.
Focus on the texture, give it plenty of time to cool and chill, and remember that whipped cream is a wonderfully forgiving finishing touch.
If you make this pumpkin cheesecake without cream cheese, I hope it earns a spot on your fall dessert table just like it did on mine. Grab a fork, make yourself a cup of coffee, and enjoy that first slice—you’ve earned it.
Leave a Reply
You must be logged in to post a comment.