

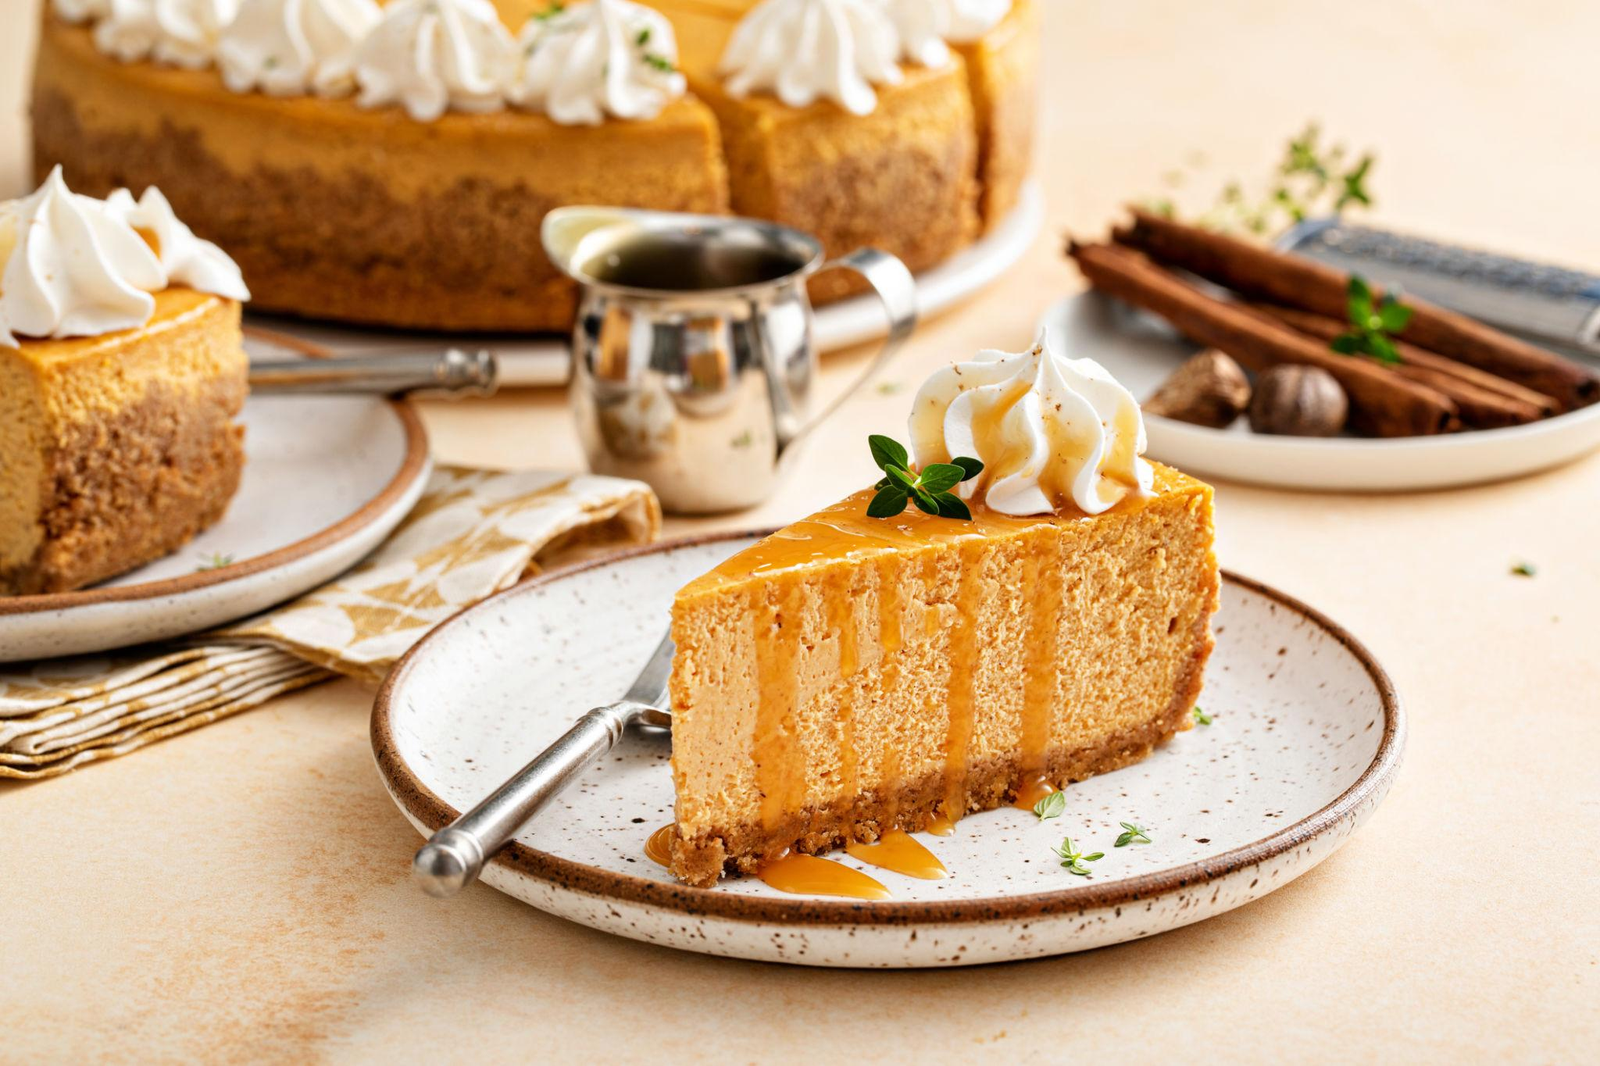
The first time I thought about making pumpkin cheesecake without cream cheese, I had a can of pumpkin puree sitting in the pantry, a packet of graham crackers on the counter, and a serious craving for something creamy and spiced. I wanted the comfort of pumpkin pie with the rich, smooth texture of cheesecake, but I didn’t have any cream cheese in the fridge.
Instead of making another trip to the grocery store, I decided to experiment with a different filling. Ricotta cheese and sour cream seemed like a promising combination, so I whisked them together with pumpkin puree, eggs, sugar, and my favorite fall spices. I wasn’t entirely sure what to expect, but the result surprised me in the best way.
The cheesecake came out creamy, gently spiced, and wonderfully rich without feeling quite as heavy as some traditional cheesecakes. The pumpkin brought an earthy sweetness, while the ricotta created a soft, delicate texture. After chilling overnight, each slice held together beautifully.
That’s what I love about this pumpkin cheesecake recipe without cream cheese. You can make a memorable dessert with simple ingredients, and you don’t need a complicated baking technique to get a delicious result.
This version uses ricotta cheese as the main alternative to cream cheese, along with sour cream for extra moisture and a little tang. A buttery graham cracker crust gives every slice a familiar cheesecake finish.
Whether you’re planning a Thanksgiving dessert, preparing something special for a weekend dinner, or simply looking for a new way to use pumpkin puree, this recipe deserves a place in your baking rotation.

Why You’ll Love This Pumpkin Cheesecake Without Cream Cheese
- No cream cheese required. Ricotta cheese and sour cream create a creamy filling with a pleasantly light texture.
- Full of cozy pumpkin flavor. Cinnamon, ginger, nutmeg, and a pinch of cloves give every bite that familiar autumn warmth.
- Made with everyday ingredients. You can find everything you need at most grocery stores, and you won’t need special baking equipment.
- Perfect for making ahead. The cheesecake tastes even better after a night in the refrigerator, making it a practical choice for holidays and gatherings.
- Easy to customize. Swap the crust, adjust the spices, or add a little maple syrup to make the recipe your own.
One important thing to know: ricotta cheesecake has a slightly different texture from traditional cream cheese cheesecake. It tends to feel softer and more delicate, especially when you use fresh, moist ricotta. A few simple preparation steps will help you achieve a smooth filling that slices neatly after chilling.
Ingredients for Pumpkin Cheesecake Without Cream Cheese
This recipe makes one 9-inch cheesecake, which usually gives you 10 to 12 slices. You’ll need a 9-inch springform pan, a mixing bowl, a whisk or electric mixer, and a baking tray.

For the graham cracker crust
- 2 cups (about 200 g) graham cracker crumbs
- 6 tablespoons (85 g) unsalted butter, melted
- 2 tablespoons (25 g) granulated sugar
- 1/4 teaspoon ground cinnamon
- A small pinch of salt
Substitution: If graham crackers aren’t available, use digestive biscuits or plain sweet tea biscuits. Crush them into fine crumbs before mixing them with the butter. Depending on how sweet your biscuits are, you may want to reduce the added sugar.
For the pumpkin cheesecake filling
- 2 cups (about 450 g) whole-milk ricotta cheese
- 1 cup (245 g) pumpkin puree
- 1/2 cup (120 g) sour cream
- 3/4 cup (150 g) granulated sugar
- 3 large eggs, preferably at room temperature
- 2 tablespoons all-purpose flour
- 2 teaspoons pure vanilla extract
- 1 1/2 teaspoons ground cinnamon
- 1/2 teaspoon ground ginger
- 1/4 teaspoon ground nutmeg
- 1/8 teaspoon ground cloves
- 1/4 teaspoon salt
A quick note about pumpkin: Use plain pumpkin puree rather than pumpkin pie filling. Pie filling often contains added sugar and spices, which can make your cheesecake overly sweet and throw off the flavor balance.
Choosing the ricotta: Whole-milk ricotta generally gives the richest, smoothest result. If your ricotta looks watery, drain it before measuring. You can place it in a fine-mesh strainer lined with cheesecloth and refrigerate it for 30 to 60 minutes.
About the sour cream: Full-fat sour cream adds a gentle tang and helps keep the filling moist. Plain Greek yogurt can work as a substitute, although it may make the filling slightly tangier and firmer.
Optional toppings
- Whipped cream
- A light dusting of ground cinnamon
- Chopped pecans or walnuts
- A drizzle of maple syrup
- Crushed graham crackers
- A little caramel sauce
You don’t need every topping. A simple swirl of whipped cream and a pinch of cinnamon are more than enough to make each slice look inviting.
Step-by-Step Instructions
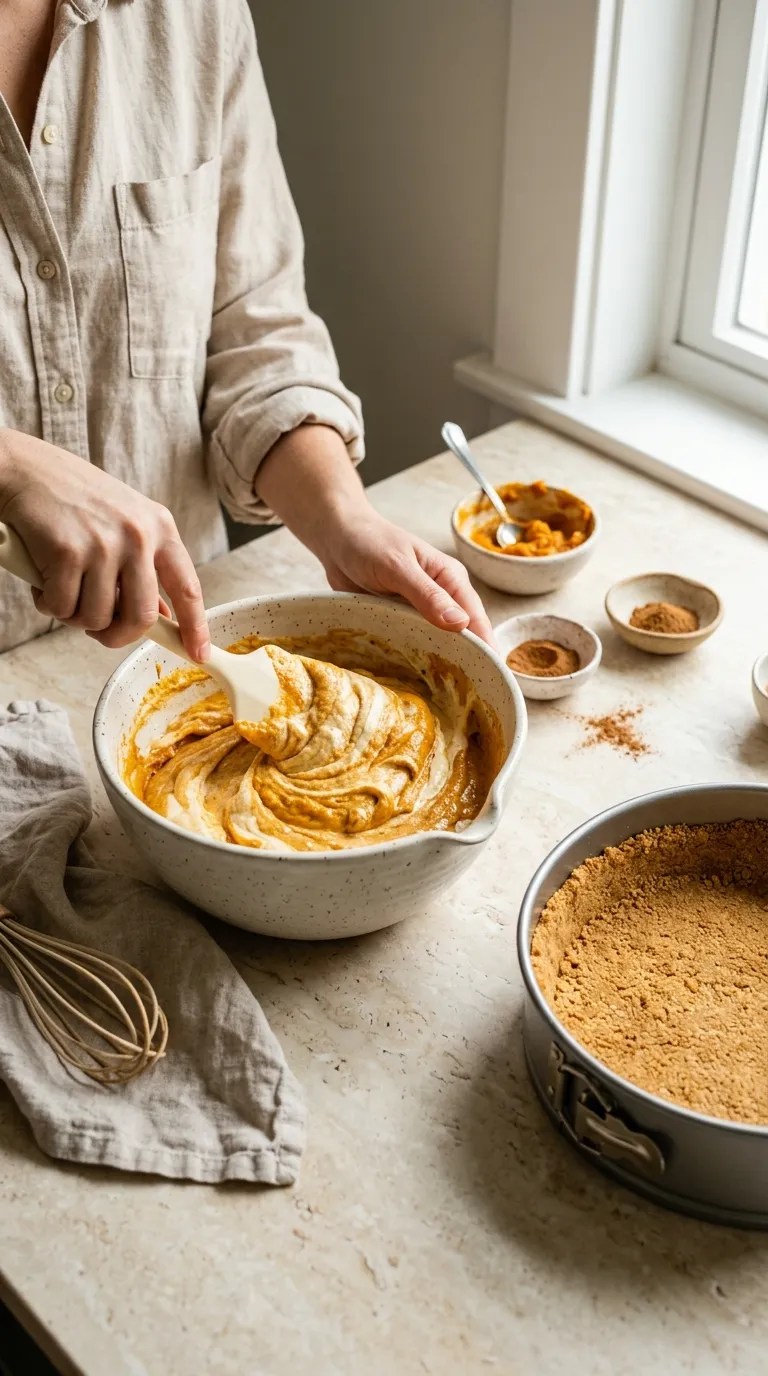
Step 1: Prepare the pan and preheat the oven (10 minutes)
Preheat your oven to 325°F (165°C).
Lightly grease a 9-inch springform pan. If you want to make removing the cheesecake easier, line the bottom with a round piece of parchment paper.
Place the oven rack in the center position. This helps the cheesecake bake evenly without browning too quickly on top.
If your ingredients are still cold, let the eggs and sour cream sit at room temperature for about 20 to 30 minutes. The ricotta can remain chilled while you prepare the crust.
Step 2: Make the graham cracker crust (10 minutes)
Add the graham cracker crumbs, melted butter, sugar, cinnamon, and salt to a medium bowl.
Stir until the crumbs look evenly moistened. When you squeeze a little mixture between your fingers, it should hold together rather than fall apart immediately.
Transfer the mixture to your prepared springform pan. Press it firmly across the bottom using the flat bottom of a measuring cup or the back of a spoon.
Pay particular attention to the edges, where loose crumbs can make the crust crumble when you cut the cheesecake.
Bake the crust for 8 to 10 minutes, until it smells lightly toasted. Remove it from the oven and let it cool while you prepare the filling.
This short pre-bake helps the crust hold its shape and gives it a slightly crisp texture beneath the soft pumpkin filling.
Step 3: Prepare the ricotta (5 minutes, plus draining if needed)
Place the ricotta in a large mixing bowl.
For a smoother cheesecake, press the ricotta through a fine-mesh sieve or blend it in a food processor for 30 to 60 seconds. You can also use an immersion blender if your bowl allows enough room to work safely.
The goal is to break up the larger curds so they don’t leave noticeable graininess in the finished cheesecake.
If the ricotta contains excess liquid, drain it before blending. This small step makes a real difference because watery cheese can produce a softer filling that takes longer to set.
Step 4: Mix the pumpkin cheesecake filling (10 minutes)
Add the pumpkin puree, sour cream, and sugar to the prepared ricotta. Whisk or mix on low speed until the ingredients look evenly combined.
Add the eggs one at a time, mixing gently after each addition. Stop as soon as each egg disappears into the batter.
Stir in the vanilla extract, cinnamon, ginger, nutmeg, cloves, and salt.
Finally, sprinkle in the flour and mix until no dry streaks remain. Scrape down the sides and bottom of the bowl with a silicone spatula.
The finished filling should look thick, creamy, and evenly orange. A few tiny ricotta flecks may remain, but you shouldn’t see large lumps or pockets of liquid.
Avoid beating the mixture on high speed. Too much air can make the cheesecake puff up in the oven and then sink as it cools.
Step 5: Fill the pan (2 minutes)
Pour the filling over the cooled crust.
Use a spatula to spread it evenly, then gently tap the pan against the counter once or twice to release large air bubbles.
If your springform pan has a loose base, place it on a baking sheet to catch any butter that escapes from the crust.
For a simple, reliable bake, leave the cheesecake uncovered and bake it on the center rack. You don’t need a water bath for this recipe, although you can use one if you prefer a particularly gentle baking environment.
Step 6: Bake the cheesecake (55–70 minutes)
Bake at 325°F (165°C) for approximately 55 to 70 minutes.
Start checking at the 50-minute mark because ovens vary, and the moisture level of your pumpkin puree and ricotta can affect the baking time.
Look for these signs that the cheesecake has nearly finished baking:
- The outer edges look set and slightly puffed.
- The center still has a gentle wobble when you carefully move the pan.
- The surface looks mostly matte rather than wet.
- The filling doesn’t slosh when you move the pan.
A slight wobble in the center is normal. The cheesecake will continue to firm up as it cools.
If you use an instant-read thermometer, aim for approximately 150°F to 155°F (66°C to 68°C) in the center as a practical doneness guide for this style of cheesecake. Avoid relying on color alone.
If the top starts browning too quickly, loosely cover the pan with foil for the remaining baking time. Keep the foil from touching the surface.
Step 7: Cool it gradually (1–2 hours)
Turn off the oven and crack the door open. Let the cheesecake rest inside for about 20 to 30 minutes.
Remove it from the oven and place the pan on a heat-safe rack. Let it cool at room temperature until it no longer feels warm, usually another 45 to 90 minutes depending on your kitchen.
Don’t rush this stage by placing a hot cheesecake straight into the refrigerator. A gradual temperature change helps reduce the chance of a deep crack forming across the top.
You may notice a small dip in the center as the cheesecake settles. That’s perfectly fine and gives you a convenient place to add whipped cream later.
Step 8: Chill until firm (at least 6 hours)
Once the cheesecake has cooled, cover the pan and refrigerate it for at least 6 hours. Overnight is even better.
This is the part that requires patience. Straight from the oven, the filling will feel soft and delicate. Chilling allows the eggs, flour, and dairy to settle into a sliceable texture.
Keep the cheesecake refrigerated while it sets. Don’t leave it sitting at room temperature for several hours simply to speed up the process.
Step 9: Slice and serve (5 minutes)
Run a thin knife around the inside edge of the springform pan before releasing the sides.
For neat slices, dip a sharp knife in warm water, wipe it dry, and cut through the cheesecake. Repeat between slices.
Add whipped cream, a sprinkle of cinnamon, or a little maple syrup just before serving.
The finished cheesecake should feel creamy and tender, with a buttery crust and a warm pumpkin-spice flavor. Serve it chilled for the cleanest slices, and let each piece sit out for a few minutes before eating if you prefer a softer texture.
Pro Tips & Tricks

1. Drain watery ricotta before you begin
This is probably the most useful tip in the entire recipe.
Ricotta varies considerably from one brand to another. Some varieties have a thick, almost spreadable consistency, while others contain a surprising amount of liquid.
If yours looks wet, drain it for 30 to 60 minutes in the refrigerator. Otherwise, excess moisture can leave the filling too soft or make it take longer to set.
2. Use plain pumpkin puree, not pumpkin pie filling
Pumpkin pie filling usually contains sweeteners and seasonings. Since this recipe already includes sugar and spices, adding pre-seasoned filling can make the cheesecake taste unbalanced.
If you’re using homemade pumpkin puree, make sure it has a thick consistency. If it looks watery, drain it briefly or cook off some moisture in a saucepan over low heat, stirring frequently. Cool it completely before adding it to the batter.
3. Mix gently once you add the eggs
It’s tempting to keep mixing until the filling looks perfectly smooth, but you don’t need to whip it like cake batter.
Use low speed with a stand mixer or hand mixer, and stop when everything looks combined. Gentle mixing reduces excess air, which helps the cheesecake bake more evenly.
A food processor works particularly well for smoothing the ricotta before you add the other ingredients.
4. Don’t wait for the center to become completely firm
The biggest mistake new cheesecake bakers make is leaving the cake in the oven until the entire surface looks rigid.
A cheesecake that’s completely firm in the oven may turn dry or develop cracks as it cools. Look for set edges and a slight movement in the middle instead.
If you’re unsure, check the center with an instant-read thermometer and use the temperature as a guide alongside the visual signs.
5. Give it enough time in the refrigerator
I know it’s tempting to cut into a dessert as soon as it looks ready, especially when the kitchen smells like cinnamon and pumpkin.
However, this cheesecake benefits from a full overnight chill. The texture becomes more cohesive, the spices have time to settle into the filling, and the slices look much cleaner.
For a dinner party or holiday meal, bake it the day before and keep it covered in the refrigerator until serving.
6. Store leftovers promptly
Transfer leftover slices to an airtight container or cover the cheesecake securely. Refrigerate within two hours of serving, or within one hour if the temperature is above 90°F (32°C).
For the best quality, eat refrigerated leftovers within 3 to 4 days.
If you want to freeze some for later, cut the chilled cheesecake into individual portions and wrap each piece well before placing it in a freezer-safe container.
Variations & Substitutions
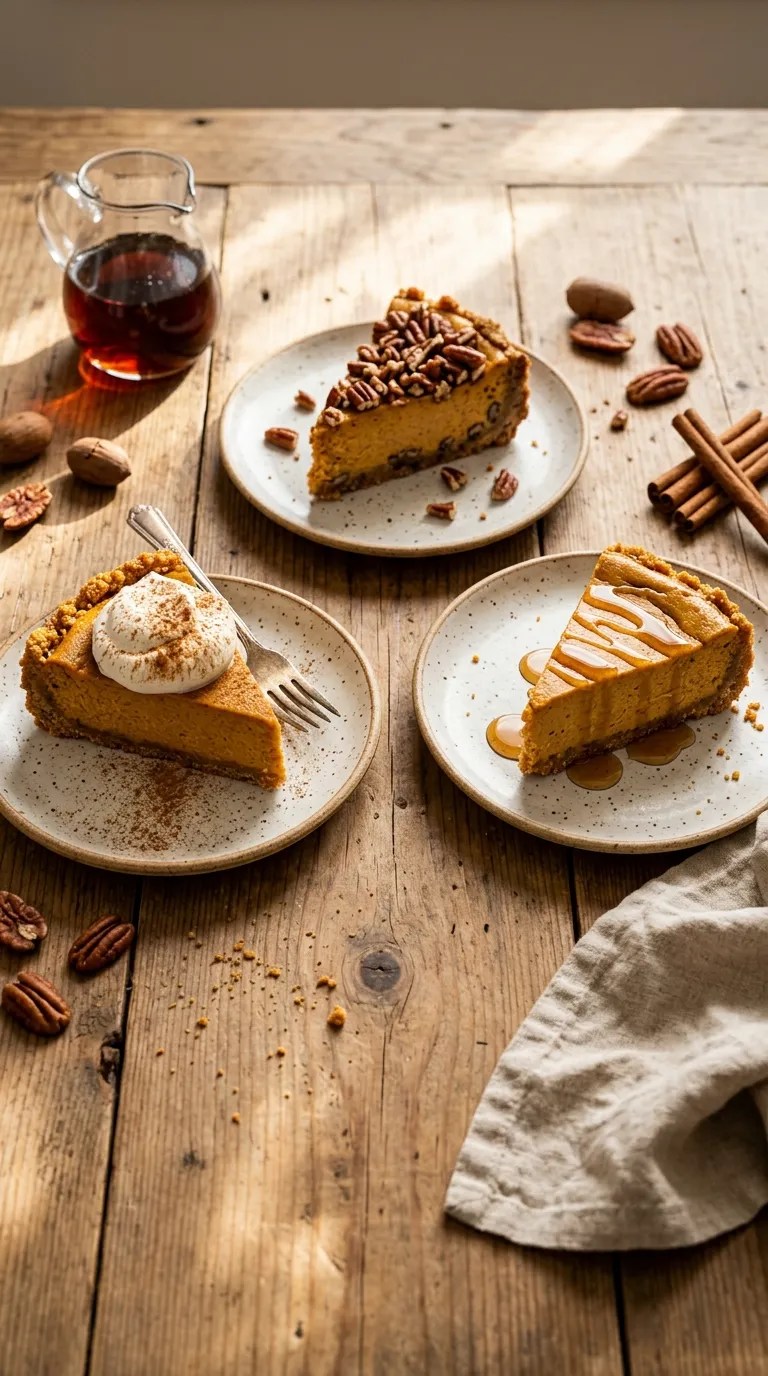
Make a maple pumpkin cheesecake
For a slightly deeper sweetness, replace up to 1/4 cup of the granulated sugar with pure maple syrup.
Maple syrup adds moisture, so don’t replace all the sugar with liquid sweetener without adjusting the recipe. For the most reliable results, keep the original filling proportions and use maple syrup as a topping instead.
A light drizzle over each slice pairs beautifully with the cinnamon and nutmeg.
Make it gluten-free
You can make the crust gluten-free by replacing the graham crackers with certified gluten-free graham-style crackers or gluten-free digestive-style biscuits.
Check the labels on the other ingredients as well, particularly the flour. Replace the 2 tablespoons of all-purpose flour with a suitable gluten-free baking flour blend or a small amount of cornstarch.
The texture may vary slightly depending on the substitute, but the pumpkin and ricotta filling should still give you a lovely dessert.
Make a nutty pecan crust
If you enjoy a little crunch, replace 1/2 cup of the graham cracker crumbs with finely ground pecans.
Mix them with the remaining crumbs, melted butter, sugar, and cinnamon. Press the mixture into the pan and pre-bake as directed.
The pecans add a toasted, buttery flavor that works especially well with pumpkin. For serving, scatter a few extra chopped pecans over the whipped cream.
Try a slightly tangier filling
If you prefer a less sweet cheesecake, reduce the granulated sugar to 2/3 cup and keep the sour cream in the recipe.
You can also add a little finely grated orange zest for a fresh citrus note. Start with 1 teaspoon so the orange complements the pumpkin instead of overpowering it.
I wouldn’t remove the sugar entirely. Sugar affects more than sweetness; it also influences the texture and browning of the filling.
Serving Suggestions
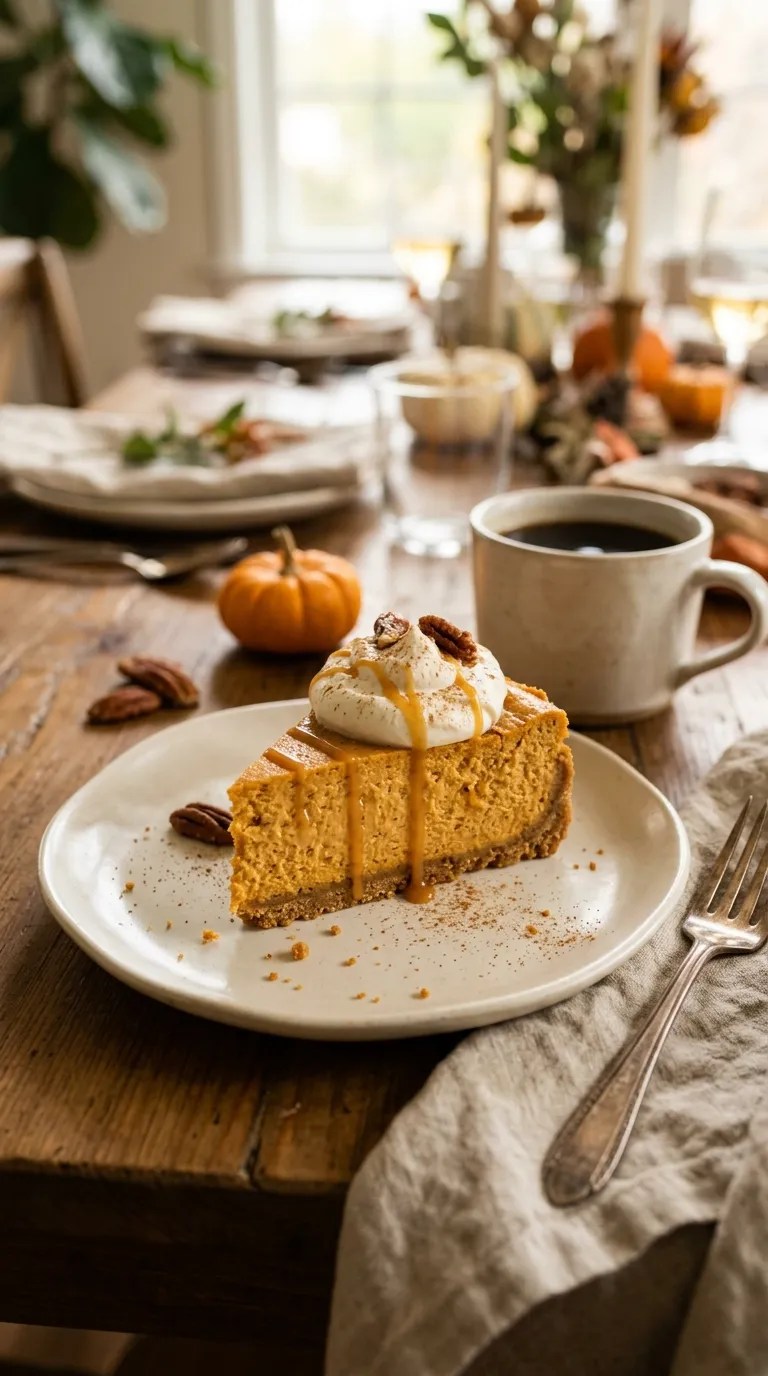
Pumpkin cheesecake is rich enough to stand on its own, but a few simple additions can make it feel extra special.
For a classic dessert plate: Add a generous spoonful of softly whipped cream and a light dusting of cinnamon. This is my favorite approach because it lets the pumpkin flavor take center stage.
For a holiday dessert table: Arrange the cheesecake alongside apple pie, pecan pie, or a simple vanilla cake. Cut smaller slices so guests can sample more than one dessert.
For a cozy afternoon treat: Serve a slice with coffee, black tea, or chai. The warm spices in the drink complement the cinnamon and ginger in the filling.
For a dinner party: Plate each slice with a small drizzle of caramel sauce and a few toasted pecans. You can prepare the cheesecake the previous day, which leaves you with less work when guests arrive.
For a lighter-tasting finish: Add fresh pear slices or a few tart apple slices on the side. Their freshness provides a nice contrast to the creamy filling.
If you’re serving this cheesecake for Thanksgiving or another family gathering, decorate it shortly before bringing it to the table. Whipped cream and crunchy toppings look their best when they haven’t spent hours sitting on the filling.
Related Recipes:
- Easy Sheet Pan Pumpkin Bars With Cream Cheese Frosting
- Pumpkin Cheesecake Bars With Cream Cheese Frosting
- Easy Halloween Sweets for Kids and Adults Spooky Chocolate
- Easy Halloween Dessert Idea Spiderweb Chocolate Brownies
FAQ’s
Can I make pumpkin cheesecake without cream cheese and without ricotta?
Yes, but you’ll need to change the recipe rather than simply omit the ricotta.
Thick, strained cottage cheese can work as an alternative if you blend it until smooth. Full-fat Greek yogurt can also form the base of a different baked pumpkin dessert, but it won’t behave exactly like ricotta.
Avoid replacing the ricotta with an equal amount of milk or thin yogurt. Those ingredients contain more free liquid and may leave the cheesecake too soft to slice.
Why is my pumpkin cheesecake too soft?
Excess moisture is one of the most common causes.
Your ricotta may have contained too much liquid, your pumpkin puree may have been watery, or the cheesecake may not have baked long enough. It also needs sufficient chilling time before you cut it.
If the cheesecake has been properly baked and safely refrigerated, give it a full overnight chill before deciding whether it has failed. If it still doesn’t hold together, serve it in dessert glasses with crushed biscuits and whipped cream rather than trying to force perfect slices.
Can I make this cheesecake a day ahead?
Absolutely. In fact, I recommend it.
Bake the cheesecake the day before serving, allow it to cool, and refrigerate it for at least 6 hours or overnight. Keep it covered, and add toppings shortly before serving.
This schedule gives the filling time to firm up and takes one major task off your list on the day of a gathering.
How long does pumpkin cheesecake last in the refrigerator?
Store it in an airtight container or cover it well, and refrigerate it at 40°F (4°C) or below.
For the best quality, enjoy it within 3 to 4 days. Don’t leave it unrefrigerated for more than two hours, or more than one hour in temperatures above 90°F (32°C).
If the cheesecake has spent too long at room temperature, don’t rely on its smell or appearance to determine whether it’s safe to eat.
Can I freeze pumpkin cheesecake without cream cheese?
Yes. Let the cheesecake chill completely before freezing it.
You can freeze the whole cheesecake or divide it into individual slices. Wrap each portion tightly in plastic wrap, then place it in a freezer-safe container or bag to protect it from freezer odors and drying.
For the best texture, use it within about 1 to 2 months. Thaw it in the refrigerator overnight before serving. Add whipped cream and other fresh toppings after thawing.
Can I reheat pumpkin cheesecake?
You generally don’t need to reheat cheesecake. Its creamy texture tastes best chilled or slightly softened at room temperature.
If you prefer a softer bite, take an individual slice out of the refrigerator for about 10 to 15 minutes before serving, keeping food safety in mind. Avoid microwaving it for a long time because the filling can become overly soft and unevenly warm.
Why did my cheesecake crack?
Cracks can form when the cheesecake bakes too long, the oven runs hot, or the cake cools too quickly.
Mixing too much air into the filling can also contribute to puffing and sinking. To reduce the risk, mix gently, avoid overbaking, and let the cheesecake cool gradually.
If a crack appears anyway, don’t worry. A layer of whipped cream, caramel, or chopped pecans can cover it beautifully. The crack won’t affect the flavor.
Can I use homemade pumpkin puree?
Yes, as long as it has a thick consistency.
Roast or steam your pumpkin until tender, then puree it until smooth. Drain or cook off excess liquid if needed, and let the puree cool completely before mixing it into the filling.
Homemade puree can contain more water than canned puree, so pay attention to its consistency. Thick puree gives you a better chance of achieving a cheesecake that sets properly.
A Little Slice of Pumpkin Season
There’s something satisfying about making a dessert that turns ordinary pantry ingredients into something worth sharing. This pumpkin cheesecake without cream cheese does exactly that.
The ricotta creates a tender, creamy filling, the pumpkin brings its familiar earthy sweetness, and the spiced biscuit crust adds just enough crunch to balance every bite. You still get the comforting feel of cheesecake without relying on cream cheese.
My biggest piece of advice is simple: drain the ricotta if it looks watery, mix the filling gently, and give the finished cheesecake plenty of time to chill. Those three details make the recipe much easier to manage.
And don’t worry if your first slice isn’t perfectly neat. A little whipped cream and a sprinkle of cinnamon can make almost any cheesecake look ready for company.
Try this recipe for your next autumn gathering, weekend baking session, or holiday dinner. If you make it, experiment with the toppings and spices until you find your favorite combination.
I’d love to hear how yours turns out, especially if you try a digestive biscuit crust or the pecan variation. Sometimes the smallest kitchen experiments become the recipes we look forward to making every year.
Leave a Reply
You must be logged in to post a comment.