

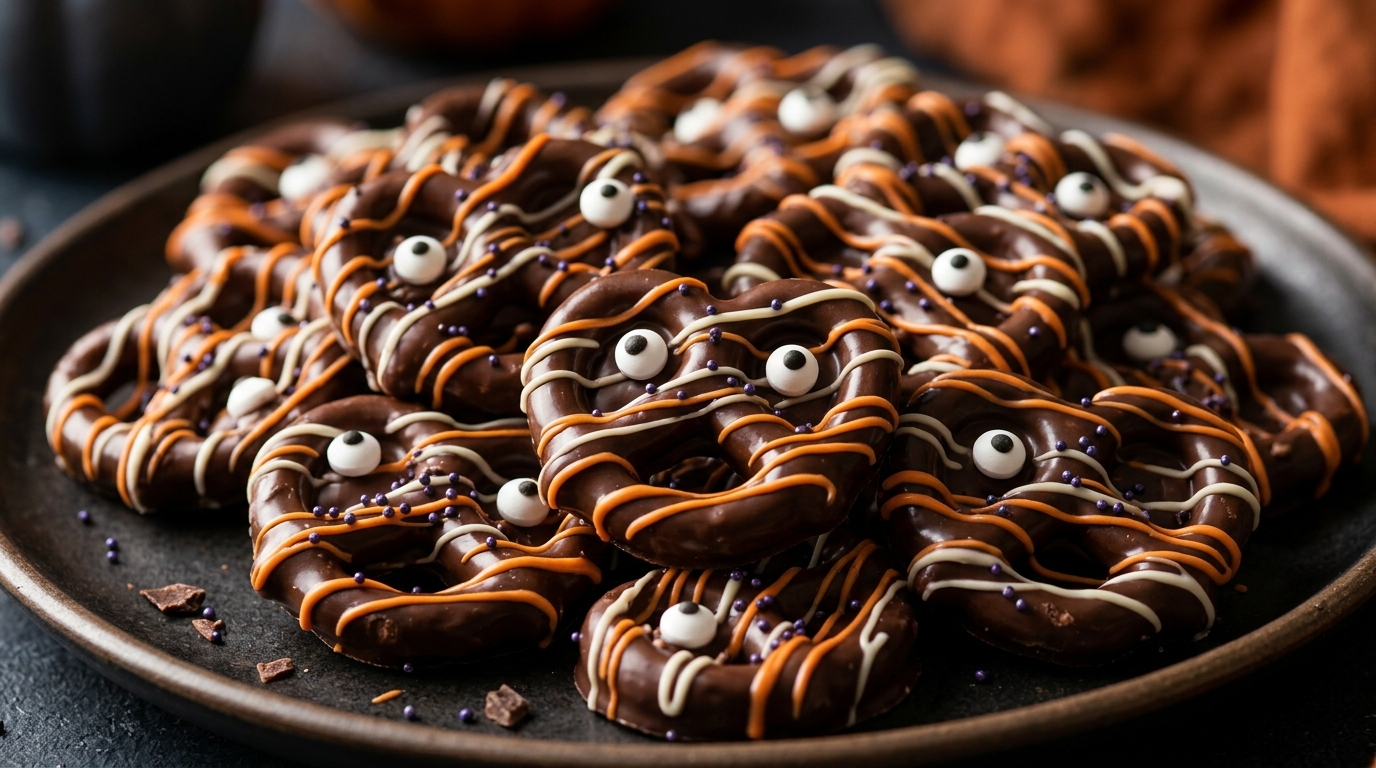
Halloween always gives me an excuse to make something sweet, chocolatey, and just a little spooky. I love seeing a table full of Halloween treats, but I don’t love spending the entire day in the kitchen while everyone else enjoys the party.
That’s why I love making Halloween sweets that look impressive without requiring complicated baking skills. These spooky chocolate pretzel bites are one of my favorite ideas because they combine crunchy pretzels, smooth melted chocolate, colorful candy, and plenty of Halloween fun.
The first time I made them, I got a little too excited with the decorations. Some pretzels ended up covered in sprinkles, others had candy eyes, and a few looked like tiny chocolate monsters. Honestly, those imperfect ones disappeared first!
These Halloween sweets work beautifully for kids and adults. Children can help decorate their own treats, while grown-ups can enjoy the chocolatey crunch with a cup of coffee. You can also prepare a big batch for school parties, family gatherings, Halloween movie nights, or a spooky dessert table.
The best part? You don’t need to turn on your oven. Just melt the chocolate, dip the pretzels, decorate them, and let everything set. It’s an easy Halloween activity that produces delicious results without creating a mountain of dirty dishes.
Why You’ll Love These Halloween Sweets

- Easy enough for beginners: You don’t need baking experience, special equipment, or complicated decorating techniques.
- Perfect for kids and adults: Children can add candy eyes and sprinkles, while adults can experiment with dark chocolate and more sophisticated toppings.
- Budget-friendly: Pretzels, chocolate, and a few inexpensive decorations create a generous batch of party treats.
- Great for making ahead: Prepare them before your Halloween party so you can spend more time enjoying the celebration.
- Easy to customize: Use orange, purple, green, black, or white decorations to create your own spooky designs.
Another thing I appreciate about these Halloween treats is that they don’t need to look perfect. A crooked candy eye or an uneven chocolate coating simply gives each little monster more personality!
Ingredients
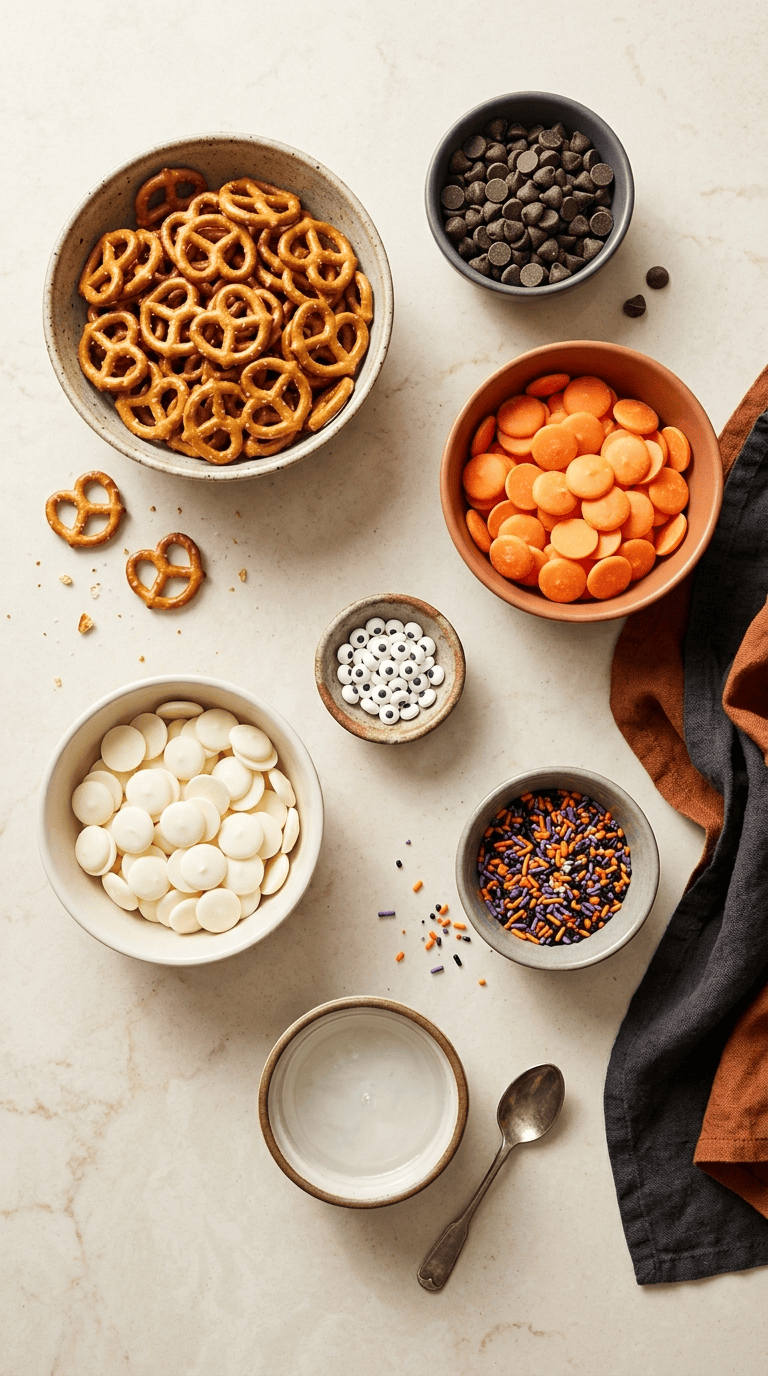
This recipe uses simple ingredients that you can find in most grocery stores. You can also change the decorations depending on what you already have in your pantry.
What You’ll Need
For the chocolate pretzels:
- 8 ounces (225 g) mini pretzel twists
- 12 ounces (340 g) semisweet chocolate chips or chopped chocolate
- 1 teaspoon coconut oil, optional, to help thin the chocolate
- 1/3 cup (55 g) orange candy melts
- 1/3 cup (55 g) white candy melts
- 1/4 cup (40 g) Halloween sprinkles
- 2 tablespoons candy eyes
- 2 tablespoons orange and purple sugar sprinkles
Optional decorations:
- 2 tablespoons crushed chocolate sandwich cookies
- 2 tablespoons mini chocolate candies
- 1 tablespoon green candy melts
- A small handful of mini marshmallows
Choosing the Best Chocolate
Semisweet chocolate gives these Halloween sweets a balanced flavor without making them excessively sugary. If you prefer a richer taste, use dark chocolate. Milk chocolate works well for younger chocolate lovers who enjoy a sweeter treat.
Chocolate chips are convenient, but chopped baking chocolate often melts more smoothly. Whatever you choose, avoid getting water into the melting bowl because even a small amount can make melted chocolate thick and grainy.
You can add a teaspoon of coconut oil if the chocolate feels too thick for dipping. Start with a small amount rather than adding too much at once.
Choosing Halloween Decorations
Candy eyes make these treats look like little monsters, while orange and white drizzles create a classic Halloween appearance.
You can also crush chocolate sandwich cookies to make a dark, crumbly topping or use colorful sprinkles for a more festive look.
If you’re making these sweets for a party with young children, check the packaging for choking hazards and choose decorations that suit their ages. Always consider allergies and label ingredients when sharing treats with a group.
Step-by-Step Instructions
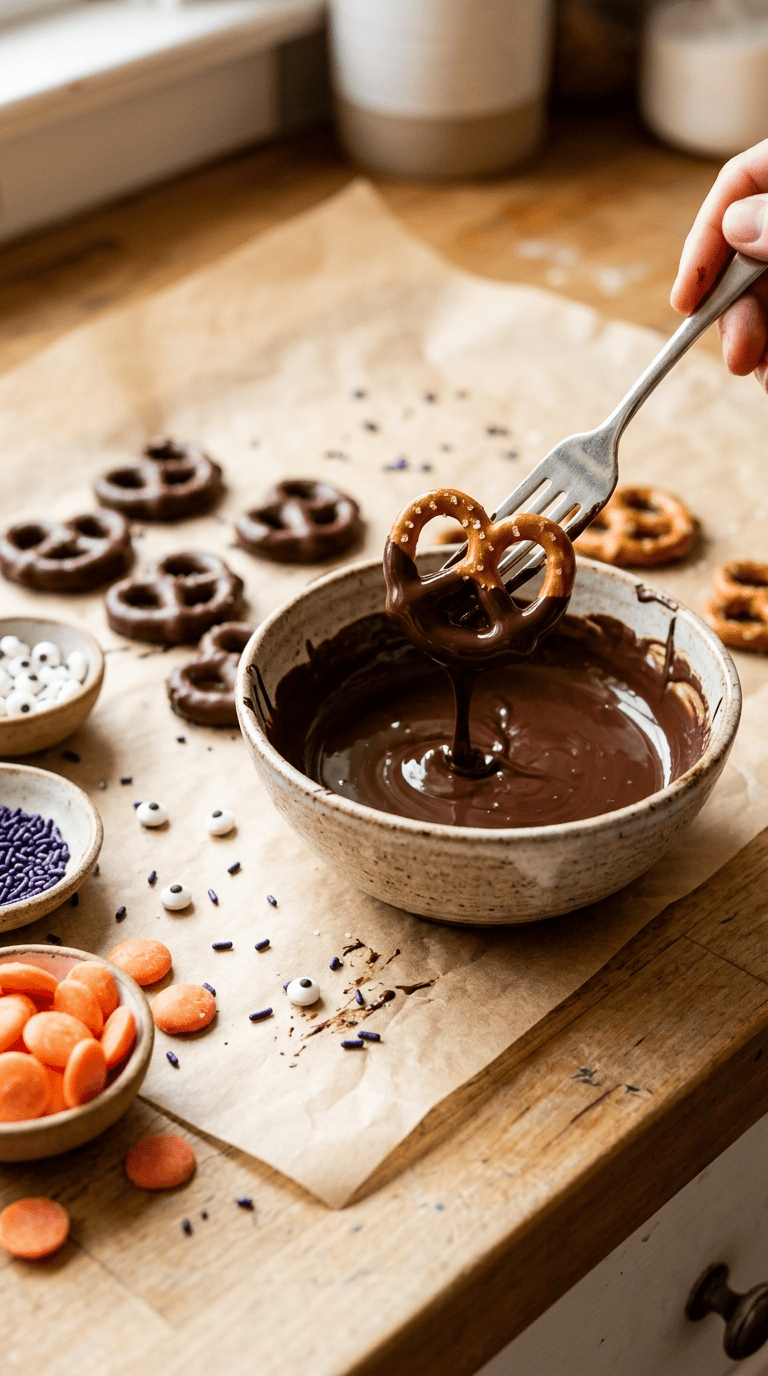
Allow approximately 20 minutes for preparation and decorating, followed by 20–30 minutes for the chocolate to set. Your actual time may vary depending on how quickly you work and the temperature of your kitchen.
Step 1: Prepare Your Workspace (5 Minutes)
Line two baking sheets or large trays with parchment paper. Arrange the pretzels nearby and place your candy eyes, sprinkles, and other decorations in small bowls.
I recommend doing this before melting the chocolate. Melted chocolate begins to set as it cools, and you don’t want to spend several minutes searching for the candy eyes while your pretzels sit on the counter.
Make sure your hands, bowls, and utensils are completely dry.
Step 2: Melt the Semisweet Chocolate (2–3 Minutes)
Place the chocolate chips in a microwave-safe bowl. Microwave them for 20–30 seconds at a time, stirring thoroughly after each interval.
Continue until the chocolate looks mostly melted. Stir it until the remaining small pieces disappear and the mixture becomes smooth and glossy.
Don’t rush this step by heating the chocolate for several minutes at once. Chocolate can burn surprisingly quickly, even when it still looks solid in the middle.
If you prefer the stovetop method, place the chocolate in a heatproof bowl over a saucepan of gently simmering water. Keep the bottom of the bowl above the water, and stir until the chocolate melts.
If the chocolate seems too thick, stir in the optional coconut oil a little at a time.
Step 3: Dip the Pretzels (5–7 Minutes)
Drop a pretzel into the melted chocolate and turn it gently with a fork until you coat the surface.
Lift it out and tap the fork lightly against the bowl to remove excess chocolate. This helps prevent thick puddles from forming around the pretzel.
Place the coated pretzel on your prepared tray. Repeat with the remaining pretzels, leaving a little space between each piece.
You don’t have to coat every pretzel completely. Half-dipped pretzels look attractive, use less chocolate, and give you a nice combination of salty crunch and sweet chocolate.
Step 4: Add the Candy Decorations (5 Minutes)
Decorate each pretzel while the chocolate remains wet.
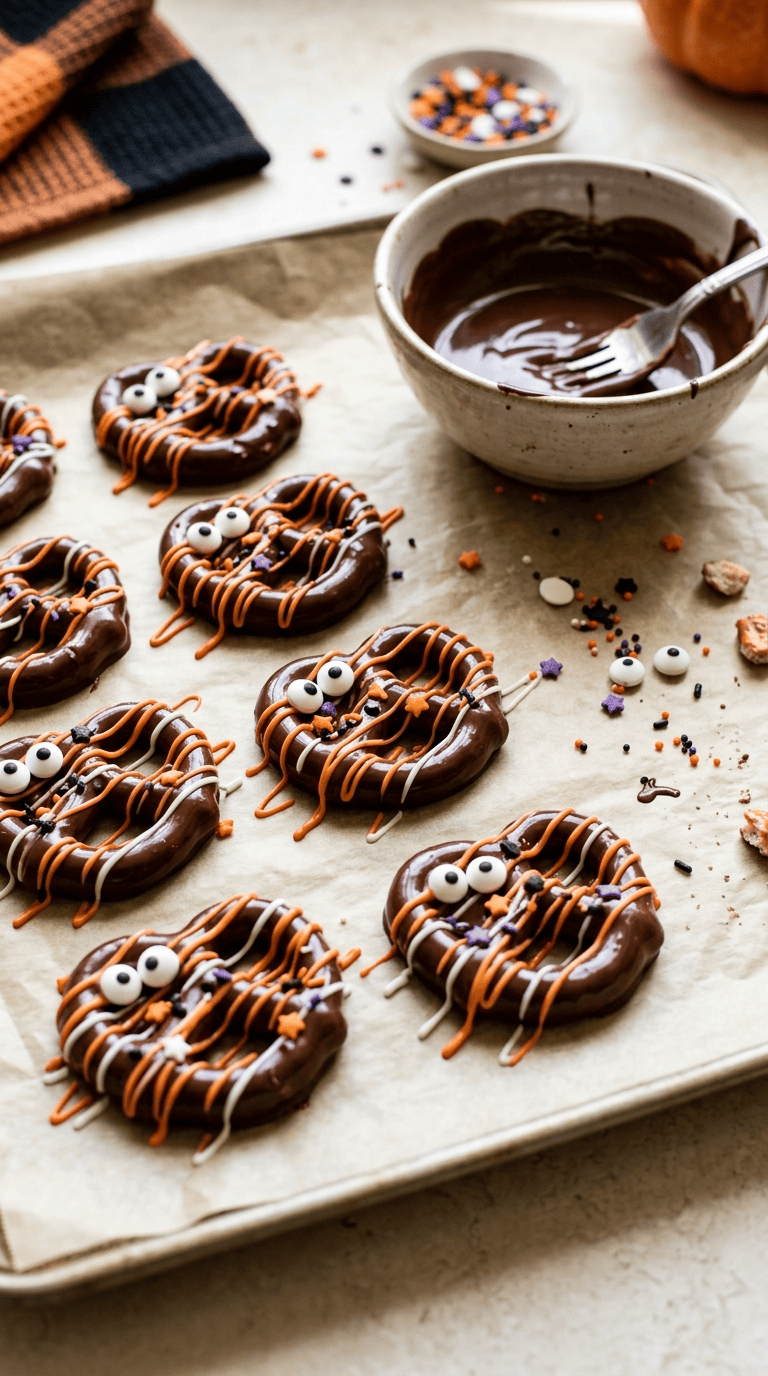
For monster pretzels, press one or two candy eyes gently into the chocolate. For a festive look, sprinkle orange and purple sugar over the top.
You can also leave some pretzels plain and save them for the chocolate drizzle in the next step.
Work in small batches. If you dip too many pretzels before decorating, the chocolate may harden before the candy eyes stick.
Step 5: Melt the Orange and White Candy Melts (2 Minutes)
Place the orange candy melts in one microwave-safe bowl and the white candy melts in another.
Heat each bowl in short intervals of 15–20 seconds, stirring after each interval. Continue until the candy melts become smooth.
If either mixture seems too thick, follow the package instructions for thinning it. Avoid adding water.
For a simple alternative, reserve a small amount of white chocolate and tint it only with a suitable oil-based chocolate coloring. Ordinary water-based food coloring can cause melted chocolate to seize.
Step 6: Create Spooky Drizzles (3–5 Minutes)
Dip a spoon into the orange candy melts and move it back and forth over several pretzels to create thin lines.
Repeat with the white candy melts. Alternate colors to make the treats look bright and festive.
For a spiderweb-inspired effect, make several thin white lines over a chocolate-coated pretzel and drag a toothpick gently through the lines. This creates a web-like pattern without requiring professional decorating tools.
Keep the designs simple if children are helping. A few colorful lines can look just as appealing as elaborate decorations.
Step 7: Let the Chocolate Set (20–30 Minutes)
Leave the decorated pretzels on the parchment-lined trays until the chocolate hardens.
If your kitchen is warm, place the trays in the refrigerator for about 15–20 minutes. Check that the chocolate has set before moving the treats.
Once firm, gently lift each pretzel from the parchment. If the chocolate forms little puddles around the edges, you can leave them as they are or carefully break away the excess.
Transfer the finished Halloween sweets to an airtight container, or arrange them on a platter for your party.
Pro Tips and Tricks
1. Keep Water Away From the Chocolate
This is probably the most important tip. Even a little water can make melted chocolate seize and turn thick.
Use dry bowls and utensils, and avoid covering the chocolate with a lid that allows condensation to drip into it.
2. Decorate Before the Chocolate Sets
Candy eyes, sprinkles, and other decorations stick best when the chocolate is still wet.
If the coating hardens before you finish decorating, add a tiny dot of melted chocolate to the back of each candy eye and use it as edible glue.
3. Don’t Overheat the Chocolate
Microwave chocolate in short intervals and stir between each one. The bowl retains heat, so the chocolate may finish melting as you stir.
If you heat it too aggressively, the chocolate can become scorched or grainy. Unfortunately, extra stirring won’t fix badly burned chocolate.
4. Make the Decorations Look Intentional
Choose two or three main colors instead of using every decoration at once. Orange, black, and white create a traditional Halloween look, while purple and green add a playful monster theme.
I like to keep a few pretzels simple and decorate the rest more boldly. The mixture makes the serving tray look interesting without becoming visually overwhelming.
5. Prepare Them Before Party Day
You can make these treats a day or two before your Halloween gathering. Let the chocolate set completely before storing the pretzels in an airtight container.
Keep them in a cool, dry place away from direct sunlight. Refrigeration is useful in warm conditions, but it can create condensation when you bring cold chocolate into a humid room.
For the neatest presentation, arrange the treats on your serving platter shortly before guests arrive.
Variations and Substitutions
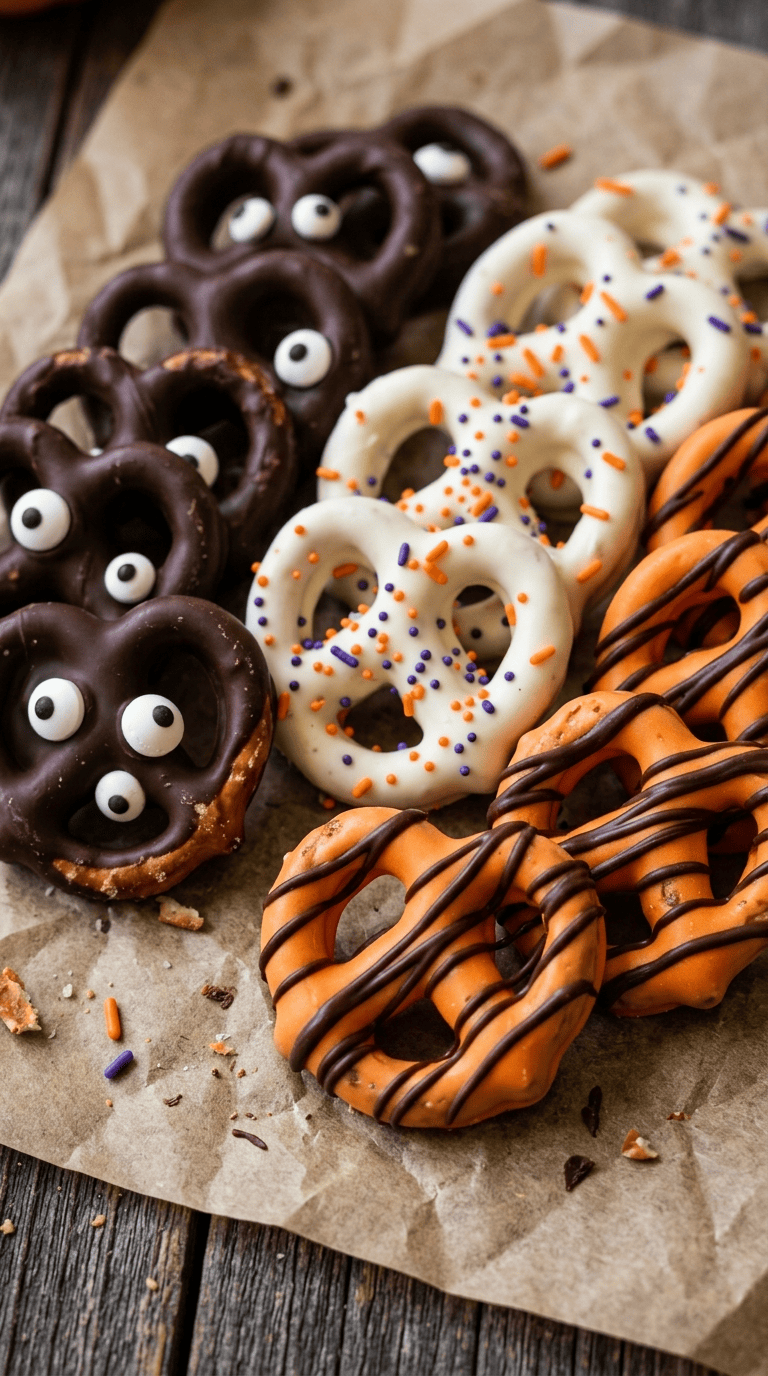
One reason these Halloween sweets are so convenient is that you can adapt them to different tastes and party themes.
Halloween White Chocolate Pretzels
Replace the semisweet chocolate with white chocolate chips or white melting wafers.
Decorate with orange and purple sprinkles, candy eyes, or green drizzle. White chocolate creates a bright background that makes colorful decorations stand out.
White chocolate can melt more easily than some dark chocolates, so heat it gently and stir frequently.
Chocolate Cookie Monster Pretzels
Crush a few chocolate sandwich cookies and sprinkle the crumbs over freshly dipped pretzels.
Add candy eyes while the coating remains wet. The dark crumbs create a rough, monster-like texture, and the cookie pieces add extra crunch.
For a different flavor, use chocolate-covered pretzels and drizzle them with white candy melts.
Vegan-Friendly Halloween Pretzels
Choose pretzels, chocolate, and decorations that meet your dietary requirements. Some chocolates contain milk, and certain sprinkles or candy decorations may include animal-derived ingredients.
Check the ingredient labels carefully instead of assuming that dark chocolate or pretzels are automatically vegan.
Use a suitable dairy-free chocolate and plant-based decorations to create a version that works for your guests.
Gluten-Free Halloween Sweets
Choose certified gluten-free pretzels and check the labels on your chocolate, candy melts, and sprinkles.
Regular pretzels usually contain wheat, so swapping them for a clearly labeled gluten-free alternative matters. Check cross-contact warnings as well if you’re preparing food for someone with celiac disease or a serious allergy.
Serving Suggestions
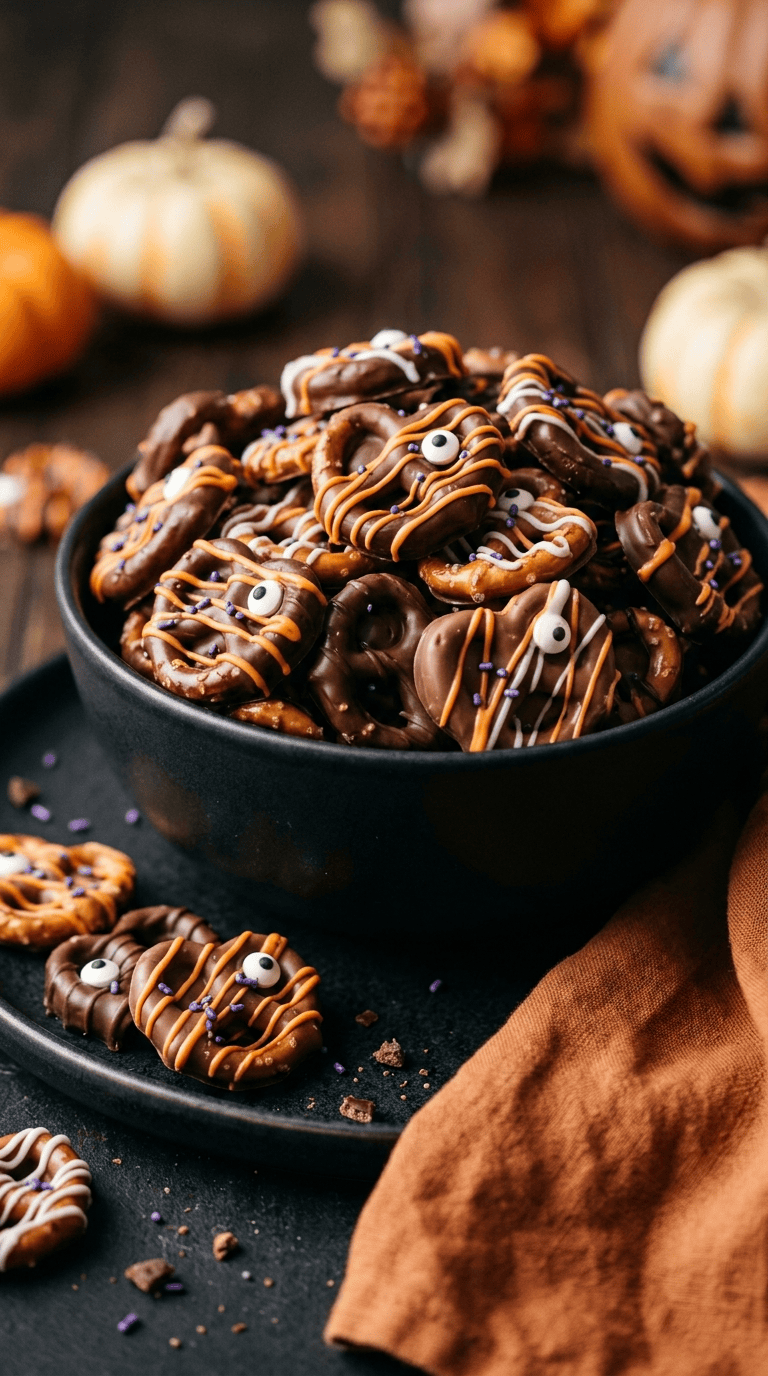
These spooky chocolate pretzel bites fit almost any Halloween celebration because they’re easy to grab and eat without a plate or fork.
For a Kids’ Halloween Party
Arrange the pretzels in colorful paper cups or place them on a large tray beside other age-appropriate snacks.
You can create a decorating station with melted chocolate handled by an adult, cooled pretzels, candy eyes, and small bowls of sprinkles. Let children decorate their own treats once the chocolate reaches a safe temperature.
For younger children, choose decorations that match their chewing abilities and avoid small hard candies that could pose choking risks.
For an Adults’ Halloween Gathering
Serve dark chocolate pretzels alongside coffee, espresso, or black tea. The slightly bitter drinks balance the sweetness of the chocolate.
You can also prepare a platter with several chocolate varieties, such as semisweet, dark, and white chocolate. Add orange drizzle to some pieces and leave others plain for a more understated presentation.
For a Halloween Movie Night
Fill small bowls with the pretzels and serve them with popcorn, apple slices, or other easy snacks.
The sweet-and-salty combination makes them a welcome addition to a movie-night spread, especially when everyone wants something crunchy to enjoy during the film.
For School Events and Bake Sales
Package small portions in food-safe treat bags or paper boxes. If you use ribbon or stickers, keep them outside the food-contact area.
Include a simple ingredient label when possible, particularly if the event involves children with food allergies. Follow the school’s rules for homemade treats and food sharing.
Related Recipes :
- Easy Halloween Dessert Idea Spiderweb Chocolate Brownies
- Easy Halloween Mummy Pizza Pockets Party Food Recipe
- Easy Halloween Dessert Ideas for Parties Spooky Chocolate Spiderweb Brownies
FAQ’s
How long do Halloween chocolate pretzels last?
Store them in an airtight container in a cool, dry place for about 5–7 days, provided the ingredients’ packaging and storage guidance support that timeframe.
Humidity and warm temperatures can soften the pretzels or affect the chocolate’s appearance. Always inspect the treats before serving.
Can I make these Halloween sweets ahead of time?
Yes! You can prepare them one or two days before your event. Let the chocolate set completely, then store the pretzels in an airtight container away from heat and moisture.
Making them ahead gives you more time to decorate your party table and prepare other food.
Can I use regular chocolate chips instead of candy melts?
Yes. Semisweet or milk chocolate chips work well for dipping. For the orange and white decorations, you can use colored candy melts or suitable melting chocolate.
Regular chocolate chips may produce thicker drizzles, so thin them carefully with a small amount of an appropriate ingredient if necessary.
Can I freeze chocolate-covered pretzels?
You can freeze them in a freezer-safe airtight container, although freezing may affect the pretzels’ crunch and the chocolate’s appearance.
If you decide to freeze them, separate layers with parchment paper. Thaw them while still covered in the refrigerator, then let the container approach room temperature before opening it. This helps reduce condensation on the chocolate.
For the best texture and appearance, I prefer making these treats fresh rather than freezing them.
Why did my melted chocolate become thick and grainy?
Water, excessive heat, or overheating can cause chocolate to seize or become grainy.
Use completely dry equipment and melt the chocolate slowly. If it seizes badly, it may no longer work well for dipping, although you might repurpose it in another recipe that calls for melted chocolate with additional liquid.
How can I make these treats without a microwave?
Use a heatproof bowl over a saucepan of gently simmering water. Keep the bowl above the water, and stir until the chocolate melts.
Dry the underside of the bowl before handling it near your pretzels. You don’t want condensation or stray water droplets to get into the chocolate.
What can I use instead of candy eyes?
Use small dots of contrasting melted chocolate, tiny pieces of suitable candy, or simple orange-and-white drizzles.
You can also leave the pretzels plain and decorate them with colorful sprinkles. The treats will still look festive without specialty decorations.
A Sweet Ending to Your Halloween Celebration
Halloween food doesn’t have to be complicated to make people smile. Sometimes, a bowl of crunchy pretzels covered in chocolate and decorated with silly candy eyes is all you need to bring a little fun to the table.
I love how this recipe turns a few everyday ingredients into something that feels special. Kids can enjoy decorating their own creations, adults can customize the flavors, and the person hosting the party doesn’t have to spend hours baking.
Try a batch with your favorite chocolate and Halloween colors. Make a few silly monsters, experiment with spooky drizzles, and don’t worry if every pretzel looks a little different.
If you make these Halloween sweets, share how you decorated them and which chocolate you chose. I’d love to hear about the creative combinations you come up with for your next spooky celebration!
Leave a Reply
You must be logged in to post a comment.