

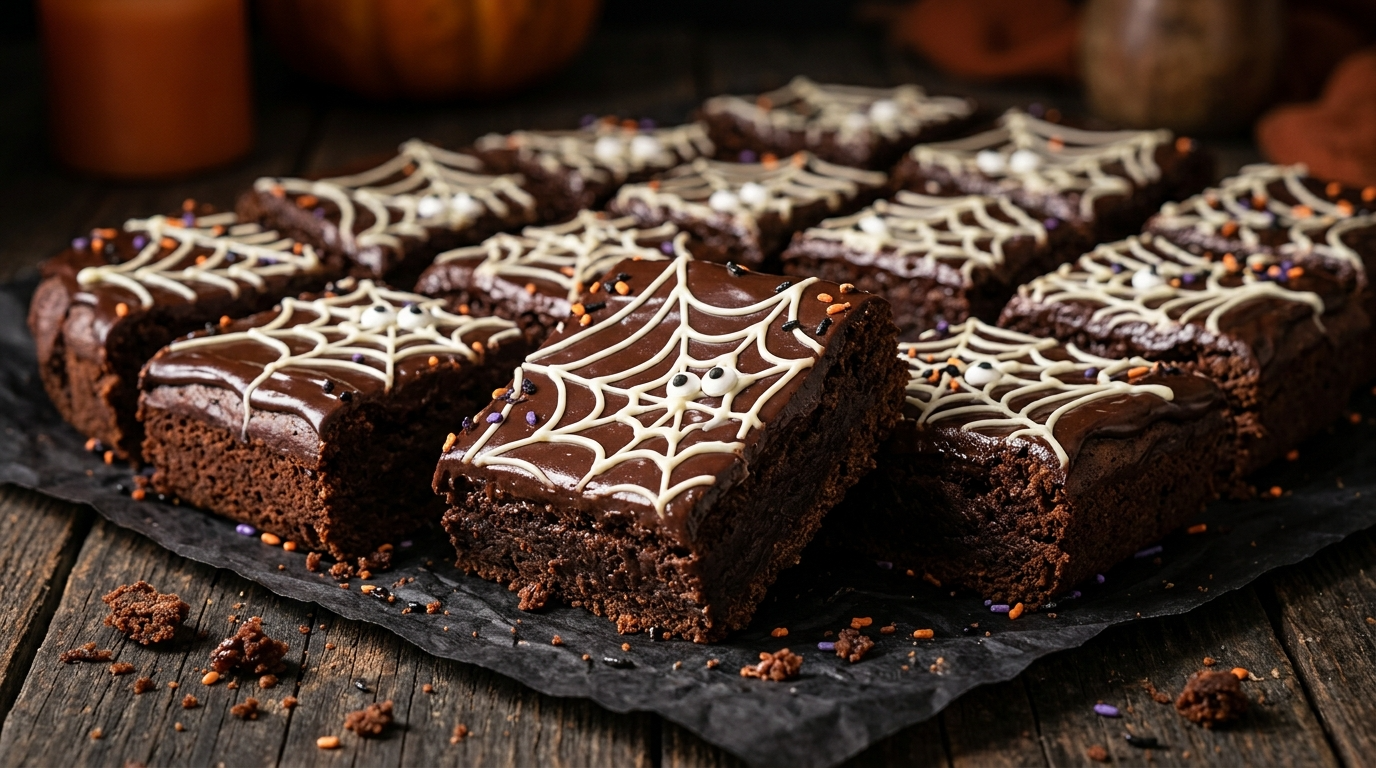
Every Halloween, I tell myself I’m going to keep the dessert table simple.
Then I see the candy aisle.
Somehow, a quick trip for chocolate turns into a basket full of sprinkles, candy eyes, mini marshmallows, and enough chocolate to decorate a small haunted house. I’ve learned to embrace it because Halloween desserts are one of those rare times when a little mess actually makes the food more fun.
These Halloween Chocolate Spiderweb Brownies became my favorite solution.
I started making them after one Halloween when I needed something that looked impressive but didn’t require me to spend the entire afternoon decorating. My first batch looked less like spiderwebs and more like abstract chocolate scribbles. They still tasted fantastic, so I kept practicing.
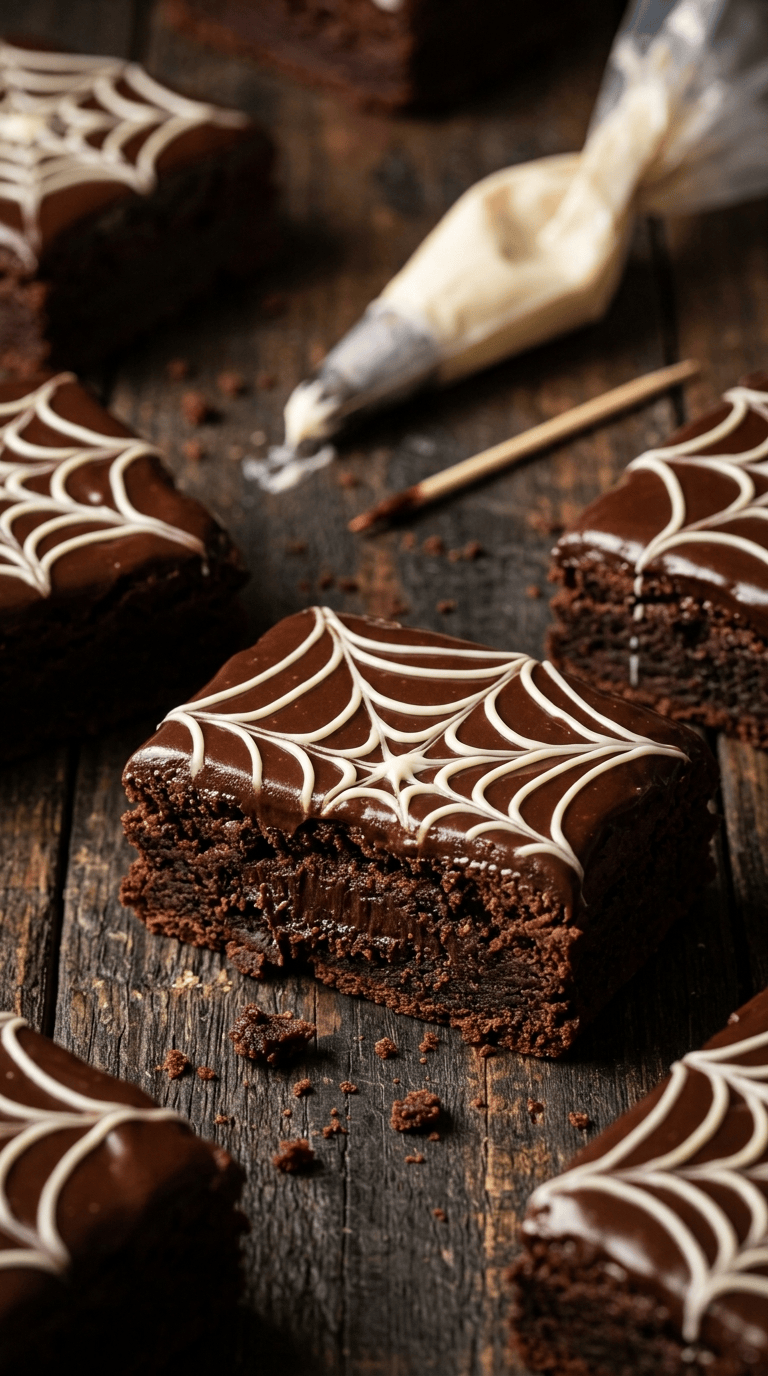
The trick turned out to be surprisingly simple: bake fudgy brownies, spread a thin layer of chocolate ganache over the top, pipe a few circles of white chocolate, and drag a toothpick through them. That’s it.
The result looks wonderfully spooky without requiring professional decorating skills.
And if your spiderwebs come out a little wonky? Even better. Halloween is probably the one holiday where imperfect decoration looks intentional.
Why You’ll Love This Recipe

- Beginner-friendly: You don’t need special decorating equipment.
- Big Halloween payoff: A few simple lines turn ordinary brownies into a spooky centerpiece.
- Easy to make ahead: The brownies hold up beautifully for a couple of days.
- Crowd-pleaser: Chocolate brownies are usually a safe bet for kids and adults alike.
- Easy to customize: Change the candy decorations, drizzle colors, or toppings to match your party.
I also love that this recipe doesn’t depend on complicated Halloween molds. You can make it with an ordinary square baking pan and a toothpick.
Ingredients
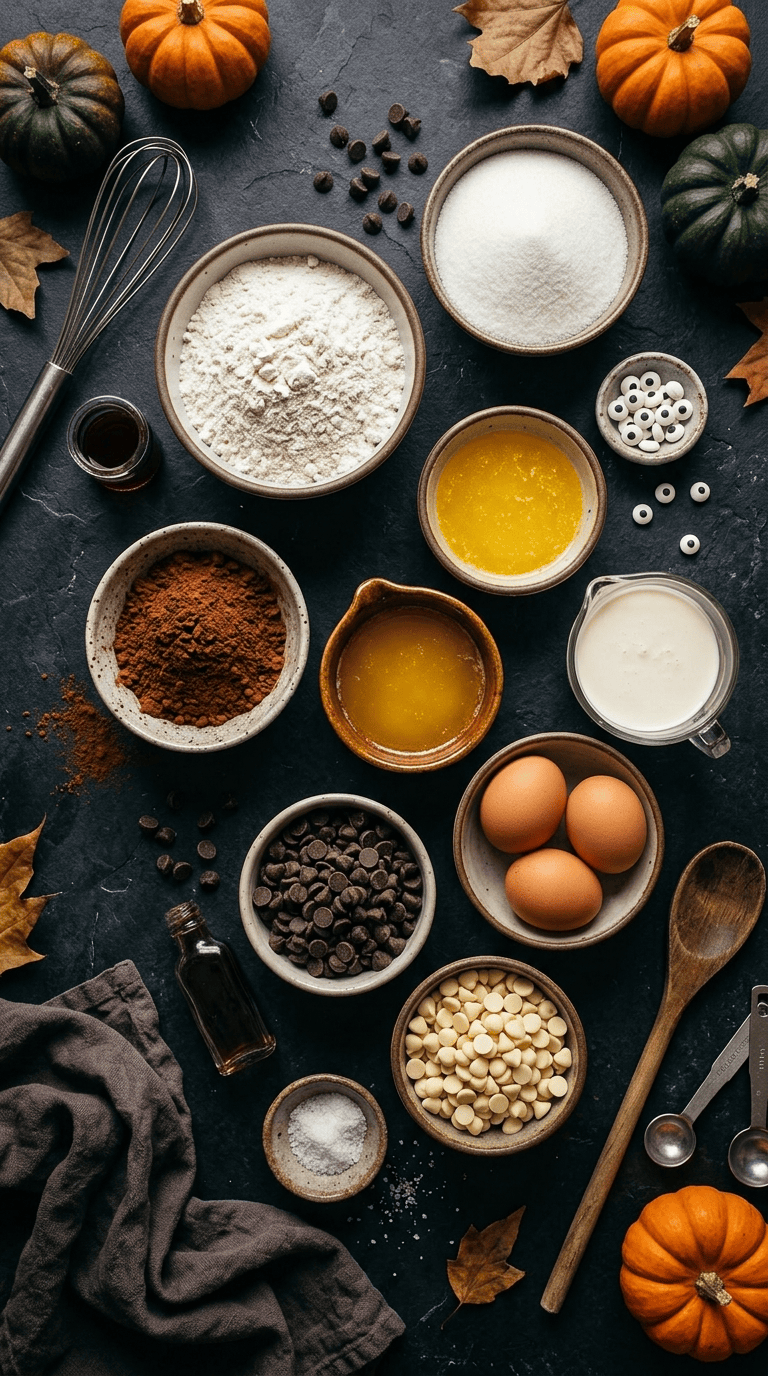
For the Brownies
- 1 cup (226 g) unsalted butter, melted
- 1 ¾ cups (350 g) granulated sugar
- ¾ cup (65 g) unsweetened cocoa powder
- 3 large eggs, room temperature
- 2 teaspoons vanilla extract
- 1 cup (125 g) all-purpose flour
- ½ teaspoon salt
- ½ cup (90 g) semisweet chocolate chips
If you prefer a darker chocolate flavor, use Dutch-process cocoa powder. Regular unsweetened cocoa works perfectly well, too.
For the Chocolate Topping
- ¾ cup (135 g) semisweet or dark chocolate chips
- ⅓ cup (80 ml) heavy cream
- 1 tablespoon unsalted butter
You can skip the butter if you prefer a slightly firmer ganache.
For the Spiderweb Decoration
- ½ cup (85 g) white chocolate chips or white melting wafers
- 1 teaspoon neutral-flavored oil, such as vegetable or canola oil, if needed
- Candy eyes, optional
- Halloween sprinkles, optional
I like white chocolate melting wafers when I’m in a hurry because they melt smoothly. If you use regular white chocolate, melt it gently because white chocolate can seize more easily than dark chocolate.
Equipment
You’ll need:
- 8-inch (20 cm) square baking pan
- Parchment paper
- Mixing bowls
- Whisk
- Rubber spatula
- Small microwave-safe bowl
- Piping bag or small zip-top bag
- Toothpick or wooden skewer
- Wire cooling rack
A stand mixer isn’t necessary. In fact, I usually make these brownies with nothing more than a whisk and spatula.
Step-by-Step Instructions
1. Prepare the Pan — 5 Minutes
Preheat your oven to 350°F (175°C).
Line an 8-inch square baking pan with parchment paper, leaving a little overhang on two sides. The overhang gives you something to grab when it’s time to lift the brownies out.
Lightly grease any exposed sides of the pan.
I used to skip the parchment and regret it every single time. Fudgy brownies have a habit of clinging to the pan, especially around the corners.
2. Mix the Butter, Sugar, and Cocoa — 3 Minutes
Add the melted butter, sugar, and cocoa powder to a large mixing bowl.
Whisk until everything looks glossy and well combined.
The mixture will look thick at this stage. That’s completely normal.
Don’t worry if it doesn’t look like traditional brownie batter yet. The eggs will loosen everything up.
3. Add the Eggs and Vanilla — 2 Minutes
Add the eggs one at a time, whisking well after each addition.
Add the vanilla and whisk again.
The batter should become smoother and slightly shiny. You don’t need to whip it for several minutes. Just mix until the ingredients come together.
4. Add the Flour and Salt — 1 to 2 Minutes
Add the flour and salt.
Switch to a rubber spatula and fold gently until you no longer see dry streaks of flour.
This is where I learned one of my favorite brownie lessons: stop mixing sooner than you think.
Once the flour disappears, stop. Overmixing can make brownies less tender.
Fold in the chocolate chips.
5. Bake the Brownies — 24 to 30 Minutes
Scrape the batter into your prepared pan and spread it into an even layer.
Bake for 24 to 30 minutes.
Start checking around the 24-minute mark. A toothpick inserted near the center should come out with a few moist crumbs attached. You don’t want it completely clean.
The edges should look set, while the center should still have a slight softness.
If you like very fudgy brownies, err toward the shorter baking time.
Let the brownies cool completely in the pan before decorating. This usually takes about 1 to 1½ hours.
I know it’s tempting to rush this part. I have absolutely tried decorating warm brownies before, and the ganache slid around like chocolate soup.
Let them cool.
6. Make the Chocolate Ganache — 5 Minutes
Place the chocolate chips in a heatproof bowl.
Warm the heavy cream until it’s hot but not boiling. You can do this in a small saucepan over low heat or in the microwave in short bursts.
Pour the hot cream over the chocolate.
Let it sit for about 2 minutes, then gently stir from the center outward.
Add the butter and stir until the ganache becomes smooth and glossy.
Let it cool for several minutes. You want it spreadable, not hot and runny.
7. Spread the Ganache — 5 Minutes
Lift the cooled brownie slab from the pan using the parchment paper.
Spread the ganache evenly across the top with a small offset spatula or the back of a spoon.
Don’t worry about making it perfectly smooth.
A slightly rustic chocolate surface gives the finished brownies more of that homemade Halloween look.
8. Melt the White Chocolate — 2 to 3 Minutes
Place the white chocolate in a microwave-safe bowl.
Microwave it in 15-second intervals, stirring between each interval.
Stop as soon as it becomes smooth.
If the chocolate seems too thick for piping, stir in about ½ teaspoon of oil at a time until it reaches a smooth, pipeable consistency.
Be careful not to overheat white chocolate. I’ve turned plenty of perfectly good chocolate into a thick, stubborn paste by getting impatient.
9. Create the Spiderwebs — 5 Minutes
Transfer the melted white chocolate to a piping bag or small zip-top bag.
Snip off a very small corner.
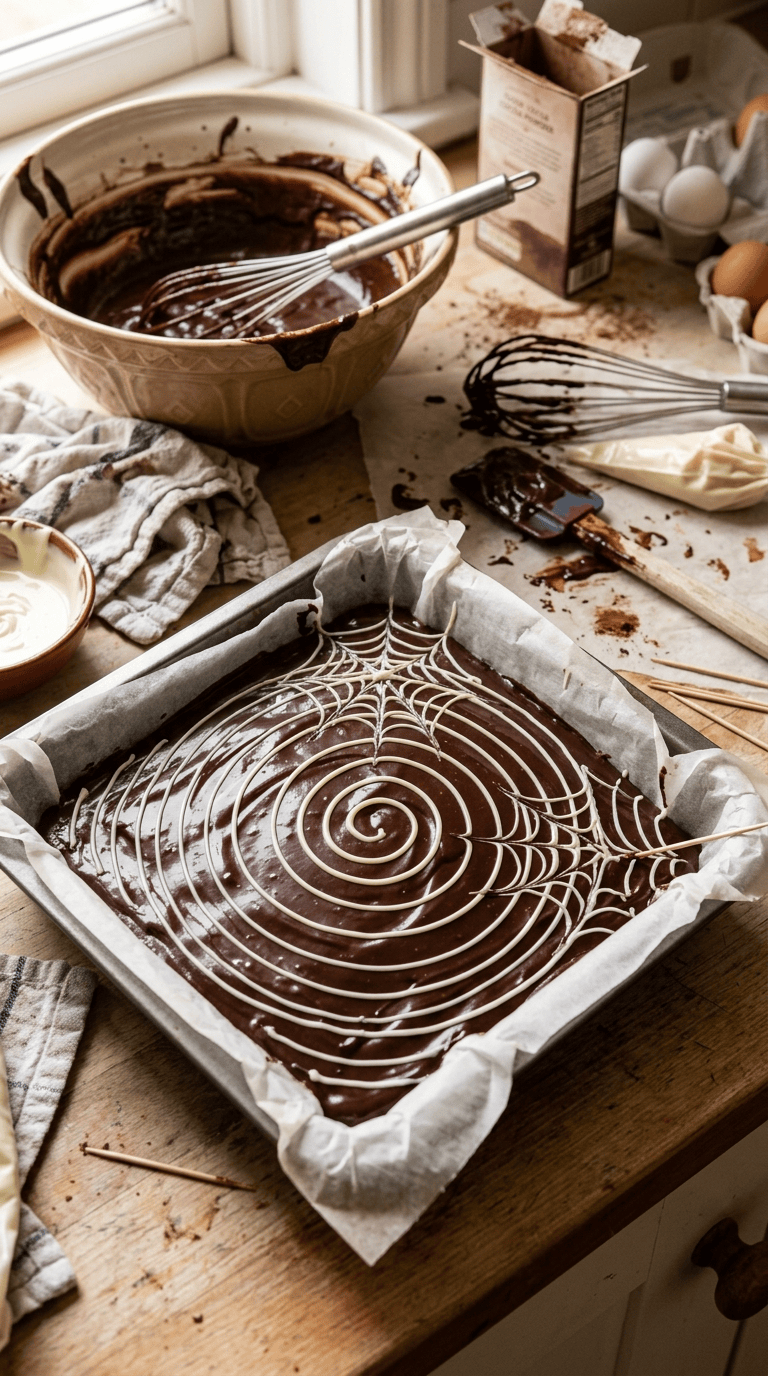
Starting in the center of the brownies, pipe a small circle.
Continue making larger circles around it, leaving roughly ½ inch between each circle.
Now take a toothpick.
Starting near the center, gently drag the toothpick outward through every circle.
Wipe the toothpick clean and repeat around the brownie.
Those little dragged lines transform the circles into a spiderweb.
Don’t overthink it. The first one might look uneven, but once you add several webs across the surface, everything comes together.
10. Add the Final Halloween Touches — 5 Minutes
While the white chocolate is still soft, add candy eyes or Halloween sprinkles if you’re using them.
You can also place a few small chocolate candies around the edges.
Let the brownies sit at room temperature for about 30 minutes, or refrigerate them for 15 to 20 minutes if you need the topping to set faster.
For the cleanest cuts, use a sharp knife and wipe it between slices.
Pro Tips & Tricks
Don’t Overbake Them
The biggest mistake with brownies is waiting for the toothpick to come out completely clean.
For fudgy brownies, a few moist crumbs are exactly what you want.
The brownies continue to firm up as they cool, so pulling them from the oven while the center still looks slightly soft gives you a better texture.
Cool Before Decorating
This one is worth repeating.
Warm brownies will soften the ganache and make your spiderwebs difficult to control.
Give the brownies plenty of time to cool before you start decorating.
If you’re short on time, place the cooled pan in the refrigerator for 20 to 30 minutes before adding the topping.
Keep the White Chocolate Warm Enough to Pipe
White chocolate thickens quickly as it cools.
If it starts dragging instead of flowing smoothly from the bag, warm it very briefly and stir again.
Don’t microwave the piping bag for a long stretch. Short bursts are much safer.
Cut Them After the Decoration Sets
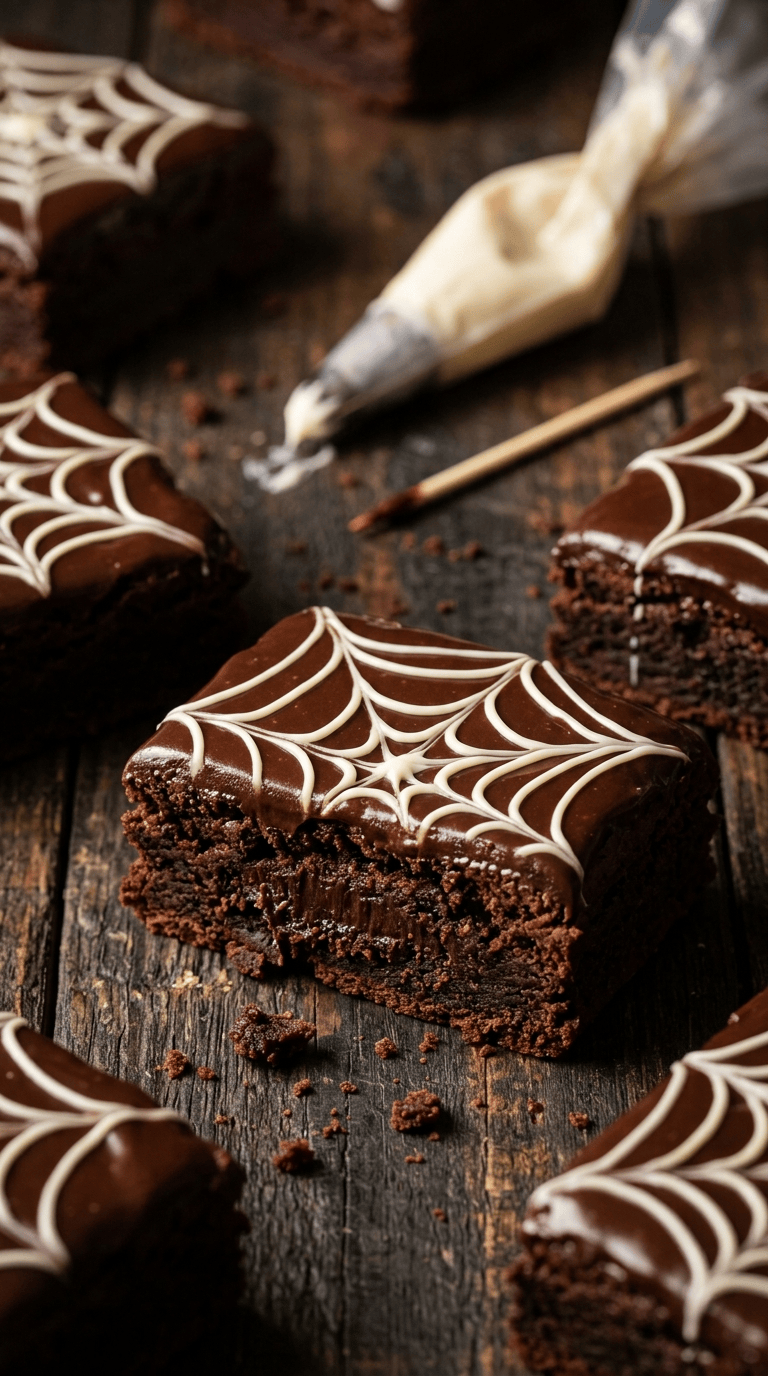
If you cut the brownies immediately, the white chocolate can smear across the ganache.
Let the decoration firm up first.
For especially neat squares, chill the finished brownies briefly before cutting.
Store Them Properly
Store the brownies in an airtight container at room temperature for up to 3 days.
If your kitchen is particularly warm, refrigerate them instead.
Place parchment between layers if you stack them so the decorations don’t stick together.
Variations & Substitutions
Make Them Extra Spooky
Instead of covering the entire surface with spiderwebs, pipe several smaller webs and add one candy spider to each.
You can also use a little melted dark chocolate to draw tiny spider legs.
For a more dramatic dessert table, cut the brownies into smaller squares and decorate each piece individually.
Try a Peanut Butter Version
If you love the chocolate-and-peanut-butter combination, swirl small spoonfuls of smooth peanut butter into the brownie batter before baking.
Use a knife to create a few gentle swirls.
Don’t add too much peanut butter or the brownies can become heavier and harder to bake evenly.
Make Them Gluten-Free
Use a 1-to-1 gluten-free baking flour blend that contains xanthan gum.
Check the labels on your chocolate and decorations as well, since ingredients can vary between brands.
The texture may be slightly different, but you can still get wonderfully fudgy brownies.
Make Them Dairy-Free
Use a plant-based butter suitable for baking, dairy-free chocolate, and a dairy-free cream alternative that works for ganache.
Check all packaged decorations carefully if you need the finished dessert to avoid dairy.
Serving Suggestions

These spiderweb brownies are made for a Halloween dessert table.
Arrange them on a large black, orange, or wooden serving board and scatter a few Halloween sprinkles around the edges.
For a party, I like cutting them into small squares rather than large pieces. Guests tend to grab dessert while chatting, and smaller portions make it easier to sample several treats.
You can also serve them alongside:
- Vanilla ice cream
- Whipped cream
- Fresh berries
- Warm caramel sauce
- Hot chocolate
- Apple cider
- Coffee for the adults
For a kids’ Halloween party, place the brownies beside bowls of simple toppings and let everyone choose their own candy eyes and sprinkles.
If you’re preparing a larger dessert spread, these brownies also work nicely with sugar cookies, chocolate-dipped pretzels, popcorn, and fruit skewers.
And if you’re taking them to school or a neighborhood gathering, check the event’s allergy rules before adding nuts or other common allergens.
Related Recipes :
- Easy Halloween Dessert Recipes for Beginners
- Halloween Truffles That Make Adorable Party Treats
- Cute and Creepy Halloween Baking Ideas for a Spooky Celebration
FAQ’s
Can I make these Halloween brownies the day before?
Absolutely.
In fact, I often prefer making them the day before. Bake and cool the brownies, then decorate them once they’re completely cold.
Store them in an airtight container and keep them somewhere cool and dry.
Why did my brownies turn out dry?
The most common reason is overbaking.
Start checking the brownies a few minutes before the recommended baking time. Your oven may also run hotter or cooler than its display suggests.
A few moist crumbs on the toothpick mean you’re in a good place.
Can I use store-bought brownies?
Yes.
If you’re pressed for time, use a good-quality boxed brownie mix or bakery brownies as your base.
The spiderweb decoration does most of the visual work, so you can still create a fun Halloween dessert without baking everything from scratch.
Can I freeze the brownies?
Yes, but I recommend freezing them without the ganache and spiderweb decoration.
Wrap completely cooled brownies tightly, place them in a freezer-safe container or bag, and freeze for up to about 2 months for the best quality.
Thaw them in the refrigerator, then bring them closer to room temperature before decorating.
What if my white chocolate is too thick?
Add a tiny amount of neutral-flavored oil and stir well.
Start with about ½ teaspoon.
If necessary, add another small amount until the chocolate becomes easy to pipe.
Avoid adding water because even a little moisture can cause melted chocolate to seize.
Why did my spiderwebs not look like spiderwebs?
Your circles may simply need more space between them, or your toothpick lines may be too short.
Pipe several clean circles first, then drag the toothpick from the center toward the outside edge in one smooth motion.
Also, don’t worry about making every web identical. Once you place several across the brownies, the overall effect looks much more impressive.
Final Thought
I love these Halloween Chocolate Spiderweb Brownies because they strike that sweet spot between homemade and wonderfully dramatic.
They don’t require fancy cake-decorating skills, expensive equipment, or hours of work. Even when my spiderwebs come out slightly crooked, the brownies still look festive sitting among all the other Halloween treats.
And honestly, that’s part of the charm.
Make them the night before a party, put them on your spookiest serving platter, and let everyone grab a square while you enjoy the fact that dessert is already taken care of.
If you make these, have fun with the decorations. Make giant webs, tiny webs, extra candy eyes, or a whole family of chocolate spiders.
Halloween food doesn’t need to be perfect. It just needs to make people smile.
Leave a Reply
You must be logged in to post a comment.