

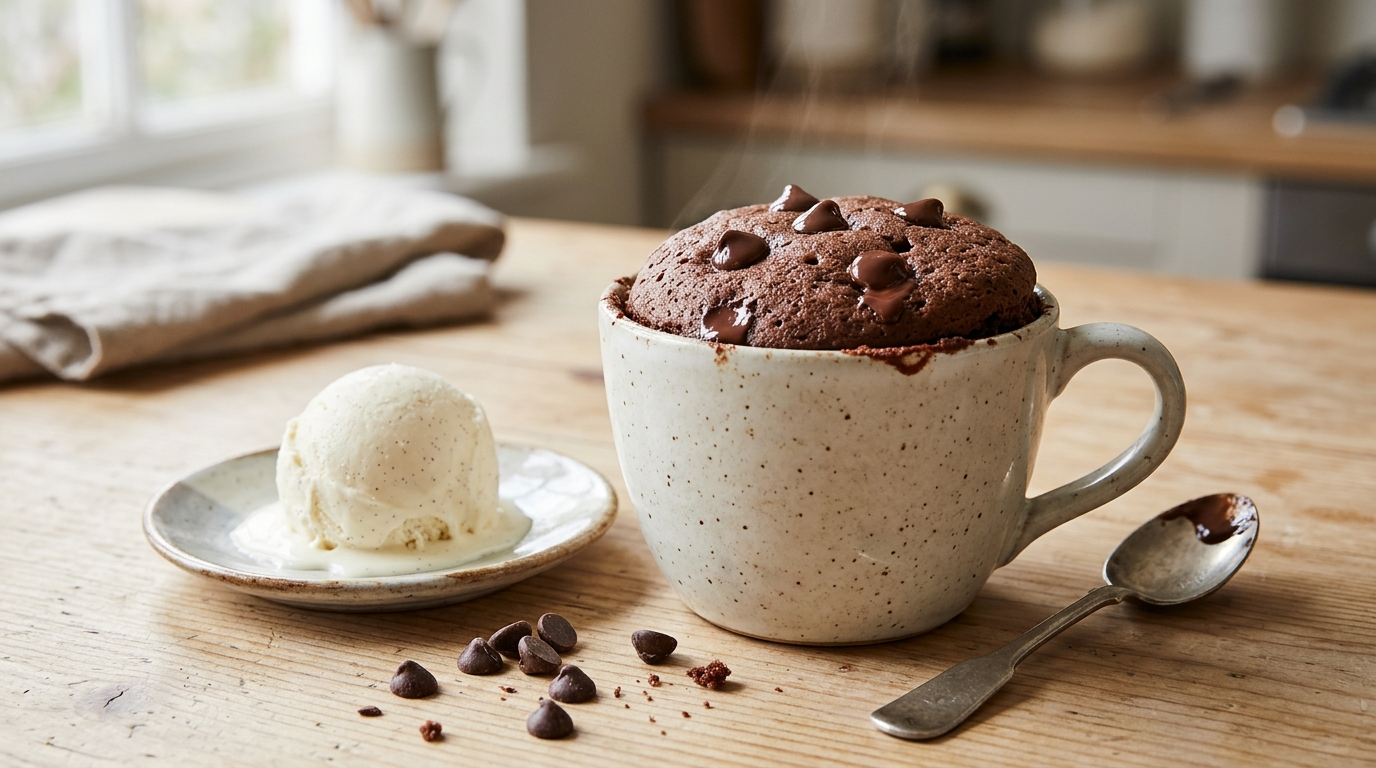
The first dessert I ever made completely by myself was a little chocolate mug cake. I remember staring at the microwave while it puffed up, wondering whether I had somehow created a tiny chocolate disaster.
Instead, I got a warm, soft cake with slightly gooey chocolate in the middle. I let it cool for about thirty seconds, grabbed a spoon, and discovered something I still love about this recipe: you can go from “I want dessert” to eating homemade cake incredibly quickly.
I’ve made this simple dessert recipe more times than I can count, and I’ve learned a few little tricks along the way. The biggest one? Don’t overcook it. A mug cake keeps cooking from its own heat after you take it out, so pulling it from the microwave while the center still looks slightly soft gives you a much better texture.
This recipe also makes a great starting point if you’re new to baking. You don’t need a mixer, a cake pan, or a complicated list of ingredients. Just grab a microwave-safe mug and a spoon, and you’re ready.
Why You’ll Love This Simple Dessert Recipe

- Beginner-friendly: You only need basic mixing skills.
- Fast: The cake takes just a few minutes from start to finish.
- Small-batch: You make one generous serving instead of an entire cake.
- Budget-friendly: Most of the ingredients already live in a typical kitchen cupboard.
- Easy to customize: Add chocolate chips, nuts, peanut butter, or a scoop of ice cream.
And because you make everything directly in the mug, cleanup stays wonderfully simple. I appreciate that almost as much as the chocolate.
Ingredients
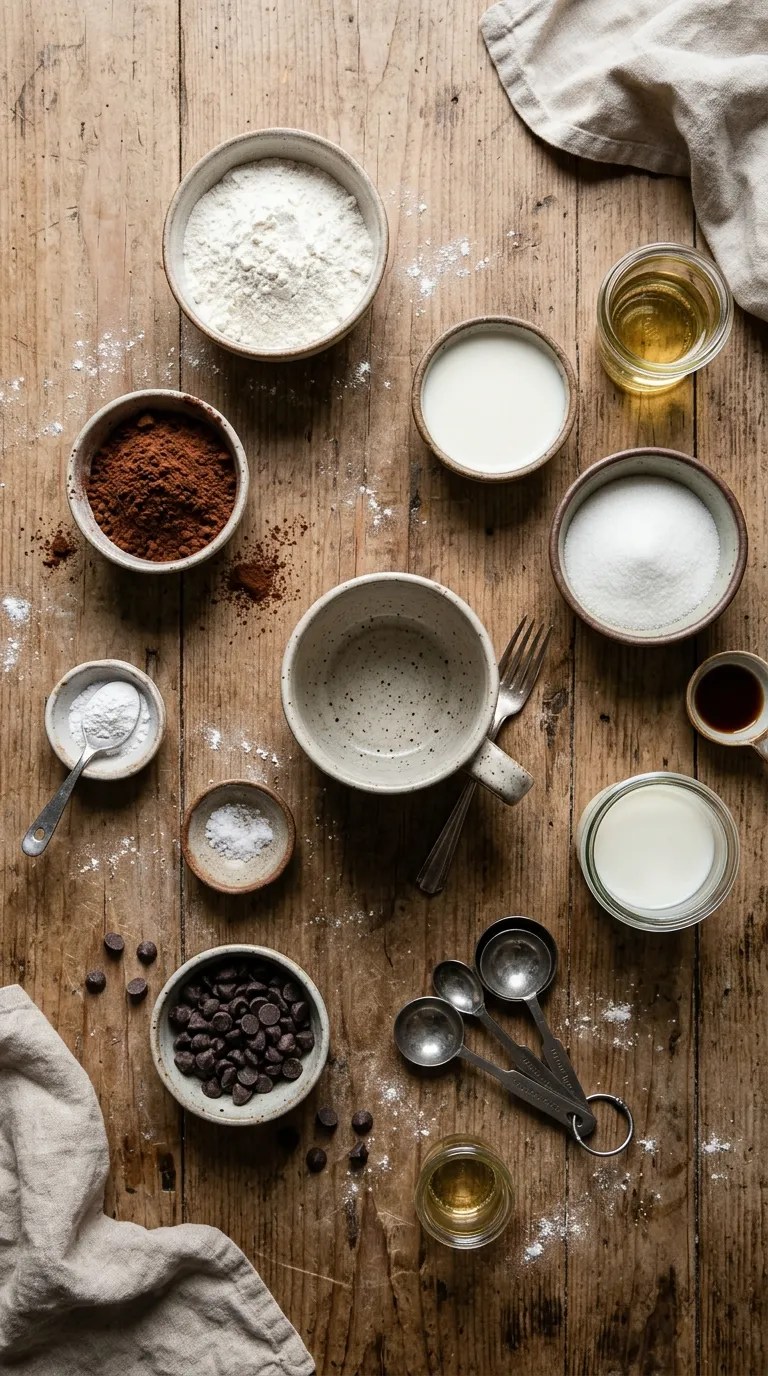
This recipe makes 1 mug cake.
For the cake
- 4 tablespoons all-purpose flour
- 2 tablespoons granulated sugar
- 1 tablespoon unsweetened cocoa powder
- ¼ teaspoon baking powder
- A small pinch of salt
- 3 tablespoons milk
- 2 tablespoons neutral-flavored vegetable oil
- ¼ teaspoon vanilla extract
- 1 tablespoon chocolate chips, optional
You can use whole milk, low-fat milk, or a dairy-free milk such as oat or soy milk. I usually reach for whatever milk I already have in the refrigerator.
For the oil, choose something with a mild flavor. Vegetable, canola, or sunflower oil works well. I wouldn’t use strongly flavored oils because they can distract from the chocolate.
If you don’t have chocolate chips, simply leave them out. The cake still tastes chocolatey without them.
Optional toppings
- Powdered sugar
- Chocolate chips
- Whipped cream
- Vanilla ice cream
- Fresh berries
- A drizzle of chocolate sauce
- Chopped nuts
You don’t need fancy toppings. A spoonful of ice cream on a warm mug cake remains one of my favorite combinations.
Step-by-Step Instructions
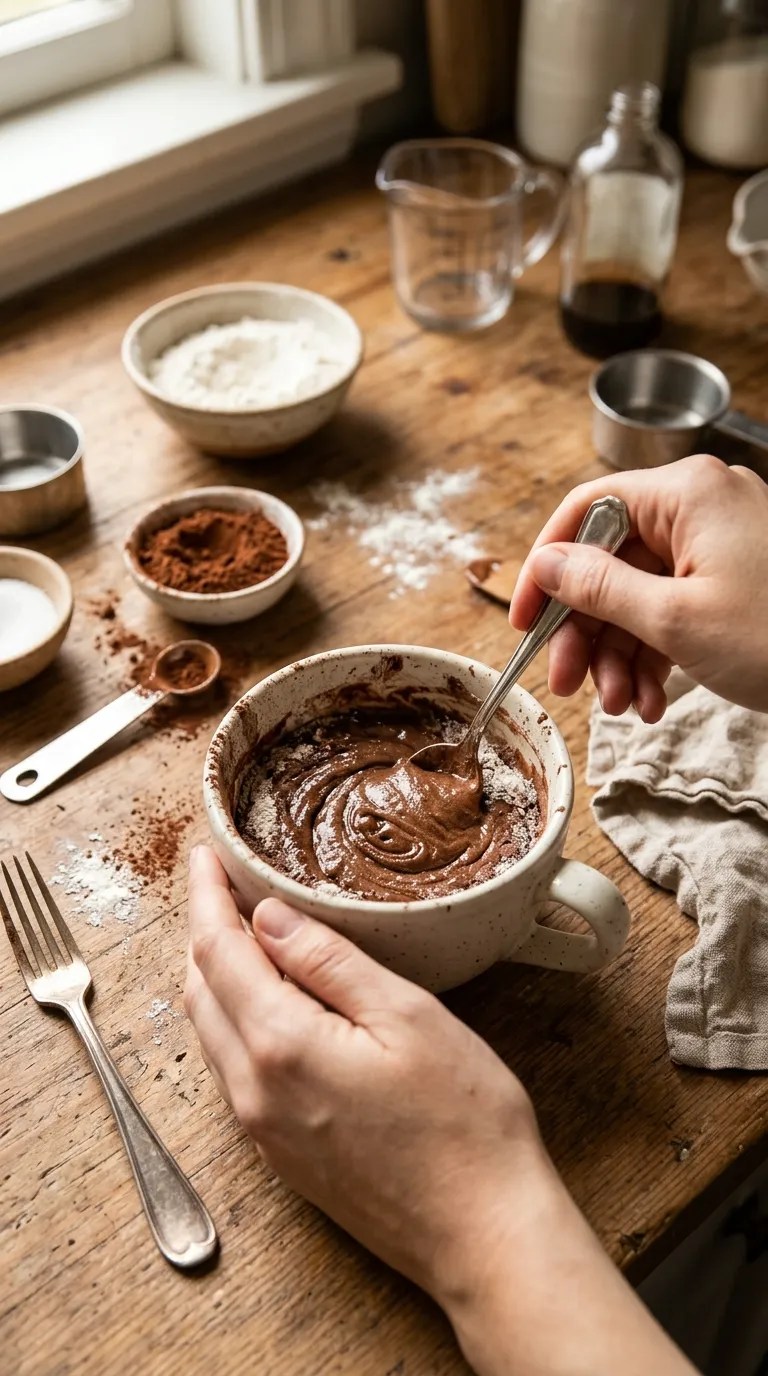
1. Choose the right mug — 1 minute
Start with a microwave-safe mug that holds at least 10 to 12 ounces.
A wider mug works better than a very narrow one because the batter cooks more evenly. Avoid filling the mug more than halfway with batter because the cake will rise as it cooks.
Before adding anything, make sure the mug has no metallic decoration.
2. Mix the dry ingredients — 1 minute
Add the flour, sugar, cocoa powder, baking powder, and salt directly to the mug.
Stir everything together with a fork or small spoon until the cocoa looks evenly distributed.
Take an extra few seconds here. I used to rush this part, and I occasionally ended up with little pockets of cocoa powder in the finished cake. A quick, thorough stir prevents that.
3. Add the wet ingredients — 1 minute
Pour in the milk, vegetable oil, and vanilla extract.
Stir until you get a smooth batter with no obvious streaks of dry flour.
The batter should look similar to a thick pancake batter. If it feels extremely stiff, add about ½ teaspoon of milk and stir again.
Don’t keep mixing once everything comes together. You don’t need to beat the batter aggressively.
4. Add chocolate chips — 30 seconds
If you’re using chocolate chips, fold them into the batter.
I like to push a few extra chips into the center because they melt into little pockets of chocolate as the cake cooks.
You can also leave a few on top.
5. Microwave the cake — about 60–90 seconds
Place the mug in the microwave and cook on high for about 60 seconds.
Check the cake. If the center still looks very wet, continue cooking in 10-second bursts until the cake looks puffed and mostly set.
The exact cooking time depends on your microwave. Some microwaves run much hotter than others, so don’t treat 90 seconds as a rule.
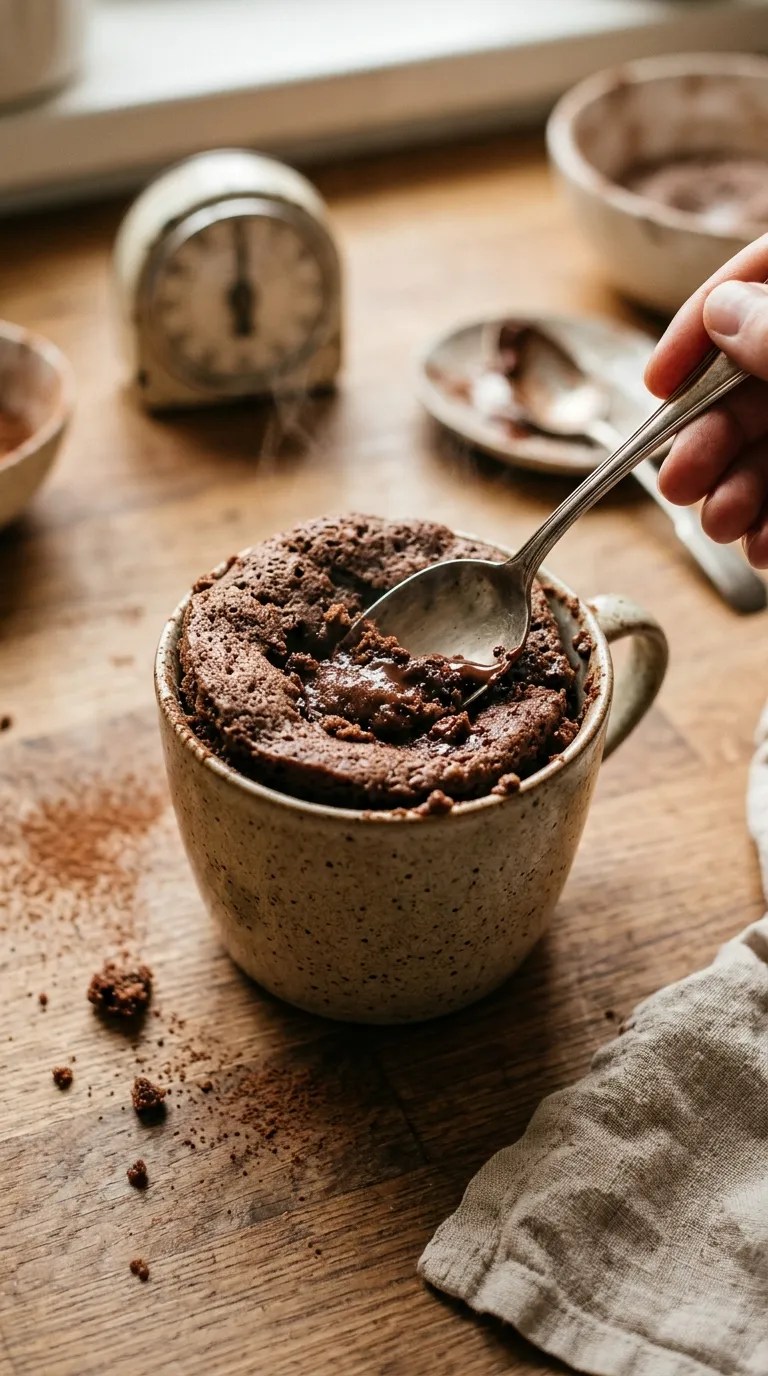
The cake should look cooked around the edges while the center can remain slightly soft. That’s exactly what you want.
If you cook it until the entire surface looks completely dry, you may end up with a chewy or rubbery cake.
6. Let it rest — 1–2 minutes
Carefully remove the mug because it may be hot.
Let the cake sit for a minute or two before eating. The center will finish setting during this short rest.
This is the hardest part for me because the whole kitchen smells like chocolate at this point.
7. Add your favorite topping — 1 minute
You can eat the cake directly from the mug, or transfer it carefully to a small plate.
Top it with powdered sugar, whipped cream, berries, or a scoop of vanilla ice cream.
For a simple version, I recommend nothing more than a few extra chocolate chips while the cake is still warm.
Pro Tips & Tricks
Don’t overmix the batter
Once you combine the wet and dry ingredients, stir just until the flour disappears.
Overmixing isn’t necessary and can make the texture less tender.
Don’t automatically cook it for two minutes
This was probably my biggest beginner mistake.
Microwaves vary, and a mug cake can go from soft and delicious to dry surprisingly quickly. Start with 60 seconds, then add short bursts if needed.
Use a large mug
A small mug can make the batter rise over the sides.
A 10- to 12-ounce microwave-safe mug gives the cake room to expand.
Let it rest before judging the texture
The cake continues to set after you remove it from the microwave.
If the center looks just slightly soft, give it a minute before deciding that it needs more cooking.
Make it ahead carefully
You can mix the dry ingredients in the mug ahead of time and keep the mixture covered until you’re ready to add the wet ingredients.
For the best texture, though, I prefer making the batter and cooking it immediately. Mug cakes taste best when they’re fresh and warm.
Store leftovers in the refrigerator
This recipe tastes best fresh, but if you don’t finish it, cover the mug or transfer the cake to an airtight container and refrigerate it.
Eat it within about 1–2 days for the best quality.
Variations & Substitutions
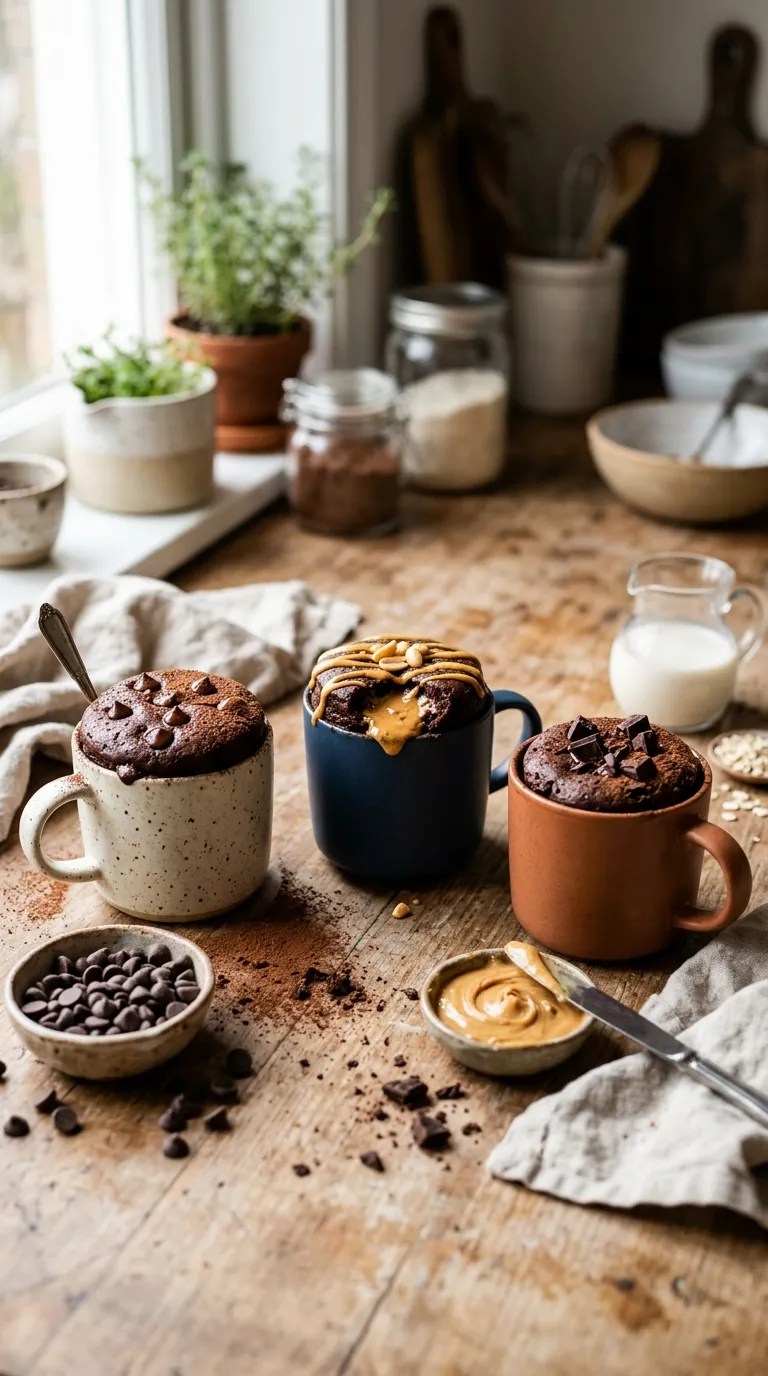
Once you get comfortable with the basic recipe, you can easily turn this simple dessert recipe into several different treats.
Peanut Butter Chocolate Mug Cake
Add 1 tablespoon of smooth peanut butter to the center of the batter before microwaving.
Don’t mix it completely through. Leaving a little pocket in the middle gives you a lovely peanut-butter center.
You can also use a nut-free spread if that’s what you have available.
Double Chocolate Mug Cake
For a richer chocolate version, add another tablespoon of chocolate chips to the batter.
You can also sprinkle a few chips over the top before cooking.
If you love a softer center, check the cake early rather than automatically increasing the cooking time.
Dairy-Free Mug Cake
Replace the milk with your favorite dairy-free milk.
Oat milk and soy milk work particularly well because they have a fairly mild flavor.
The rest of the recipe can stay the same.
Gluten-Free Version
For a gluten-free option, use a 1-to-1 gluten-free all-purpose flour blend designed for baking.
Different blends behave differently, so check the package instructions and expect the texture to vary slightly from the original version.
Serving Suggestions

This little cake works beautifully when you want a quick dessert after dinner, but you don’t need to save it for a special occasion.
I especially like making it on rainy afternoons when I want something warm and chocolatey without turning the oven on.
For the easiest serving idea, add a scoop of vanilla ice cream right on top. The cold ice cream melts against the warm cake, and you get a combination of creamy, warm, and chocolatey textures in every spoonful.
For a lighter-looking presentation, dust the top with powdered sugar and add a few fresh berries.
If you’re serving the cake to guests, make individual mug cakes and let everyone choose their own toppings. Set out chocolate chips, crushed nuts, berries, whipped cream, and ice cream so everyone can create their own version.
You can also pair the cake with a cup of coffee, tea, or cold milk.
Related Recipes:
- Easy Pumpkin Dump Cake Recipe for Thanksgiving
- How to Make Pumpkin Cheesecake Bites for Thanksgiving
- How to Make Pumpkin Cheesecake Balls Without Baking
- How to Make Caramel Apple Cheesecake Pie
FAQ’s
Can I make this mug cake without cocoa powder?
Yes. You can make a simple vanilla version by replacing the cocoa powder with an additional tablespoon of flour.
Since cocoa powder contributes flavor as well as dry ingredients, adding a little vanilla extract or chocolate chips can make the vanilla version more interesting.
Why did my mug cake turn out rubbery?
The most common reason is overcooking.
Microwaves cook quickly, and even an extra 20–30 seconds can make a noticeable difference. Try cooking the cake for 60 seconds first, then continue in 10-second intervals only when necessary.
Can I use butter instead of oil?
Yes.
Melt 2 tablespoons of butter and let it cool slightly before stirring it into the batter. Butter gives the cake a richer flavor, while oil tends to keep the crumb a little softer.
I usually use oil when I want the quickest version because I don’t have to melt anything separately.
Can I prepare the mug cake batter ahead of time?
You can prepare the dry mixture ahead, but I recommend adding the wet ingredients and cooking the cake when you’re ready to eat it.
The finished cake tastes best warm and fresh.
Can I freeze a mug cake?
You can freeze the fully cooked cake, but I don’t recommend it if you want the best texture.
The cake takes only a few minutes to make, so I prefer preparing a fresh one whenever I want dessert.
Why did my cake overflow the mug?
You probably used a mug that’s too small or filled it too high.
The batter expands as it cooks, so leave plenty of room above the batter. A larger, wider mug makes the process much easier for beginners.
Final Thought
There’s something satisfying about making a dessert from a handful of ordinary ingredients and having it ready almost immediately.
This simple dessert recipe doesn’t require perfect baking technique, special equipment, or a long list of ingredients. It gives beginners a chance to learn the basics while still producing something genuinely delicious.
My best advice is to watch the cooking time closely the first time you make it. Once you learn how your microwave behaves, you’ll know exactly when to stop cooking.
And don’t worry if your first mug cake isn’t perfect. Mine certainly weren’t. One might have been a little too firm, another might have looked more like a chocolate volcano, and I definitely learned the hard way that a tiny mug isn’t enough.
That’s part of the fun.
Grab your biggest microwave-safe mug, stir everything together, and give it a try. Then customize it with whatever chocolate, toppings, or little kitchen discoveries make it yours.
Leave a Reply
You must be logged in to post a comment.