

I still remember the first time I ordered a “giant cookie cake” from a bakery for my niece’s birthday. It looked perfect in the window—thick, studded with chips, the kind of thing that makes you stop and stare. When we cut into it at the party, though, the middle was dry and cakey, the edges rock-hard. Everyone politely ate a piece and then quietly reached for the ice cream instead. I went home that night, stared at my own mixing bowls, and thought, “I can do better than this.”
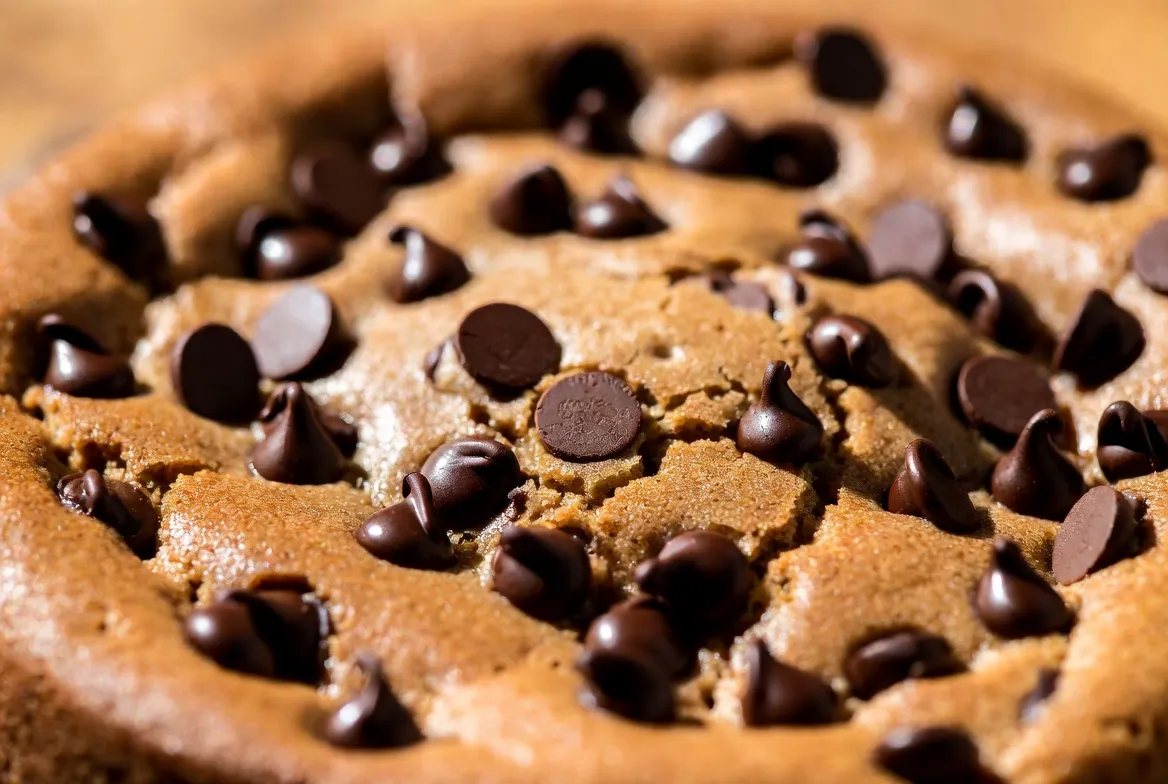
That was six years and more birthday parties than I can count ago. This soft chocolate chip cookie cake is the one I make now. It stays thick and chewy in the center, has those perfect crisp edges, and tastes like the best chocolate chip cookie you’ve ever had—only bigger and meant for sharing. I’ve tweaked the butter temperature, the sugar ratio, and the bake time so many times that my family just calls it “the good cookie cake.” If you’ve ever been disappointed by a store-bought version, this is the one that will change your mind.
Why You’ll Love This Recipe

- It stays soft and chewy in the middle for days (if it lasts that long).
- One bowl, no fancy equipment required—though a stand mixer makes the creaming step effortless.
- Ready from start to finish in under an hour, including chill time.
- Feeds a crowd without the bakery price tag.
- Looks impressive on a cake stand but tastes like pure comfort.
Ingredients List

For a 9-inch or 10-inch round cookie cake (serves 10–12):
Dry ingredients
- 2 ¼ cups (280 g) all-purpose flour
- 1 teaspoon baking soda
- ¾ teaspoon fine sea salt
Wet ingredients
- ¾ cup (170 g) unsalted butter, softened to cool room temperature (about 65–68°F / 18–20°C)
- ¾ cup (150 g) packed light brown sugar
- ½ cup (100 g) granulated sugar
- 1 large egg + 1 large egg yolk, room temperature
- 2 teaspoons pure vanilla extract
Mix-ins
- 1 ½ cups (255 g) semi-sweet chocolate chips (I like a mix of regular and mini for better distribution)
- Optional: ½ cup chopped walnuts or pecans if you want a little crunch
You can swap the semi-sweet chips for dark chocolate, milk chocolate, or even a handful of white chocolate chips. If you’re out of brown sugar, use all granulated and add 1 tablespoon molasses—it works in a pinch.
Step-by-Step Instructions

Preheat your oven to 350°F (175°C).
Line a 9-inch or 10-inch round cake pan with parchment paper and lightly grease the sides. I use a springform pan when I want clean edges, but a regular cake pan works fine.
In a medium bowl, whisk together the flour, baking soda, and salt. Set aside.
In a large bowl (or the bowl of a stand mixer fitted with the paddle),
Cream the softened butter with both sugars on medium speed for 2–3 minutes until the mixture looks light and fluffy. Scrape the bowl halfway through. The butter should still feel cool—not melted or greasy.
Add the egg, egg yolk, and vanilla.
Mix on medium until fully combined and the mixture looks smooth, about 30–45 seconds. Don’t overmix once the eggs are in.
Add the dry ingredients all at once.
Mix on low speed just until the flour disappears. Stop the mixer and fold in the chocolate chips with a spatula so you don’t break them up too much. The dough will be thick and slightly sticky—exactly what you want.
Press the dough evenly into the prepared pan.
I use clean hands or the bottom of a measuring cup to flatten it. Aim for an even layer about ¾ to 1 inch thick. If the dough sticks, dampen your fingers lightly.
Bake for 22–26 minutes.
The edges should look golden brown and set, while the center still looks a little underdone and puffy. It will continue to cook as it cools. Start checking at 22 minutes—overbaking is the enemy of softness.
Cool the cookie cake
In the pan on a wire rack for at least 30 minutes before removing. If you try to slice it while it’s piping hot, it will fall apart. Once mostly cooled, you can lift it out using the parchment and transfer it to a serving plate.
Optional but highly recommended:
while the cake is still slightly warm, press a few extra chocolate chips onto the top so they melt just a little. It looks bakery-fancy with zero extra effort.
Pro Tips & Tricks
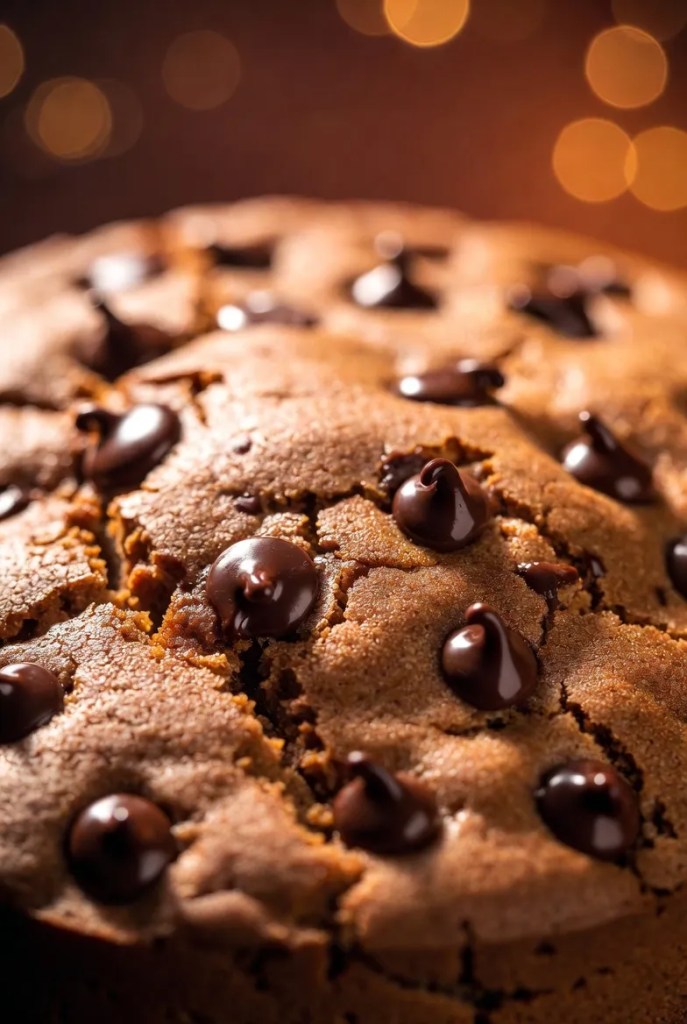
The single biggest mistake I see people make is using butter that’s too warm. If your butter is greasy or starting to melt, the cookie cake spreads too much and turns dense. Take it out of the fridge 45–60 minutes before you start, not two hours.
Don’t skip the egg yolk. That extra yolk is what keeps the center soft and rich instead of cakey. I learned this the hard way after one batch that tasted more like a dry brownie than a cookie.
If you want clean slices, chill the baked cookie cake for 20–30 minutes in the fridge before cutting. A sharp knife dipped in hot water and wiped dry between cuts gives you those bakery-looking wedges.
Storage is simple: keep it covered at room temperature for up to 4 days. For longer storage, wrap individual slices tightly and freeze for up to 2 months. They thaw beautifully on the counter in about 30 minutes.
Make-ahead tip: You can press the dough into the pan, cover it tightly, and refrigerate for up to 24 hours before baking. Add 2–3 extra minutes to the bake time if the dough is cold.
Variations & Substitutions

My kids love a “birthday version” where I press colorful sprinkles into the top right after baking so they stick. For a more grown-up take, I swap half the chocolate chips for chopped dark chocolate and add a pinch of flaky sea salt on top before serving.
Gluten-free friends: I’ve successfully used a 1:1 gluten-free flour blend (the kind that already contains xanthan gum). The texture is slightly more delicate but still soft and delicious. Bake time stays the same.
If you need a dairy-free version, use a good plant-based butter stick (not the tub kind) and dairy-free chocolate chips. The flavor is surprisingly close.
One rainy afternoon I stirred in ½ cup of toffee bits instead of some of the chips. That version disappeared in under an hour. Highly recommended.
Serving Suggestions

This cookie cake was born for celebrations, but it’s just as good on a random Tuesday night with a scoop of vanilla ice cream melting over a warm slice. I’ve taken it to potlucks, wrapped it in parchment for teacher gifts, and even cut it into squares for a casual movie night.
If you’re serving it for a party, decorate the top with a simple piped border of chocolate frosting or just a dusting of powdered sugar. A few fresh strawberries or a drizzle of caramel never hurt either.
Coffee, cold milk, or a glass of red wine all pair beautifully depending on the crowd.
FAQ’s
Can I make this in a different size pan?
Yes. An 8-inch pan will give you a thicker cake—add 3–5 minutes to the bake time. A 12-inch pan will be thinner and may finish in 18–20 minutes. Watch the edges carefully.
Why is my cookie cake dry?
Almost always overbaking. Pull it when the center still looks slightly soft. It firms up as it cools. Also check that you measured the flour correctly—scooping straight from the bag packs in too much.
Can I freeze the dough?
Absolutely. Press it into the pan, wrap tightly, and freeze for up to a month. Bake from frozen, adding 5–7 minutes to the time.
How do I reheat leftovers?
A 10-second zap in the microwave brings back that just-baked softness. Or warm slices in a 300°F oven for 5 minutes.
Can I use oil instead of butter?
I don’t recommend it. Butter gives the best flavor and texture. If you must, use melted butter and chill the dough longer, but the results won’t be quite the same.
Is this the same as a cookie pizza?
Pretty much—just thicker and softer. Some people call it a cookie pizza when they top it with frosting and candy. This version stands on its own without frosting.
Closing Thoughts
I hope this soft chocolate chip cookie cake becomes one of those recipes you keep coming back to, the way I have. There’s something deeply satisfying about pulling a giant golden cookie out of the oven and watching faces light up when they realize how soft the middle still is.
Make it once, and you’ll never order the bakery version again. If you try it, I’d love to hear how it turned out—especially if you added your own twist. Drop a comment or tag me if you share a photo. Happy baking, friends.
Leave a Reply
You must be logged in to post a comment.