

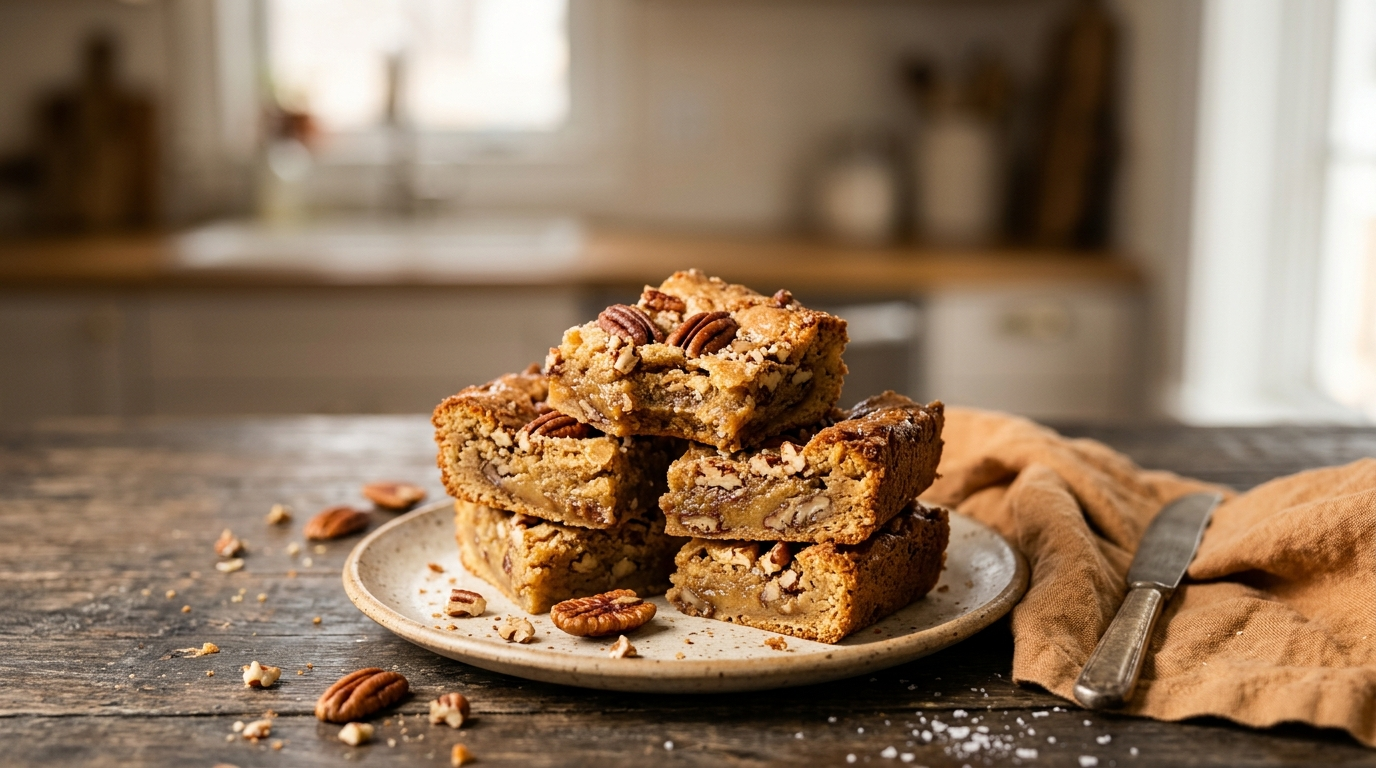
The first time I made these brown butter pecan blondies, I was aiming for something simple enough to bake on a chilly afternoon without turning the kitchen into a science project.
I had a bag of pecans sitting in the pantry, a half-used block of butter in the fridge, and that familiar craving for something warm and buttery. I started with a basic blondie recipe, then toasted the pecans and browned the butter almost on a whim.
That little extra step changed everything.
The kitchen smelled like toasted nuts and caramel, and the blondies came out with crisp, golden edges and a soft center that practically begged for a cup of coffee. I’ve made plenty of pecan desserts since then, but I keep coming back to these because they hit that sweet spot between easy and special.
They’re especially good when the weather turns cold. You can bake a pan for a weekend treat, cut it into small squares for a holiday dessert table, or serve a warm piece with a scoop of vanilla ice cream when you want something a little more indulgent.
And yes, I’ve learned a few things after making them more times than I can count. The biggest one? Don’t rush the butter.
Why You’ll Love This Recipe

- No mixer required. A whisk and spatula handle almost everything.
- Big pecan flavor. Toasting the nuts makes them noticeably more fragrant and flavorful.
- Soft in the middle, golden around the edges. That’s exactly what I want from a blondie.
- Easy to make ahead. The flavor actually settles nicely after a few hours.
- Perfect for cold-weather gatherings. These travel well and don’t require a complicated frosting or decoration.
Ingredients
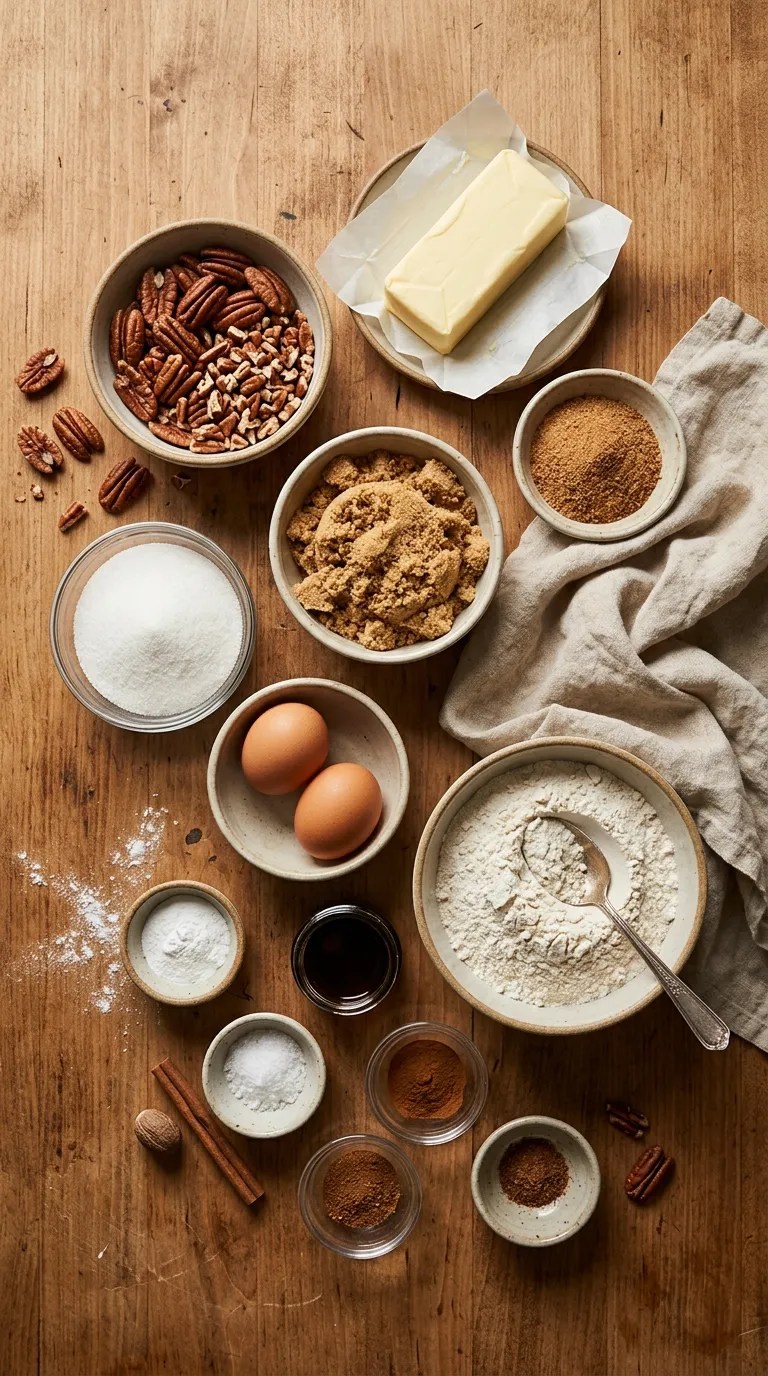
This recipe makes about 16 blondies in an 8-inch square pan.
For the brown butter blondies
- 10 tablespoons (142 g) unsalted butter
- 1 cup (200 g) packed light brown sugar
- ¼ cup (50 g) granulated sugar
- 2 large eggs, room temperature if possible
- 2 teaspoons vanilla extract
- 1¼ cups (156 g) all-purpose flour
- ½ teaspoon baking powder
- ½ teaspoon fine salt
- 1 cup (110 g) pecan halves or pieces
- ½ teaspoon ground cinnamon
- ¼ teaspoon ground nutmeg
Optional finishing touches
- Flaky sea salt, for sprinkling
- Extra toasted pecans, roughly chopped
- Vanilla ice cream, for serving
If you only have salted butter, you can use it. Just reduce the added salt slightly.
You can also use dark brown sugar instead of light brown sugar. It gives the blondies a deeper molasses flavor, which I especially like during the holidays.
For the pecans, halves work beautifully if you want larger pieces, while chopped pecans distribute more evenly through every bite.
Step-by-Step Instructions
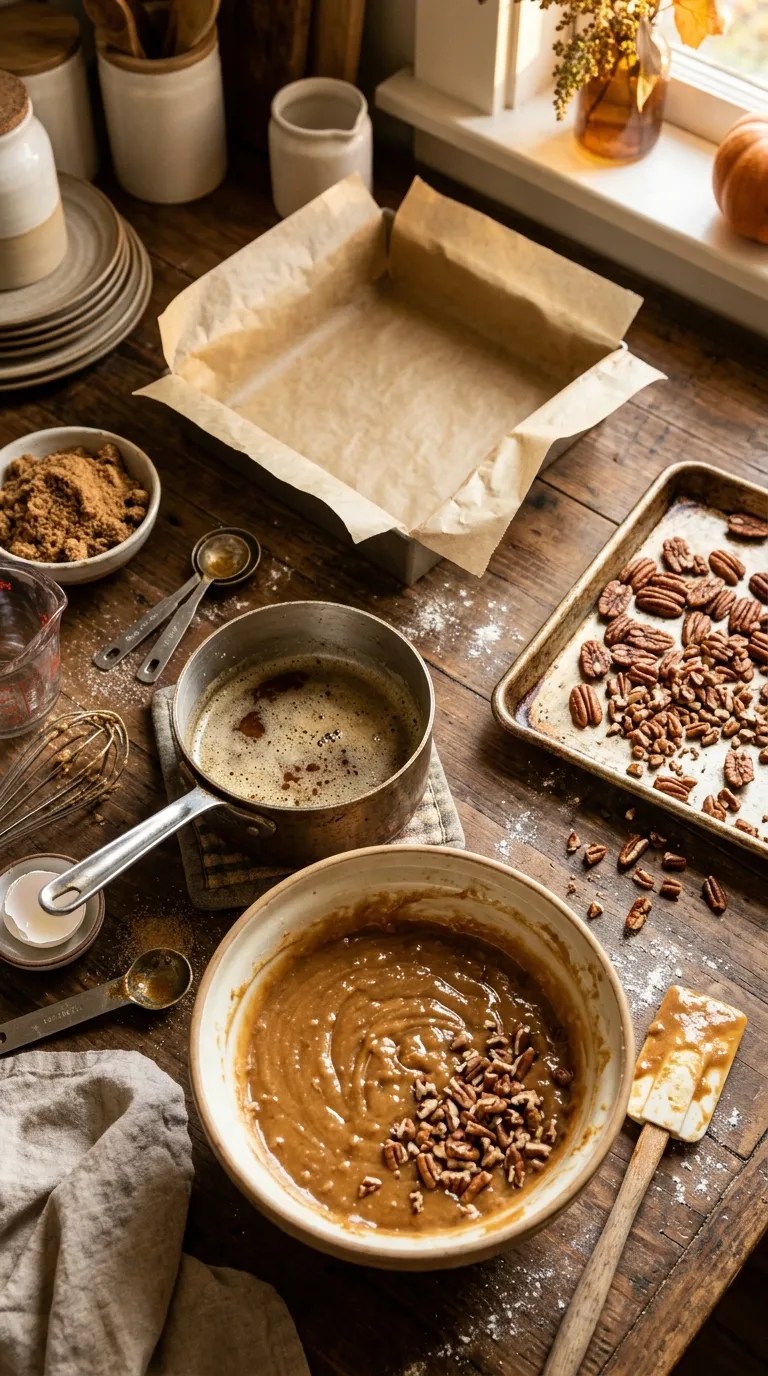
1. Prepare the pan — 5 minutes
Heat your oven to 350°F (175°C).
Line an 8-inch square baking pan with parchment paper, leaving some paper hanging over two sides. Those overhanging edges will give you easy handles for lifting the cooled blondies out later.
Lightly grease the parchment and the exposed sides of the pan.
I used to skip the parchment and regret it every time. Blondies contain plenty of butter and sugar, but that doesn’t guarantee they’ll release neatly from the pan.
2. Toast the pecans — 6 to 8 minutes
Spread the pecans on a baking sheet and toast them in the oven for about 6–8 minutes.
Give them a stir halfway through.
You’re looking for a warm, nutty aroma and lightly deepened color. Don’t wait until they look very dark. Pecans can go from beautifully toasted to bitter surprisingly quickly.
Let them cool for a few minutes, then roughly chop them if you used halves.
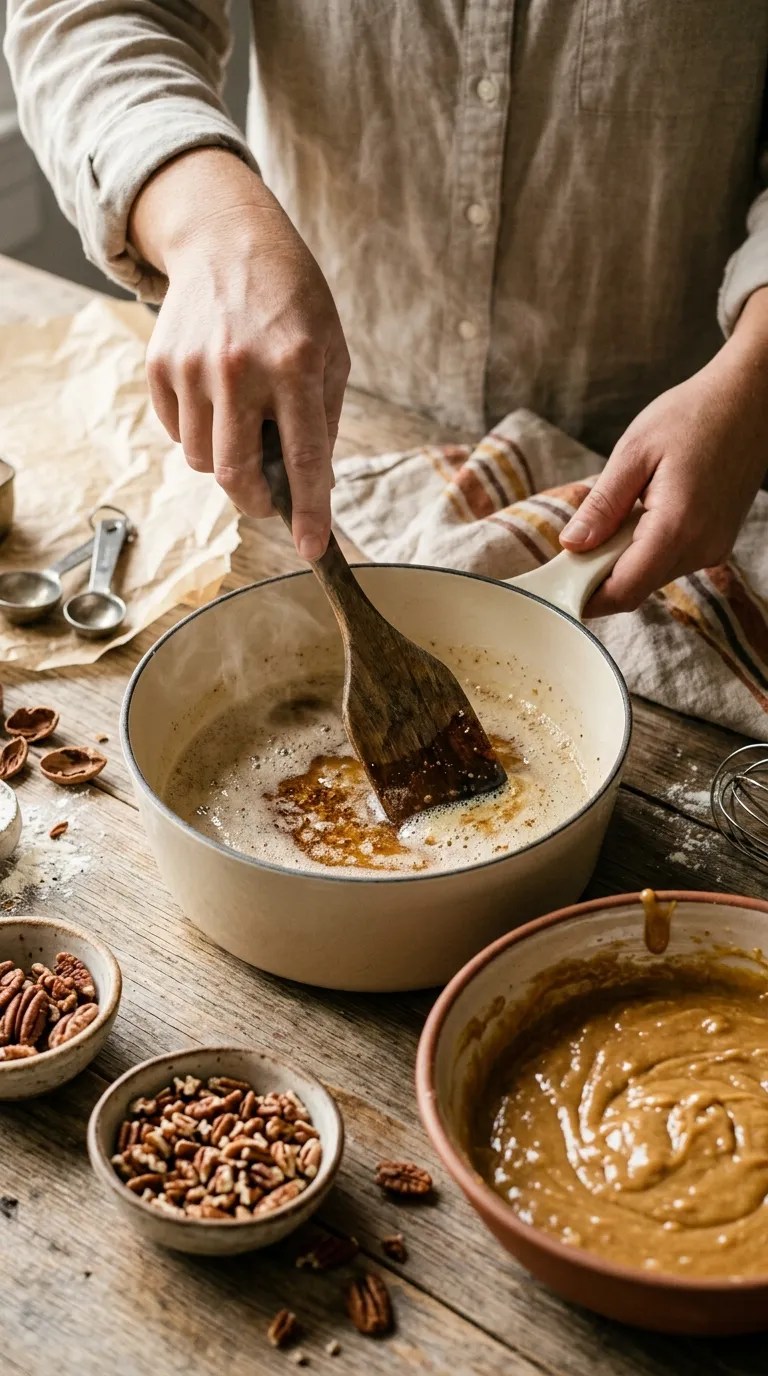
3. Brown the butter — 6 to 8 minutes
Place the butter in a light-colored saucepan over medium heat.
Let it melt completely. Then continue cooking, stirring or swirling the pan frequently.
The butter will foam first. After that, you’ll notice little golden-brown bits forming at the bottom. Keep stirring and watch closely.
When the butter smells nutty and the milk solids turn golden brown, take the pan off the heat.
This usually takes around 6–8 minutes, but your stove and pan can change the timing.
Pour the brown butter into a large mixing bowl right away so it doesn’t continue cooking in the hot saucepan.
Let it cool for about 5 minutes.
You don’t need to make the butter dramatically dark. If the brown bits turn nearly black, you’ve gone too far.
4. Mix the sugars and butter — 2 minutes
Add the brown sugar and granulated sugar to the warm brown butter.
Whisk until the mixture looks glossy and the sugar begins to blend into the butter.
It won’t become completely smooth, and that’s fine.
5. Add the eggs and vanilla — 2 minutes
Whisk in the eggs one at a time.
Add the vanilla extract and whisk again until the mixture looks smooth and slightly thickened.
Don’t whip it for several minutes. You aren’t trying to incorporate lots of air like you would with a cake.
6. Combine the dry ingredients — 2 minutes
In a separate bowl, whisk together:
- Flour
- Baking powder
- Salt
- Cinnamon
- Nutmeg
Add the dry mixture to the butter mixture.
Switch to a spatula and gently fold until you no longer see obvious streaks of flour.
The batter should look thick and glossy.
7. Fold in the pecans — 1 minute
Add the toasted pecans and fold them through the batter.
Save a small handful if you’d like to scatter a few across the top.
At this point, the batter will be thick enough that the pecans won’t all sink to the bottom.
8. Fill the pan — 2 minutes
Scrape the batter into your prepared pan.
Use your spatula to push the batter into the corners and smooth the top.
Scatter the reserved pecans over the surface and add a very light sprinkle of flaky sea salt if you like that sweet-salty contrast.
9. Bake — 25 to 30 minutes
Bake at 350°F (175°C) for 25–30 minutes.
Start checking around the 25-minute mark.
The edges should look set and lightly golden, while the center should still have a little softness when you gently move the pan.
A toothpick inserted into the center should come out with a few moist crumbs rather than completely clean.
This is one place where I learned to trust the visual cues more than the clock. If you bake blondies until the toothpick comes out bone-dry, you’ll probably end up with a much firmer dessert.
10. Cool completely — at least 1 hour
Place the pan on a cooling rack and let the blondies cool completely.
I know it’s tempting to cut them immediately.
I’ve done it.
The result was delicious but messy.
Give them at least an hour if you want clean squares. For especially neat cuts, chill them for 30–45 minutes after they’ve cooled to room temperature.
Lift them out using the parchment and cut into 16 squares.
Pro Tips & Tricks
Toast the pecans, even if you’re tempted to skip it
This takes only a few minutes, but it gives the nuts a deeper roasted flavor and a pleasant crunch.
Watch them carefully because pecans contain plenty of natural oils and can burn quickly.
Don’t walk away from brown butter
This isn’t the moment to answer a text or start washing dishes.
Brown butter changes quickly near the end. Stay beside the pan and swirl it frequently once the foam starts to settle.
The moment you smell that unmistakable nutty aroma and see golden-brown milk solids, move it off the heat.
Don’t overmix the batter
Once you add the flour, mix just until everything comes together.
Overmixing can make the blondies tougher than you want.
Let them cool before judging the texture
Fresh from the oven, the center can look softer than expected.
As the blondies cool, the butter and sugar mixture sets and the texture becomes wonderfully chewy.
Store them properly
Keep cooled blondies in an airtight container at room temperature for 3–4 days.
If your kitchen runs warm, refrigerate them instead and bring them back toward room temperature before serving.
For a make-ahead option, bake the blondies a day before serving. I actually prefer them the next day because the brown-butter flavor seems a little more rounded.
Variations & Substitutions
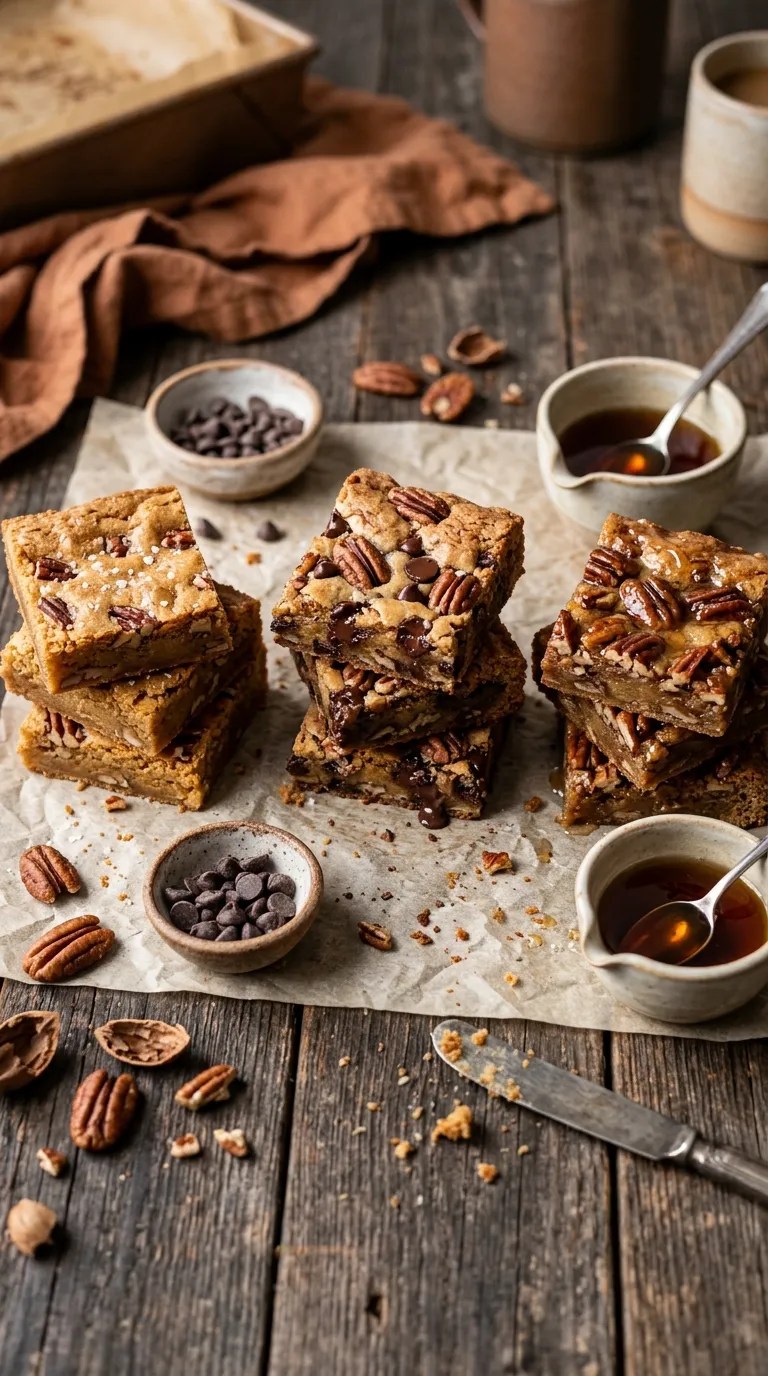
Make them extra chocolatey
Fold ½ cup (85 g) of semisweet chocolate chips into the batter along with the pecans.
Chocolate and pecans work particularly well together, and this version feels right at home on a holiday dessert tray.
Add a maple twist
Replace 2 tablespoons of the brown sugar with 2 tablespoons of pure maple syrup.
The batter will become slightly softer, and you’ll get a gentle maple note alongside the toasted pecans.
For an even stronger maple flavor, drizzle a little maple glaze over the cooled blondies.
Make a gluten-free version
Use a 1-to-1 gluten-free all-purpose flour blend designed for baking.
Choose a blend that contains xanthan gum if the package recommends it for recipes like brownies and bars.
The texture may vary slightly depending on the flour blend, so let the finished blondies cool completely before cutting.
Give them a warm spice profile
For a more pronounced winter flavor, add another ¼ teaspoon cinnamon and a small pinch of ground cloves.
Go easy with cloves. They can quickly overpower the pecans and brown butter.
Serving Suggestions

These blondies don’t need much help.
For an everyday afternoon treat, I like one slightly warm with coffee or black tea. The bitterness of the drink balances the sweetness nicely.
For dessert after dinner, put a warm blondie in a bowl and add a scoop of vanilla ice cream. The ice cream starts melting into the buttery edges, and honestly, that’s hard to beat.
For a holiday gathering, arrange the squares on a simple platter and sprinkle a few extra toasted pecans over the top.
You can also cut them into smaller pieces for a cookie exchange or dessert buffet. They’re rich enough that small squares still feel satisfying.
If you’re bringing them somewhere, wait until they’re completely cool before stacking them. Place parchment between layers so the tops don’t stick together.
Related Recipes:
- Creative Halloween Dessert Ideas for Parties
- Easy Apple Desserts for Fall Baking
- Easy Thanksgiving Desserts for the Whole Family
- Simple Winter Desserts for Cozy Evenings
FAQ’s
Can I use salted butter instead of unsalted butter?
Yes.
Use the same amount of butter, but reduce the added salt to about ¼ teaspoon. If your salted butter tastes particularly salty, you can leave out the added salt entirely.
Why did my blondies turn out cakey?
The most common culprit is overbaking.
Blondies continue cooking from residual heat after you remove them from the oven, so you want to take them out when the center still looks slightly soft.
Overmixing the flour can also affect the texture.
Can I make the batter ahead of time?
I recommend baking the batter soon after mixing rather than storing the raw batter.
For an easy make-ahead dessert, bake the blondies completely, cool them, and store them in an airtight container. They hold up very well for a few days.
Can I freeze pecan blondies?
Absolutely.
Let them cool completely, then wrap individual squares tightly in plastic wrap or place them in a freezer-safe airtight container with parchment between layers.
Freeze for up to 2–3 months for the best quality.
Thaw them in the refrigerator overnight or at room temperature for a few hours.
What’s the best way to reheat them?
For a soft, warm texture, place an individual blondie in the microwave for about 10–15 seconds.
Check it before adding more time because microwaves vary.
You can also warm them in a low oven for several minutes if you’re reheating several pieces at once.
Can I leave out the pecans?
Yes, although then you won’t have a pecan dessert anymore.
If you’re dealing with a nut allergy, don’t simply remove the pecans if the dessert will be served to someone with a serious allergy. Check your other ingredients and avoid cross-contact with nuts.
If you simply ran out of pecans, chopped walnuts make an easy substitute.
Final Thought
There are desserts that require an entire afternoon, three mixing bowls, and a kitchen that looks like a flour storm passed through it.
These aren’t those blondies.
That’s part of why I love this recipe.
You brown some butter, toast some pecans, stir everything together, and let the oven do the heavy lifting. The finished squares taste like you put in far more effort than you actually did.
And if your first batch comes out a little too soft in the middle, don’t panic. That’s how I learned to look for set edges and a slightly soft center instead of relying only on the timer.
Make them for a chilly weekend, take a pan to a family gathering, or keep a few tucked away for an afternoon treat. Once that brown-butter-and-pecan smell starts filling your kitchen, you’ll understand why this has become one of my favorite fall and winter bakes.
If you make them, I hope you get that same moment I always look forward to: pulling the pan from the oven, waiting impatiently for it to cool, and cutting that first square while the edges are still just a little warm.
Leave a Reply
You must be logged in to post a comment.