

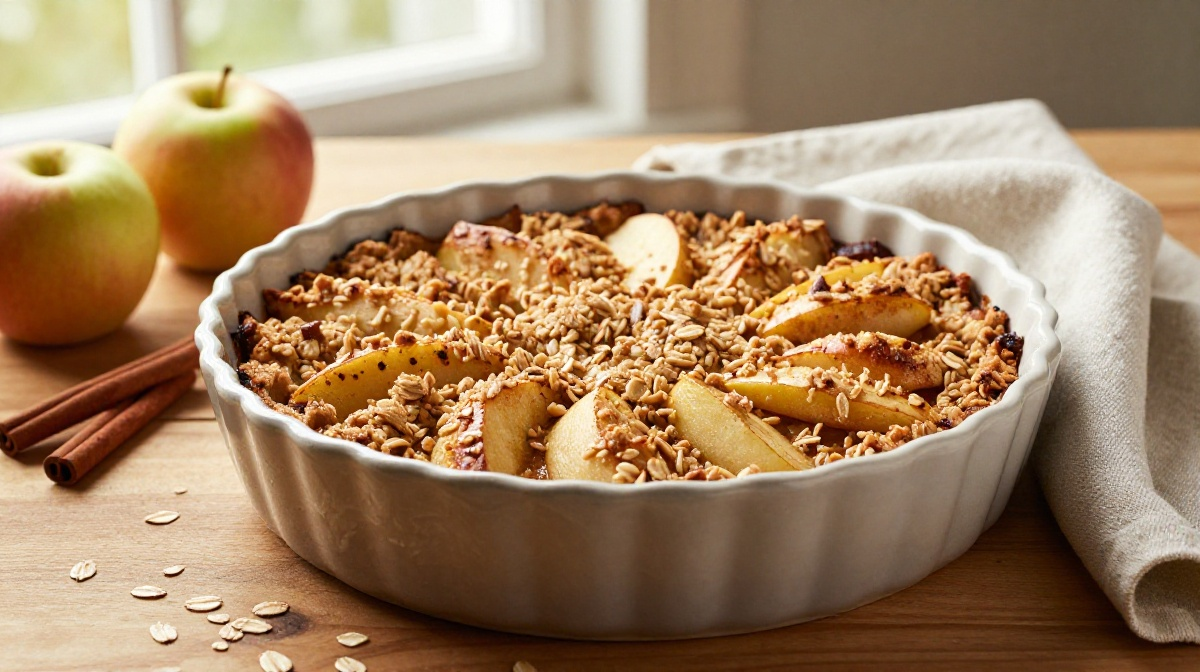
There’s something about baking with apples that makes an ordinary afternoon feel a little more special. I usually notice it when I walk into the kitchen and catch that first buttery, cinnamon-sweet smell coming from the oven. Suddenly, I want a mug of tea, a warm blanket, and absolutely no reason to leave the house.
This easy apple dessert for fall baking came from one of those afternoons when I had a few apples sitting in the fruit bowl and no interest in making a complicated pie. I wanted something warm and comforting, but I also wanted to keep the mixing bowls to a minimum.
After a little experimenting, I landed on a simple apple crisp with tender cinnamon apples underneath and a golden oat topping over the top. The first version came out a little too sweet, so I cut back the sugar and added a small squeeze of lemon. That tiny change made a surprisingly big difference.
I’ve made it plenty of times since then, including for family dinners and those random evenings when everyone suddenly wants dessert. It feels homemade without demanding an entire afternoon in the kitchen.
Why You’ll Love This Recipe

- It uses simple ingredients. You probably already have several of them in your pantry.
- You don’t need a mixer. A bowl, a spoon, a knife, and a baking dish will do the job.
- It tastes like fall. Apples, cinnamon, brown sugar, and buttery oats create that classic cozy combination.
- It works with different apples. You don’t need one specific variety to make it delicious.
- You can prepare it ahead. Assemble it earlier in the day, then bake when you’re ready.
Ingredients
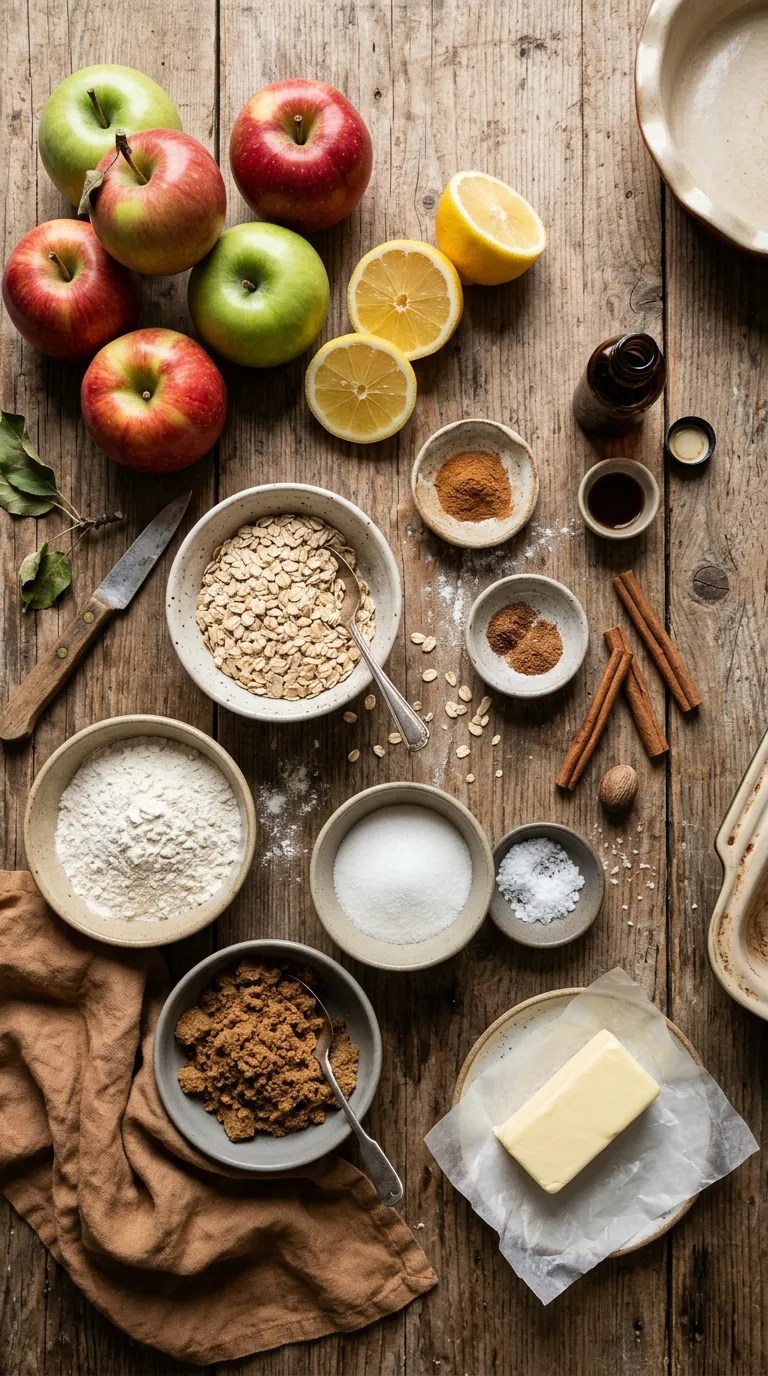
This recipe makes about 6 servings.
For the Apple Filling
- 6 medium apples, about 2 ½ pounds
- 2 tablespoons granulated sugar
- 2 tablespoons light brown sugar
- 1 tablespoon all-purpose flour
- 1 tablespoon lemon juice
- 1 teaspoon ground cinnamon
- ¼ teaspoon ground nutmeg
- 1 teaspoon vanilla extract
- ¼ teaspoon salt
For the apples, I like using a mixture rather than sticking to just one variety. Granny Smith gives you a pleasant tartness, while Honeycrisp, Pink Lady, or Gala adds sweetness.
If you only have one type of apple, don’t worry. The dessert will still work.
For the Crumbly Oat Topping
- 1 cup old-fashioned rolled oats
- ¾ cup all-purpose flour
- ½ cup packed light brown sugar
- ½ teaspoon ground cinnamon
- ¼ teaspoon salt
- ½ cup unsalted butter, melted
- ½ teaspoon vanilla extract
You can use salted butter if that’s what you have. Just reduce the added salt slightly.
For a nuttier topping, replace ¼ cup of the oats with chopped pecans or walnuts.
Step-by-Step Instructions
1. Heat the Oven and Prepare the Baking Dish — 5 minutes
Preheat your oven to 350°F (175°C).
Lightly butter an 8-by-8-inch baking dish or spray it with cooking spray.
I prefer a ceramic baking dish because it holds the heat nicely, but a standard glass or metal baking pan works too.
2. Peel and Slice the Apples — 10 minutes
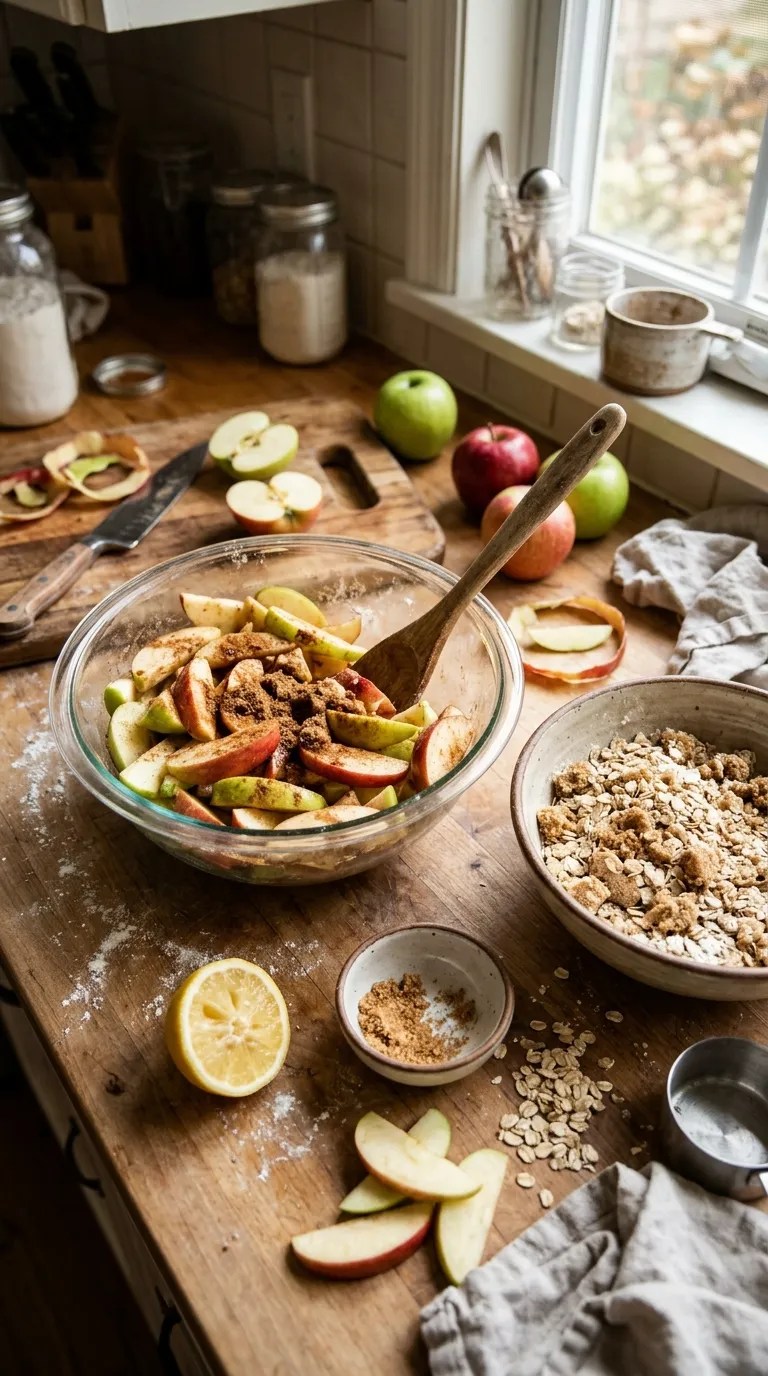
Peel the apples, remove the cores, and slice them into pieces about ¼ inch thick.
Try to keep the slices reasonably similar in size. They don’t have to look perfect, but very thin pieces can turn mushy while thick pieces may stay firm.
And here’s a shortcut I learned after making this dessert more times than I can count: you don’t need to obsess over peeling every apple perfectly.
If you enjoy the texture and color of apple skin, leave some or all of it on. Just wash the apples well first.
3. Season the Apples — 3 minutes
Put the sliced apples into a large mixing bowl.
Add the granulated sugar, brown sugar, flour, lemon juice, cinnamon, nutmeg, vanilla, and salt.
Toss everything together until the apples look evenly coated.
The flour might seem like a small addition, but it helps the juices thicken as the dessert bakes. The lemon juice also keeps the filling from tasting overly sweet.
4. Transfer the Filling to the Dish — 2 minutes
Pour the seasoned apples into your prepared baking dish.
Spread them into an even layer and gently press them down.
At this stage, the apples should smell pleasantly spiced, but don’t worry if they look a little dry. They’ll release plenty of juice as they cook.
5. Make the Oat Topping — 5 minutes
In a clean bowl, stir together the rolled oats, flour, brown sugar, cinnamon, and salt.
Pour in the melted butter and vanilla.
Mix with a fork until you get chunky, moist crumbs.
You want the mixture to resemble coarse, buttery granola. If it looks completely powdery, add another tablespoon of melted butter. If it looks like one giant wet mass, sprinkle in a tablespoon or two of oats.
That little visual check works better than relying on an exact texture every time because different brands of oats and flour absorb butter differently.
6. Add the Topping — 2 minutes
Scatter the oat mixture evenly over the apples.
Don’t pack it down tightly.
A loose topping allows the heat to move through it and gives you those wonderful crisp, golden pieces around the edges.
7. Bake Until Golden and Bubbly — 40–50 minutes
Place the baking dish on the middle rack of your oven.
Bake for 40 to 50 minutes, checking around the 40-minute mark.
The dessert is ready when the topping turns golden brown and you can see the apple juices bubbling around the edges.
If the topping browns before the apples become tender, loosely cover the dish with aluminum foil and continue baking.
To check the apples, carefully slide a thin knife into the center. It should meet some resistance but still pass through easily.
8. Let It Rest — 15 minutes
Take the dessert out of the oven and let it rest for about 15 minutes.
I know it’s tempting to scoop it up immediately, especially when the kitchen smells amazing. But that short rest gives the juices time to thicken.
If you serve it immediately, the filling can seem much more liquid than it actually is.
9. Serve Warm
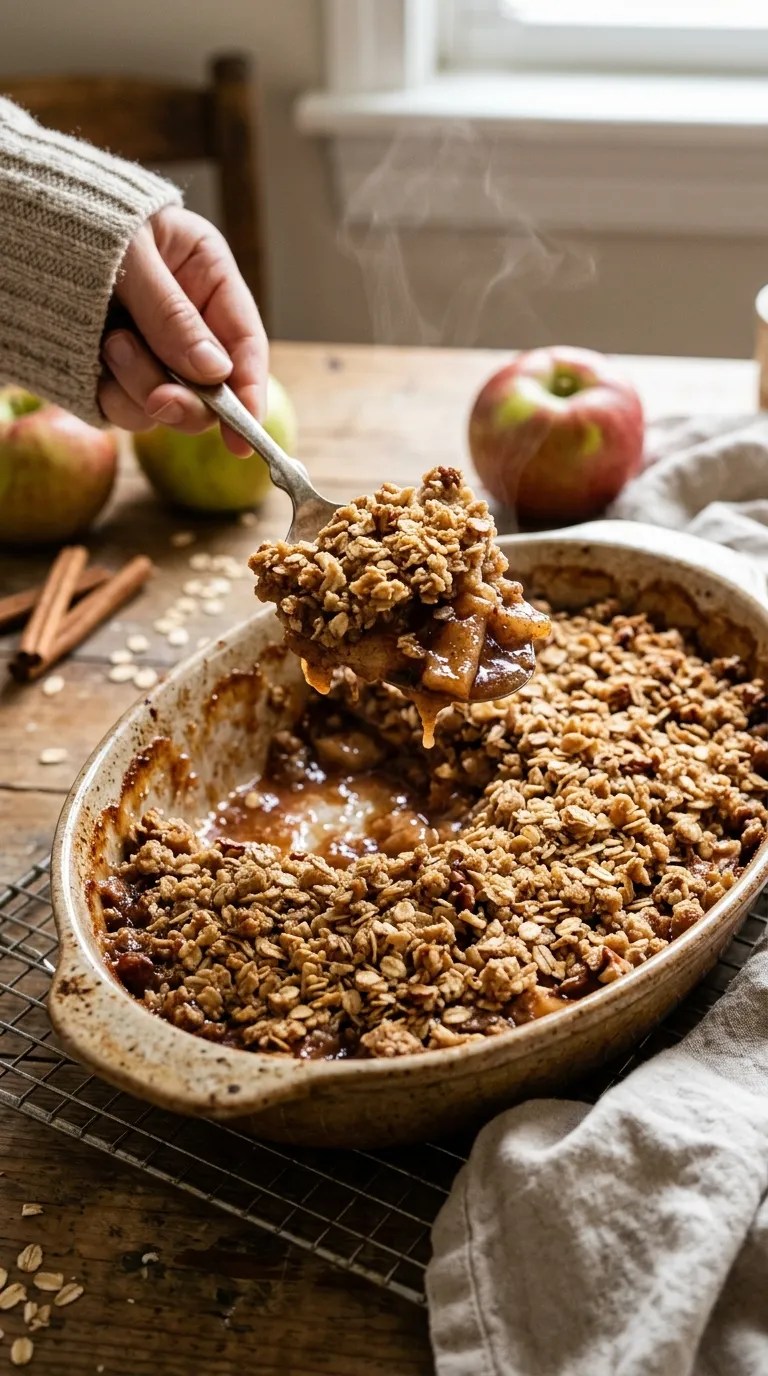
Spoon the warm apples and crisp topping into bowls.
For my favorite version, I add a scoop of vanilla ice cream while the dessert is still warm. The ice cream melts into the cinnamon-scented apples, and that combination is hard to beat.
Pro Tips & Tricks
Choose apples that hold their shape
Some apples soften quickly in the oven, while others stay firmer.
A combination of tart and sweet apples gives the best balance. Granny Smith, Honeycrisp, Pink Lady, Braeburn, and similar baking-friendly apples all work well.
Don’t slice the apples too thin
Very thin slices can lose their texture and turn soft before the topping finishes browning.
Aim for roughly ¼-inch slices and try to keep them relatively even.
Don’t skip the resting time
This is probably the easiest step to forget.
The filling continues settling after you remove it from the oven. Give it those 15 minutes, and you’ll get a thicker, more spoonable dessert.
Keep the topping loose
When I first made an apple crisp, I pressed the topping down because I thought it would create a prettier crust.
It did, but the texture suffered.
Now I scatter the topping over the apples without compressing it. That gives me a mixture of crunchy bits and softer buttery pieces.
Store leftovers properly
Cover the cooled dessert and refrigerate it for up to 4 days.
For the best topping texture, reheat individual portions in a toaster oven or conventional oven at about 350°F (175°C) until warmed through.
You can also use a microwave for convenience, although the topping will soften.
Make it ahead
You can prepare the apple filling and topping separately several hours ahead.
Keep both covered in the refrigerator, then assemble just before baking.
If you assemble the entire dessert too far in advance, the topping can absorb some of the apple moisture and lose some of its crispness.
Variations & Substitutions
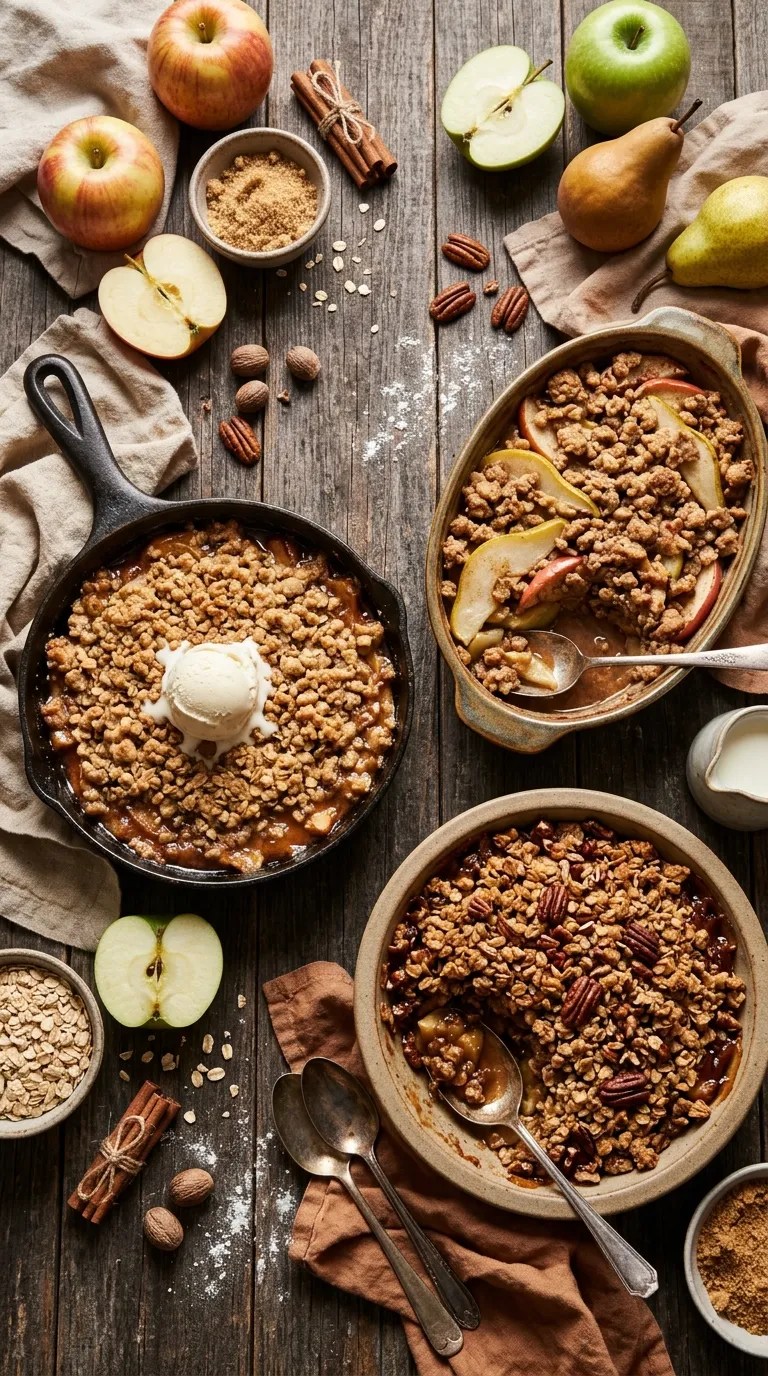
Make It Nutty
Add ½ cup chopped pecans or walnuts to the oat topping.
Pecans work especially well with brown sugar and cinnamon. If you have guests with nut allergies, simply leave them out.
Make It Gluten-Free
Use a 1-to-1 gluten-free all-purpose flour blend in place of the regular flour.
Also check the label on your oats to make sure they meet your dietary needs. Oats themselves don’t contain gluten, but cross-contact can happen during processing.
Add a Little Extra Spice
If you love a strongly spiced apple dessert, add ¼ teaspoon ground ginger to the filling.
You could also add a tiny pinch of ground cloves, but go easy. Cloves can quickly dominate the other flavors.
Try a Pear-Apple Version
Replace two of the apples with ripe-but-firm pears.
The pears soften beautifully and add a slightly floral sweetness. I especially like this version when I have a couple of pears that need using before they become too ripe.
Make It Dairy-Free
Use a dairy-free butter substitute that works well for baking.
The topping needs solid fat to develop its crumbly texture, so choose a baking-friendly option rather than a very watery spread.
Serving Suggestions

This dessert fits almost any cozy fall occasion.
Serve it warm after a Sunday dinner, bring it to a casual family gathering, or make a batch when friends come over for coffee.
For a simple dessert plate, add a scoop of vanilla ice cream or a spoonful of lightly sweetened whipped cream.
If you prefer something less sweet, serve a small portion with plain Greek-style yogurt. The tanginess balances the brown sugar nicely.
You can also serve the apple crisp alongside a cup of coffee, black tea, or warm chai.
For a fall dinner party, bake the dessert shortly before guests arrive. Let it rest while everyone finishes dinner, then serve it warm.
And if you’re bringing it somewhere, bake it in a dish with a lid. You can rewarm it before serving without transferring it to another pan.
Related Recipes:
- Easy Halloween Desserts for Beginners
- Easy Halloween Party Desserts for All Ages
- Easy Halloween Desserts for a Spooky Party
FAQ’s
Can I make this apple dessert without peeling the apples?
Yes. You can leave the peels on if you like their texture.
Just wash the apples thoroughly, remove the cores, and slice them evenly. The finished dessert will have a little more texture than one made with peeled apples.
Why is my apple crisp watery?
A juicy batch of apples can release quite a bit of liquid.
Make sure you include the flour in the filling, avoid cutting the apples excessively thin, and allow the dessert to rest for about 15 minutes after baking.
If it still seems loose, let it cool a little longer. The filling thickens as it cools.
Can I prepare this dessert the night before?
Yes, but I recommend preparing the components separately.
Slice and season the apples, then cover and refrigerate them. Prepare the topping and refrigerate it separately.
When you’re ready to bake, put the apples into the dish, scatter the topping over them, and bake as directed.
Can I freeze apple crisp?
Yes. For the best quality, freeze it well wrapped in an airtight, freezer-safe container.
You can freeze it before or after baking, although the topping may lose some of its original crisp texture after freezing and thawing.
If freezing leftovers, let the dessert cool completely first.
How do I reheat apple crisp?
For the crispest topping, reheat it in a 350°F (175°C) oven until hot.
Individual portions usually need less time than a whole dish.
A microwave also works when you’re in a hurry, but expect a softer topping.
Can I use quick oats instead of rolled oats?
You can, but the topping won’t have quite the same hearty texture.
Old-fashioned rolled oats give you more distinct, chewy-crisp pieces. Quick oats create a finer, softer topping.
If rolled oats are all you have, use them confidently.
Final Thought
This easy apple dessert for fall baking has become one of those recipes I reach for when I want something homemade without turning the kitchen upside down.
It doesn’t require fancy equipment, complicated techniques, or a long ingredient list. You simply season the apples, mix the topping, put everything into a baking dish, and let the oven do the hard work.
My favorite part comes right after baking, when the topping is golden and the apple juices are bubbling underneath. I usually tell myself I’ll wait until dessert time, then somehow end up standing at the counter with a spoon.
If you make it, don’t worry about getting every slice or crumb perfect. That’s part of the charm of a homemade apple dessert.
Use the apples you have, make the topping as chunky as you like, and adjust the spices to suit your taste. Then grab a warm bowl, add whatever topping makes you happy, and enjoy a little taste of fall from your own kitchen.
Leave a Reply
You must be logged in to post a comment.