

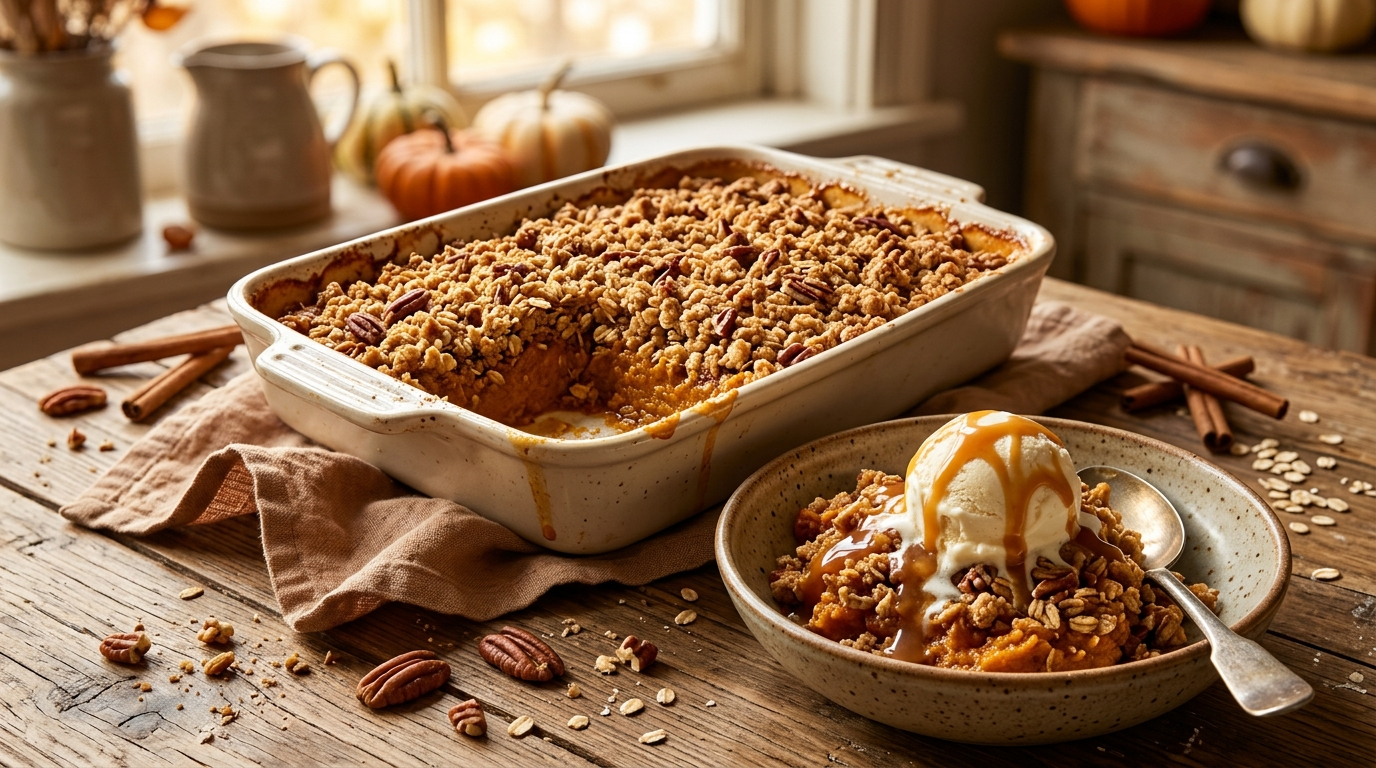
There’s something about the first cool evening of fall that makes me want to turn on the oven. A few years ago, I had a can of pumpkin sitting in the pantry, a bag of oats that needed using, and absolutely no interest in making a complicated dessert.
I ended up throwing together a pumpkin crisp.
I expected something decent. What came out of the oven was the kind of dessert that makes everyone wander into the kitchen asking, “What smells so good?”
The pumpkin layer turned silky and warmly spiced while the oat topping baked into crisp, buttery little clusters. I spooned the first serving into a bowl and added vanilla ice cream because, honestly, I couldn’t resist.
That combination has become one of my favorite fall desserts.
After making it many times, I’ve learned a few small tricks that make a big difference. The biggest one? Don’t rush the baking time. The center should look set around the edges but still have a gentle wobble when you move the dish.
This pumpkin crisp gives you all those cozy pumpkin-pie flavors without asking you to roll out pie dough. It also makes the kitchen smell absolutely wonderful.
Why You’ll Love This Pumpkin Dessert

- Much easier than pumpkin pie. No pastry dough, rolling pin, or crimping required.
- Uses simple ingredients. You can find nearly everything at a regular grocery store.
- The texture steals the show. Creamy pumpkin underneath meets a crisp, buttery oat topping.
- It works beautifully for gatherings. You can make it in one baking dish and scoop it straight onto plates.
- It tastes even better with toppings. Vanilla ice cream, whipped cream, or a drizzle of caramel all work wonderfully.
Ingredients for Pumpkin Crisp
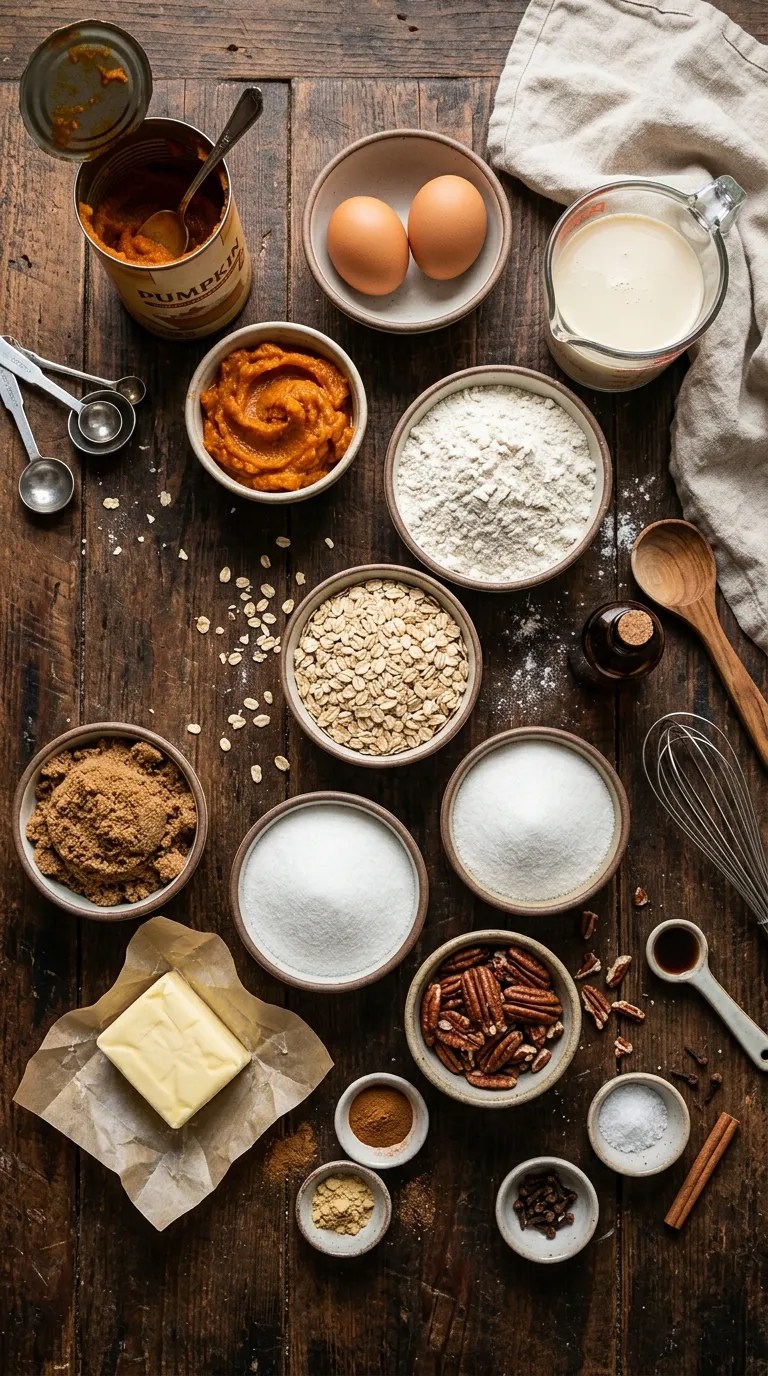
This recipe makes about 8 servings in a 9-by-13-inch baking dish.
For the Pumpkin Filling
- 1 can (15 ounces) pure pumpkin puree
- 2 large eggs
- 1 cup evaporated milk
- ¾ cup packed light brown sugar
- ¼ cup granulated sugar
- 1 teaspoon pure vanilla extract
- 1½ teaspoons ground cinnamon
- ½ teaspoon ground ginger
- ¼ teaspoon ground nutmeg
- ⅛ teaspoon ground cloves
- ½ teaspoon fine salt
Use pure pumpkin puree, not pumpkin pie filling. Pumpkin pie filling already contains sugar and spices, so swapping it into this recipe can make the dessert overly sweet and heavily spiced.
You can replace evaporated milk with half-and-half if that’s what you have in the refrigerator. Whole milk also works, although the filling will taste slightly lighter.
For the Streusel Topping
- 1 cup old-fashioned rolled oats
- 1 cup all-purpose flour
- ¾ cup packed light brown sugar
- ½ teaspoon ground cinnamon
- ¼ teaspoon fine salt
- ½ cup unsalted butter, melted
- 1 teaspoon vanilla extract
- ½ cup chopped pecans
If you need a nut-free dessert, simply leave out the pecans. The topping still gets wonderfully crisp.
I prefer old-fashioned oats because they give the topping more texture. Quick oats can work in a pinch, but they produce a softer, less substantial crumble.
Step-by-Step Instructions
1. Heat the Oven and Prepare the Baking Dish — 5 Minutes
Preheat your oven to 350°F (175°C).
Lightly grease a 9-by-13-inch baking dish with butter or nonstick cooking spray.
I like to use a glass or ceramic baking dish for this dessert. A metal pan works too, but start checking the crisp a little earlier because metal can heat the edges more quickly.
2. Mix the Pumpkin Filling — 5 Minutes
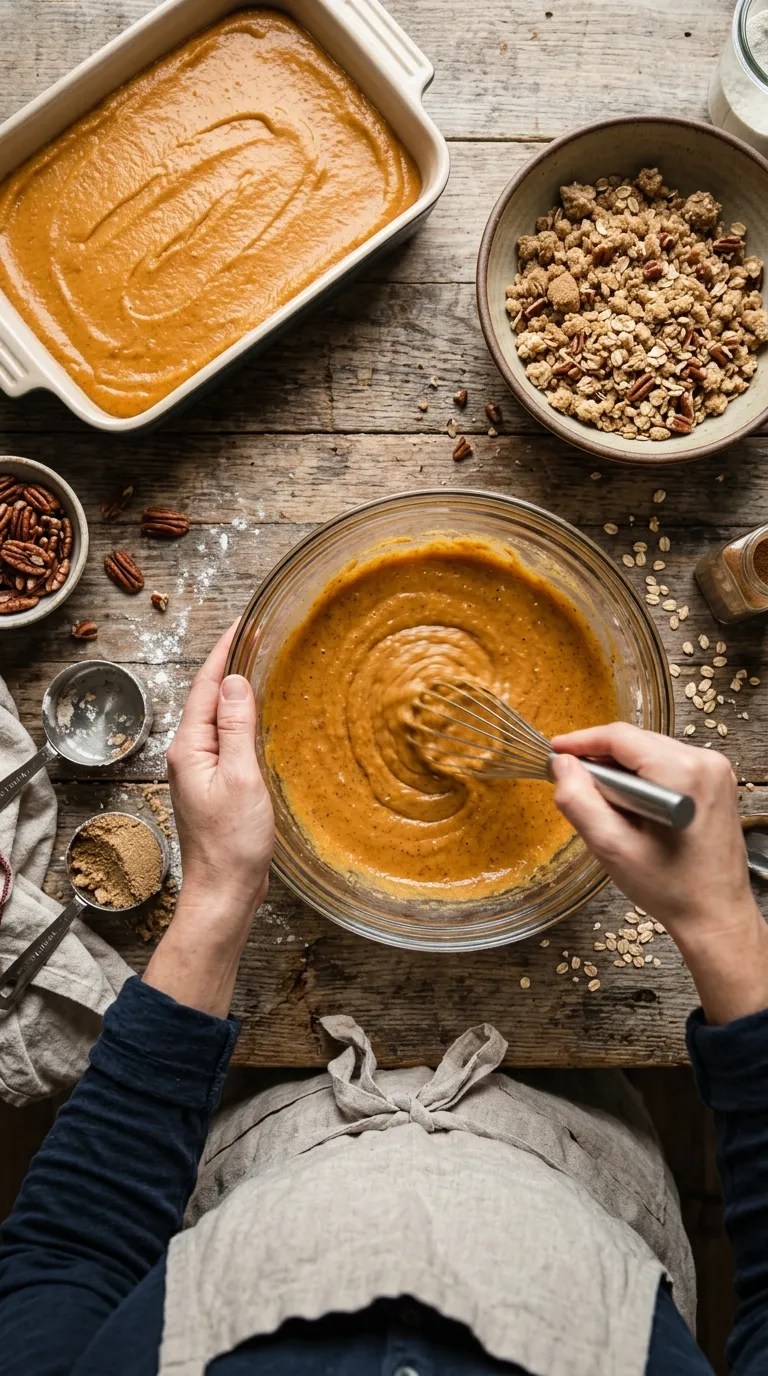
Add the pumpkin puree, eggs, evaporated milk, brown sugar, granulated sugar, vanilla, cinnamon, ginger, nutmeg, cloves, and salt to a large mixing bowl.
Whisk everything together until the mixture looks smooth and evenly blended.
You don’t need an electric mixer here. A sturdy balloon whisk does the job perfectly.
Take a second to scrape around the bottom of the bowl. Brown sugar can hide there, and you don’t want little pockets of unmixed sugar in the finished filling.
Pour the pumpkin mixture into the prepared baking dish.
3. Make the Streusel — 5 Minutes
In a separate bowl, stir together the oats, flour, brown sugar, cinnamon, and salt.
Pour in the melted butter and vanilla.
Use a fork or your clean fingertips to mix everything until you see chunky crumbs forming.
The topping should look crumbly rather than like a smooth dough. If you squeeze some between your fingers, it should hold together briefly before breaking apart.
Fold in the chopped pecans.
This is one place where I learned to trust texture instead of measurements. If your mixture looks unusually dry, give it a few extra minutes to absorb the butter before deciding it needs anything else.
4. Add the Topping — 2 Minutes
Scatter the streusel evenly over the pumpkin mixture.
Don’t press it down.
You want the topping to sit loosely on the pumpkin so the heat can move around those little oat-and-butter clusters. Pressing it into the filling can make the topping heavier and less crisp.
Try to cover the surface from edge to edge.
5. Bake Until Golden and Set — 45–55 Minutes
Place the baking dish on the center rack of your oven.
Bake for 45 to 55 minutes.
Start checking around the 45-minute mark. The topping should look golden brown, and the pumpkin filling should look mostly set.
The center may still have a slight jiggle. That’s perfectly fine.
You don’t want the filling to look liquid, but you also don’t want to bake it until it becomes completely firm in the oven. The pumpkin layer continues to set as it cools.
If the topping browns too quickly, loosely place a sheet of aluminum foil over the dish for the remaining baking time.
6. Let It Rest — 20–30 Minutes
Remove the pumpkin crisp from the oven and place it on a cooling rack.
Let it rest for at least 20 minutes before serving.
I know this part feels unnecessary when the whole kitchen smells like cinnamon and brown sugar. I’ve definitely scooped into it too early.
The filling needs those few minutes to finish setting, and the topping becomes easier to serve without sliding around.
7. Serve It Warm
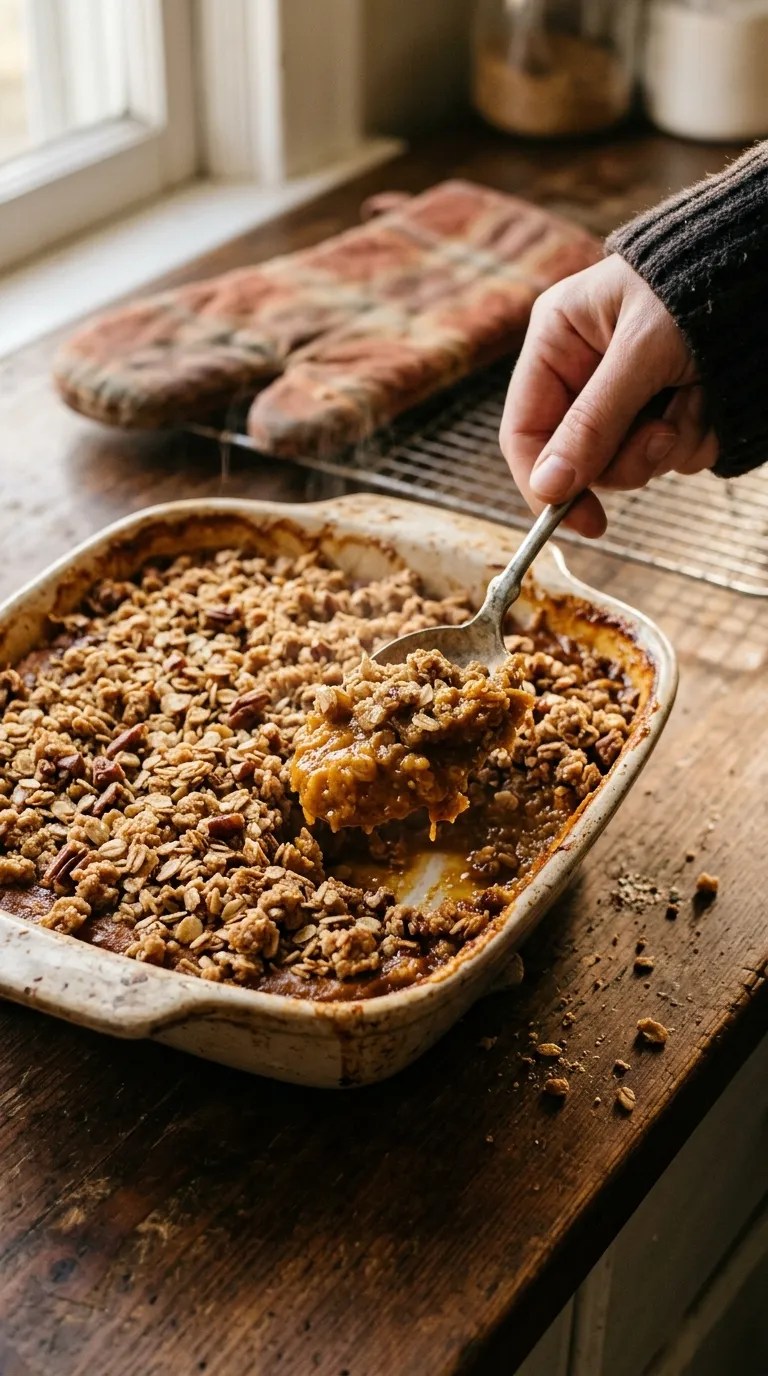
Scoop the pumpkin crisp into bowls while it’s still pleasantly warm.
Add a scoop of vanilla ice cream if you want the classic combination.
The warm pumpkin filling slightly softens the ice cream, while the crisp topping gives every bite a little crunch.
That first spoonful is the reason this recipe keeps returning to my fall baking rotation.
Pro Tips & Tricks
Don’t Use Pumpkin Pie Filling
This deserves repeating because it’s probably the easiest mistake to make.
Buy 100% pure pumpkin puree. Pumpkin pie filling contains additional sweeteners and spices, which can throw off the balance of this recipe.
Give the Butter Time to Cool
Let your melted butter cool for a few minutes before mixing it into the streusel.
It doesn’t need to become cold, but extremely hot butter can make the topping mixture greasy and difficult to crumble.
Don’t Overbake the Pumpkin Layer
The filling should look set around the edges with a slight movement in the middle.
If you wait until the center looks completely firm, you may end up with a denser texture after cooling.
Make the Streusel Ahead
You can mix the dry topping ingredients and store them in an airtight container for a day or two.
When you’re ready to bake, add the melted butter and vanilla, crumble everything together, and put it over the pumpkin filling.
Store Leftovers Properly
Cover the cooled dessert and refrigerate it for up to 4 days.
The topping will soften slightly in the refrigerator, but that doesn’t mean the dessert has gone bad. A few minutes of reheating can bring back some of the warmth and texture.
Reheat Individual Servings
For the best texture, warm individual portions in the microwave for about 20–30 seconds, checking as you go.
For a larger portion, use a 325°F (165°C) oven until warmed through.
Add your ice cream after reheating rather than before.
Variations & Substitutions
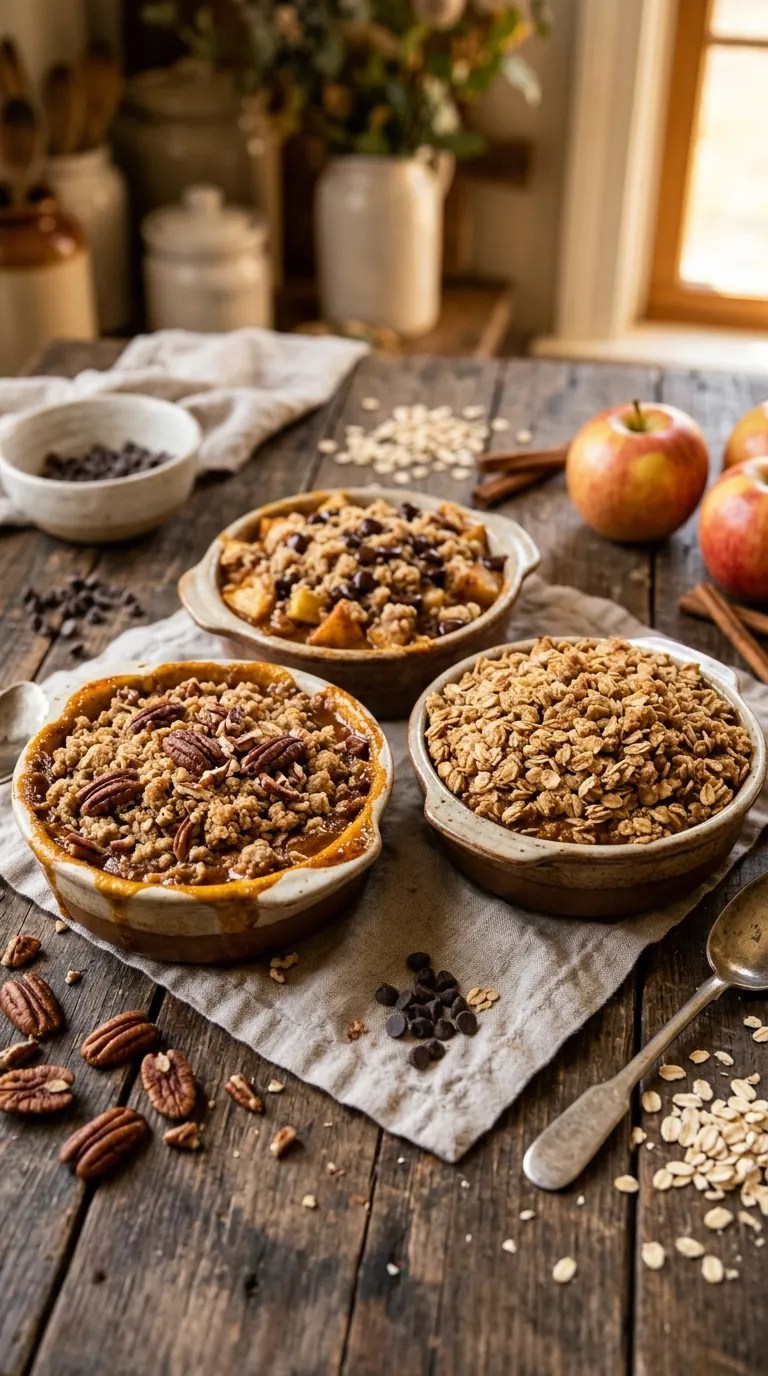
Turn It Into a Nut-Free Pumpkin Crisp
Simply leave out the pecans.
If you want extra crunch, add a little more oats instead. I like adding about ¼ cup additional oats when I skip the nuts.
Make It Gluten-Free
Use a gluten-free all-purpose flour blend that works as a one-to-one substitute for regular flour, and make sure your oats carry a gluten-free label if that matters for your household.
The topping still develops those delicious buttery clusters.
Add a Little Chocolate
For a more indulgent version, stir ½ cup semi-sweet chocolate chips into the streusel.
Chocolate changes the personality of the dessert quite a bit, but it works surprisingly well with pumpkin and warm spices.
I especially like this version when I’m making the crisp for teenagers or anyone who doesn’t normally get excited about pumpkin desserts.
Give It an Apple Twist
For a pumpkin-apple version, spread 1½ cups peeled and finely diced apples over the pumpkin filling before adding the streusel.
Choose a firm baking apple so it keeps some texture.
The apples add a little tartness and make the dessert feel like two classic fall desserts meeting in the same baking dish.
Serving Suggestions

This pumpkin dessert fits almost any fall gathering.
Serve it warm after a Sunday dinner, bring it to a Thanksgiving-style potluck, or make it for a relaxed weekend when you want the house to smell like something wonderful.
For the easiest serving option, add vanilla ice cream.
If you prefer something lighter, spoon a little whipped cream over each portion and dust the top with a tiny pinch of cinnamon.
A drizzle of caramel sauce also works beautifully.
For a dinner party, I like serving smaller portions in shallow bowls with a little whipped cream on top. The golden streusel looks especially inviting against the orange pumpkin layer.
You can also put the whole baking dish on the table and let everyone serve themselves. Just give it enough time to cool slightly first.
If you’re serving children, let the dessert cool to a comfortable temperature before adding toppings.
For drinks, coffee pairs naturally with the brown sugar and spice flavors. Hot tea works just as well, especially on a chilly afternoon.
Related Recipes:
- Easy Fall Truffles for Thanksgiving Dessert
- Easy Pumpkin Dump Cake Recipe for Thanksgiving
- Easy Pumpkin Crisp Bars for Thanksgiving
- Easy No-Bake Pumpkin Cheesecake Balls for Fall – Quick & Delicious
- Easy Pumpkin Cupcake Recipe for Fall Baking
FAQ’s
Can I make pumpkin crisp ahead of time?
Yes. You can bake the crisp earlier in the day and serve it later.
Let it cool, cover it, and refrigerate it if you’re preparing it well ahead of serving. Reheat it gently before serving.
For the crispiest topping, I prefer baking it the same day I plan to serve it.
Can I freeze pumpkin crisp?
Yes, although the topping will lose some of its original crisp texture after freezing and thawing.
Let the dessert cool completely, cover it tightly, and freeze it for up to about 2 months for best quality.
Thaw it in the refrigerator, then warm it in a 325°F oven until heated through.
If you know ahead of time that you’ll freeze it, you can also prepare the filling and topping separately and assemble them closer to baking time.
Why is my pumpkin filling watery?
A slightly soft center immediately after baking doesn’t necessarily mean something went wrong. The filling continues to set as it cools.
If it remains genuinely loose after cooling, check that you used the correct amount of liquid and pumpkin puree. Also make sure you used pure pumpkin rather than another pumpkin product.
Why did my streusel topping turn soft?
Moisture from the pumpkin filling naturally softens the topping over time, especially after refrigeration.
For the crispiest texture, serve the dessert fairly soon after baking.
If leftovers become soft, reheat them uncovered in the oven rather than relying entirely on the microwave.
Can I use fresh pumpkin instead of canned pumpkin?
You can, but the moisture content of fresh pumpkin varies considerably.
For consistent results, I prefer canned pure pumpkin. It saves preparation time and gives the filling a dependable texture.
If you use homemade pumpkin puree, make sure it has a thick consistency rather than looking watery.
Can I make this dessert without eggs?
Eggs help the pumpkin filling set, so removing them changes the texture significantly.
You can experiment with an egg substitute designed for baking, but I recommend testing the recipe on a smaller scale first because different substitutes behave differently in custard-style fillings.
Final Thought
I still love pumpkin pie, but this pumpkin crisp has earned its own place in my fall dessert lineup.
It feels homemade without requiring an entire afternoon in the kitchen. The pumpkin filling stays soft and warmly spiced, while the oat topping gives you that buttery crunch that makes it hard to stop at one spoonful.
And maybe my favorite part is how forgiving it feels.
If your topping comes out a little extra golden, nobody complains. If someone wants caramel instead of whipped cream, easy. If you accidentally serve it with too much ice cream, I certainly won’t judge.
Make it on the next cool evening when you want something cozy without a complicated baking project.
And if you discover your own favorite topping combination, keep it in the recipe notes. Those little kitchen discoveries are often what turn a good recipe into one you make every fall.
Leave a Reply
You must be logged in to post a comment.