

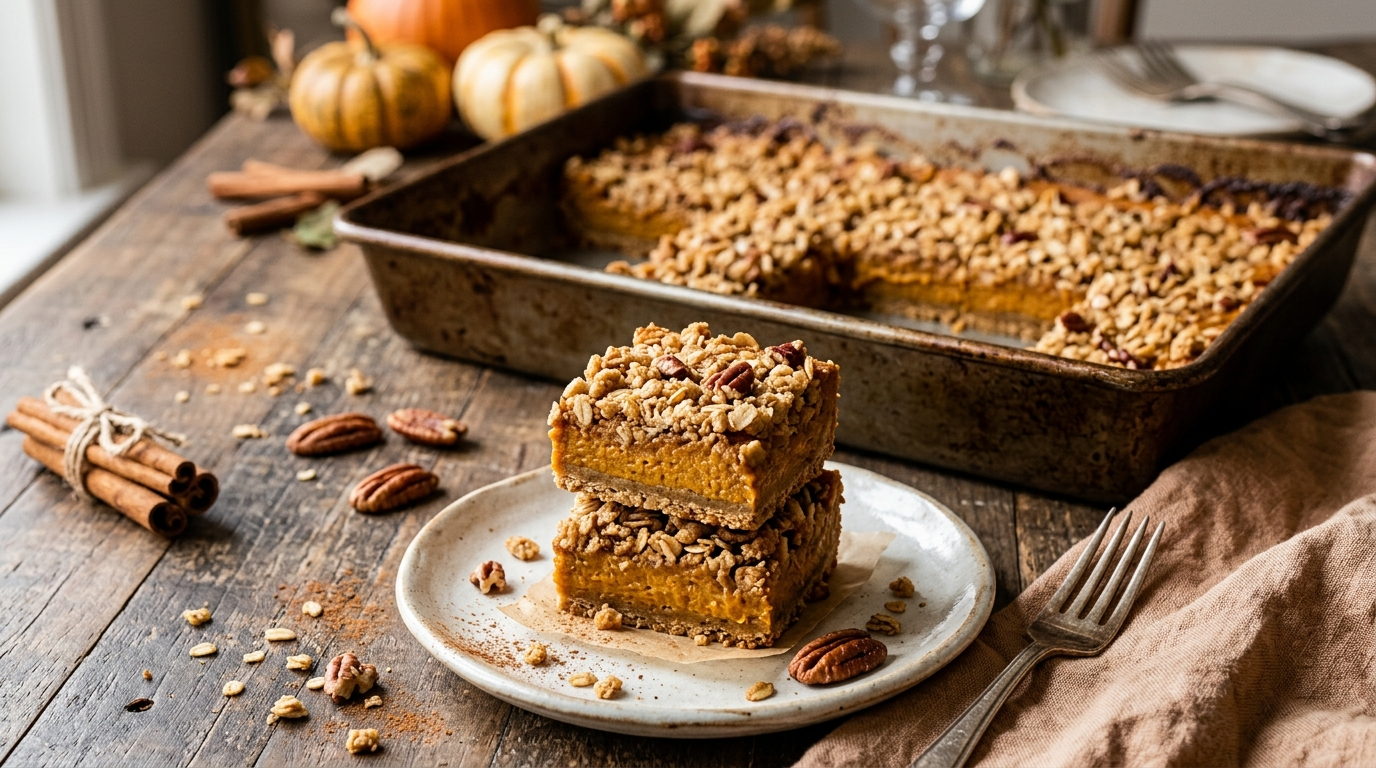
I learned pretty quickly that Thanksgiving desserts don’t have to be complicated to feel special.
One year, I had a pumpkin pie planned, but the oven schedule got crowded, I had too many dishes on the counter, and I honestly didn’t want to fuss with a pastry crust. I pulled together a simple pumpkin filling, scattered a buttery oat topping over it, and hoped for the best.
The result surprised me.
The edges turned golden and crisp, the pumpkin layer stayed soft and warmly spiced, and the oat topping gave every bite that cozy contrast I had been missing from traditional pumpkin desserts. I cut the bars while they were still a little warm, and somehow several pieces vanished before I even finished setting the table.
I’ve made these easy pumpkin crisp bars for Thanksgiving many times since then. They have become one of those recipes I reach for when I want something homemade without spending half the afternoon rolling dough.
They’re especially handy for a crowded holiday kitchen because you can bake them ahead, chill them, and cut them into neat squares when you’re ready to serve.
Why You’ll Love This Recipe

- No pie crust to roll. The buttery oat topping does all the heavy lifting.
- Simple pantry ingredients. You probably have most of them already in your kitchen.
- Easy to make ahead. The bars actually slice more cleanly after they cool.
- Perfect for a Thanksgiving crowd. One 9-by-13-inch pan gives you plenty of pieces.
- The texture is the best part. Creamy pumpkin filling meets a crisp, crumbly topping in every bite.
Ingredients
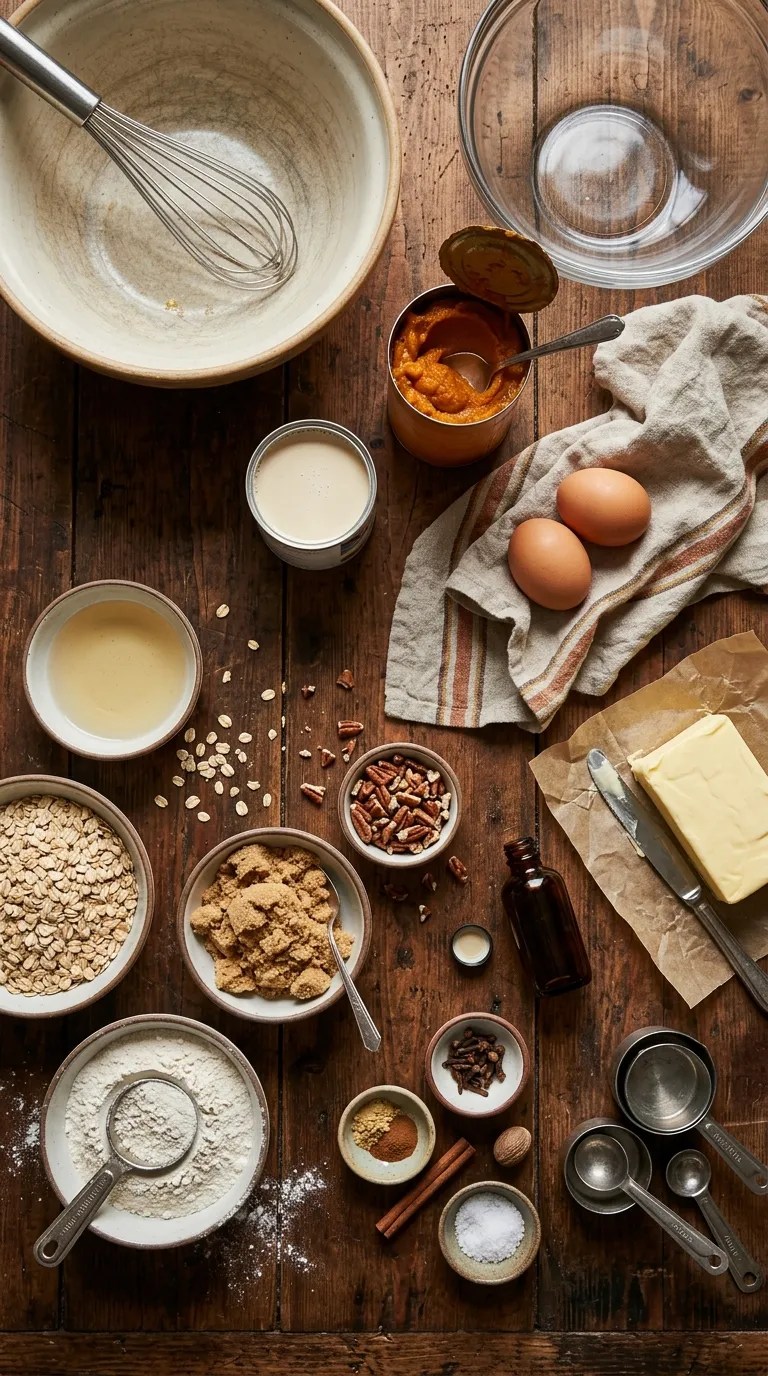
This recipe makes about 16 pumpkin crisp bars in a 9-by-13-inch baking pan.
For the Pumpkin Filling
- 1 can (15 ounces) pumpkin puree
- 2 large eggs
- 3/4 cup packed light brown sugar
- 1/2 cup evaporated milk
- 1 teaspoon pure vanilla extract
- 1 teaspoon ground cinnamon
- 1/2 teaspoon ground ginger
- 1/4 teaspoon ground nutmeg
- 1/8 teaspoon ground cloves
- 1/2 teaspoon fine salt
Use plain pumpkin puree, not canned pumpkin pie filling. Pumpkin pie filling already contains sugar and spices, so using it here would throw off the recipe.
If you don’t have evaporated milk, you can use half-and-half instead. The filling will still bake nicely.
For the Crisp Topping
- 1 1/4 cups old-fashioned rolled oats
- 1 cup all-purpose flour
- 3/4 cup packed light brown sugar
- 1/2 teaspoon ground cinnamon
- 1/2 teaspoon fine salt
- 1/2 cup unsalted butter, melted
- 1 teaspoon vanilla extract
- 1/2 cup chopped pecans
Old-fashioned oats give the topping a pleasantly chewy-crisp texture. I don’t recommend quick oats here because they can make the topping softer than you’d want.
For a nut-free version, simply leave out the pecans.
For the Pan
- 1 tablespoon softened butter or nonstick cooking spray
- Parchment paper, optional
I like lining the pan with parchment and leaving a little overhang on two sides. It makes lifting the chilled bars out of the pan ridiculously easy.
Step-by-Step Instructions
1. Heat the Oven and Prepare the Pan — 10 Minutes
Preheat your oven to 350°F (175°C).
Grease a 9-by-13-inch baking pan. If you’re using parchment, press it into the pan after greasing and leave some paper hanging over the long sides.
That little parchment sling saves you from fighting with the corners later.
2. Mix the Pumpkin Filling — 5 Minutes
Add the pumpkin puree, brown sugar, eggs, evaporated milk, vanilla, cinnamon, ginger, nutmeg, cloves, and salt to a large mixing bowl.
Whisk until everything looks smooth and evenly combined.
Don’t worry if the filling looks fairly loose at this point. That’s exactly what you want. It will firm up as it bakes and cools.
3. Make the Crisp Topping — 5 Minutes
In another bowl, stir together the oats, flour, brown sugar, cinnamon, and salt.
Pour in the melted butter and vanilla. Stir with a fork or wooden spoon until the mixture forms chunky crumbs.
Fold in the chopped pecans.
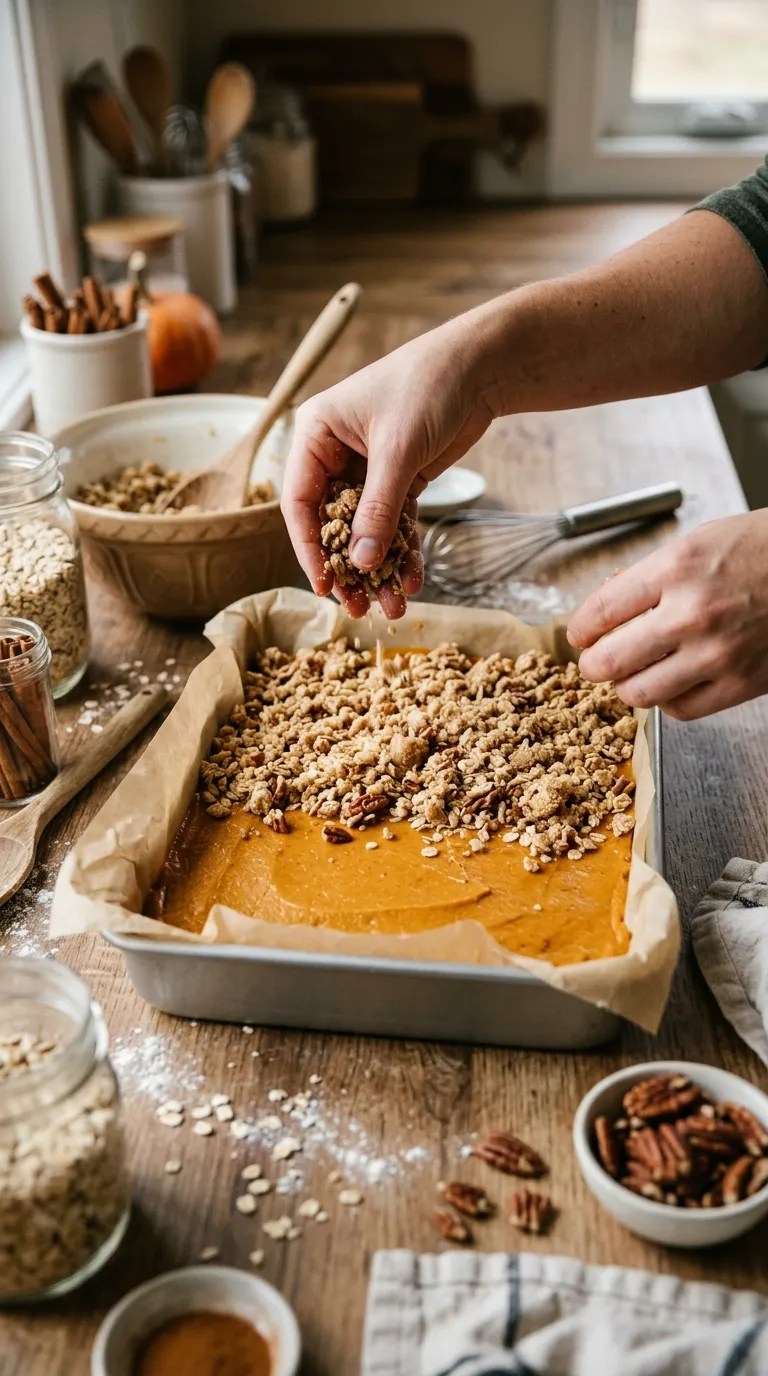
Here’s one of my favorite little tricks: squeeze a handful of the topping mixture in your palm, then break it apart into uneven pieces. Those larger pieces bake into wonderfully crisp little clusters.
4. Assemble the Bars — 5 Minutes
Pour the pumpkin mixture into the prepared pan.
Sprinkle the oat topping evenly over the surface. Try not to press it down. A loose topping allows the butter and heat to work around the oats and gives you that lovely crisp texture.
Give the pan a gentle shake to settle everything.
5. Bake Until the Center Is Set — 45 to 55 Minutes
Place the pan on the center rack of your oven.
Bake for 45 to 55 minutes, checking around the 45-minute mark.
The topping should look golden brown, and the pumpkin filling should look set around the edges. The center may still have a slight jiggle when you gently move the pan.
That’s okay.
You don’t want the center completely rigid when you pull the bars from the oven. The residual heat will continue cooking the filling as it cools.
If the topping starts browning too quickly, loosely place a sheet of aluminum foil over the pan for the remaining baking time.
6. Cool Completely — At Least 1 Hour
This is the part I used to rush.
Don’t.
Let the bars cool in the pan for at least 1 hour before cutting. For the cleanest squares, refrigerate them for another hour or two after they reach room temperature.
The pumpkin layer becomes firmer as it cools, while the topping keeps its crumbly texture.
If you’re serving them casually with whipped cream, you can cut them while they’re slightly warm. If you’re trying to make a pretty Thanksgiving dessert platter, chill them first.
7. Cut and Serve
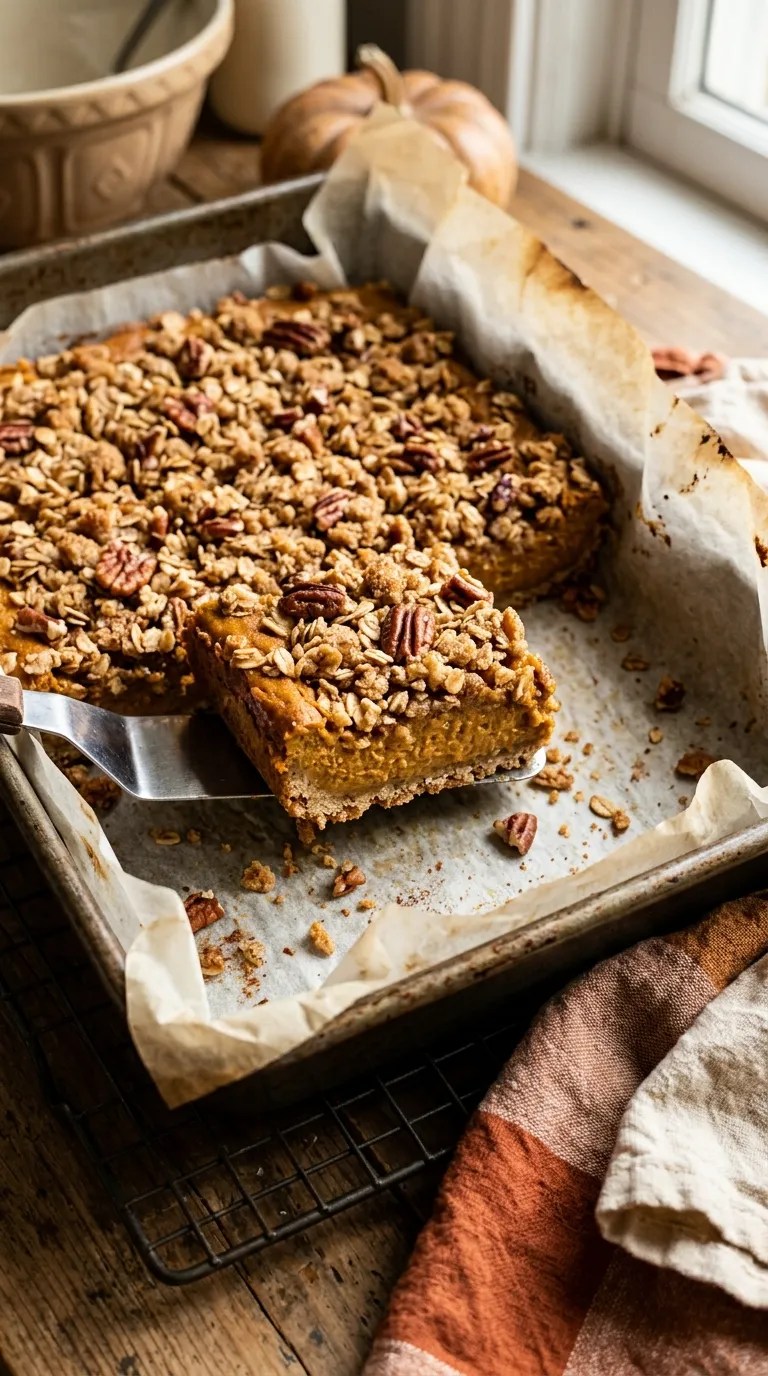
Use the parchment overhang to lift the entire slab from the pan.
Place it on a cutting board and use a sharp knife to cut it into 16 squares.
For cleaner cuts, wipe the knife between slices.
Then add a spoonful of whipped cream, a dusting of cinnamon, or a small scoop of vanilla ice cream if you’re serving the bars warm.
That’s it. No pastry rolling, no complicated decorating, and no need to worry about making every square look identical.
Pro Tips & Tricks
Don’t Overbake the Pumpkin Layer
The most common mistake I’ve made with pumpkin desserts is leaving them in the oven until the center looks completely firm.
Pumpkin filling continues to set while it cools. Pull the bars when the edges look set and the middle has only a gentle wobble.
If you wait until the center looks completely solid in the oven, you can end up with a firmer, drier filling.
Let the Butter Cool Slightly
You don’t need to let melted butter become cold, but give it a few minutes before mixing it into the topping.
Very hot butter can make the mixture greasy and cause the topping to spread more than you’d like.
Warm and pourable works perfectly.
Don’t Pack Down the Topping
This one makes a bigger difference than it seems.
Scatter the topping over the pumpkin rather than pressing it into a solid layer. Loose crumbs create more crispy edges and crunchy clusters.
Chill Before Cutting
If your bars crumble when you cut them, they probably need more cooling time.
I usually make these earlier in the day, let them cool completely, and then refrigerate them until dessert time. The chilled filling cuts beautifully.
Store Them Covered
Once cooled, cover the pan tightly or transfer the bars to an airtight container.
Keep them refrigerated for up to 4 days.
The topping will soften slightly in the refrigerator, but a few minutes at room temperature brings back some of that buttery texture.
Variations & Substitutions
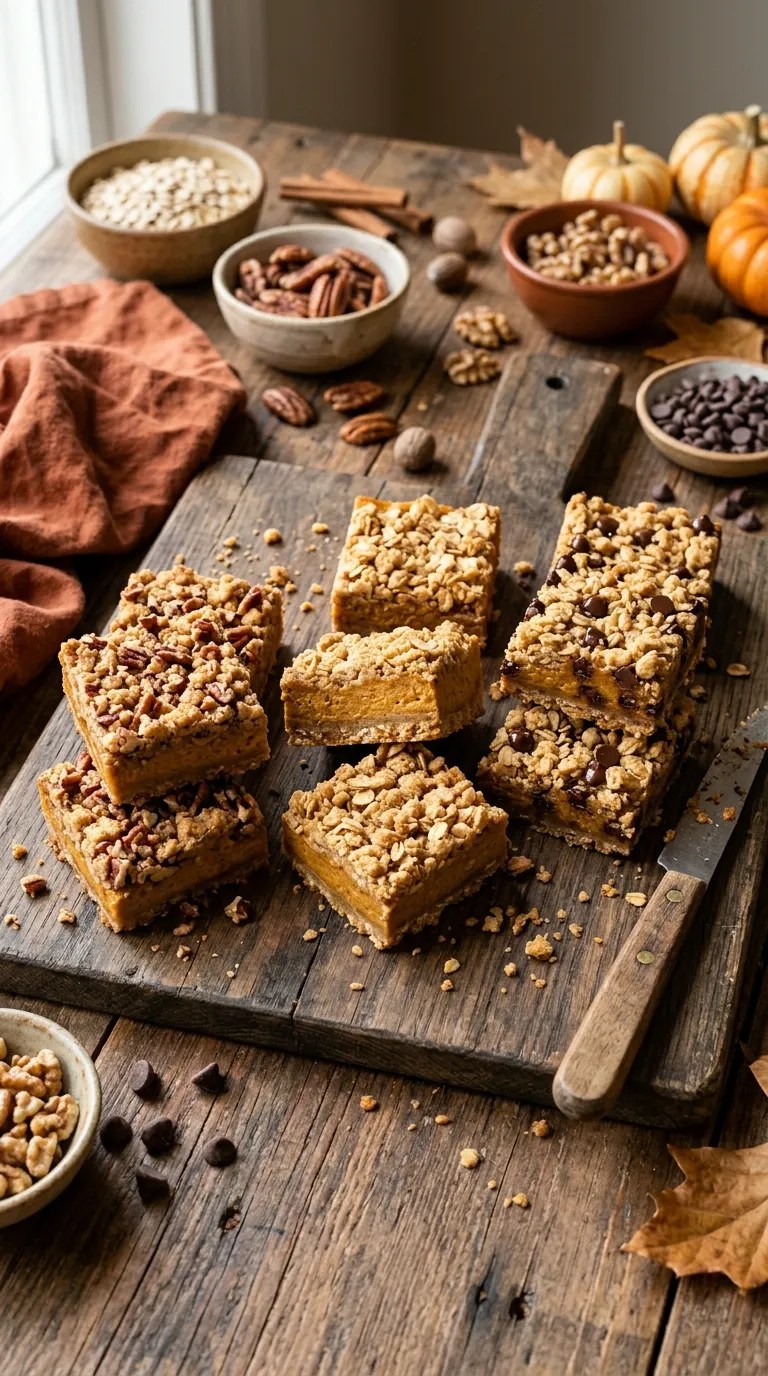
Make Them Nut-Free
Skip the pecans and increase the rolled oats by 1/4 cup.
You’ll still get plenty of crunch from the oat topping, and nobody has to worry about nuts sneaking into the dessert.
Try a Walnut Topping
If you prefer walnuts, use them in the same amount as the pecans.
I’ve made these both ways, and walnuts give the topping a slightly earthier flavor that works beautifully with the pumpkin and cinnamon.
Make a Chocolate Version
For a more dessert-like twist, stir 1/2 cup semi-sweet chocolate chips into the oat topping before sprinkling it over the pumpkin layer.
Chocolate isn’t traditional for pumpkin Thanksgiving desserts, but it makes a fun option when you’re feeding kids or anyone who always reaches for chocolate first.
Make It Gluten-Free
Use a certified gluten-free all-purpose flour blend in place of the regular flour, and make sure your oats are labeled gluten-free if cross-contact matters for your household.
The topping still gets nicely crumbly and golden.
Add a Little Orange
For a brighter flavor, add 1 teaspoon finely grated orange zest to the pumpkin filling.
It won’t make the bars taste like orange dessert. Instead, it adds a subtle fresh note that cuts through the warm spices.
Serving Suggestions

These pumpkin crisp bars fit right into a Thanksgiving dessert table because you can serve them in several different ways.
For the simplest presentation, place a square on a small plate and add a spoonful of softly whipped cream. A tiny sprinkle of cinnamon on top makes it look finished without requiring any decorating skills.
For a warmer dessert, microwave an individual bar for about 10 to 15 seconds and serve it with vanilla ice cream. The contrast between the warm pumpkin filling and cold ice cream is hard to resist.
You can also serve the bars alongside classic pumpkin pie, apple pie, or pecan pie. In fact, I like putting them on a dessert table with several smaller portions rather than expecting everyone to commit to one giant slice of pie.
They’re also great for a Thanksgiving potluck. Once chilled, the bars travel more easily than a delicate pie, and you can cut them before leaving home.
If you’re making dessert for a smaller gathering, halve the recipe and bake it in an 8-by-8-inch pan. Start checking for doneness around 35 to 40 minutes.
Related Recipes:
- How to Make Pumpkin Cupcakes With Cinnamon Cream Cheese Frosting
- Easy Pumpkin Cheesecake Recipe for Thanksgiving
- Creamy Pumpkin Cheesecake Without Sour Cream
- How to Make Pumpkin Cheesecake Without Cream Cheese
- Homemade Pecan Pie Bars for Thanksgiving
FAQ’s
Can I make pumpkin crisp bars ahead of Thanksgiving?
Absolutely. This is one of the reasons I like this recipe for the holidays.
Bake the bars up to 2 days ahead, let them cool completely, cover them, and refrigerate. Take them out shortly before serving so the topping isn’t quite as cold.
How should I store pumpkin crisp bars?
Store them covered in the refrigerator because the filling contains eggs and dairy.
They should keep well for about 4 days when properly refrigerated.
Can I freeze pumpkin crisp bars?
Yes. Let the bars cool completely, cut them into individual portions, and wrap them well before placing them in a freezer-safe container.
For the best texture, use them within about 2 months. Thaw them in the refrigerator overnight.
The topping may lose some of its original crispness after freezing, so if you’re making these specifically for a special dinner, I prefer making them fresh or one day ahead.
Why is my pumpkin filling still jiggly?
A little jiggle in the center is normal when the bars first leave the oven.
If the whole filling looks liquid and ripples dramatically when you move the pan, it needs more baking time. Give it another 5 minutes and check again.
Remember that the filling firms considerably as it cools.
Can I use pumpkin pie spice instead of the individual spices?
Yes.
Replace the cinnamon, ginger, nutmeg, and cloves with about 2 teaspoons pumpkin pie spice. Since spice blends vary between brands, taste isn’t perfectly predictable, but this swap works well when you want to simplify the ingredient list.
Why did my crisp topping turn soft?
Moisture from the pumpkin filling naturally softens the bottom of the topping over time.
For the crispest texture, don’t cover the bars while they’re still warm. Let them cool completely first, then refrigerate them.
You can also warm individual portions in the oven for a few minutes before serving to revive some of the topping’s crispness.
Final Thought
Every Thanksgiving recipe collection needs a few reliable dishes that don’t make you nervous when the kitchen gets chaotic.
For me, these easy pumpkin crisp bars for Thanksgiving are one of those recipes. They have all the flavors I want from a fall dessert, but I don’t have to wrestle with pie dough or find a perfect window in an already packed oven schedule.
And honestly, I love the little imperfections. One piece might have a giant pecan cluster on top, while another gets an extra-crispy corner. That’s part of the charm.
Make them the day before Thanksgiving, tuck the pan into the refrigerator, and give yourself one less thing to think about on the big day.
Then put the bars on the dessert table and watch what happens. In my kitchen, the corner pieces never last very long.
Leave a Reply
You must be logged in to post a comment.