


The first time I made this caramel apple pie cheesecake, I planned to save half for the next day. That plan lasted about twenty minutes.
I had pulled it from the oven, let it cool, and drizzled caramel over the top. The kitchen smelled like baked apples, cinnamon, butter, and brown sugar. Then I added a little extra crumb topping because, honestly, there is no such thing as too much crumb topping.
When I finally cut the first slice, I understood why this dessert has become one of my favorite fall bakes. You get the creamy richness of cheesecake, the cozy cinnamon-apple filling of an apple pie, buttery crumbs on top, and caramel tying everything together.
It sounds like a complicated dessert, but the process feels much more manageable when you make each layer separately. I also learned one important lesson after an early attempt: don’t rush the cooling process. Cheesecake rewards patience.
This Caramel Apple Pie Cheesecake With a Crumb Topping makes a beautiful centerpiece for Thanksgiving, a family dinner, a fall birthday, or any weekend when you want something a little special.
Why You’ll Love This Recipe

- You get several desserts in one slice. Creamy cheesecake, spiced apples, buttery crumbs, and caramel all show up.
- The components are beginner-friendly. You don’t need fancy pastry skills to make the layers.
- It looks impressive. The caramel drizzle and crumb topping make it look bakery-worthy without complicated decorating.
- You can make it ahead. In fact, chilling the cheesecake overnight makes slicing easier.
- It works beautifully for gatherings. A single cheesecake gives you plenty of generous slices for family and friends.
Ingredients
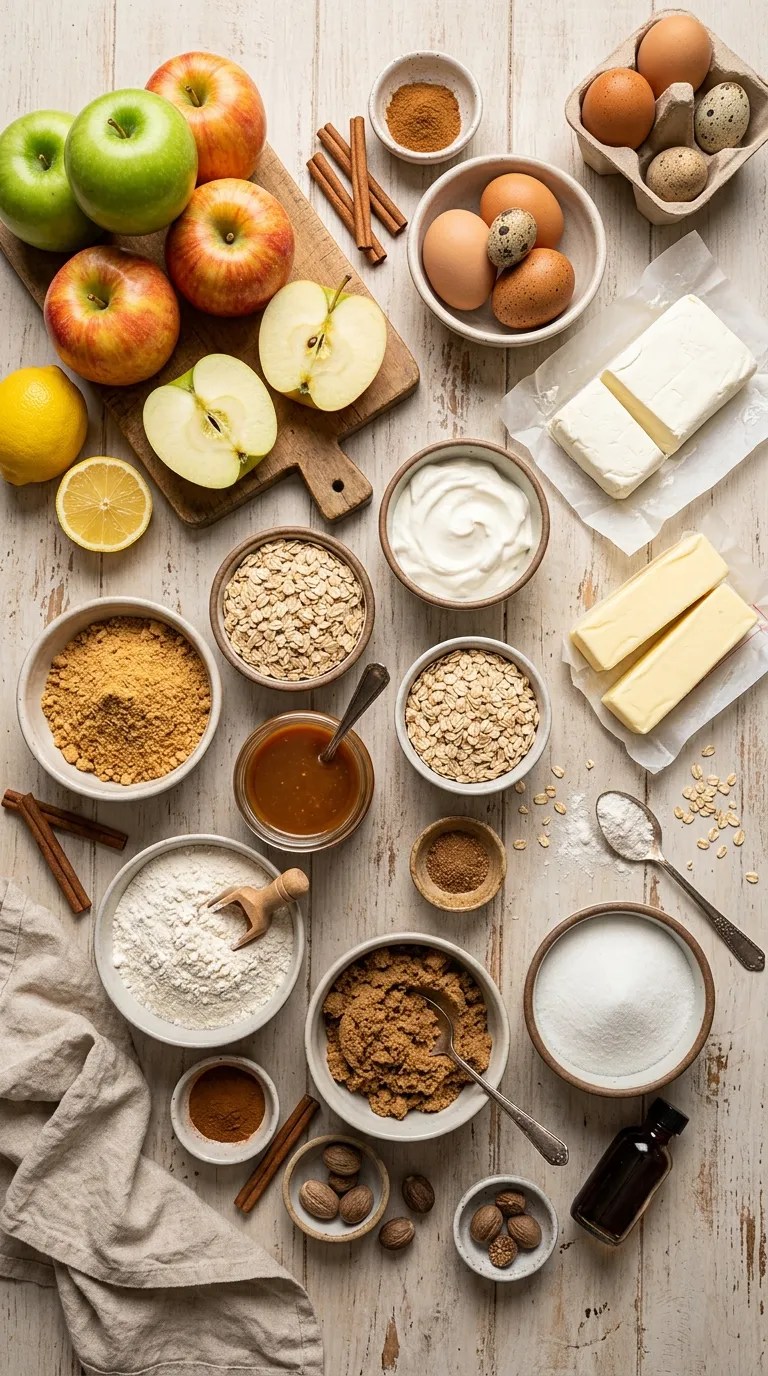
I like to prepare all the ingredients before I start. Cheesecake batter comes together quickly, and having everything measured keeps the process calm.
For the Cheesecake Crust
- 2 cups graham cracker crumbs
- 5 tablespoons unsalted butter, melted
- 2 tablespoons granulated sugar
- 1/4 teaspoon ground cinnamon
- Pinch of salt
You can use digestive biscuit crumbs instead of graham crackers if that’s what you have available.
For the Cheesecake Filling
- 24 ounces full-fat cream cheese, softened
- 3/4 cup granulated sugar
- 1/2 cup sour cream
- 3 large eggs, room temperature
- 2 teaspoons vanilla extract
- 2 tablespoons all-purpose flour
- 1/2 teaspoon ground cinnamon
- 1/4 teaspoon salt
Full-fat cream cheese gives the filling its smooth, rich texture. I recommend using block-style cream cheese rather than the softer spread sold in tubs.
For the Apple Pie Filling
- 3 medium apples, peeled, cored, and diced
- 2 tablespoons unsalted butter
- 1/3 cup packed light brown sugar
- 1 tablespoon all-purpose flour
- 1 teaspoon ground cinnamon
- 1/4 teaspoon ground nutmeg
- 1 teaspoon lemon juice
- Pinch of salt
I usually reach for Granny Smith apples because their tart flavor balances the sweet cheesecake and caramel. Honeycrisp or Pink Lady apples also work nicely.
For the Crumb Topping
- 3/4 cup all-purpose flour
- 1/2 cup old-fashioned rolled oats
- 1/3 cup packed brown sugar
- 1/2 teaspoon ground cinnamon
- Pinch of salt
- 5 tablespoons unsalted butter, melted
For the Caramel Topping
- 3/4 cup soft caramel sauce
- 2 tablespoons heavy cream, plus more if needed
You can use homemade caramel or a good-quality jarred caramel sauce. I often use store-bought caramel when I’m already juggling several parts of the recipe. There is no prize for making every single component from scratch.
Step-by-Step Instructions
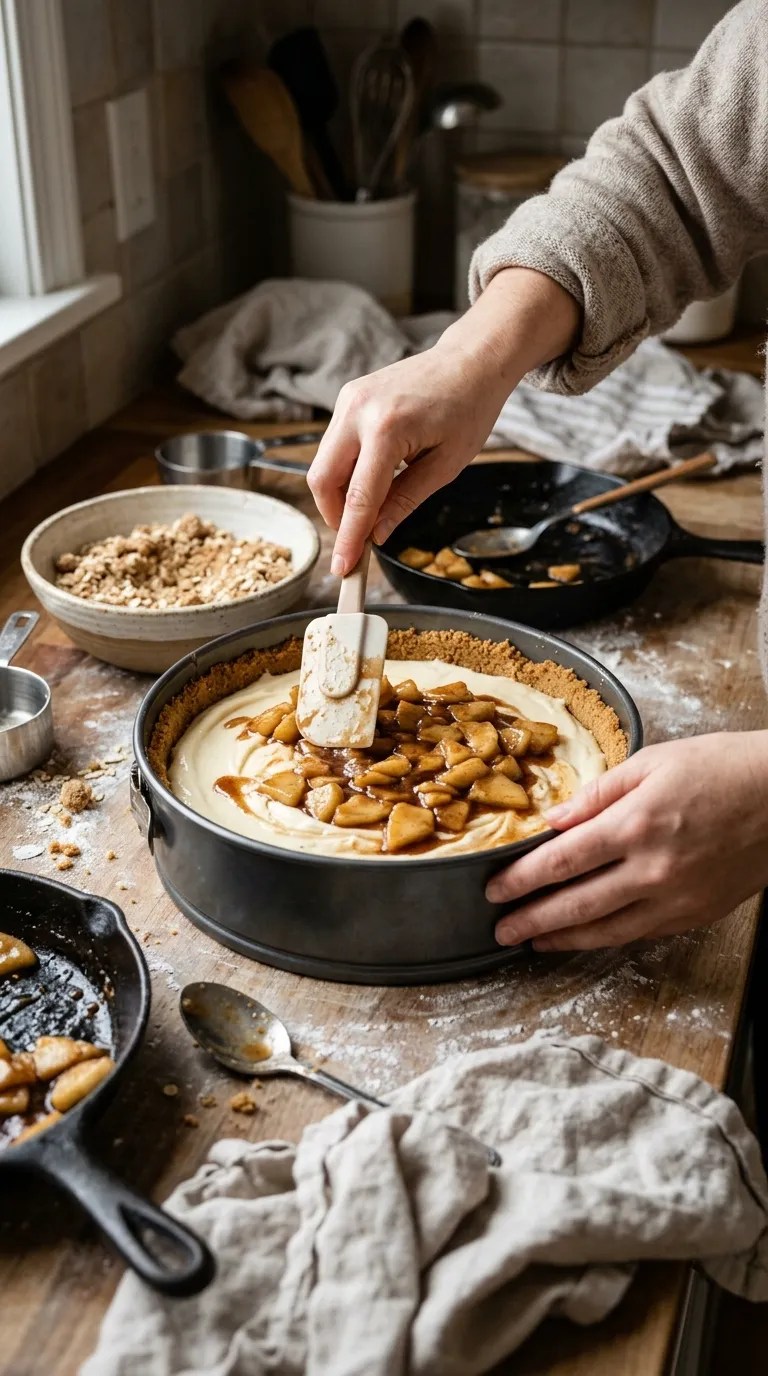
1. Prepare the Pan and Oven — 10 Minutes
Preheat your oven to 325°F (165°C).
Grease a 9-inch springform pan lightly with butter or nonstick spray. If you have parchment paper, place a round piece on the bottom of the pan before assembling the crust.
Wrap the outside bottom and sides of the springform pan with a couple of layers of heavy-duty aluminum foil if you plan to use a water bath. Make sure the foil comes well above the water line so water can’t seep into the pan.
I learned not to skip this step after discovering how frustrating a damp cheesecake crust can be.
2. Make the Graham Cracker Crust — 10 Minutes
Combine the graham cracker crumbs, sugar, cinnamon, salt, and melted butter in a bowl.
Stir until the crumbs look evenly moistened. When you squeeze a little mixture in your hand, it should hold together instead of falling apart.
Press the mixture firmly into the bottom of the springform pan. Use the flat bottom of a measuring cup or drinking glass to create an even layer.
Bake the crust for 8–10 minutes, just until it smells toasted and looks slightly darker around the edges.
Let it cool while you prepare the other layers.
3. Cook the Apples — 10–12 Minutes
Melt 2 tablespoons of butter in a skillet over medium heat.
Add the diced apples, brown sugar, cinnamon, nutmeg, lemon juice, flour, and salt. Stir everything together.
Cook for about 7–10 minutes, stirring occasionally, until the apples soften slightly but still hold their shape.
You don’t want applesauce here. The apples will continue cooking in the oven, so stop when you can easily pierce them with a fork but they still have some bite.
Remove the skillet from the heat and let the apples cool for several minutes.
4. Make the Crumb Topping — 5 Minutes
Mix the flour, oats, brown sugar, cinnamon, and salt in a medium bowl.
Pour in the melted butter and stir with a fork until large, uneven crumbs form.
Don’t overmix it into a paste. You want little clusters that will bake into a crisp, buttery topping.
Set the crumbs aside while you make the cheesecake batter.
5. Mix the Cheesecake Filling — 8–10 Minutes
Place the softened cream cheese and sugar in the bowl of a stand mixer fitted with the paddle attachment.
Beat on medium-low speed for about 2 minutes, just until smooth.
Add the sour cream, vanilla, flour, cinnamon, and salt. Mix until combined.
Add the eggs one at a time, mixing on low speed after each addition. Stop as soon as the batter looks smooth.
Here’s an important cheesecake trick: don’t whip the batter aggressively. Too much air can cause the cheesecake to puff dramatically in the oven and then sink as it cools.
A hand mixer works perfectly well if you don’t own a stand mixer.
6. Assemble the Cheesecake — 5 Minutes
Pour about half of the cheesecake batter over the cooled crust.
Spoon the cooked apples evenly across the surface, leaving a small border around the edge.
Pour the remaining cheesecake batter over the apples and gently smooth the top with a spatula.
Don’t worry if a few apple pieces peek through. The crumb topping will cover most of them later.
7. Add the Crumb Topping — 2 Minutes
Scatter the prepared crumb mixture evenly over the cheesecake.
Keep the pieces varied in size. Tiny crumbs become crunchy, while larger clusters create those wonderful buttery bites that make crumb-topped desserts so good.
8. Bake — About 60–75 Minutes
Place the springform pan in a larger roasting pan if you’re using a water bath.
Carefully pour hot water into the roasting pan until it reaches roughly halfway up the outside of the springform pan.
Bake for 60–75 minutes.
The cheesecake should look mostly set around the edges while the center still has a gentle wobble when you carefully nudge the pan.
Don’t wait for the center to become completely firm in the oven. Cheesecake continues setting as it cools.
If the crumb topping starts browning too quickly, loosely tent the cheesecake with aluminum foil.
9. Cool Slowly — At Least 1 Hour
Turn off the oven, crack the oven door open, and leave the cheesecake inside for about 30 minutes.
Then remove it from the oven and let it cool on a wire rack for another 30–60 minutes.
Run a thin knife around the edge of the cheesecake before it cools completely. This helps prevent the cheesecake from sticking to the sides as it contracts.
10. Chill — At Least 6 Hours
Cover the cooled cheesecake and refrigerate it for at least 6 hours, although overnight works even better.
I know it’s tempting to cut into it early. Resist.
The overnight rest gives the cheesecake time to firm up, and the apple and cinnamon flavors become even more settled.
11. Add the Caramel — 5 Minutes
Before serving, gently warm the caramel sauce with the heavy cream.
You want it pourable rather than hot.
Remove the chilled cheesecake from the springform pan and transfer it to a serving plate.
Drizzle the caramel generously over the top, letting some of it run down the sides.
If you’re serving a crowd, keep a little extra caramel on the table. Someone will ask for it.
12. Slice and Serve
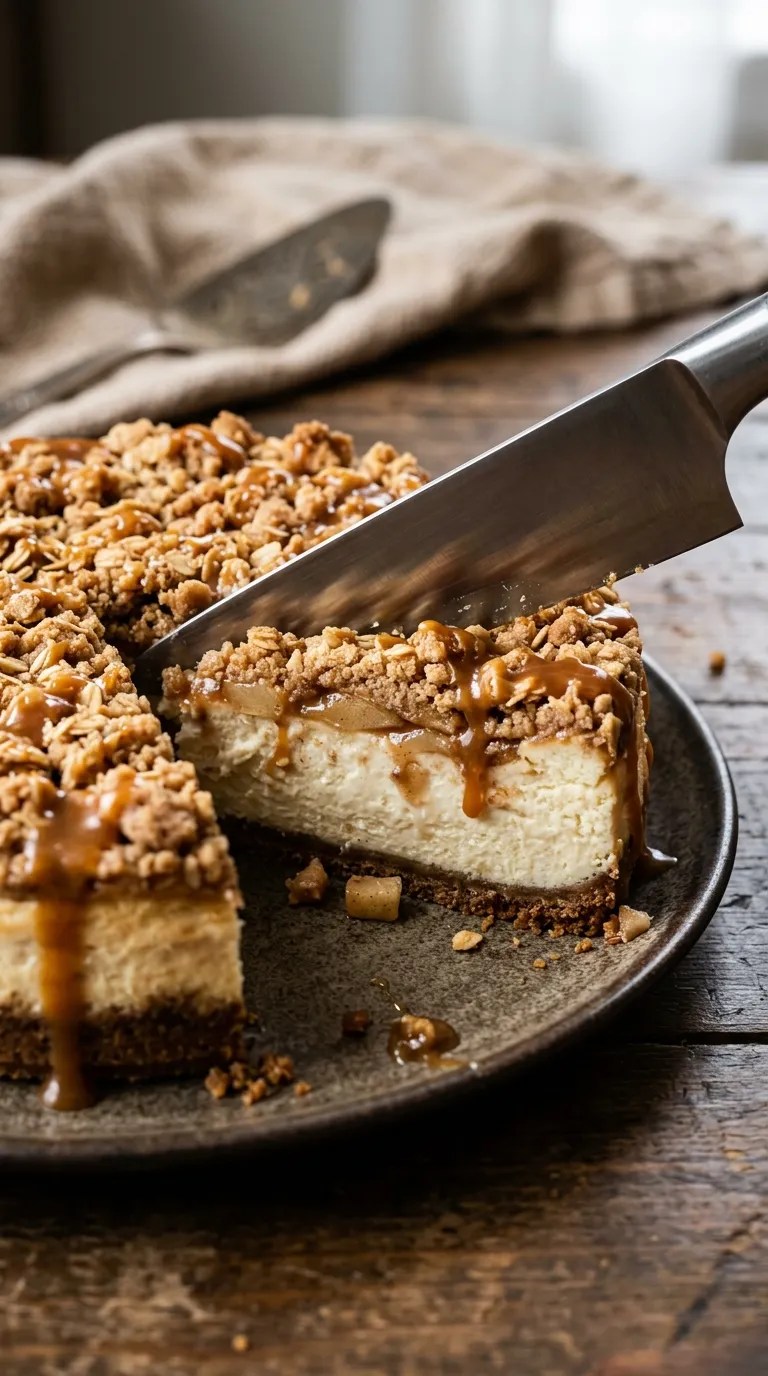
For clean slices, use a sharp knife and wipe the blade with a warm, damp towel between cuts.
Serve each slice chilled or let it sit at room temperature for about 10–15 minutes before serving.
That short rest softens the cheesecake just enough to make it extra creamy.
Pro Tips & Tricks
Don’t Overmix the Cheesecake Batter
This is probably the biggest cheesecake lesson I’ve learned. Mix until everything comes together, then stop.
You don’t need a huge amount of air in the batter. Gentle mixing gives you a denser, creamier cheesecake.
Cool the Apples Before Adding Them
Warm apple filling can soften the cheesecake batter and make the layers harder to control.
Let the apples cool until they’re warm or close to room temperature before assembling the cheesecake.
Use Room-Temperature Cream Cheese
Cold cream cheese tends to leave little lumps in the batter.
Set the cream cheese out for about 30–45 minutes before mixing. If you forget, cut it into smaller cubes to help it soften faster.
Don’t Judge Doneness by Color Alone
The center should still have a slight jiggle when the cheesecake finishes baking.
If you bake it until the middle looks completely firm, you may end up with a drier texture.
Give It Time to Chill
Six hours is the minimum I’d recommend, but overnight is my favorite option.
This also makes the recipe especially convenient for holidays. Bake the cheesecake the day before, refrigerate it overnight, and add the caramel shortly before serving.
Store It Properly
Keep leftover cheesecake covered in the refrigerator.
It should keep well for about 4 days when refrigerated properly. For the best crumb texture, add any extra caramel shortly before serving rather than storing the cheesecake with a large amount of sauce pooled on top.
Variations & Substitutions
Make It Gluten-Free
Use certified gluten-free graham-style crumbs and replace the all-purpose flour in both the cheesecake and crumb topping with a suitable gluten-free baking blend.
Check the labels on your caramel sauce and oats as well if you need the finished dessert to be strictly gluten-free.
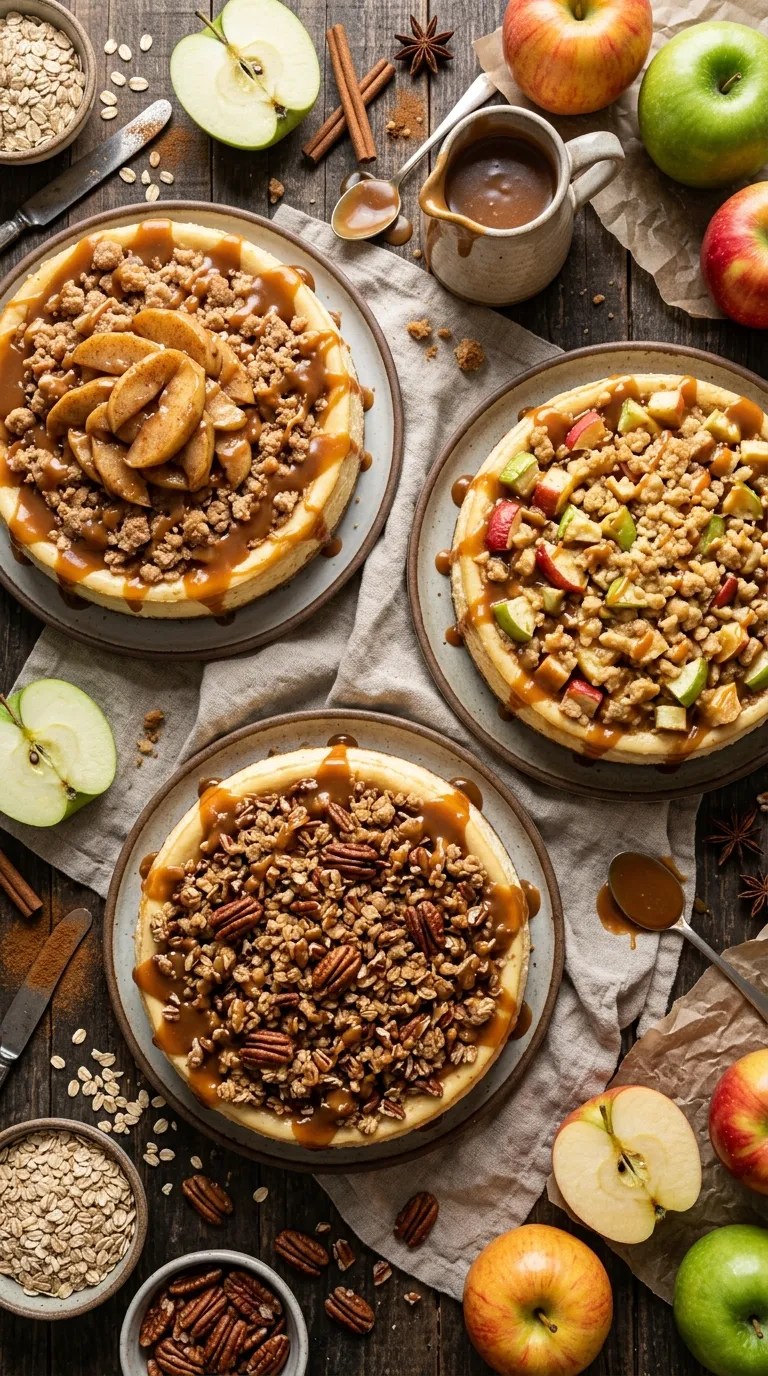
Try a Different Apple Combination
You don’t have to use only one variety.
Try combining tart Granny Smith apples with a sweeter apple such as Honeycrisp. The contrast gives the apple layer more depth without making it overly sweet.
Add a Little Pecan Crunch
For a nutty variation, replace 1/4 cup of the rolled oats with finely chopped pecans.
The pecans become toasted and crunchy as the crumb topping bakes, and they pair especially well with caramel.
If you’re serving this to guests, check for nut allergies before making this variation.
Make It Extra Cinnamon-Forward
If you love the flavor of classic apple pie, increase the cinnamon in the apple layer slightly and add a small pinch of cinnamon to the caramel before warming it.
I wouldn’t go overboard. Too much cinnamon can overwhelm the creamy cheesecake.
Serving Suggestions

This cheesecake fits right into a fall dessert table.
Serve it after a Thanksgiving dinner alongside coffee, black tea, or a simple mug of hot chocolate. The slight bitterness of coffee works particularly well against the caramel and sweet apple filling.
For a casual family dessert, serve slices with a small scoop of vanilla ice cream.
If you’re hosting a dinner party, you can make the cheesecake the day before and keep the presentation simple. A caramel drizzle, a few extra crumbs, and a light sprinkle of cinnamon give each slice plenty of visual appeal.
For an autumn brunch, serve smaller slices with fresh coffee and fruit.
You can also warm a small amount of caramel and drizzle it over individual plates rather than the entire cheesecake. That keeps the leftover cheesecake easier to store.
Related Recipes:
- How to Make Pumpkin Cupcakes With Cinnamon Cream Cheese Frosting
- Easy Pumpkin Cheesecake Recipe for Thanksgiving
- Creamy Pumpkin Cheesecake Without Sour Cream
- How to Make Pumpkin Cheesecake Without Cream Cheese
FAQ’s
Can I make Caramel Apple Pie Cheesecake ahead of time?
Absolutely. This is one of the desserts I prefer to make ahead.
Bake and chill the cheesecake the day before serving. Keep it covered in the refrigerator, then add the caramel shortly before you serve it.
Why did my cheesecake crack?
Cheesecake can crack for several reasons, including overmixing, overbaking, or cooling it too quickly.
A crack doesn’t ruin the dessert, especially with this recipe. The crumb topping and caramel cover a lot of imperfections.
Next time, mix the batter gently and avoid baking until the center looks completely firm.
Can I use canned apple pie filling?
You can, but I prefer fresh apples for this recipe.
Fresh apples give you better control over the sweetness and texture. If you use canned filling, drain excess syrup first and avoid adding too much because the cheesecake already contains plenty of moisture and sweetness.
Can I freeze this cheesecake?
Yes. Freeze the cheesecake without the caramel topping for the best texture.
Let it cool and chill completely, then wrap it tightly and freeze it for up to about 1 month for the best quality.
Thaw it overnight in the refrigerator before serving. Add fresh caramel after thawing.
How do I prevent a soggy cheesecake crust?
If you use a water bath, wrap the springform pan carefully with heavy-duty foil.
You can also place the springform pan inside a slightly larger cake pan before setting it into the water bath. This adds another layer of protection against water reaching the crust.
Can I make the crumb topping in advance?
Yes. Mix the crumb topping up to 2 days ahead and keep it covered in the refrigerator.
When you’re ready to bake, break up any large pieces with your fingers before scattering them over the cheesecake.
Final Thought
There is something especially satisfying about pulling this Caramel Apple Pie Cheesecake With a Crumb Topping out of the refrigerator the next day.
The cheesecake has firmed up, the apple layer sits neatly inside the creamy filling, and the crumb topping gives every slice a little buttery crunch. Then the caramel goes over the top, and suddenly the whole thing feels like the dessert you were hoping to make all along.
I’ve made plenty of complicated desserts that looked impressive but left me exhausted. This one feels different. It takes some time, but most of that time involves baking and chilling rather than hovering over the stove.
And if your first slice isn’t perfectly neat, don’t worry. Mine certainly weren’t at first.
Cut a generous piece, add another little drizzle of caramel, put the kettle on, and enjoy it. That’s really the best part.
Leave a Reply
You must be logged in to post a comment.