

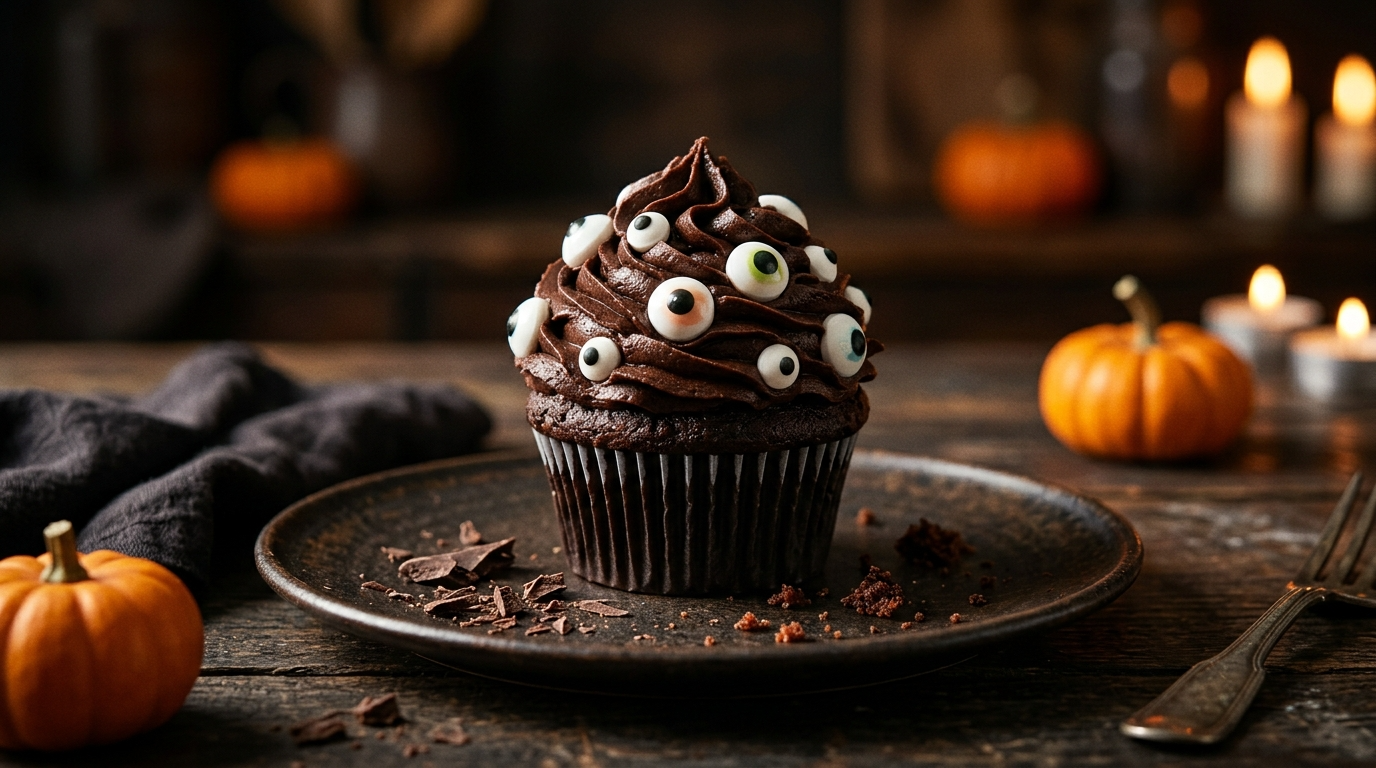
Every Halloween, I tell myself I’m going to keep dessert simple.
Then I see one cute little ghost cupcake, one bowl of chocolate pudding with cookie crumbs, or a tray of strawberries dressed up like tiny monsters, and suddenly I’m planning an entire haunted dessert table.
That happened last Halloween. I started with the idea of making two desserts. Three hours later, my kitchen looked like a tiny Halloween bakery had exploded. There were chocolate crumbs everywhere, candy eyes rolling around on the counter, and one very questionable-looking marshmallow ghost staring at me from the fridge.
The funny part? The easiest desserts ended up being everyone’s favorites.
That’s why I love these creepy Halloween dessert ideas. You don’t need professional decorating skills or a kitchen full of fancy equipment. With simple ingredients, a few Halloween candies, melted chocolate, and a little imagination, you can make desserts that look spooky enough for a Halloween party without spending the entire day decorating.
And yes, I’ve learned a few lessons along the way.
For example, melted chocolate and impatient fingers do not make a good combination. Neither does adding candy eyes to warm frosting unless you enjoy watching their little faces slowly slide down the cupcakes.
So grab your mixing bowls and candy eyes. These Halloween desserts are creepy, cute, easy, and completely doable at home.
Why You’ll Love These Creepy Halloween Desserts

- They look impressive without complicated decorating. Most of the spooky details come from candy, cookies, chocolate, and simple frosting.
- You can make several desserts from the same basic ingredients. Chocolate, frosting, cookies, marshmallows, and sprinkles can go a surprisingly long way.
- They work for kids and adults. Kids can decorate while adults handle the oven and melted chocolate.
- They’re easy to customize. Make them extra creepy, more cute than scary, or somewhere in between.
- They’re perfect for parties. Most of these treats work beautifully on a Halloween dessert table, classroom party, movie night, or family gathering.
Ingredients You’ll Need
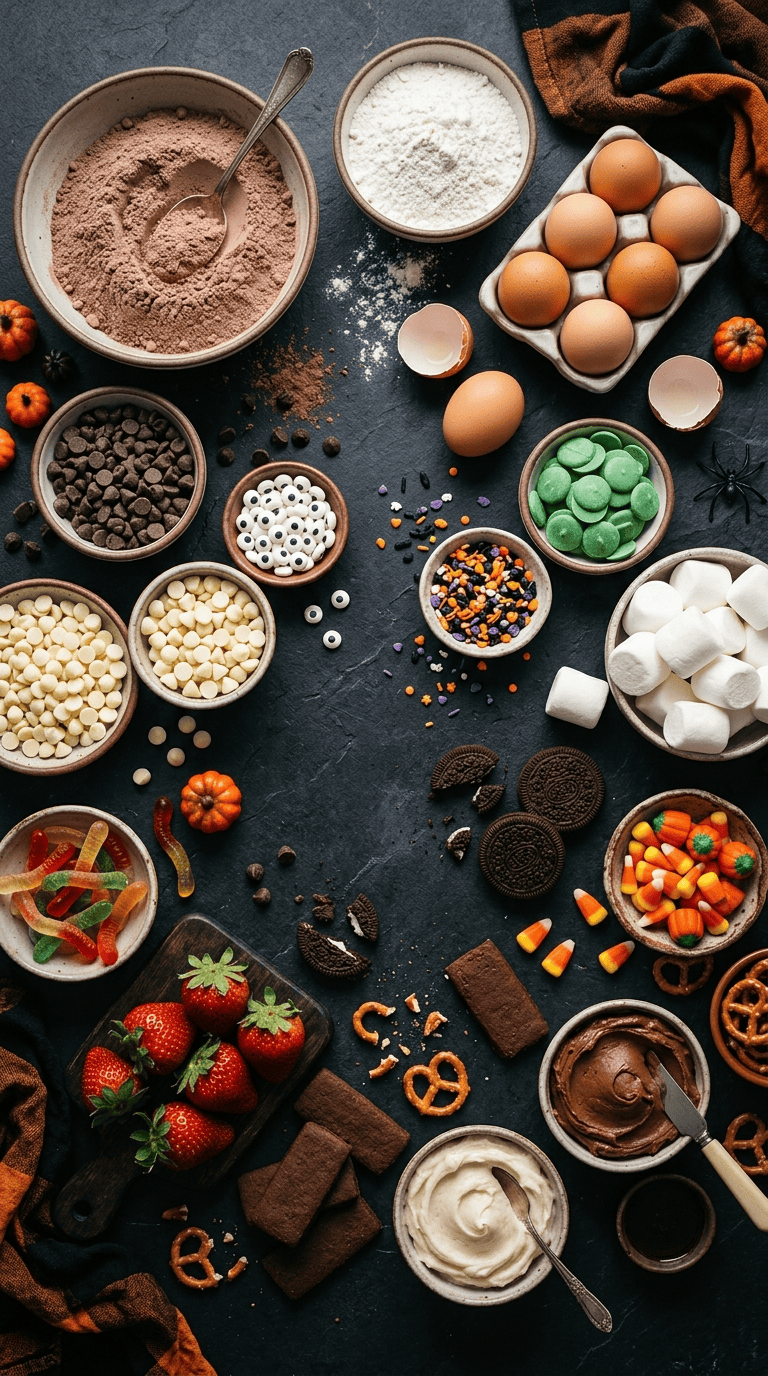
You don’t need every ingredient listed below for every dessert. Think of this as your Halloween dessert shopping list. Pick the treats you want to make and adjust the quantities as needed.
For Easy Halloween Cupcakes
- 1 box chocolate cake mix
- Ingredients listed on the cake mix package, usually eggs, oil, and water
- 2 cups prepared chocolate or vanilla frosting
- 24 candy eyes
- ½ cup Halloween sprinkles
- ¼ cup chocolate chips
- ¼ cup crushed chocolate cookies
You can use homemade cupcakes instead of boxed cake mix if you prefer. I often use a good-quality boxed mix when I’m making several desserts because it saves time and still tastes delicious with a generous layer of frosting.
For Graveyard Chocolate Pudding Cups
- 4 cups prepared chocolate pudding
- 12 chocolate sandwich cookies
- 6 rectangular chocolate cookies
- ¼ cup chocolate frosting
- 12 candy pumpkins or gummy worms
- 12 candy eyes, optional
If you can’t find rectangular cookies, use chocolate wafer cookies and cut them into smaller pieces.
For Marshmallow Ghosts
- 24 large marshmallows
- ½ cup white chocolate chips
- 1 teaspoon vegetable shortening or coconut oil
- 24 mini chocolate chips
The shortening helps loosen the melted chocolate and makes dipping easier.
For Monster Strawberries
- 1 pound fresh strawberries
- 1 cup white chocolate chips
- ½ cup green candy melts
- ¼ cup dark chocolate chips
- Candy eyes
Make sure the strawberries are completely dry before dipping them. Water and melted chocolate are not friends.
For Spooky Chocolate Bark
- 2 cups semi-sweet chocolate chips
- 1 cup white chocolate chips
- ½ cup Halloween candy
- ¼ cup pretzel pieces
- ¼ cup candy eyes
- 2 tablespoons Halloween sprinkles
You can swap the semi-sweet chocolate for milk chocolate if you prefer something sweeter.
Step-by-Step Instructions
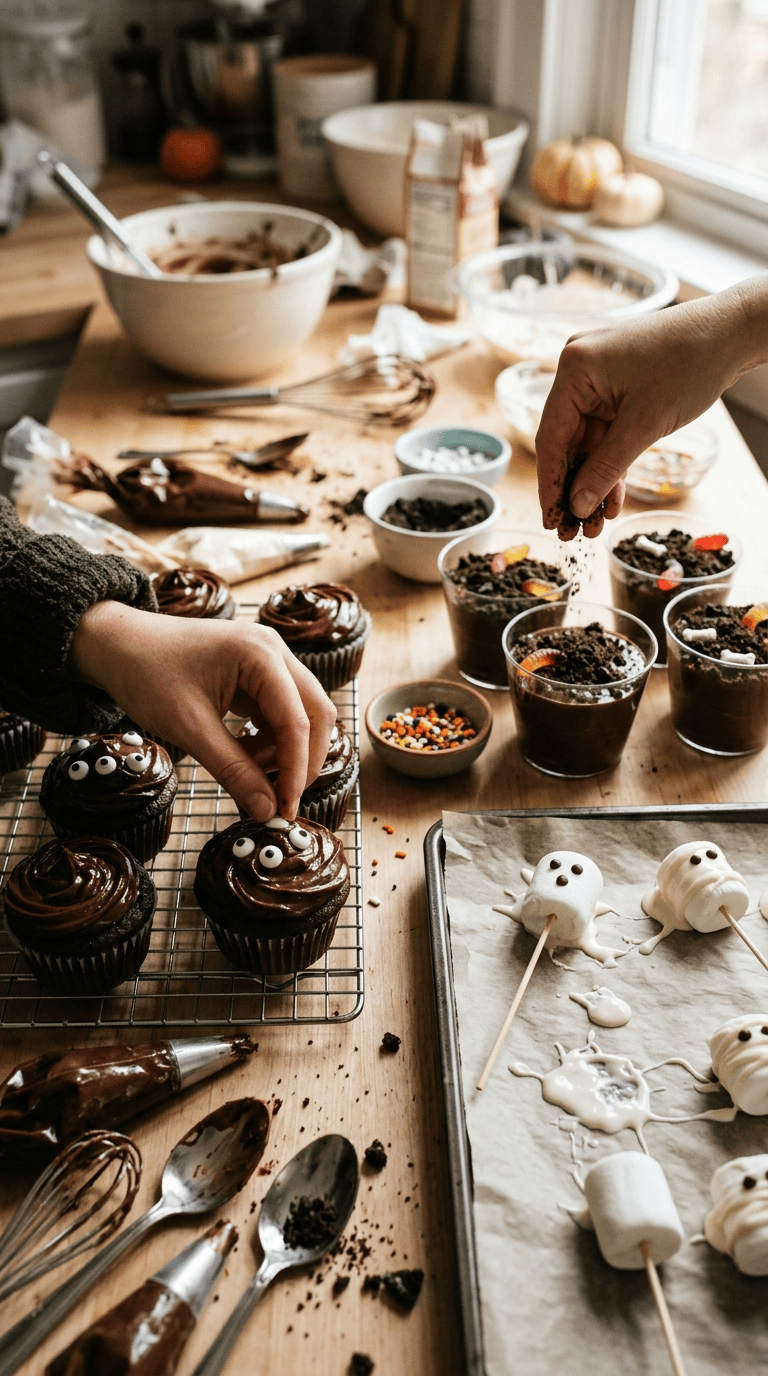
The beauty of these desserts is that you can make them separately or prepare several at the same time. I usually start with anything that needs chilling and decorate the baked treats while they cool.
1. Make the Halloween Cupcakes
Preheat your oven according to the cake mix directions, usually around 350°F.
Line two 12-cup muffin tins with Halloween-themed cupcake liners.
Prepare the cake batter according to the package directions. Fill each liner about two-thirds full. Don’t fill them to the top or you’ll end up with cupcakes that puff over the edges like tiny volcanoes.
Bake for the recommended time, usually 18–22 minutes.
Check the center with a toothpick. If it comes out with a few moist crumbs but no wet batter, pull the cupcakes from the oven.
Let them cool completely before frosting.
This part matters more than it sounds. I once got impatient and frosted warm cupcakes. The frosting melted into a glossy puddle and carried half my candy decorations with it.
Lesson learned.
2. Turn the Cupcakes Into Monsters
Spread or pipe chocolate or vanilla frosting over each cooled cupcake.
You don’t need perfect swirls. A messy frosting layer actually works well for monsters.
Add two candy eyes near the center.
For a scarier look, use one large eye, several tiny eyes, or place the eyes slightly off-center.
Press chocolate chips or sprinkles into the frosting to create hair, teeth, or little monster spikes.
Finish with a few Halloween sprinkles.
For spider cupcakes, pipe thin chocolate lines across the frosting and place a candy spider in the middle.
3. Make the Graveyard Pudding Cups
Prepare the chocolate pudding and spoon it into small clear cups.
Crush the chocolate sandwich cookies in a food processor or place them in a sealed bag and crush them with a rolling pin.
You want a mixture of fine crumbs and a few chunky pieces. The uneven texture makes the “dirt” look much more realistic.
Sprinkle the cookie crumbs over the pudding.
Write tiny RIP-style letters on the chocolate cookies using white frosting.
Push one cookie into each pudding cup to create a little gravestone.
Add a candy pumpkin, gummy worm, or a few sprinkles around the base.
Chill for at least 30 minutes before serving.
The chilled pudding makes the cookie “dirt” taste even better because you get that creamy chocolate-and-crunchy-cookie combination in every spoonful.
4. Create Marshmallow Ghosts
Place the white chocolate chips in a microwave-safe bowl.
Heat them in 15–20 second bursts, stirring after each round.
Stop heating when only a few small pieces remain. Keep stirring until the residual heat melts everything smoothly.
If the chocolate feels too thick, add a tiny amount of shortening or coconut oil.
Dip each marshmallow into the melted chocolate.
Place the coated marshmallows on parchment paper.
Before the chocolate sets, add two mini chocolate chips for eyes.
For a more ghostly shape, let some chocolate drip down the sides instead of coating the marshmallow perfectly.
Let them set at room temperature or place them in the refrigerator for about 15 minutes.
5. Make Monster Strawberries
Wash the strawberries and dry them extremely well.
Melt the white chocolate in short microwave bursts, stirring between each round.
Dip each strawberry into the chocolate and place it on parchment paper.
Let the coating set for several minutes.
Melt the green candy melts separately.
Dip the tops of the strawberries or drizzle the green coating over them.
Add candy eyes while the coating remains soft.
For monster mouths, melt a small amount of dark chocolate and pipe little zigzag smiles, fangs, or surprised expressions.
The strawberries don’t need to look identical. In fact, I think they look better when every little monster has its own personality.
6. Make Easy Halloween Chocolate Bark
Line a baking sheet with parchment paper.
Melt the semi-sweet chocolate until smooth.
Pour it onto the parchment and spread it into an even layer about ¼ inch thick.
Melt the white chocolate separately.
Drizzle it over the dark chocolate.
Use a toothpick to gently swirl the two chocolates together.
While the chocolate is still soft, scatter pretzel pieces, candy eyes, Halloween sprinkles, and small pieces of candy across the surface.
Press larger pieces down gently so they stay attached.
Refrigerate for 30–45 minutes or until completely firm.
Break the bark into uneven pieces by hand.
Don’t worry about making neat squares. Jagged edges make the bark look much more dramatic.
Pro Tips & Tricks
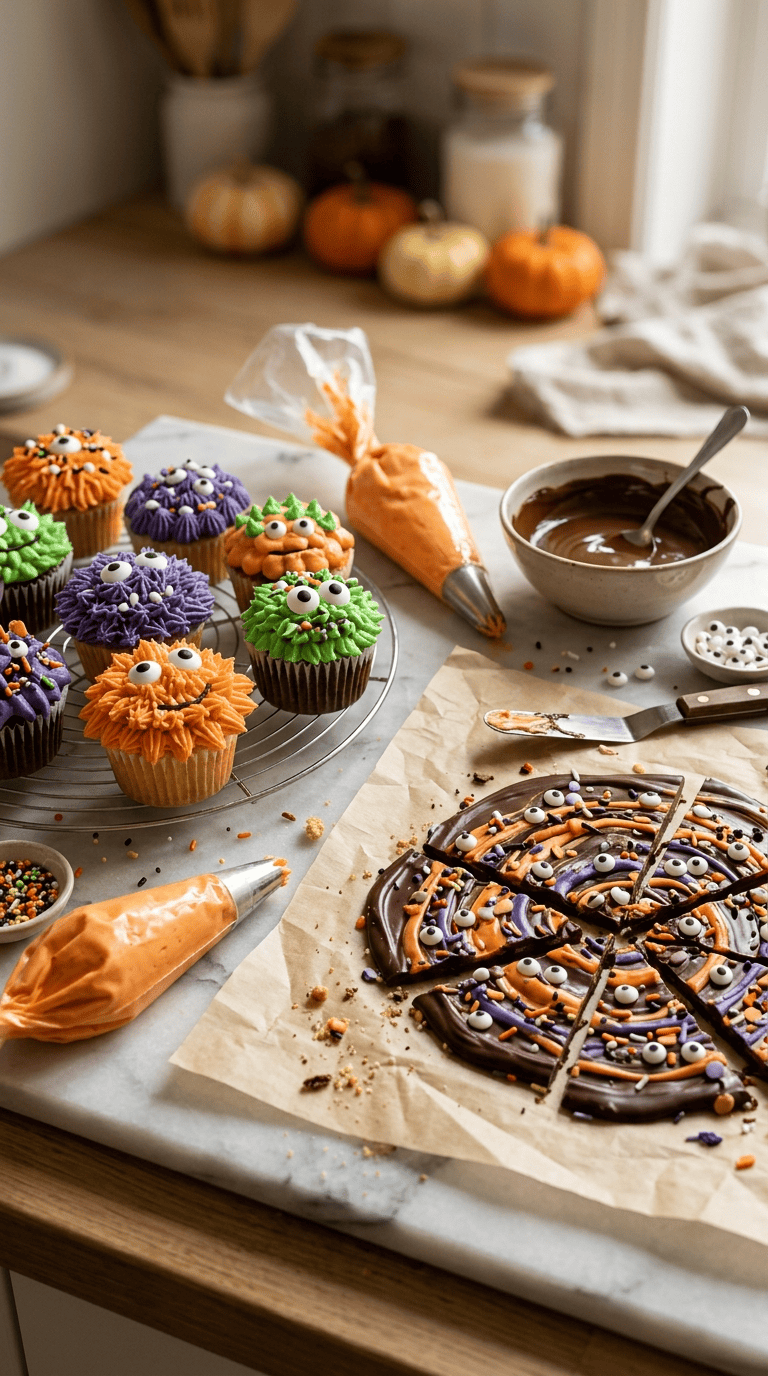
Let Everything Cool Before Decorating
This is probably the biggest Halloween dessert mistake I’ve made.
Warm cupcakes melt frosting. Warm frosting makes candy eyes slide. And sliding candy eyes can turn a cute monster into something that looks like it needs medical attention.
Give baked goods plenty of time to cool.
Use Candy Eyes Strategically
Candy eyes can transform almost anything into a Halloween character.
Put two on strawberries, three on marshmallows, five on cookies, or a whole bunch on cupcakes.
There are no rules.
If you want something creepy rather than cute, place the eyes unevenly. Perfectly spaced eyes look adorable. Randomly placed eyes look wonderfully strange.
Keep Melted Chocolate Dry
Even a tiny splash of water can make melted chocolate seize and become thick and grainy.
Use completely dry bowls, spoons, and utensils.
If you melt chocolate in the microwave, keep your bowl uncovered unless the recipe specifically calls for covering it.
Make the Bark on Parchment
Don’t pour melted chocolate directly onto a baking sheet.
Use parchment paper or a silicone baking mat. Once the chocolate sets, you can lift the entire sheet away easily and break it into pieces.
It also makes cleanup much less annoying.
Prepare the Easy Parts First
If you’re making several Halloween desserts, start with the pudding cups and chocolate bark.
Both need chilling time.
While they chill, bake and decorate the cupcakes. Then finish with the strawberries and marshmallow ghosts.
This simple order keeps the kitchen moving instead of leaving you with six bowls and no counter space.
Variations & Substitutions
Make Them More Chocolatey
If your Halloween crowd loves chocolate, use chocolate cake, chocolate frosting, crushed chocolate cookies, and dark chocolate candy.
You can even add mini chocolate chips to the cupcake batter.
Just remember that a chocolate-heavy dessert table needs a few lighter treats for balance.
Make Them Fruit-Based
Not every Halloween dessert needs to be loaded with candy.
Use strawberries, banana slices, apple slices, or grapes as the base for little monsters.
Dip strawberries in white or dark chocolate and add candy eyes for an easy party treat.
Make Them Gluten-Free
Use certified gluten-free cake mix and gluten-free cookies.
Check candy labels carefully because ingredients and manufacturing practices vary between brands.
You can also skip cookies completely and decorate pudding cups with gluten-free chocolate cereal crumbs.
Make Them Dairy-Free
Choose a dairy-free cake mix, dairy-free frosting, dairy-free chocolate, and suitable candy decorations.
For melted chocolate, always check the package rather than assuming dark chocolate contains no dairy.
Make Them Extra Creepy
For an older-kid or adult Halloween party, use darker colors and messier decorations.
Black frosting, red decorating gel, crushed chocolate cookies, gummy worms, and white candy eyes can turn an ordinary cupcake into something wonderfully creepy.
Serving Suggestions

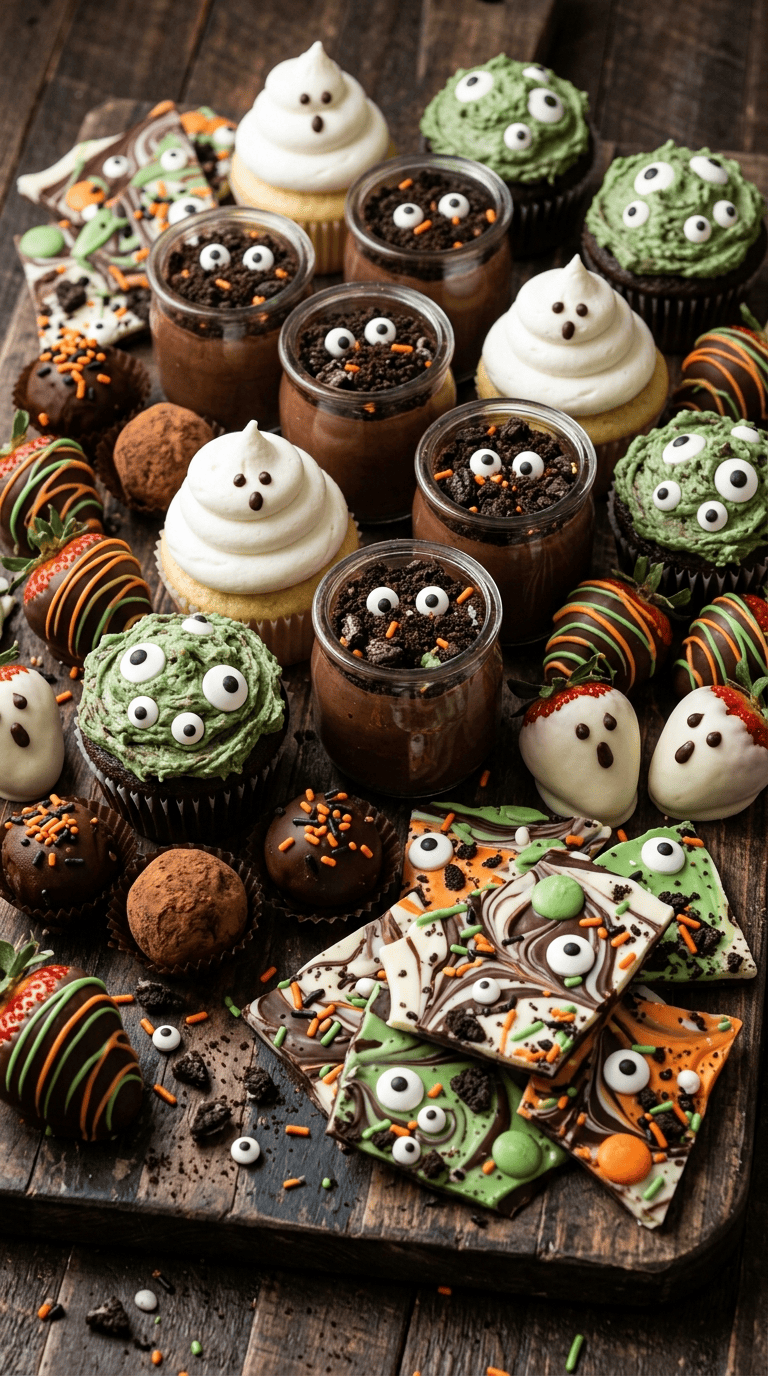
I love putting these desserts together as a Halloween dessert board.
Use a large wooden board or black serving tray and place the pudding cups toward the back. Arrange cupcakes around them and fill the empty spaces with chocolate bark, marshmallow ghosts, and monster strawberries.
Add a few wrapped candies between the desserts for extra color.
You can also use small bowls of Halloween sprinkles or candy as decoration.
For a Halloween movie night, serve the chocolate bark and monster strawberries alongside popcorn.
For a kids’ party, set up a decorating station. Put plain cupcakes on a table with bowls of candy eyes, sprinkles, mini chocolate chips, frosting, and gummy candies.
Let everyone create their own monster.
Just expect the decorating station to get messy. That’s part of the fun.
For a larger Halloween party, make the pudding cups the night before and prepare the cupcakes several hours before guests arrive.
Decorate the strawberries closer to serving time so they look fresh.
Related Recipes :
- Halloween Baking Ideas for a Spooky Night In
- Halloween Chocolate Dessert Spooky Chocolate Graveyard Brownies Recipe
- Halloween Dessert Ideas You Can Make Ahead
FAQ’s
Can I make these Halloween desserts ahead of time?
Yes. Most of them work well with some preparation.
Make pudding cups and chocolate bark a day ahead. Bake cupcakes a day ahead and store them covered, then decorate them several hours before serving.
I prefer to make chocolate-dipped strawberries on the day I plan to serve them.
How should I store leftover Halloween desserts?
Store cupcakes in an airtight container at room temperature if your frosting allows it, or refrigerate them if necessary.
Keep pudding cups covered in the refrigerator.
Store chocolate bark in an airtight container in a cool, dry place or refrigerate it if your kitchen gets warm.
Keep strawberries refrigerated.
Can I freeze Halloween cupcakes?
Yes. Freeze unfrosted cupcakes in an airtight freezer-safe container for up to about three months for best quality.
Thaw them completely before decorating.
I recommend making the frosting and decorations fresh rather than freezing decorated cupcakes with candy eyes and sprinkles.
Why did my melted chocolate become thick?
The chocolate may have overheated or come into contact with water.
Heat chocolate slowly and stir often.
If it becomes thick because it overheated, it may not return to the ideal dipping consistency. Start with a fresh batch if you need a smooth coating.
Can I use homemade frosting?
Absolutely.
Vanilla buttercream, chocolate buttercream, cream cheese frosting, or whipped frosting can all work.
For decorations that need to sit for several hours, choose a frosting that holds its shape well.
How do I stop candy eyes from falling off?
Press candy eyes gently into soft frosting or melted chocolate before the surface sets.
If you’re decorating something that has already hardened, use a tiny dab of frosting or melted chocolate as edible “glue.”
Final Thoughts
Halloween desserts don’t need complicated piping, expensive tools, or hours of decorating to look special.
Sometimes two candy eyes and a little melted chocolate are all you need.
That’s honestly what I love most about these creepy Halloween dessert ideas. They give you plenty of room to play around. A cupcake can become a monster, a strawberry can become a little Halloween creature, and a simple chocolate bark can turn into something that looks like it came straight from a haunted candy shop.
And if your monster ends up looking slightly wonky?
Keep it.
Those are usually the desserts everyone remembers.
So put on your favorite Halloween playlist, cover the counter with parchment paper, and let yourself make a little mess. Grab the candy eyes, get the chocolate melting, and have fun creating a dessert table that looks spooky without making you spend all night in the kitchen.
If you make one of these treats, I’d love to hear which creepy creation became your favorite.
Leave a Reply
You must be logged in to post a comment.