

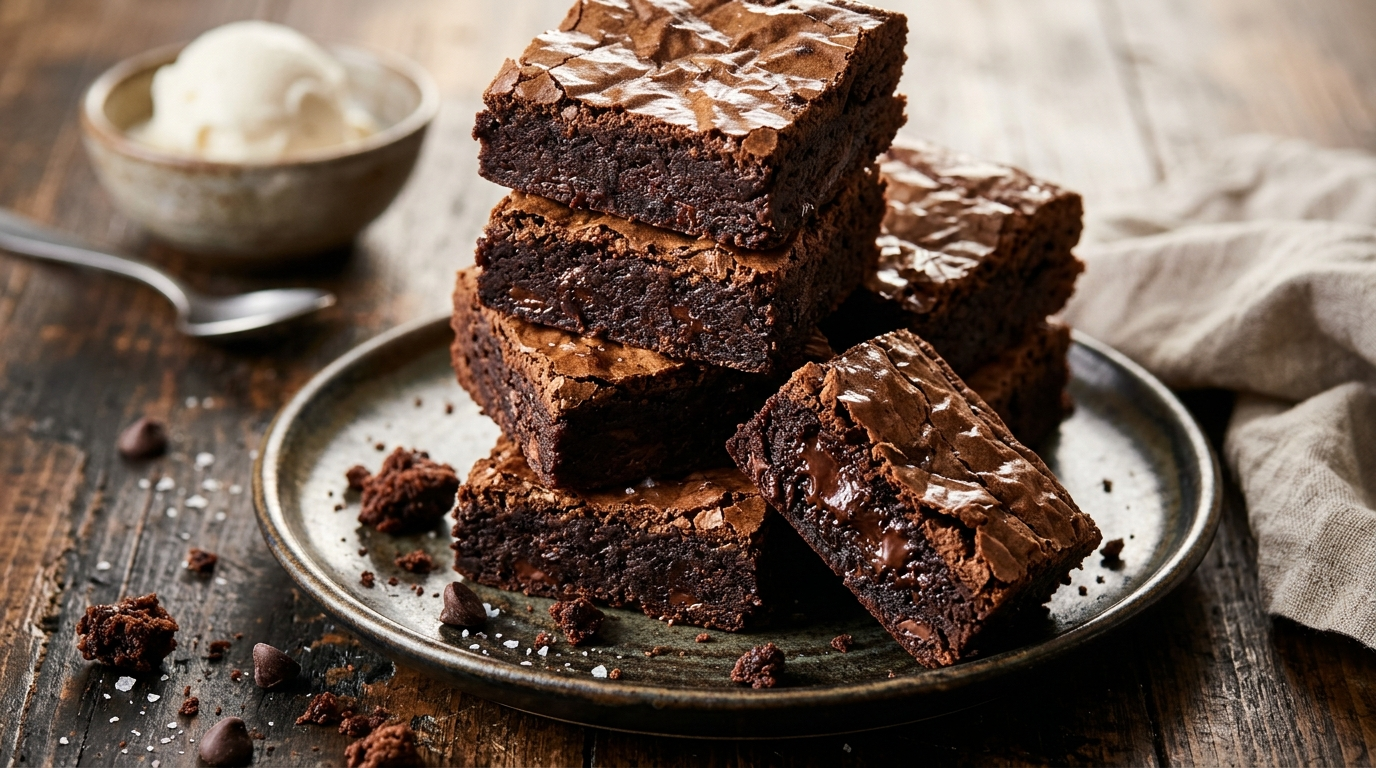
There are evenings when I want something sweet but absolutely do not want to spend half the night in the kitchen. A while back, I had one of those evenings. I opened the pantry, found a bar of chocolate, grabbed some butter and cocoa powder, and decided to make brownies without overthinking it.
The first batch taught me an important lesson: brownies can go from perfectly fudgy to dry surprisingly quickly. I pulled the pan out a little too late, and although the brownies still tasted good, they lacked that soft, almost gooey center I wanted.
Since then, I have made these chocolate fudge brownies more times than I can count. I learned to watch the center instead of relying only on the clock. When the edges look set but the middle still has a slight wobble, I know I am close.
These brownies now sit near the top of my list whenever a serious sweet craving shows up. They use everyday ingredients, come together in one bowl, and fill the kitchen with that unmistakable chocolate-brownie smell.
If you like brownies with chewy edges, a rich chocolate center, and a crackly top, this is the kind of recipe you will want to keep around.
Why You’ll Love This Recipe

- One-bowl cleanup: You can mix everything in one bowl, so you won’t face a sink full of dishes afterward.
- Rich chocolate flavor: Cocoa powder and melted chocolate give these brownies a deep, satisfying taste.
- Fudgy center: A short baking time keeps the middle soft without leaving the batter raw.
- Simple ingredients: You can find almost everything in an ordinary pantry.
- Easy to customize: Add nuts, chocolate chips, or a little flaky salt when you want to change things up.
Ingredients You’ll Need
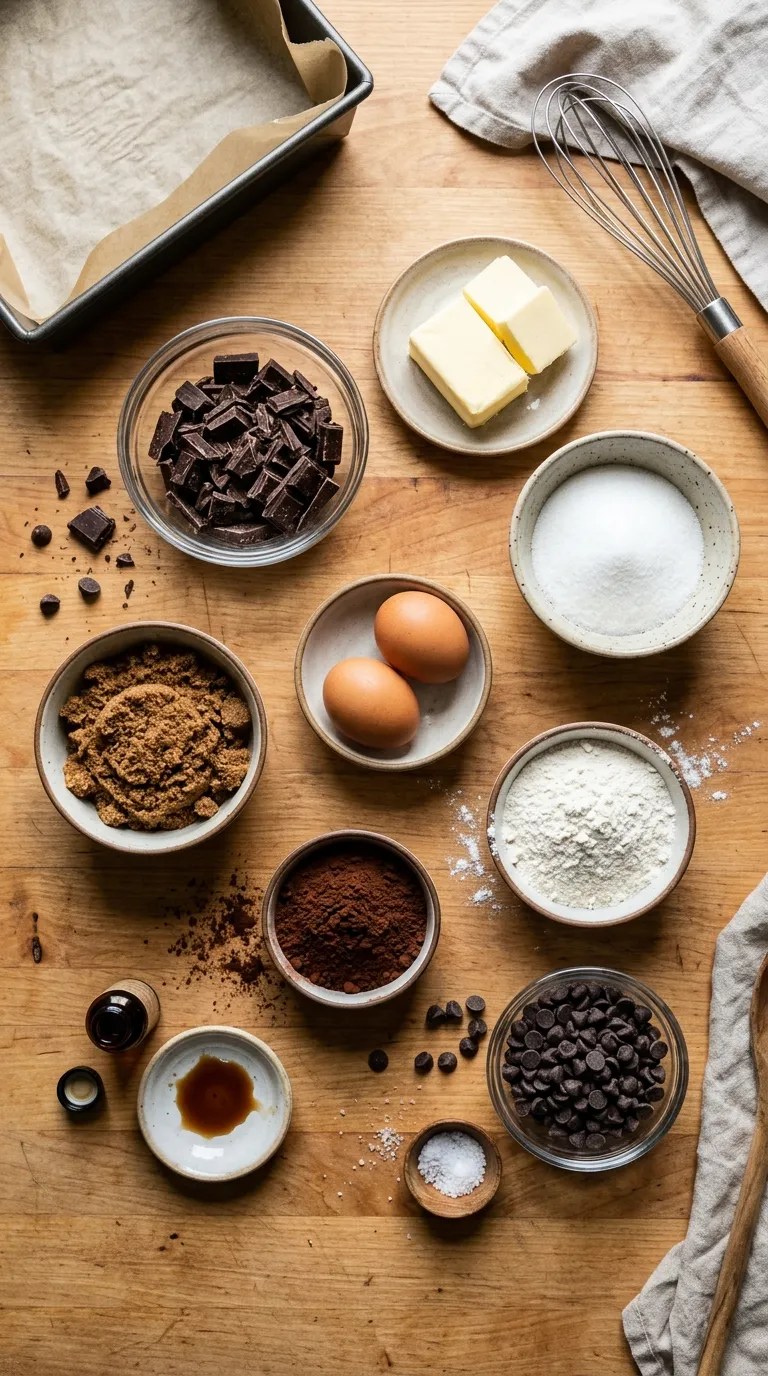
This recipe makes about 16 brownies in an 8-inch square baking pan.
For the brownies
- ½ cup (115 g) unsalted butter
- 4 oz (115 g) semisweet or dark chocolate, chopped
- ¾ cup (150 g) granulated sugar
- ½ cup (100 g) light brown sugar, packed
- 2 large eggs, room temperature if possible
- 1 teaspoon vanilla extract
- ¾ cup (95 g) all-purpose flour
- ½ cup (45 g) unsweetened cocoa powder
- ¼ teaspoon salt
- ½ cup (85 g) chocolate chips, optional
For the top
- A small pinch of flaky sea salt, optional
- Extra chocolate chips, optional
You can use dark chocolate if you prefer a more intense brownie. Semisweet chocolate gives the recipe a balanced flavor that works well for most people.
If you only have salted butter, use it and reduce the added salt slightly. You can also replace light brown sugar with dark brown sugar for a slightly deeper caramel-like flavor.
For a nutty version, add ½ cup (60 g) chopped walnuts or pecans. I recommend toasting the nuts first if you have a few extra minutes because it makes their flavor stand out.
4. Step-by-Step Instructions
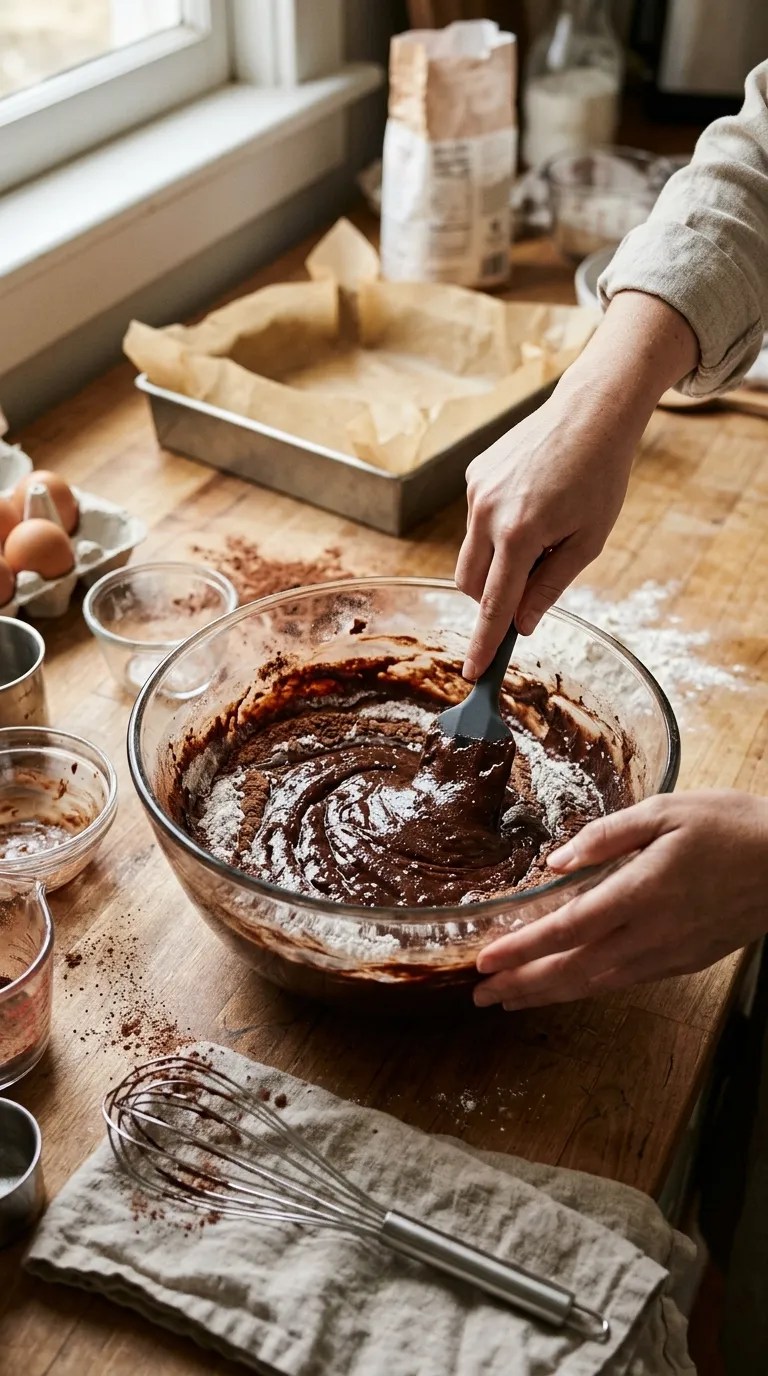
1. Prepare the pan — 5 minutes
Heat your oven to 350°F (175°C).
Line an 8-inch square baking pan with parchment paper, leaving a little paper hanging over two sides. Those edges will give you easy handles when you lift the brownies out later.
Lightly grease the exposed sides of the pan with butter or cooking spray.
I learned not to skip the parchment after losing a few perfectly good brownie corners to a stubborn pan. The paper makes cutting and lifting so much easier.
2. Melt the butter and chocolate — 3 to 5 minutes
Place the butter and chopped chocolate in a microwave-safe bowl.
Heat them in 20-second intervals, stirring well after each interval. Stop once the mixture looks smooth and glossy.
You can also melt them in a heatproof bowl over a saucepan containing a little simmering water. Keep the bottom of the bowl above the water rather than letting it sit directly in the water.
Let the mixture cool for a few minutes. It should feel warm rather than piping hot.
3. Mix in the sugars — 1 minute
Add the granulated sugar and brown sugar to the melted chocolate mixture.
Whisk until everything looks evenly combined.
The mixture will still look somewhat glossy and thick at this point. That’s exactly what you want.
4. Add the eggs and vanilla — 2 minutes
Crack the eggs into the bowl and add the vanilla.
Whisk vigorously for about 1–2 minutes.
You want the mixture to become smoother and slightly lighter. Don’t worry about whipping it into a huge volume. Brownies need some structure, but excessive mixing can push them toward a cakier texture.
5. Add the dry ingredients — 1 to 2 minutes
Add the flour, cocoa powder, and salt.
Switch from a whisk to a spatula and fold everything together gently.
Stop as soon as you no longer see obvious streaks of dry flour. A few small lumps are better than aggressively mixing the batter.
If you are adding chocolate chips or chopped nuts, fold them in now.
The finished batter should look thick, dark, and glossy. It should spread slowly rather than pour like cake batter.
6. Spread the batter — 2 minutes
Scrape the batter into your prepared pan.
Use a spatula to push it gently toward the corners and smooth the top.
If you want an especially chocolatey finish, scatter a few extra chocolate chips over the surface. A tiny pinch of flaky sea salt also works beautifully here.
7. Bake — 22 to 28 minutes
Place the pan in the center of your preheated oven.
Bake for approximately 22–28 minutes.
Start checking around the 22-minute mark because ovens vary.
Look at the edges first. They should look set and slightly pulled away from the sides of the pan. The center should look cooked but still have a slight softness when you gently move the pan.
Insert a toothpick into the center. For fudgy brownies, you want moist crumbs attached to the toothpick, not completely clean batter and not a liquid coating.
This is the moment where I used to make my biggest mistake. I thought a clean toothpick meant perfect brownies. It usually meant I had baked them too long.
8. Cool completely — at least 1 hour
Take the pan out of the oven and place it on a cooling rack.
Let the brownies cool in the pan for at least 1 hour before slicing.
I know that feels like an unreasonable request when the kitchen smells like chocolate, but cooling gives the center time to firm up. If you cut them immediately, they may seem much softer than they actually are.
For exceptionally neat slices, let them cool completely and refrigerate them for 30–60 minutes before cutting.
9. Slice and serve — 5 minutes
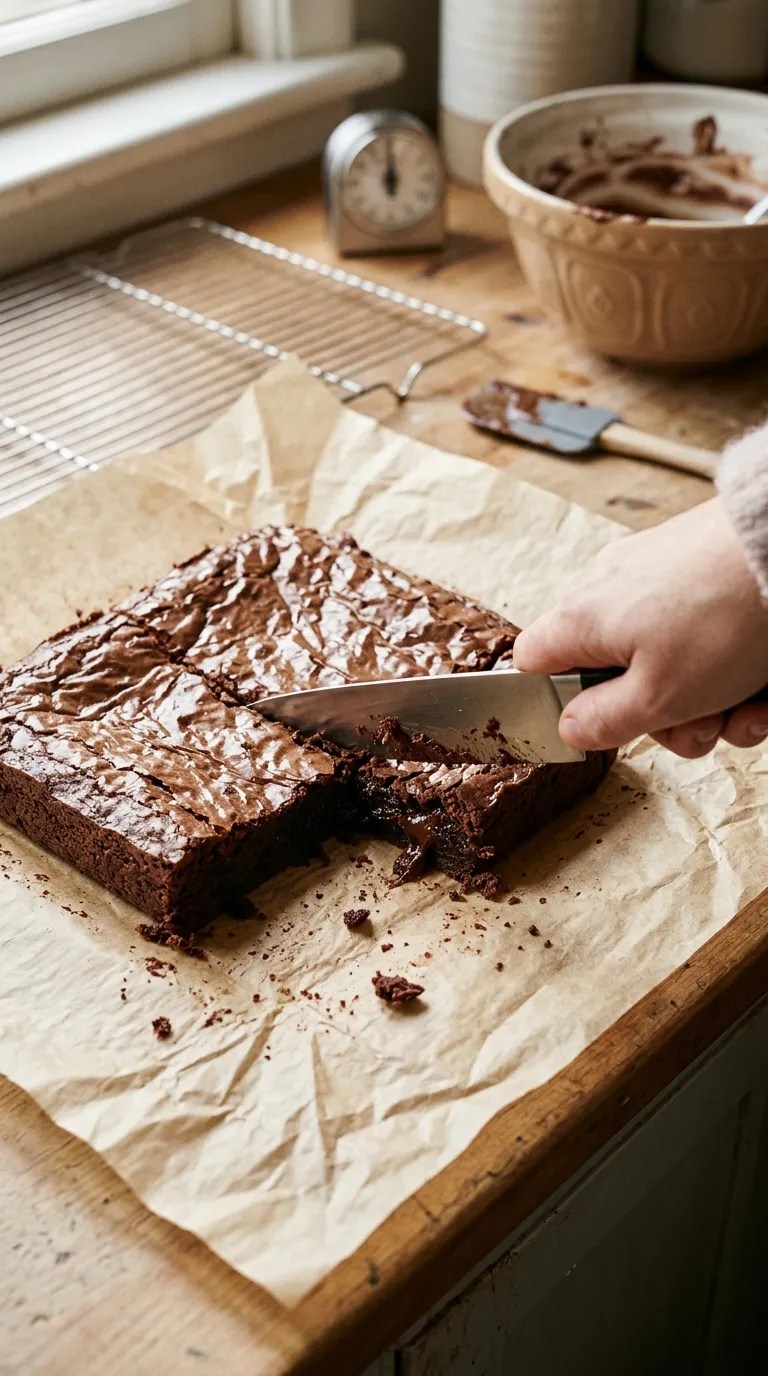
Lift the brownies from the pan using the parchment handles.
Place them on a cutting board and use a sharp knife to cut them into 16 squares.
For cleaner cuts, wipe the knife between slices.
Then comes the important part: eat one.
Pro Tips & Tricks
Don’t overbake them
This recipe relies on a slightly underdone-looking center to achieve a fudgy texture.
The brownies continue to firm up as they cool, so don’t wait for the middle to look completely dry inside the oven.
Measure flour carefully
Too much flour can turn brownies dense and dry.
If you have a kitchen scale, weigh the flour. If you use measuring cups, spoon the flour into the cup and level the top with a knife instead of scooping directly from the flour bag.
Let melted chocolate cool slightly
You don’t want to pour extremely hot chocolate and butter over the eggs.
Give the melted mixture a few minutes to cool before adding them. Warm is fine; scorching hot is not.
Don’t keep mixing after adding flour
Once the dry ingredients disappear, put the spatula down.
Overmixing develops the flour’s gluten and can make the brownies tougher than you intended.
Store them properly
Keep completely cooled brownies in an airtight container at room temperature for about 3–4 days.
For a softer texture, place a sheet of parchment between layers and keep the container tightly sealed.
You can also refrigerate them if you prefer a firmer, denser brownie.
Make them ahead
These brownies actually become easier to slice after resting.
You can bake them the day before serving and keep them covered at room temperature. If you want very clean squares for a gathering, refrigerate them briefly before cutting.
Variations & Substitutions
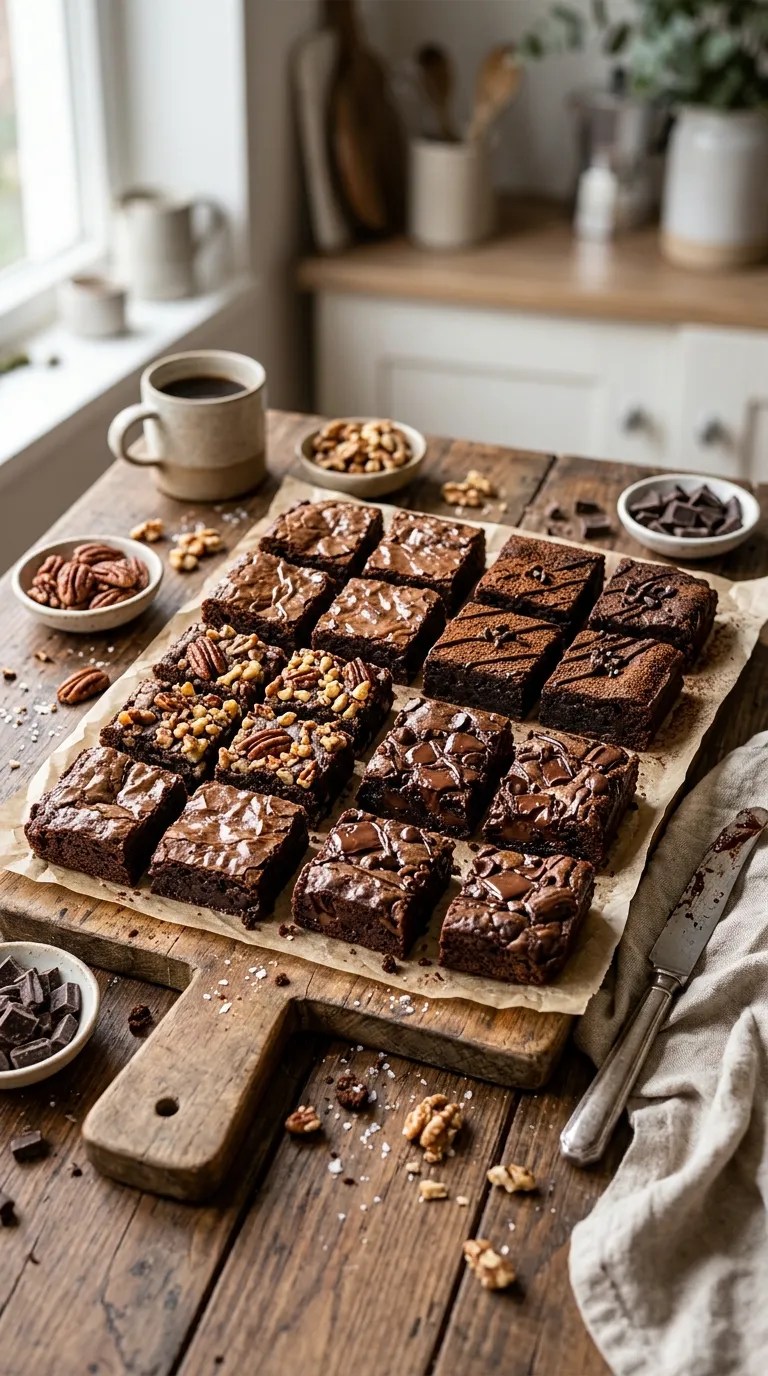
Add walnuts or pecans
Fold ½ cup chopped walnuts or pecans into the batter.
For extra flavor, toast the nuts in a dry skillet over medium-low heat for several minutes, stirring often. Let them cool before adding them to the batter.
Make them extra chocolatey
Replace half of the optional chocolate chips with chopped dark chocolate.
The little pockets of melted chocolate create a lovely contrast with the fudgy brownie base.
You can also sprinkle additional chocolate chips over the batter before baking.
Try a mocha version
Add 1 teaspoon of instant espresso powder to the cocoa powder.
You won’t necessarily taste coffee. Instead, it can make the chocolate flavor taste deeper and more pronounced.
If you’re serving children, check the ingredient label on your espresso powder and keep the amount modest.
Make a gluten-free batch
Use a 1:1 gluten-free all-purpose flour blend designed for baking in place of the regular flour.
Choose a blend that already contains a binder such as xanthan gum if the package instructions recommend it.
Since different gluten-free blends absorb moisture differently, the texture can vary slightly from the original recipe.
Serving Suggestions

These brownies work perfectly on their own, especially while they are still slightly warm.
For a simple dessert plate, serve a brownie with a scoop of vanilla ice cream. The cold, creamy ice cream against the rich chocolate brownie makes a classic combination.
For a dinner with friends, cut the brownies into smaller squares and arrange them on a platter. Add fresh berries if you want something bright alongside the chocolate.
They also make an easy choice for bake sales, family gatherings, movie nights, school events, and weekend baking projects.
If you are making them for a celebration, a light dusting of powdered sugar gives them a finished look without requiring a complicated frosting.
My favorite casual serving method remains the simplest: warm one brownie for a few seconds, add a scoop of vanilla ice cream, and let it soften around the edges.
Related Recipes:
- Easy Friendsgiving Dessert Ideas to Share
- Easy Halloween Dessert Recipes for Beginners
- Slow Cooker Dessert Recipes for Easy Baking
- Creative Halloween Dessert Ideas for Parties
FAQ’s
Can I use milk chocolate instead of dark or semisweet chocolate?
Yes, but expect a sweeter brownie.
If you use very sweet milk chocolate, you may want to reduce the sugar slightly. I prefer semisweet chocolate because it keeps the finished brownies rich without making them overly sweet.
Why did my brownies turn out cakey?
The most common reasons include overbaking, using too much flour, or mixing the batter too much after adding the flour.
For fudgier brownies, measure the flour carefully and remove the pan when the center still looks slightly soft.
Can I prepare the brownie batter ahead of time?
I recommend baking the batter soon after mixing.
If you need to prepare ahead, a better option involves baking the brownies completely, cooling them, and storing them covered until you need them.
Can I freeze these brownies?
Yes.
Let the brownies cool completely, then wrap individual pieces tightly in plastic wrap or place them in a freezer-safe airtight container with parchment between layers.
Freeze for up to 2–3 months for the best quality.
Thaw them in the refrigerator overnight or at room temperature for a few hours.
How should I reheat leftover brownies?
Place a brownie on a microwave-safe plate and warm it for about 10–15 seconds.
Check it before heating again because microwaves vary.
If you want a warm, soft brownie for dessert, serve it immediately with ice cream.
Why did the top crack?
A crackly top usually isn’t a problem. Brownie batter can develop a thin, shiny crust as it bakes, and that surface can crack as the brownie expands and sets.
In fact, I consider those little cracks a good sign when I am aiming for a classic brownie texture.
Final Thought
There is something wonderfully uncomplicated about a pan of homemade brownies.
You don’t need special decorating skills or a long list of ingredients. You just need a bowl, a pan, a handful of pantry staples, and enough patience to let the brownies cool before attacking them with a knife.
After making these again and again, my biggest piece of advice is simple: watch the brownies, not just the timer. Your oven, pan, and even the chocolate you use can change the baking time by a few minutes.
Once you learn what that slightly soft center looks like, the recipe becomes wonderfully easy.
So the next time a chocolate craving appears, skip the complicated dessert project and make a pan of these fudgy brownies instead. And if you sneak one corner piece while they cool, I won’t tell.
Leave a Reply
You must be logged in to post a comment.