

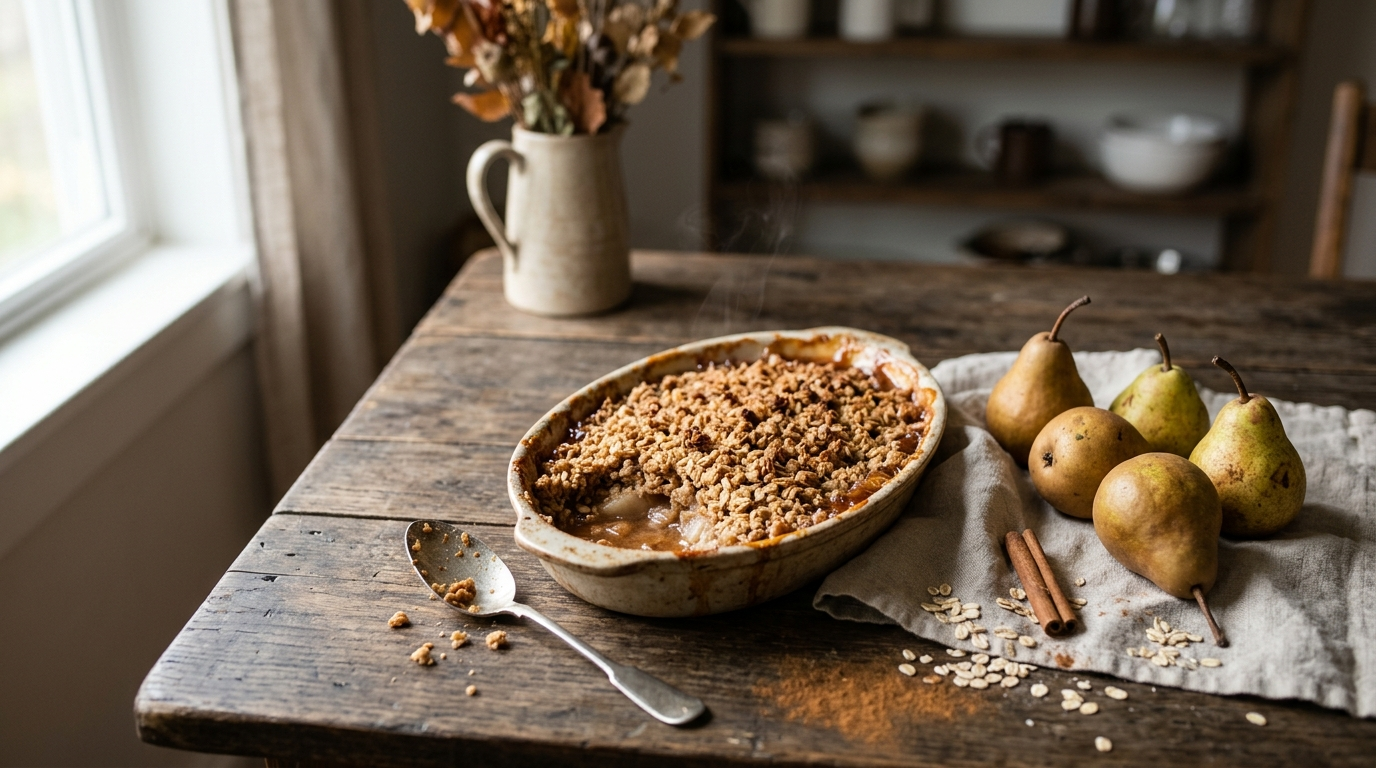
Every fall, I seem to come home with more pears than I planned to buy. They look so good at the market—golden, fragrant, and perfectly ripe—and somehow I end up with a whole bowl sitting on the kitchen counter.
One afternoon, I needed a dessert but didn’t feel like making a complicated pie. I sliced a few pears, tossed them with cinnamon and brown sugar, and covered them with a quick oat topping. I expected something decent. What came out of the oven tasted like I had put in much more effort than I actually did.
That first batch disappeared before it even cooled.
I’ve made this easy pear dessert recipe for fall more times than I can count since then. The pears turn soft and buttery around the edges, the cinnamon makes the kitchen smell wonderful, and the oat topping gets crisp while the fruit underneath stays juicy.
Best of all, you don’t need pastry skills. You can mix everything in one bowl, put it in a baking dish, and let the oven do most of the work.
If you have a few pears waiting on the counter right now, this is exactly the kind of dessert I’d make with them.
Why You’ll Love This Recipe

- It takes about 15 minutes to prepare. Most of the work involves slicing pears and stirring a few ingredients together.
- You don’t need special equipment. A knife, mixing bowl, baking dish, and oven handle almost everything.
- It makes your kitchen smell amazing. Cinnamon, brown sugar, and warm pears create a wonderfully cozy fall aroma.
- It’s easy to adjust. You can add nuts, change the spices, or use apples alongside the pears.
- It feels special without being fussy. Serve it warm with vanilla ice cream, and nobody will guess how simple it was.
Ingredients
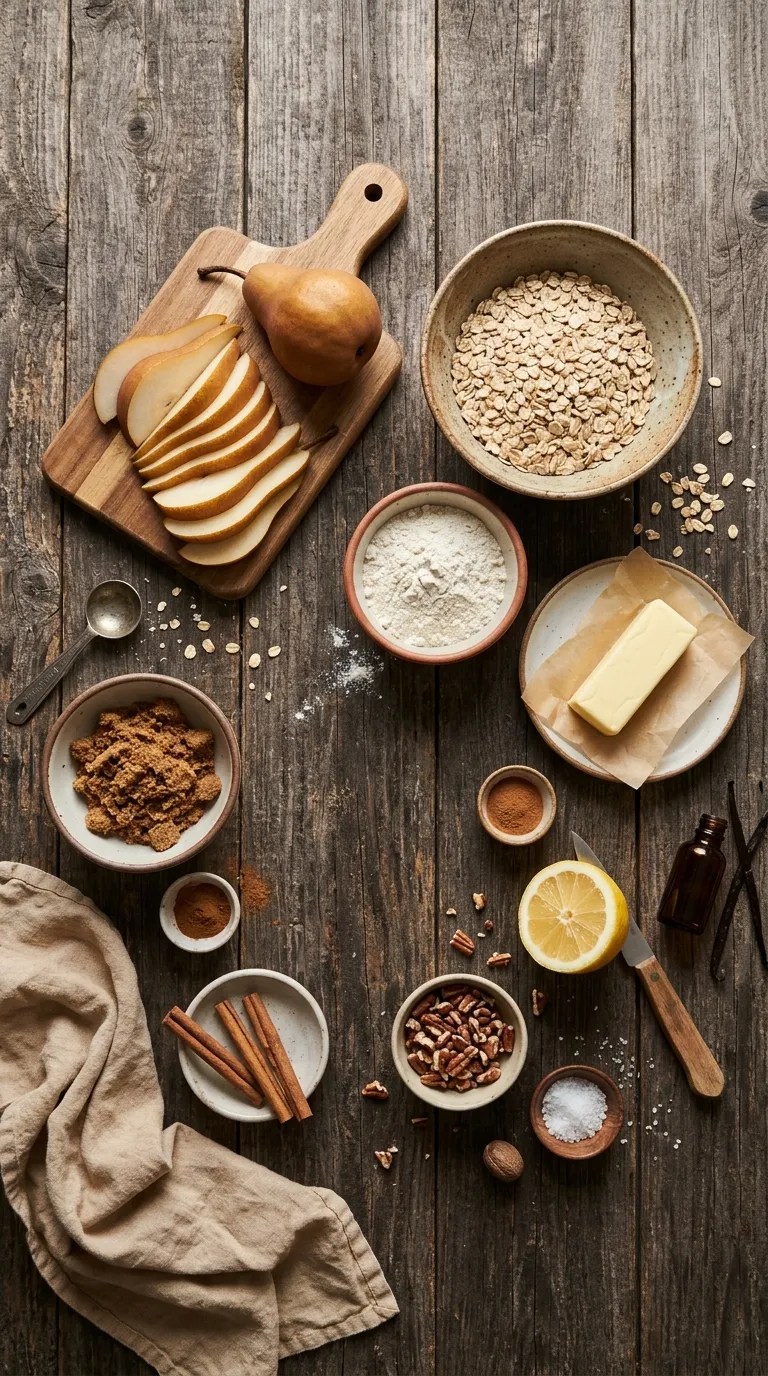
This recipe makes about 6 servings.
For the Pear Filling
- 6 medium ripe-but-firm pears, about 2 pounds total
- 2 tablespoons all-purpose flour
- 1/3 cup packed light brown sugar
- 1 teaspoon ground cinnamon
- 1/4 teaspoon ground nutmeg
- 1 tablespoon lemon juice
- 1 teaspoon vanilla extract
- 1/4 teaspoon salt
For the Oat Topping
- 1 cup old-fashioned rolled oats
- 3/4 cup all-purpose flour
- 1/2 cup packed light brown sugar
- 1/2 teaspoon ground cinnamon
- 1/4 teaspoon salt
- 6 tablespoons unsalted butter, melted
- 1/3 cup chopped pecans or walnuts, optional
A Few Ingredient Notes
Choose pears that feel ripe but still hold their shape when you press them gently. Very soft pears can turn mushy during baking.
Bartlett pears work beautifully here, but Anjou and Bosc pears also make excellent choices. If your pears vary in size, don’t worry. Aim for roughly 6 cups of sliced fruit.
You can replace the pecans with walnuts, almonds, or leave the nuts out completely. The topping still turns crisp and buttery without them.
If you only have dark brown sugar, use it. It gives the dessert a slightly deeper caramel flavor.
Step-by-Step Instructions

1. Heat the Oven — 5 Minutes
Preheat your oven to 375°F (190°C).
Lightly butter a 9-inch square baking dish or a similar 2-quart baking dish.
I usually put the baking dish on a rimmed baking sheet before it goes into the oven. The fruit gets wonderfully juicy as it cooks, and the baking sheet catches any bubbling that tries to escape.
2. Prepare the Pears — 5 to 7 Minutes
Peel the pears if you prefer a softer filling, although you can absolutely leave the skins on.
Cut each pear into quarters, remove the cores, and slice the quarters into pieces about 1/4-inch thick.
Don’t stress about making every slice identical. A few thicker pieces actually give the finished dessert some nice texture.
Put the sliced pears in a large bowl.
Add the brown sugar, flour, cinnamon, nutmeg, lemon juice, vanilla, and salt. Toss everything gently until the pears look evenly coated.
Let the mixture sit for about 5 minutes while you prepare the topping.
3. Make the Oat Topping — 5 Minutes
In a second bowl, stir together the oats, flour, brown sugar, cinnamon, salt, and chopped nuts if you’re using them.
Pour in the melted butter.
Use a fork to mix everything until you get loose, crumbly clusters. The mixture shouldn’t look like a smooth dough. You want little pieces that will bake into a golden, crunchy topping.
Here’s one small discovery I made after a few batches: don’t press the topping down firmly. When I did that, the center stayed softer than I wanted. Leaving the crumbs loose gives the topping much better texture.
4. Assemble the Dessert — 2 Minutes
Pour the seasoned pears into your prepared baking dish.
Spread them into an even layer.
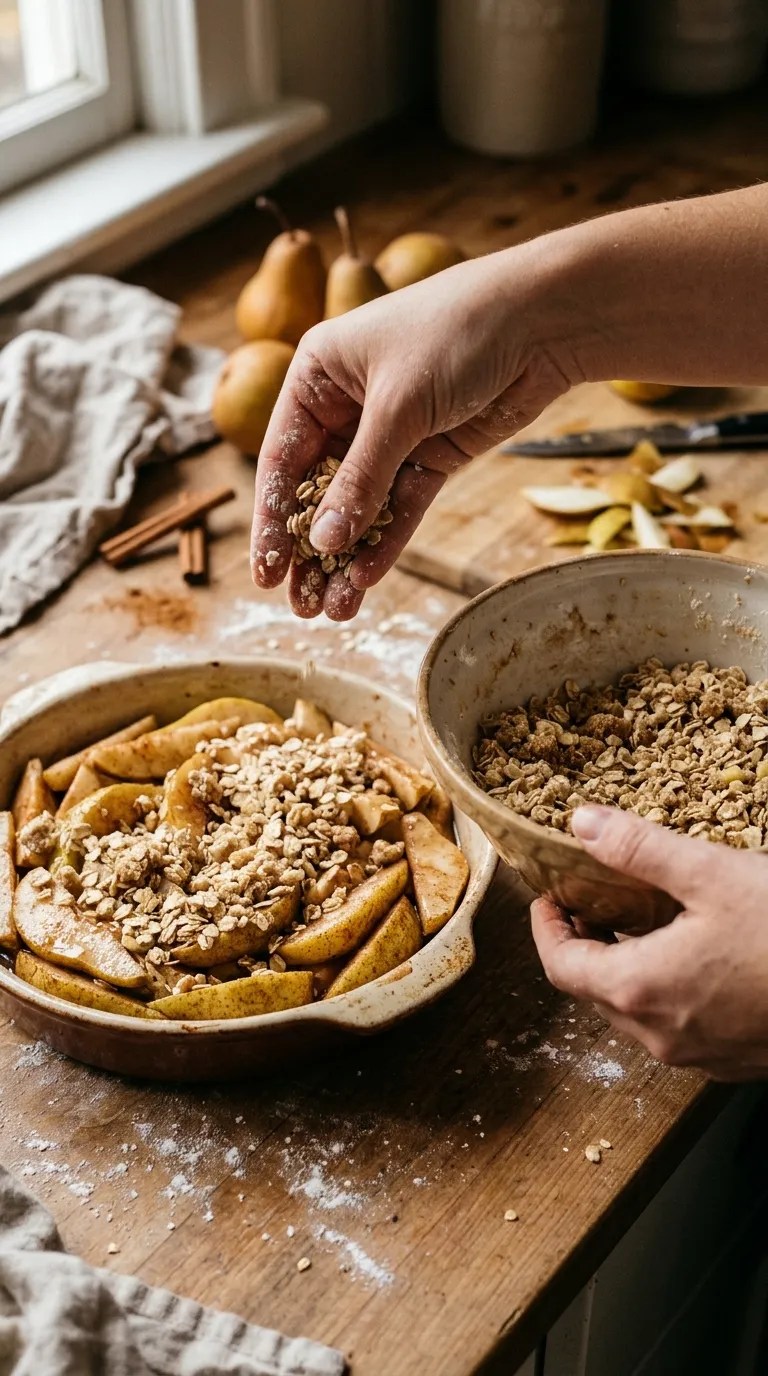
Scatter the oat mixture over the top, covering most of the fruit. Don’t worry if a few small gaps remain. The pears will bubble up around the topping as they bake.
5. Bake — 40 to 50 Minutes
Place the dish in the preheated oven.
Bake for 40 to 50 minutes, until the topping turns golden brown and the pear juices bubble around the edges.
Start checking around the 40-minute mark.
The best visual clue comes from the fruit around the sides. You should see active bubbling, and a knife should slide easily into the thicker pear pieces.
If the topping browns before the pears become tender, loosely cover the dish with foil and continue baking for another 5 to 10 minutes.
6. Let It Rest — 15 Minutes
Take the dessert out of the oven and let it rest for about 15 minutes.
I know it’s tempting to grab a spoon immediately. I’ve done it plenty of times.
But giving the dessert a short rest lets the bubbling fruit juices settle and gives the topping a chance to firm up slightly.
Serve it warm rather than piping hot.
Pro Tips & Tricks
Pick pears that can handle the oven
The biggest mistake I’ve made with this dessert came from using pears that were already extremely soft.
They tasted great, but they practically melted into the filling. If your pears feel very soft, reduce the baking time slightly and check them early.
Don’t skip the lemon juice
You only need one tablespoon, but it brightens the sweet pears and keeps the flavor from becoming too heavy.
It also adds a nice contrast to the brown sugar and warm spices.
Keep the topping crumbly
Melted butter makes this topping incredibly easy to mix, but don’t overwork it.
Stir just until crumbs form. Then scatter them over the fruit rather than packing them down.
Let the dessert rest before serving
Give it at least 10 to 15 minutes after baking.
The filling will still feel warm and gooey, but it won’t be quite as loose as it is straight from the oven.
Make it ahead
You can prepare the pear filling and topping separately several hours ahead.
Keep both covered in the refrigerator, then assemble just before baking.
For the crispiest topping, I prefer not to assemble the entire dish too far ahead. The pears release juice as they sit, which can make the topping softer.
Store leftovers properly
Cover the cooled dessert and refrigerate it for up to 4 days.
Reheat individual portions in the microwave for a quick treat, or warm the whole dish in a 325°F (165°C) oven until heated through.
The oven does a better job of bringing back some of the topping’s crispness.
Variations & Substitutions
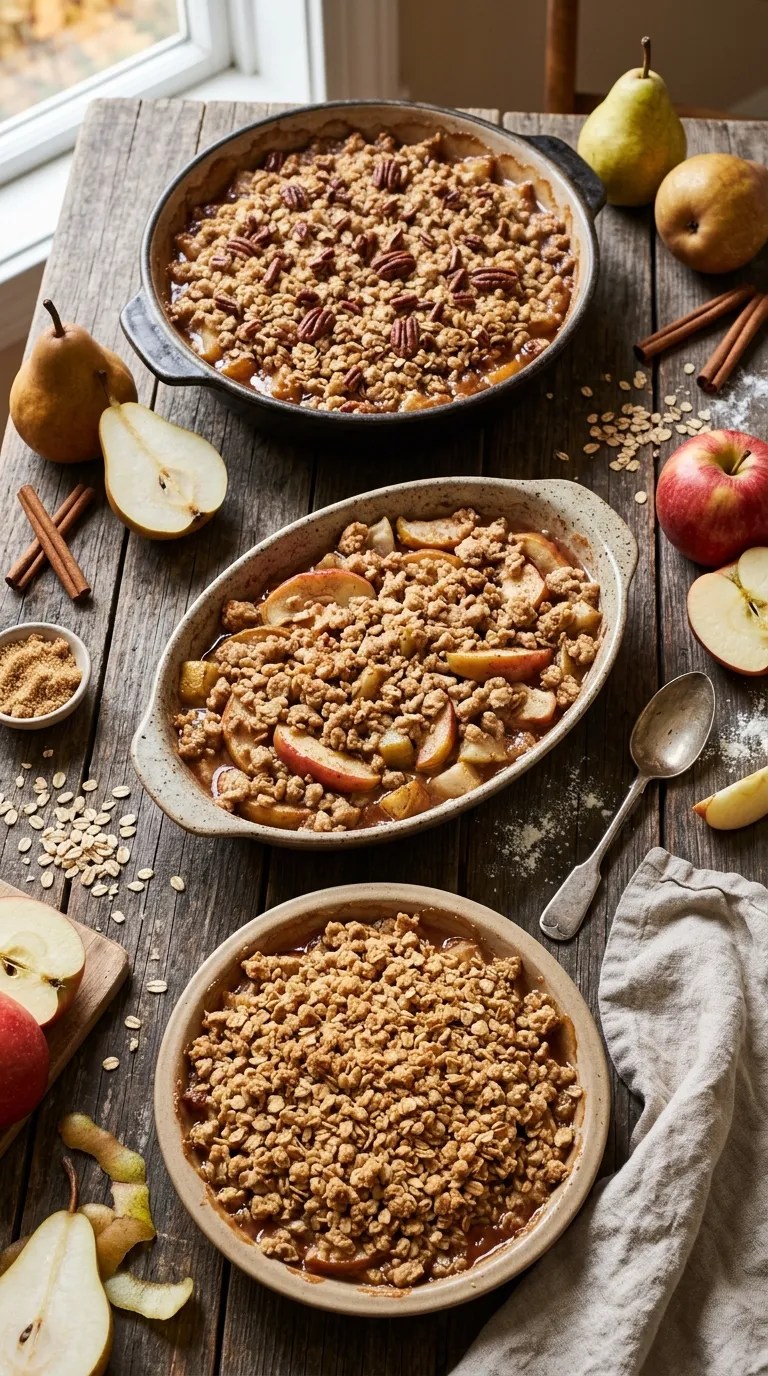
Add apples for a classic fall combination
If you have a couple of apples sitting beside the pears, use them.
Replace 2 of the pears with 2 medium apples and prepare the recipe as written. Choose apples that hold their shape during baking, such as Granny Smith, Honeycrisp, or Pink Lady.
The apples add a little extra tartness, while the pears keep the filling soft and fragrant.
Make it nut-free
Simply leave out the pecans or walnuts.
For extra crunch, increase the rolled oats by 2 tablespoons. You can also add a couple of tablespoons of sunflower seeds if they suit your table.
Make it gluten-free
Use a certified gluten-free oat product and replace the all-purpose flour with a 1-to-1 gluten-free baking flour.
Check the labels on your oats and flour if you’re cooking for someone who needs to avoid gluten.
Give it a ginger twist
For a slightly more warming flavor, add 1/2 teaspoon ground ginger to the pear filling.
You could also add a small pinch of ground cardamom. I wouldn’t use both in large amounts because they can easily overpower the delicate pear flavor.
Serving Suggestions

My favorite way to serve this easy pear dessert recipe for fall is warm with a scoop of vanilla ice cream.
The ice cream melts into the warm pears and oat topping, creating a creamy contrast that makes a simple dessert feel downright indulgent.
For a dinner party, spoon individual portions into small bowls and add a little whipped cream.
If you’re serving it at brunch, try it with plain Greek yogurt instead of ice cream. The tangy yogurt works especially well with the sweet, cinnamon-spiced fruit.
You can also drizzle a little caramel sauce over the top. Keep the drizzle light, though. The pears and brown sugar already bring plenty of sweetness.
This dessert fits just about any cozy fall occasion: Sunday dinner, Thanksgiving week, a casual family meal, or one of those chilly evenings when you want something warm without spending an hour in the kitchen.
Related Recipes:
- Cozy Pumpkin Dessert for Autumn
- Creative Halloween Dessert Ideas for Parties
- Easy Apple Desserts for Fall Baking
- Easy Thanksgiving Dessert Ideas for a Crowd
FAQ’s
Can I use unripe pears?
Yes, but very firm pears may need a little extra baking time.
If your pears feel rock-hard, let them ripen for a few days before making the dessert. You want them firm enough to hold their shape but ripe enough to become tender in the oven.
Do I need to peel the pears?
No.
Leaving the skins on saves time and adds texture. I usually peel pears when their skins feel particularly tough, but otherwise I leave them on.
Can I prepare this dessert the day before?
Yes.
You can bake it the day before, refrigerate it once completely cool, and reheat it before serving.
For the best topping texture, warm it uncovered in a 325°F oven rather than relying entirely on the microwave.
Can I freeze pear dessert?
Yes, although the topping may lose some of its original crispness after freezing.
Cool the baked dessert completely, cover it tightly, and freeze it for up to about 2 months for the best quality.
Thaw it in the refrigerator overnight, then reheat it uncovered in a moderate oven until warm.
Why did my pear dessert turn watery?
Pears naturally release liquid as they cook.
Very ripe pears can release more juice, and overcrowding the dish can also affect how quickly the liquid cooks away.
The flour in the filling helps thicken those juices. Also, don’t skip the resting time after baking. The filling thickens as it cools slightly.
Why isn’t my topping crispy?
A topping can stay soft if it contains too much moisture or if you press it into a dense layer.
For this recipe, mix the melted butter into the dry ingredients just until crumbs form, then scatter the mixture loosely over the pears.
If you’re reheating leftovers, use the oven instead of the microwave when you want the topping to crisp up again.
Final Thought
I love recipes that make a regular evening feel a little more special without turning the kitchen upside down.
This easy pear dessert recipe for fall has become one of those recipes for me. I can make it when I have extra pears, when friends are coming over, or when I simply want the house to smell like cinnamon and baked fruit.
And don’t worry if your first batch isn’t picture-perfect. Maybe the topping browns a little more than planned. Maybe you cut the pears too thick. Maybe you sneak a spoonful before dinner.
I’ve done all three.
What matters is that you end up with tender, warmly spiced pears and a buttery oat topping that begs for a spoonful of vanilla ice cream.
If you make it, I’d love to hear how you changed it—whether you added apples, swapped the nuts, or gave it an extra pinch of cinnamon. That’s
Leave a Reply
You must be logged in to post a comment.