

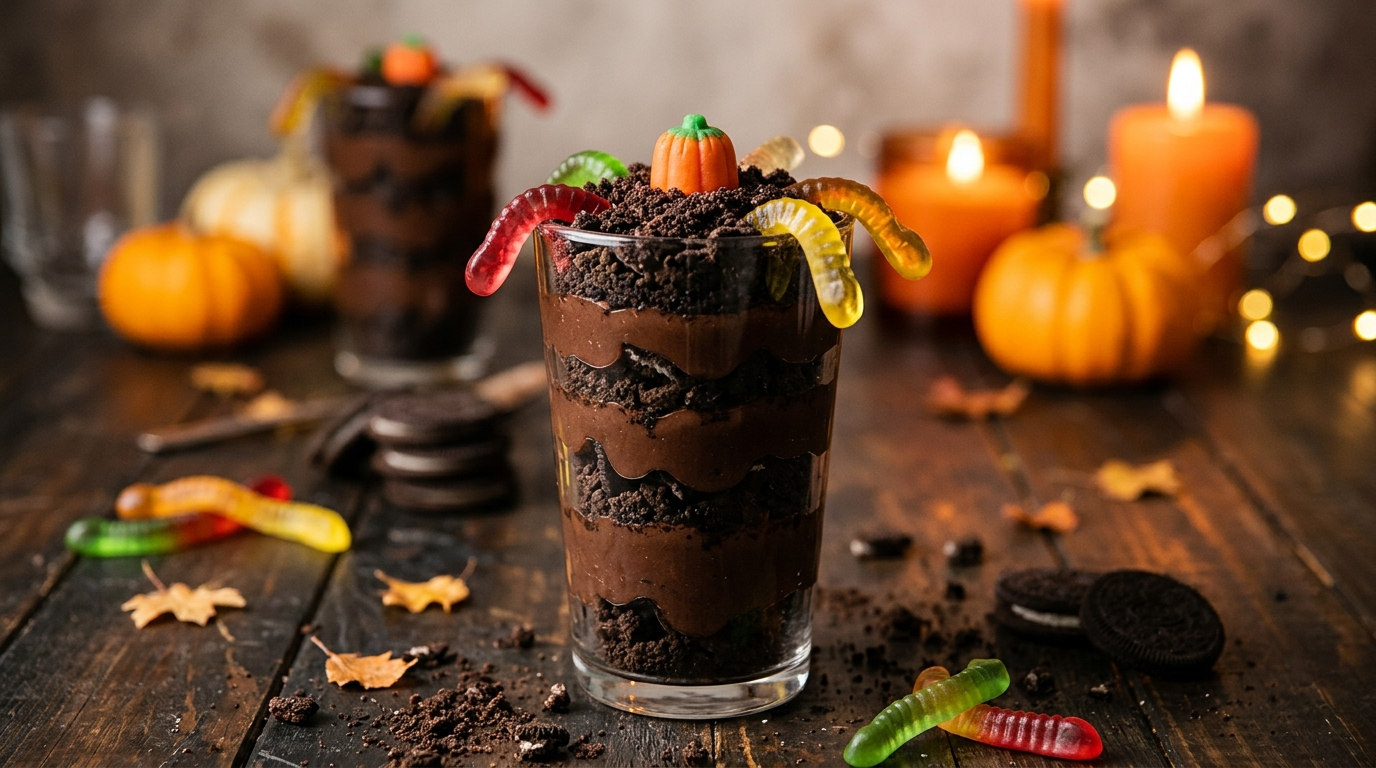
The first time I made dirt and worm dessert, I expected the kids to enjoy it. I didn’t expect them to hover around the refrigerator asking when they could dig in.
I had planned it as a quick Halloween treat for a small party, and I almost made one big dish. At the last minute, I switched to individual clear cups. That tiny change made the dessert feel much more special. Each cup looked like a little patch of chocolate dirt with gummy worms hiding underneath and popping out of the top.
I also learned one important lesson: crush the cookies more finely than you think you need to. My first batch had a few big cookie pieces mixed in, and they made the “soil” look less convincing. The next time, I pulsed the cookies until they looked like dark, loose dirt, and the whole dessert came together beautifully.
This Halloween dessert has become one of my favorite party recipes because it requires no oven, uses simple supermarket ingredients, and gives you plenty of room to get creative.
Why You’ll Love This Recipe

- No baking required: You can make the whole dessert without turning on the oven.
- Great for Halloween parties: The chocolate “dirt” and gummy worms do all the decorating work.
- Easy to make ahead: Assemble the cups several hours before the party and chill them until serving.
- Kid-friendly fun: Children can help crush cookies, layer the pudding, and place the worms.
- Easy to customize: Use different cookies, candies, or toppings to create your own spooky scene.
Ingredients You’ll Need
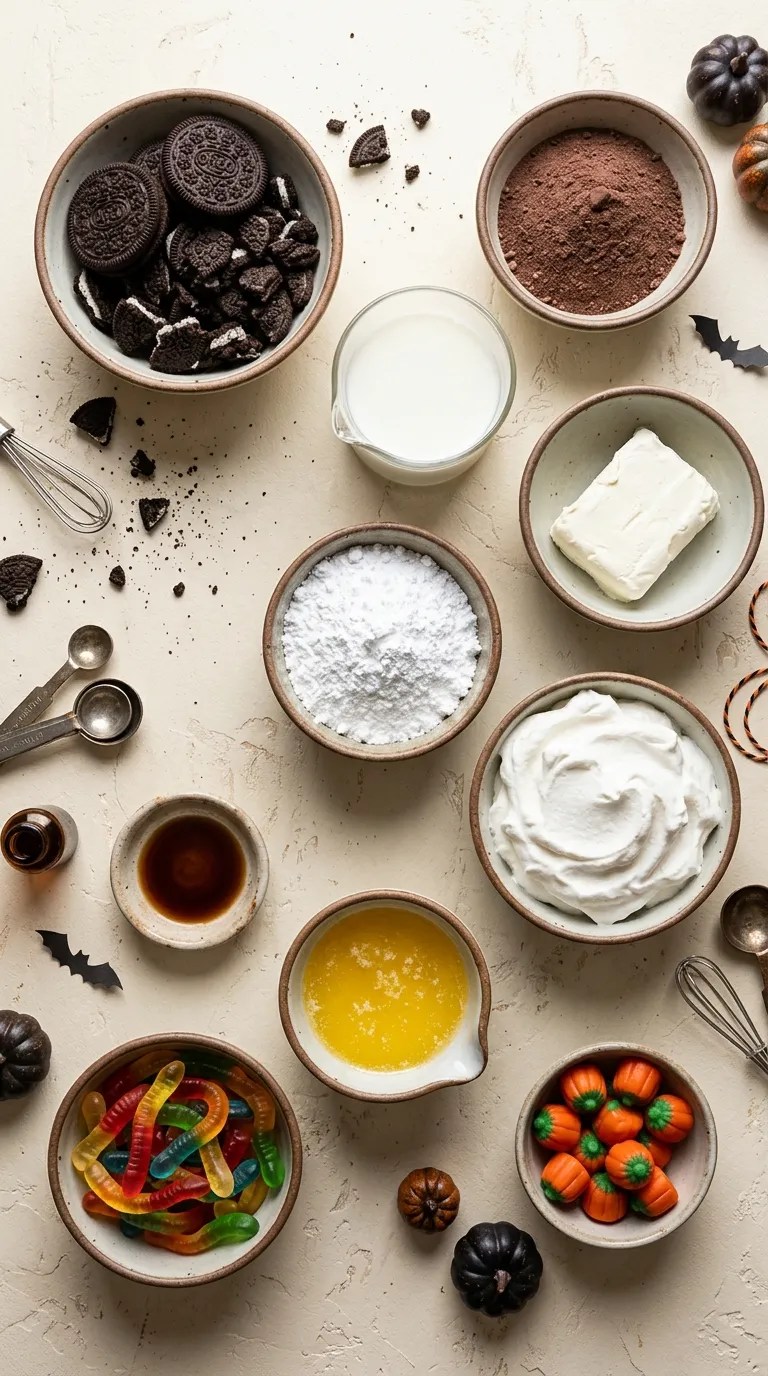
This recipe makes about 10 individual 8-ounce dessert cups, depending on how generously you fill them.
For the chocolate pudding
- 1 package (5.9 ounces) instant chocolate pudding mix
- 3 cups cold whole milk
- 1 teaspoon vanilla extract
You can use 2% milk if that’s what you have, although whole milk gives the pudding a slightly richer texture.
For the creamy layer
- 8 ounces cream cheese, softened
- 1/2 cup powdered sugar
- 1 teaspoon vanilla extract
- 8 ounces whipped topping, thawed
For a little extra chocolate flavor, you can replace about 1/4 cup of the whipped topping with chocolate whipped topping.
For the “dirt”
- 24 chocolate sandwich cookies
- 2 tablespoons unsalted butter, melted
The butter isn’t strictly necessary, but I like using it because it helps the cookie crumbs hold together slightly instead of becoming loose powder.
For decorating
- 20–30 gummy worms
- 1/4 cup chocolate cookie crumbs, reserved for topping
- Candy pumpkins, candy eyeballs, or other Halloween candies, optional
Substitution tip: You can use chocolate wafer cookies instead of sandwich cookies. If you use a very sweet cookie, reduce the powdered sugar slightly in the creamy layer.
Step-by-Step Instructions
1. Crush the chocolate cookies — 5 minutes
Place the chocolate sandwich cookies in a food processor and pulse until they resemble fine, dark crumbs.
Don’t process them continuously for too long. A few short pulses give you better control and help prevent the cookies from turning into a completely compact paste.
If you don’t have a food processor, place the cookies in a sturdy zip-top bag and crush them with a rolling pin. This method takes a little longer, but it works perfectly well.
Set aside about 1/4 cup of crumbs for the final topping.
2. Make the chocolate pudding — 5 minutes
Pour the cold milk into a large mixing bowl.
Add the instant chocolate pudding mix and whisk for about 2 minutes, or according to the package directions.
The mixture should become noticeably thicker and smooth out as you whisk.
Stir in 1 teaspoon of vanilla extract.
Let the pudding sit for about 5 minutes so it can finish setting.
3. Prepare the creamy mixture — 5 to 7 minutes
Add the softened cream cheese to another mixing bowl.
Beat it with an electric hand mixer or stand mixer until smooth. Add the powdered sugar and vanilla, then beat again until everything looks creamy.
Fold in the thawed whipped topping with a rubber spatula.
Don’t beat the whipped topping aggressively at this stage. Gentle folding keeps the mixture light and fluffy.
4. Combine the pudding and cream mixture — 2 minutes
Add the chocolate pudding to the cream cheese mixture.
Fold everything together until you no longer see obvious streaks of white cream cheese mixture.
The finished filling should look thick, creamy, and chocolatey.
I recommend tasting it here. This is where I usually discover whether I want a slightly stronger vanilla flavor, and it’s much easier to adjust before you start assembling the cups.
5. Prepare the cookie “dirt” — 2 minutes
Pour the crushed cookies into a bowl.
Add the melted butter and stir until the crumbs are evenly coated.
You don’t want wet cookie crumbs. They should still look loose and sandy, almost like damp soil.
If the mixture seems too sticky, add another tablespoon or two of crushed cookies.
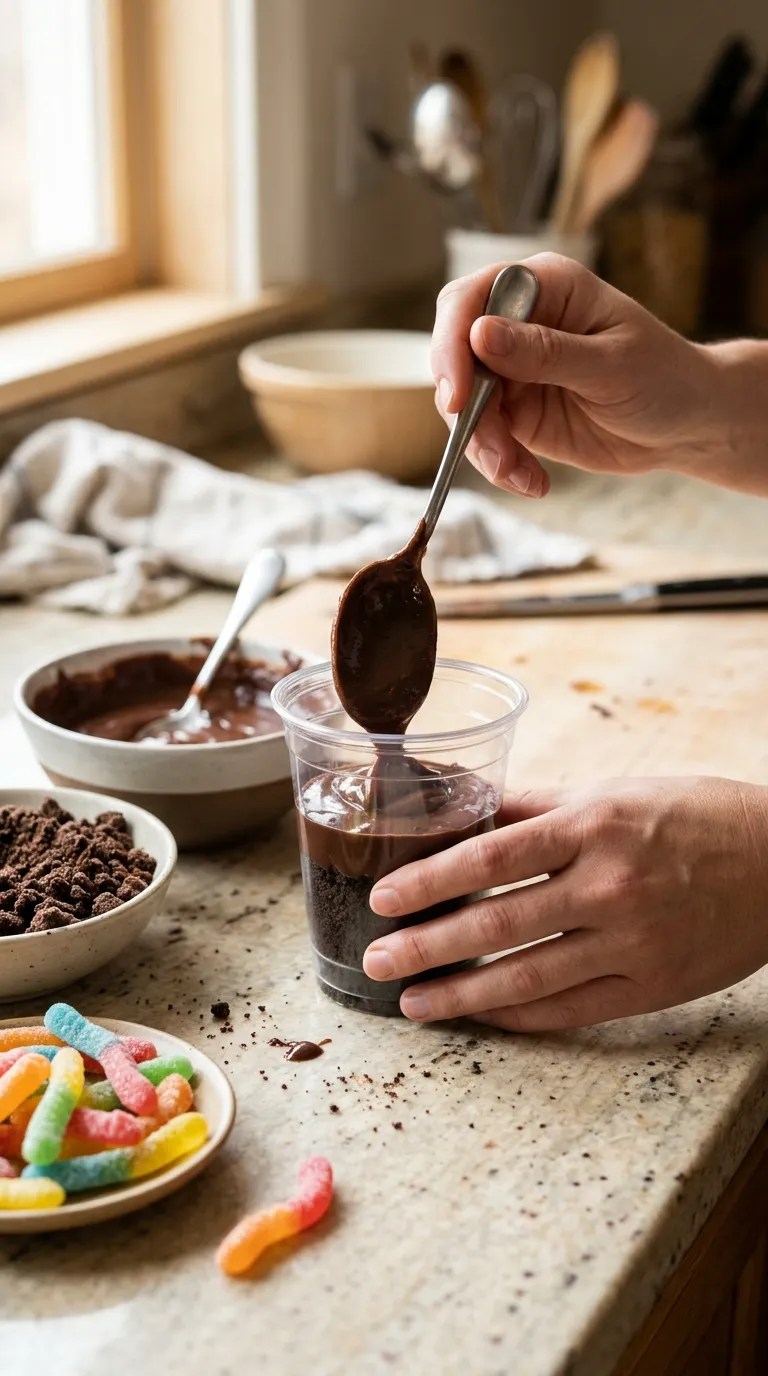
6. Start layering the dessert — 10 minutes
Set out 10 clear plastic cups, small glass jars, or dessert glasses.
Add approximately 2 tablespoons of cookie crumbs to the bottom of each cup.
Next, spoon or pipe in a layer of the chocolate pudding mixture.
Add another layer of cookie crumbs.
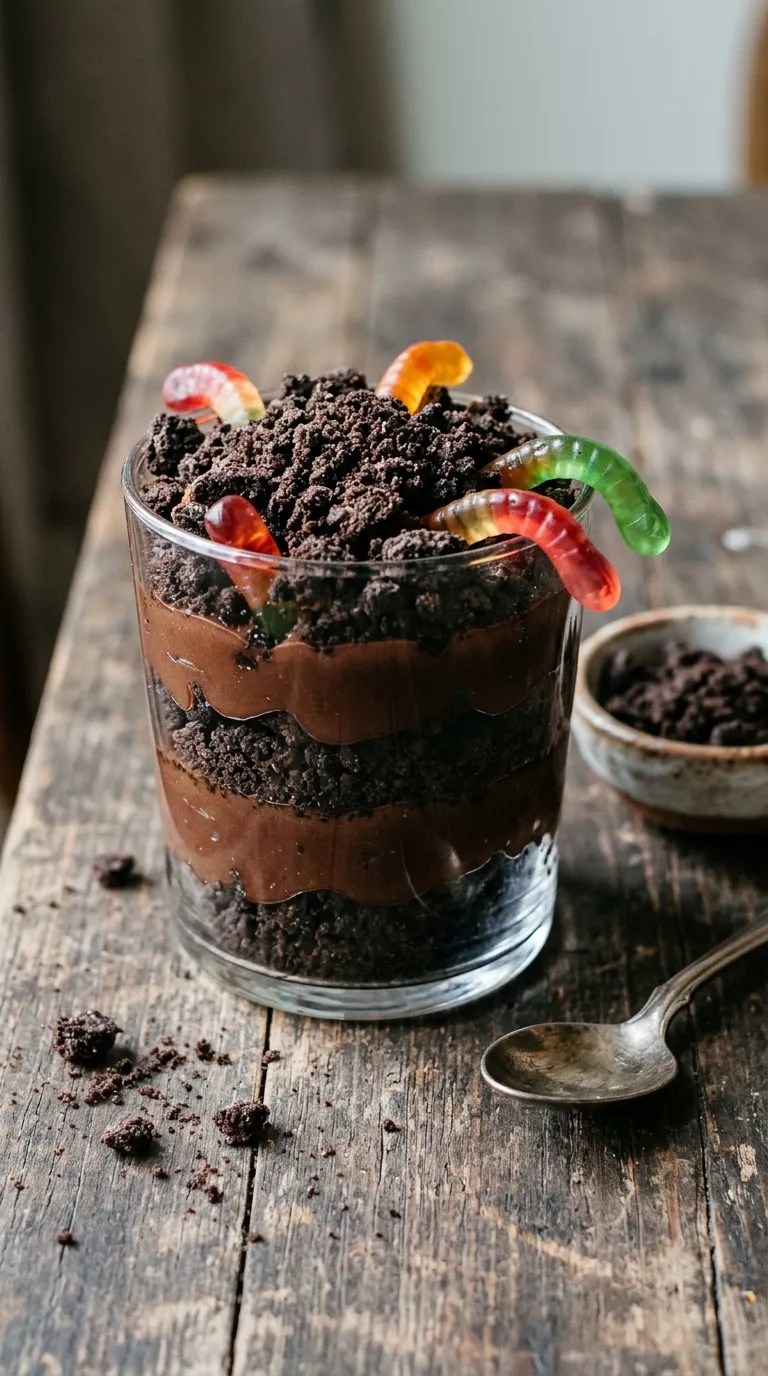
Continue alternating the creamy filling and cookie crumbs until the cups are nearly full.
Don’t worry about making every layer perfectly even. Once you add the worms and decorations, the slightly messy look actually makes the dessert more convincing.
7. Add the gummy worms
This is the fun part.
Push a gummy worm partially into the chocolate crumbs so it looks as though it’s crawling through the dirt.
For a more playful appearance, let one worm hang over the edge of a cup.
You can also bury a few worms completely beneath the top layer. Guests get a little surprise when they scoop into the dessert.
8. Add the final dirt layer — 2 minutes
Spoon the reserved cookie crumbs over the top of each cup.
Cover the creamy filling completely so the surface looks like a little patch of chocolate soil.
Add candy pumpkins, candy eyeballs, or other Halloween decorations if you like.
9. Chill before serving — at least 1 hour
Cover the cups loosely with plastic wrap and refrigerate for at least 1 hour.
I usually make them about 3–4 hours before the party. That gives the layers enough time to chill while keeping the cookie topping pleasantly textured.
For the best appearance, add delicate decorations shortly before serving.
Pro Tips & Tricks
Crush the cookies properly
The cookie crumbs make or break the visual effect.
Aim for a mixture that resembles fine soil rather than large cookie chunks. If you’re using a food processor, short pulses work better than letting the blade run continuously.
Soften the cream cheese first
Cold cream cheese tends to leave little lumps in the filling.
Let it sit at room temperature for about 30 minutes before mixing. If you forget, cut it into small cubes so it softens more quickly.
Don’t overfill the cups
Leave a little room at the top for the cookie dirt and gummy worms.
Overfilled cups also become difficult to carry, especially when you’re serving children.
Use clear containers
Clear cups let everyone see the layers.
I especially like 8-ounce clear plastic dessert cups for parties because they’re lightweight and don’t require washing afterward.
For a smaller family gathering, small glass dessert dishes look lovely on a Halloween table.
Keep the worms fresh-looking
Gummy worms can become sticky if they sit directly on a moist pudding layer for a long time.
For the best texture, tuck them into the cookie crumbs rather than leaving them buried in the creamy filling.
Make the layers ahead
You can assemble the pudding and cookie layers several hours before serving.
For the freshest-looking worms and decorations, add the final candy pieces closer to party time.
Variations & Substitutions
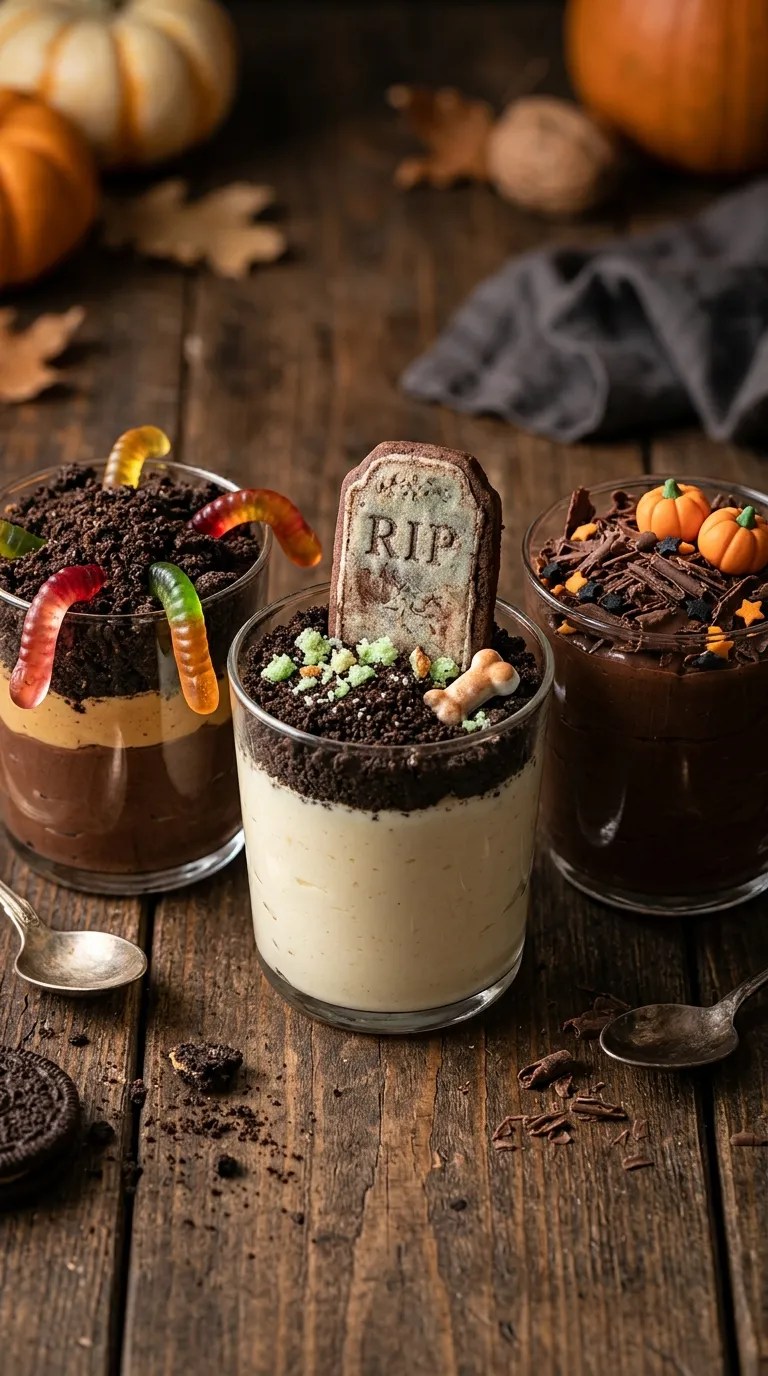
Make a peanut butter dirt cup
If your party guests enjoy peanut butter and chocolate together, add a thin layer of smooth peanut butter between the pudding layers.
For a simple version, stir 1/3 cup creamy peanut butter with 2 tablespoons powdered sugar until smooth. Add small spoonfuls between the chocolate layers.
Check the labels carefully if you’re serving guests with food allergies.
Try a vanilla “graveyard” version
For a lighter-colored dessert, replace the chocolate pudding with vanilla instant pudding and use crushed chocolate cookies as the dirt.
Add small chocolate sandwich cookies decorated like tombstones.
You can write little names or spooky messages on the cookies with icing, turning each dessert cup into a tiny Halloween graveyard.
Make it extra chocolatey
Chocolate lovers can add a layer of mini chocolate chips or chocolate shavings between the pudding and cookie crumbs.
I wouldn’t add too much, though. The pudding already gives you plenty of chocolate flavor, and too many mix-ins can make the dessert heavy.
Dairy-free option
Use a dairy-free instant pudding preparation that works with your chosen milk alternative, along with dairy-free cream cheese and dairy-free whipped topping.
Always check the package instructions because different pudding mixes behave differently with plant-based milks.
Serving Suggestions

Dirt and worm dessert works especially well for Halloween parties, school celebrations, family movie nights, and October birthday parties.
For a party table, place the cups on a large tray and scatter a few wrapped Halloween candies around them. Keep the decorations simple so the dessert remains easy to serve.
You can also turn the dessert into a fun activity.
Set out bowls of cookie crumbs, gummy worms, candy pumpkins, and other toppings. Let everyone decorate their own cup. This works particularly well when you want a party activity that doesn’t require cooking.
For a larger gathering, make the recipe in a 9-by-13-inch baking dish instead of individual cups. Layer the cookie crumbs and pudding mixture in the dish, then add gummy worms across the top.
Individual cups look more festive, while the baking-dish version saves time when you’re feeding a crowd.
I like serving these cold straight from the refrigerator. You don’t need any additional sauce or topping because the creamy chocolate filling, cookie crumbs, and gummy candy already give you plenty of texture.
Related Recipes:
- Creative Halloween Dessert Ideas for Parties
- Easy Halloween Desserts for Beginners
- Easy Halloween Party Desserts for All Ages
- Spooky Halloween Oreo Dirt Cups Kids and Adults
FAQ’s
Can I make Dirt and Worm Dessert the day before?
Yes, you can prepare most of it the day before.
Assemble the pudding and cookie layers, cover the cups, and refrigerate them overnight. For the best texture, add the gummy worms and delicate decorations on the day you plan to serve them.
How long does Dirt and Worm Dessert last in the refrigerator?
Store the covered dessert cups in the refrigerator and use them within about 2–3 days for the best quality.
The cookies will gradually soften as they sit next to the pudding, so the texture changes over time. I prefer them within the first 24 hours.
Can I freeze this dessert?
I don’t recommend freezing the finished dessert.
The creamy mixture and whipped topping can change texture after freezing and thawing, while the cookie crumbs can become softer than you’d want.
Instead, prepare the components ahead and assemble the cups closer to the party.
What can I use instead of gummy worms?
You can use gummy frogs, gummy spiders, candy pumpkins, or other Halloween-themed candies.
If you want to keep the “garden soil” idea without gummy candy, chocolate-covered raisins can also make a fun topping.
Why did my pudding mixture turn out too runny?
First, check that you used the correct amount of milk for your pudding mix.
Instant pudding can also stay softer if you use a milk alternative that doesn’t work well with that particular mix. Follow the package directions and give the pudding a few extra minutes to set before combining it with the creamy mixture.
Can I make one large Dirt and Worm Dessert instead of individual cups?
Absolutely.
A 9-by-13-inch dish works well for a party. Build the same layers in the dish, finishing with plenty of cookie crumbs and gummy worms.
It’s probably the easiest option when you’re serving a large group.
Final Thought
Every time I make this dessert, I remember that Halloween food doesn’t need to be complicated to feel special.
A few simple ingredients, clear cups, and a handful of gummy worms turn an ordinary chocolate pudding dessert into something that gets people smiling before they even take the first bite.
My favorite part is still watching everyone dig through the “dirt” looking for worms. It sounds silly, but that’s exactly what makes this dessert work.
If you’re making Dirt and Worm Dessert for a Halloween party, don’t worry about making every cup identical. Let the worms stick out at funny angles, make some cups extra muddy, and add whatever spooky candy you already have in the pantry.
That’s where the fun starts.
Leave a Reply
You must be logged in to post a comment.