

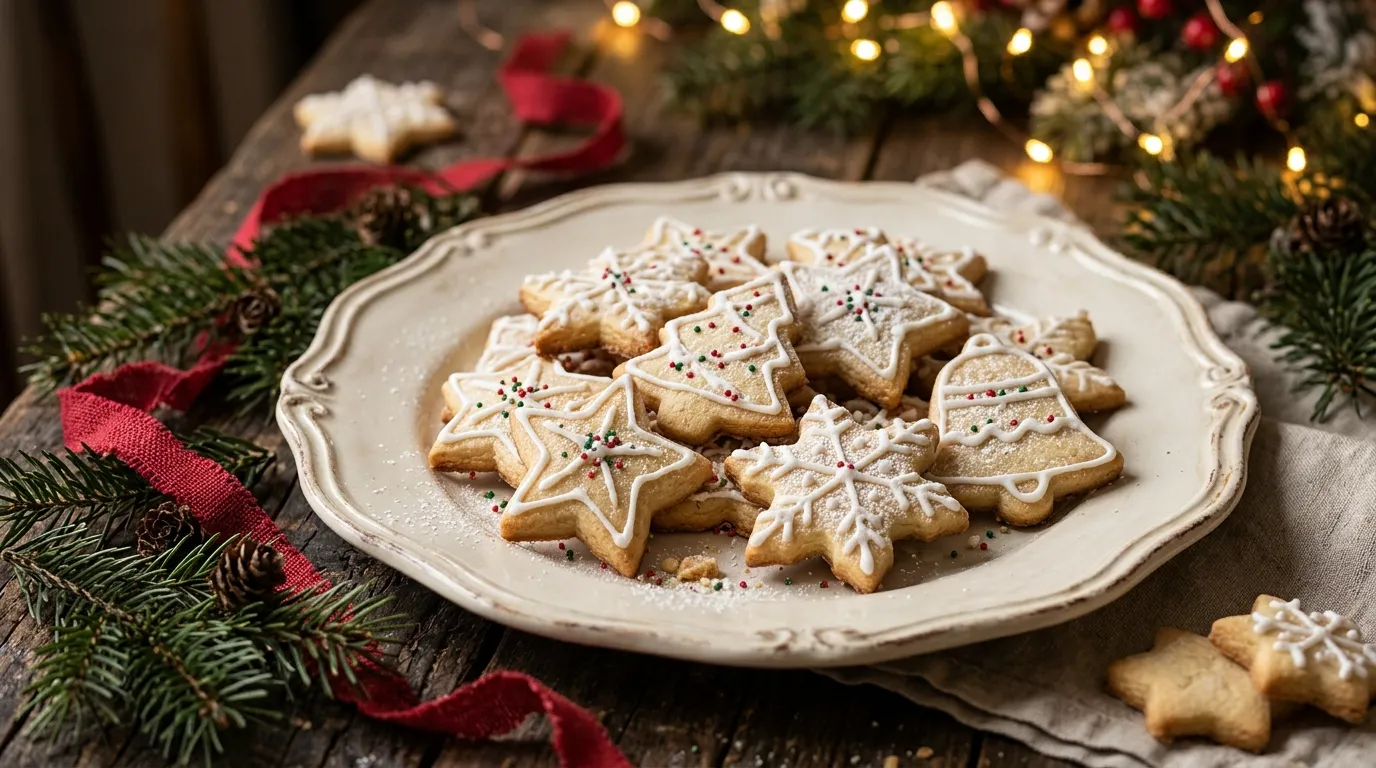
There is something about the smell of freshly baked cookies that makes Christmas feel a little closer. For me, it is the combination of butter, vanilla, sugar, and a hint of almond filling the kitchen while holiday music plays in the background.
I love the kind of Christmas cookies that look as though they came straight from an old family recipe box. Nothing overly fancy, nothing complicated, just pretty little cookies with golden edges, delicate centers, and colorful sprinkles.
That’s exactly what inspired this vintage Christmas cookie recipe.
These old-fashioned butter cookies remind me of the holiday baking traditions many families have enjoyed for generations. They have a tender, slightly crisp texture, a rich buttery flavor, and just enough sweetness to make them perfect alongside a warm cup of tea or hot chocolate.
The best part? You don’t need professional baking skills or expensive equipment. A mixing bowl, a baking sheet, and a little holiday spirit will get you started.
I also love how versatile these cookies are. You can cut them into stars, bells, Christmas trees, or simple circles. Add red and green sprinkles, a little icing, or leave them plain for that charming vintage look.
Whether you’re preparing a Christmas cookie platter, filling homemade gift tins, or starting a new family tradition, these cookies deserve a place in your holiday kitchen.
Why You’ll Love This Vintage Christmas Cookie Recipe

There are plenty of holiday desserts to choose from, but these old-fashioned Christmas cookies have a special charm.
Here’s why I keep coming back to this recipe:
- Simple pantry ingredients: You probably already have most of what you need, including butter, flour, sugar, and eggs.
- Beautifully nostalgic: Their buttery flavor and classic appearance bring back memories of traditional holiday baking.
- Easy to decorate: Use festive sprinkles, colored sugar, or a simple vanilla glaze.
- Perfect for gifting: They hold their shape nicely and fit beautifully into Christmas cookie tins.
- Great for making ahead: Prepare the dough in advance and bake whenever you need a fresh batch.
Another thing I appreciate is that you can make these cookies your own. Every batch can look a little different, which is part of their homemade charm.
Ingredients for Old-Fashioned Christmas Butter Cookies
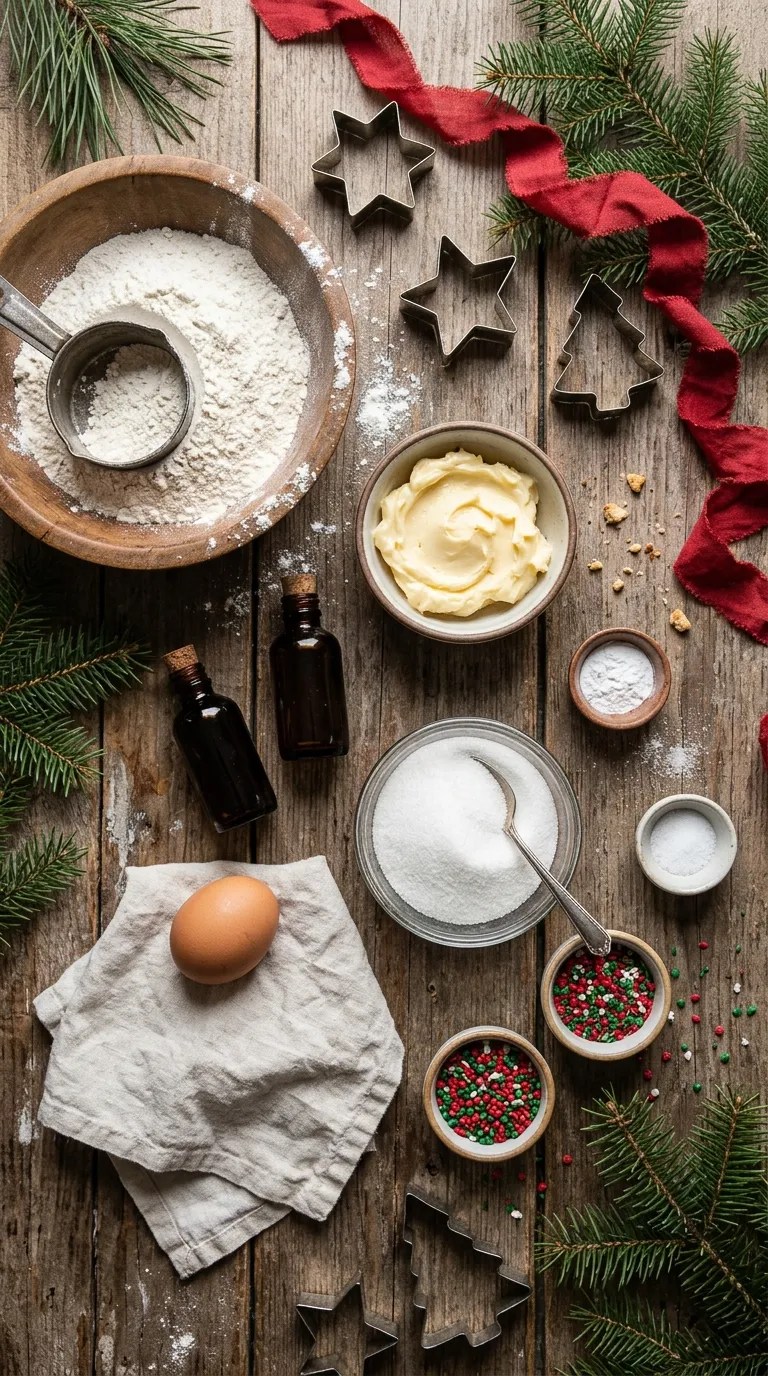
Fun And Festive Butter Cookies Recipe
This recipe makes approximately 30–36 cookies, depending on the size of your cookie cutters.
Preparation time: 20 minutes
Chilling time: 30–45 minutes
Baking time: 9–12 minutes per batch
Total time: Approximately 1 hour 15 minutes
Yield: 30–36 cookies
For the cookie dough
- 1 cup (226 g) unsalted butter, softened to room temperature
- ¾ cup (150 g) granulated sugar
- 1 large egg, at room temperature
- 2 teaspoons pure vanilla extract
- ½ teaspoon almond extract (optional)
- 2¼ cups (280 g) all-purpose flour
- ½ teaspoon baking powder
- ¼ teaspoon salt
For decorating
- ¼ cup (50 g) red and green sanding sugar
- 2–3 tablespoons Christmas sprinkles
- ½ cup (60 g) powdered sugar, for optional icing
- 1–2 tablespoons milk
- ¼ teaspoon vanilla extract
Ingredient notes and substitutions
Butter: Unsalted butter gives you better control over the flavor. If you only have salted butter, use it and leave out the additional salt.
Vanilla extract: Pure vanilla adds a lovely traditional flavor. Imitation vanilla also works if that’s what you have in the pantry.
Almond extract: This is optional, but I recommend trying it. A little almond extract gives these cookies the nostalgic flavor often associated with old-fashioned bakery cookies.
Flour: Regular all-purpose flour works best. Spoon it into your measuring cup and level the top rather than scooping directly from the flour bag.
Sprinkles: Choose classic red and green decorations, white sugar crystals, or tiny silver-colored decorative sprinkles.
Step-by-Step Instructions for Vintage Christmas Cookies
Best Shortbread Cookies Recipe – How To Make Shortbread Cookies
Overhead view of cookie dough rolled out on cutting board – Christmas Cookies
9
Let’s get baking! The process is straightforward, but a few small details make a big difference in the final texture.
Step 1: Prepare Your Baking Equipment
Time: 5 minutes
Start by preheating your oven to 350°F (175°C).
Line two baking sheets with parchment paper. Silicone baking mats also work well.
I prefer parchment paper because it helps prevent sticking and makes cleanup easier.
Take your butter and egg out of the refrigerator ahead of time if you haven’t already. Room-temperature ingredients combine more smoothly and help create an even cookie dough.
Step 2: Cream the Butter and Sugar
Time: 3–4 minutes
Place the softened butter and granulated sugar into a large mixing bowl.
Using a hand mixer or stand mixer fitted with the paddle attachment, beat them together for approximately 3–4 minutes.
The mixture should look pale, creamy, and fluffy.
Don’t rush this step. Properly creamed butter and sugar help create a tender cookie with a pleasant texture.
One mistake I learned to avoid is using butter that’s too soft or melted. If the butter looks oily, your cookies may spread more than you want during baking.
Step 3: Add the Egg and Flavorings
Time: 1–2 minutes
Add the egg to the butter mixture and beat until fully combined.
Next, add the vanilla extract and optional almond extract.
Mix until everything looks smooth.
At this point, the kitchen should already smell wonderfully sweet. The combination of vanilla and almond is one of my favorite parts of this vintage Christmas cookie recipe.
Scrape down the sides of your bowl with a silicone spatula to make sure everything mixes evenly.
Step 4: Combine the Dry Ingredients
Time: 2 minutes
In a separate medium-sized bowl, whisk together:
- All-purpose flour
- Baking powder
- Salt
Whisking helps distribute the baking powder and salt throughout the flour.
Gradually add the dry ingredients to your butter mixture.
Mix on low speed just until the flour disappears and a soft dough forms.
Avoid overmixing. Too much mixing can develop the gluten in the flour and make your finished cookies tougher than you want.
The dough should feel soft and pliable without sticking heavily to your fingers.
If it seems extremely sticky, add flour one tablespoon at a time, but avoid adding too much.
Step 5: Chill the Cookie Dough
Time: 30–45 minutes
How Long to Chill Cookie Dough Before Baking (5 Expert Tips)
Divide the dough into two portions and flatten each portion into a disk.
Wrap them in plastic wrap and refrigerate for 30–45 minutes.
This step makes rolling and cutting much easier.
It also helps the cookies hold their shapes during baking.
I once skipped chilling because I was in a hurry to finish my holiday baking. The cookies still tasted good, but the edges spread more than I wanted, and some of my little Christmas trees lost their shape.
Trust me, a little patience here makes decorating much easier.
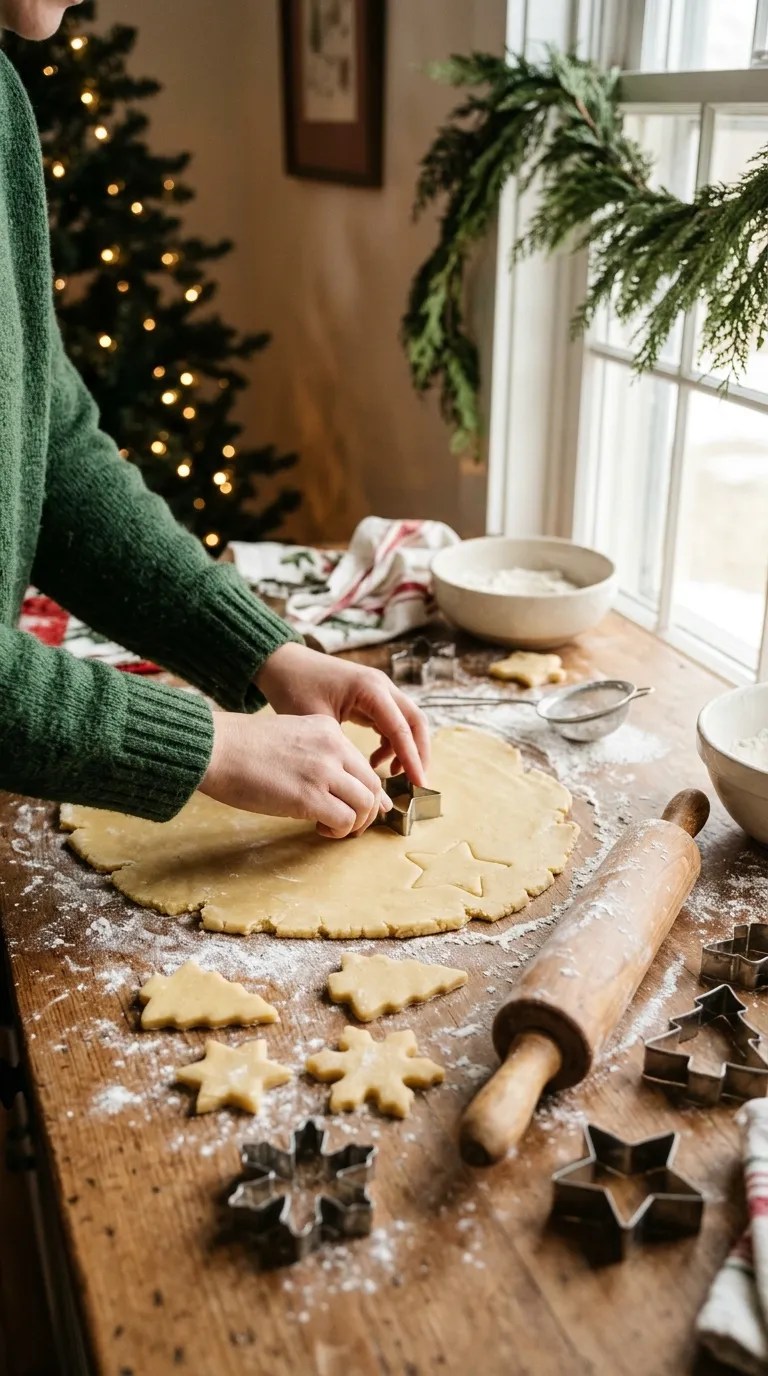
Step 6: Roll Out the Dough
Time: 5–8 minutes
Lightly flour your countertop or a large pastry mat.
Remove one portion of dough from the refrigerator and let it sit for about 3–5 minutes if it feels too firm to roll.
Using a rolling pin, roll the dough to approximately ¼-inch thickness.
Try to keep the thickness consistent across the entire sheet. Thin sections bake faster, while thicker sections may remain soft in the center.
If the dough sticks to your rolling pin, sprinkle a tiny amount of flour over the surface.
Avoid adding too much flour because it can change the cookie texture.
Step 7: Cut Out Festive Shapes
Ein Teig, sieben Plätzchen: Mit diesem Grundrezept backt ihr eine ganze Last-Minute-Keksdose!
Time: 5–10 minutes
Now comes one of the most enjoyable parts!
Use Christmas cookie cutters to create festive shapes.
Some lovely choices include:
- Christmas trees
- Stars
- Snowflakes
- Bells
- Gingerbread people
- Candy canes
- Simple round cookies
Place the cutouts onto your prepared baking sheets, leaving approximately 1 inch between each cookie.
Gather the leftover dough, gently press it together, and roll it out again.
If the dough becomes too warm or sticky, return it to the refrigerator for 10 minutes before cutting more shapes.
Step 8: Decorate Before Baking
Time: 3–5 minutes
Sprinkle the cookies with red and green sanding sugar or your favorite Christmas sprinkles.
Gently press larger decorations into the dough so they stay in place.
For a simple vintage appearance, use white sparkling sugar on star-shaped cookies.
You can also leave some cookies undecorated and add icing after baking.
That gives you a nice variety when arranging your finished cookies on a serving platter.
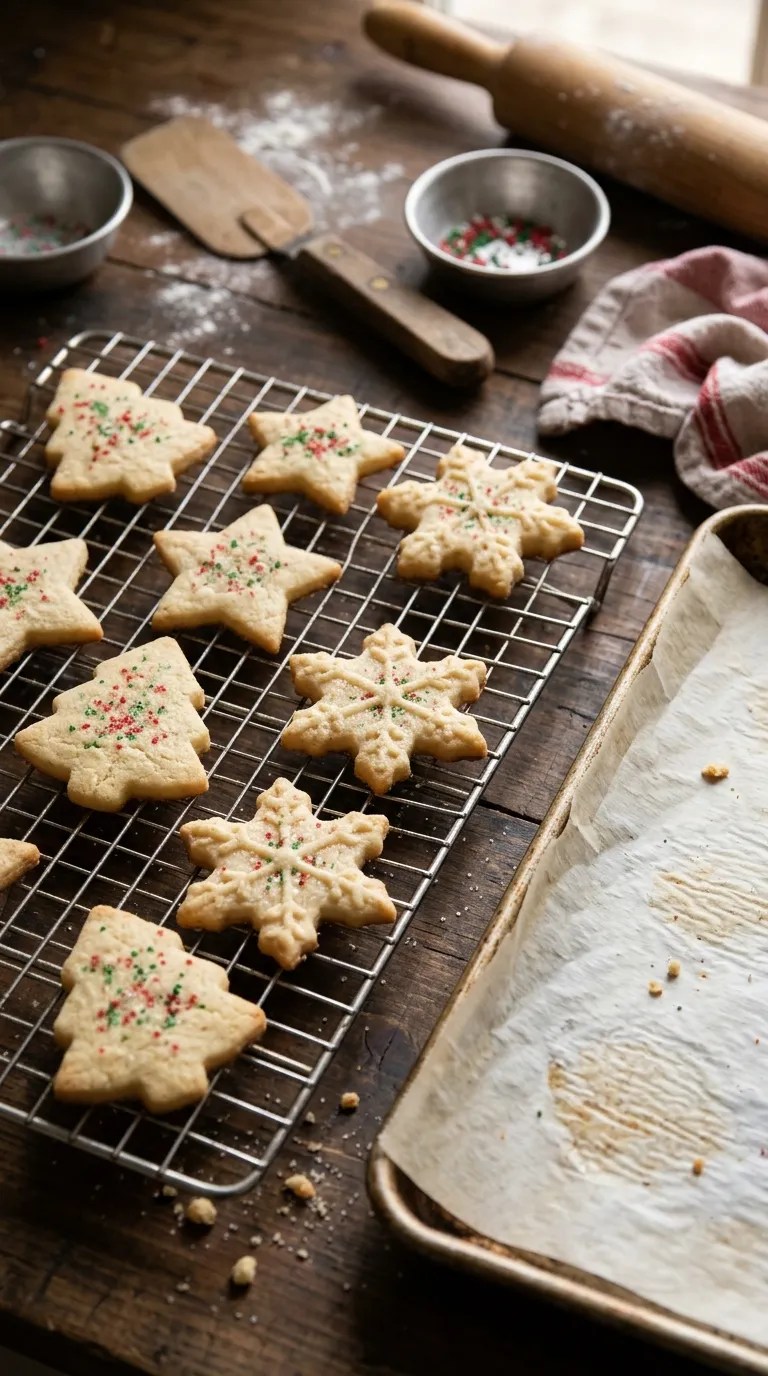
Step 9: Bake Until the Edges Turn Lightly Golden
Time: 9–12 minutes
Weihnachtsplätzchen in verschiedenen Formen und Farben
Place the baking sheets in your preheated oven.
Bake for 9–12 minutes, depending on the size and thickness of your cookies.
Watch the edges rather than waiting for the entire cookie to turn golden brown.
The centers should look set, while the edges develop a very light golden color.
These cookies shouldn’t become deeply browned. Overbaking can make them dry and overly crisp.
If your oven has hot spots, rotate the baking sheet halfway through baking.
Step 10: Cool and Add Optional Icing
Time: 15–20 minutes
Remove the baking sheets from the oven.
Let the cookies rest on the baking sheet for approximately 5 minutes. They will still feel delicate when they first come out, so give them time to firm up.
Transfer them to a wire cooling rack and allow them to cool completely.
For a simple icing, whisk together:
- ½ cup powdered sugar
- 1 tablespoon milk
- ¼ teaspoon vanilla extract
Add a little more milk if the icing feels too thick.
Drizzle the icing over the cooled cookies using a spoon or piping bag.
Let the icing set before stacking or packaging the cookies.
And that’s it! Your homemade vintage Christmas cookies are ready to enjoy.
Pro Tips and Tricks for Perfect Christmas Cookies
Sweet baked cookies in metal box. Christmas decorations on dark wooden background
A simple butter cookie recipe doesn’t require complicated techniques, but a few little tricks can make the difference between an ordinary batch and a beautiful holiday treat.
Here are the tips I would share with a friend before they start baking.
1. Pay Attention to Butter Temperature
Your butter should feel soft when you press it gently with your finger, but it shouldn’t look melted or greasy.
Cold butter won’t cream properly, while overly soft butter can cause the cookies to spread.
If your kitchen is warm, keep the butter out for a shorter time and check it regularly.
2. Don’t Skip Chilling the Dough
Chilling makes the dough easier to handle and helps preserve the shape of your Christmas cutouts.
If you’re making detailed snowflakes or little Christmas trees, this step becomes especially helpful.
You can even chill the cutouts on the baking sheet for 10 minutes before placing them in the oven.
3. Keep the Cookie Thickness Consistent
Uneven dough creates uneven cookies.
A rolling pin with thickness guides can help beginners roll the dough evenly.
Aim for approximately ¼ inch throughout.
4. Don’t Wait for Deep Golden Color
Butter cookies continue to firm up as they cool.
If you wait until the entire cookie looks deeply golden, you may end up with a dry batch.
Look for lightly golden edges and set centers.
5. Store Them Properly
Once completely cool, transfer the cookies to an airtight container.
Place parchment paper between layers if you’ve added icing or delicate decorations.
Keep them at room temperature for approximately 5–7 days for the best quality.
If you want to prepare them well before Christmas, freezing is an excellent option.
Variations and Substitutions
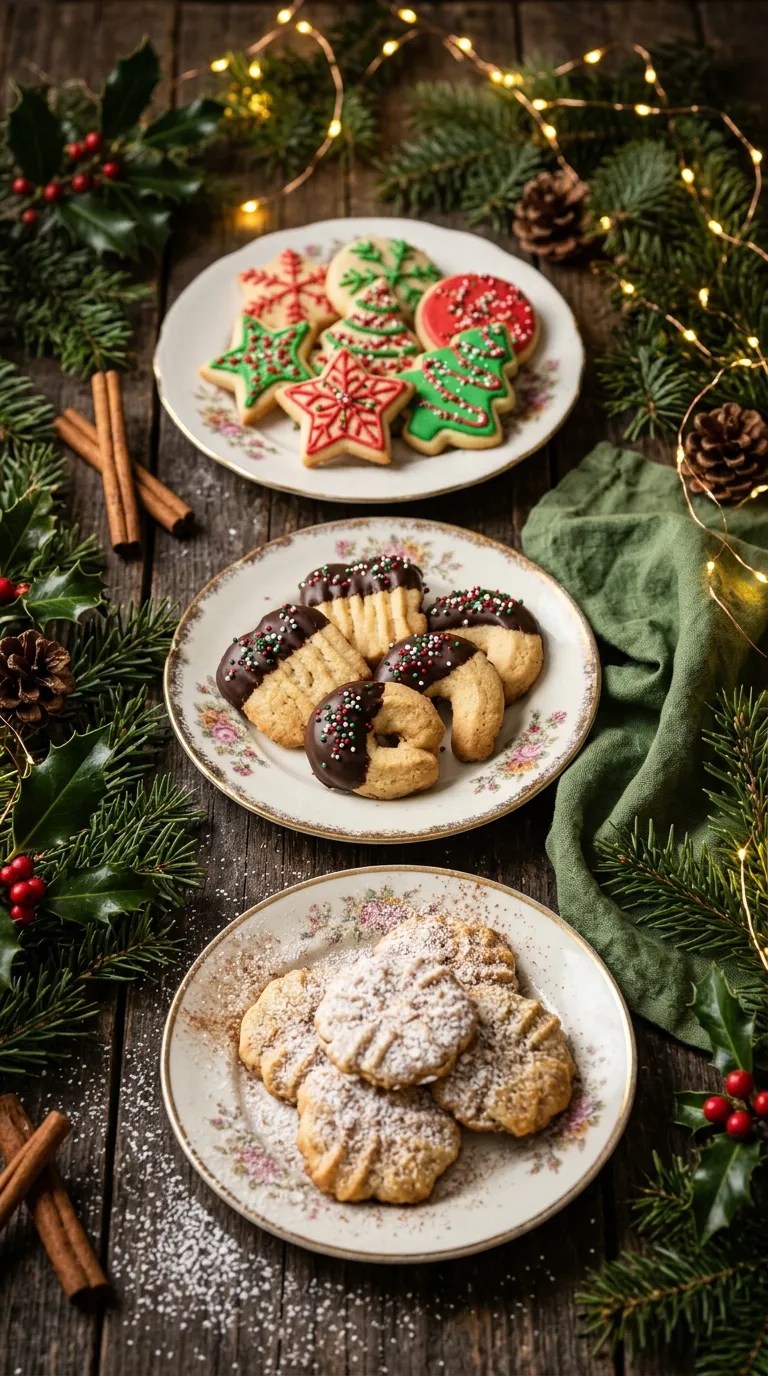
One reason I enjoy this recipe is that the basic dough works beautifully with different flavors and decorations.
Here are a few ways to give your cookies a slightly different personality.
1. Vintage Lemon Butter Cookies
ᐅ Lemon-Cookies Rezept ⇒ von Pampered Chef®
If you enjoy cookies with a fresh citrus flavor, try adding 1 tablespoon of finely grated lemon zest to the butter and sugar mixture.
You can also replace ½ teaspoon of vanilla extract with lemon extract.
The result is a delicate, buttery cookie with a gentle lemon aroma.
These are especially lovely when decorated with a simple lemon glaze made from powdered sugar and lemon juice.
2. Chocolate-Dipped Christmas Cookies
Chocolate-Dipped Danish Butter Cookies | Life, Love and Sugar
For a slightly richer treat, dip half of each cooled cookie into melted semi-sweet chocolate.
Place the dipped cookies on parchment paper and sprinkle with chopped nuts, crushed peppermint candy, or festive decorations.
Allow the chocolate to set before storing.
This variation looks beautiful in homemade Christmas gift boxes.
3. Cinnamon and Nutmeg Christmas Cookies
If you love warm holiday flavors, add:
- ½ teaspoon ground cinnamon
- ⅛ teaspoon ground nutmeg
Whisk these spices into the dry ingredients before mixing them with the butter mixture.
The result is a warmly spiced butter cookie that pairs wonderfully with coffee, tea, and hot chocolate.
For a traditional appearance, sprinkle the tops with a little cinnamon sugar before baking.
4. Gluten-Free Butter Cookies
You can experiment with a good-quality gluten-free all-purpose flour blend that contains xanthan gum.
Replace the regular flour with the same weight of gluten-free flour, then check the dough texture.
Some blends absorb more moisture than others, so you may need a small adjustment.
Chill the dough thoroughly before rolling, and test one or two cookies first to see how they hold their shape.
Serving Suggestions for Vintage Christmas Cookies

Le Gourmet Baking | Travel Guide | TravelPal
Christmas hot chocolate with marshmallows and cookies
14
These cookies are lovely on their own, but serving them with a few holiday favorites makes them feel even more special.
Here are some ideas:
With hot chocolate: Arrange several butter cookies beside mugs of creamy hot chocolate. Their delicate buttery texture complements the rich chocolate flavor.
With tea or coffee: Serve them with black tea, cinnamon tea, or freshly brewed coffee for a simple afternoon treat.
On a Christmas dessert platter: Mix them with gingerbread cookies, chocolate crinkle cookies, and peppermint treats for a colorful holiday display.
As homemade gifts: Place completely cooled cookies into decorative tins lined with parchment paper. Add a ribbon and a handwritten holiday note.
For Christmas parties: Arrange different cookie shapes on a large serving platter. Mixing stars, trees, bells, and circles creates a charming traditional presentation.
These cookies also work wonderfully for family baking afternoons. Let everyone choose their favorite cutter and decorate a few cookies however they like.
You don’t need every cookie to look perfect. Sometimes the slightly crooked homemade ones are the most memorable.
Related Recipes:
- Christmas Trash Mix Recipe
- Christmas Bread Recipe – Easy Holiday Favorite
- Christmas Simmer Pot Recipe Gift
- Christmas Dessert Recipe – Easy Holiday Treat Everyone Will Love
FAQ’s
1. How long do vintage Christmas cookies stay fresh?
When stored in an airtight container at room temperature, these butter cookies generally keep their best quality for approximately 5–7 days.
Keep them away from direct sunlight, heat, and moisture.
If you’ve decorated them with icing, allow the icing to dry completely before stacking them.
2. Can I make the Christmas cookie dough ahead of time?
Absolutely!
Prepare the dough, divide it into two disks, wrap each disk tightly, and refrigerate.
You can prepare the dough up to 2 days ahead of baking.
When you’re ready, let it sit at room temperature briefly if it’s too firm to roll.
This is a particularly useful trick when you’re preparing several kinds of Christmas cookies for a party.
3. Can I freeze these vintage Christmas cookies?
Yes. You can freeze both the unbaked dough and the finished cookies.
For dough, wrap the disks tightly and place them inside a freezer-safe bag or container. Freeze for up to 2 months for best quality.
Thaw the dough overnight in the refrigerator before rolling and cutting.
For baked cookies, allow them to cool completely before freezing in airtight containers with parchment paper between the layers.
Thaw at room temperature before serving.
4. Why did my Christmas cookies spread too much?
Several things can cause cookies to spread.
The most common reasons include:
- Butter that was too soft or melted.
- Dough that didn’t chill long enough.
- Too little flour.
- A baking sheet that was still warm from the previous batch.
To prevent spreading, measure the ingredients carefully, chill the dough, and use cool baking sheets for each batch.
5. Can I make these cookies without almond extract?
Yes!
Almond extract adds a lovely traditional bakery-style flavor, but it isn’t essential.
Simply leave it out and use the full 2 teaspoons of vanilla extract.
You can also experiment with a little lemon zest or another baking extract you enjoy.
6. How do I make the cookies crispier?
For slightly crispier cookies, roll the dough a little thinner, around ⅛–3/16 inch, and watch the baking time carefully.
You can bake them slightly longer until the edges become a little more golden.
Keep in mind that thinner cookies bake faster, so check them early to avoid overbaking.
7. Can I decorate these cookies after baking?
Definitely!
Bake the cookies plain, allow them to cool completely, and then decorate them with royal icing, powdered sugar glaze, melted chocolate, or colorful sprinkles.
This approach works especially well when you want detailed decorations or several different designs.
8. Do I need a stand mixer to make this recipe?
Not at all.
A hand mixer works perfectly, and you can even mix the dough by hand with a sturdy wooden spoon and a little patience.
A stand mixer with a paddle attachment simply makes the creaming process easier.
Final Thought
Cookies on the background of a festive decoration. Rustic style.
Some recipes become holiday favorites because of their ingredients. Others become special because of the memories we create while making them.
This vintage Christmas cookie recipe offers a little of both.
I love how a few simple ingredients can turn into something so pretty and delicious. From rolling out the dough to choosing the cookie cutters and adding colorful sprinkles, every step brings a little excitement to the kitchen.
And don’t worry if your first batch isn’t perfectly shaped. A few uneven edges and extra sprinkles are part of the charm of homemade Christmas baking.
Make a batch for your family, share some with friends, or tuck a few into a pretty gift tin for someone special.
I’d love to know how yours turn out. Do you prefer classic vanilla butter cookies, cinnamon-spiced cookies, or chocolate-dipped Christmas treats?
Whatever your favorite, I hope these old-fashioned cookies bring plenty of warmth, sweetness, and happy memories to your holiday season.
Happy Christmas baking!
Leave a Reply
You must be logged in to post a comment.